Storing your RV weight distribution hitch can help extend its serviceable life. But what can you do to store it properly? We researched this concern for you, and here’s what we found.
Different storage options are available for your RV weight distribution hitch. Here are some methods you may use:
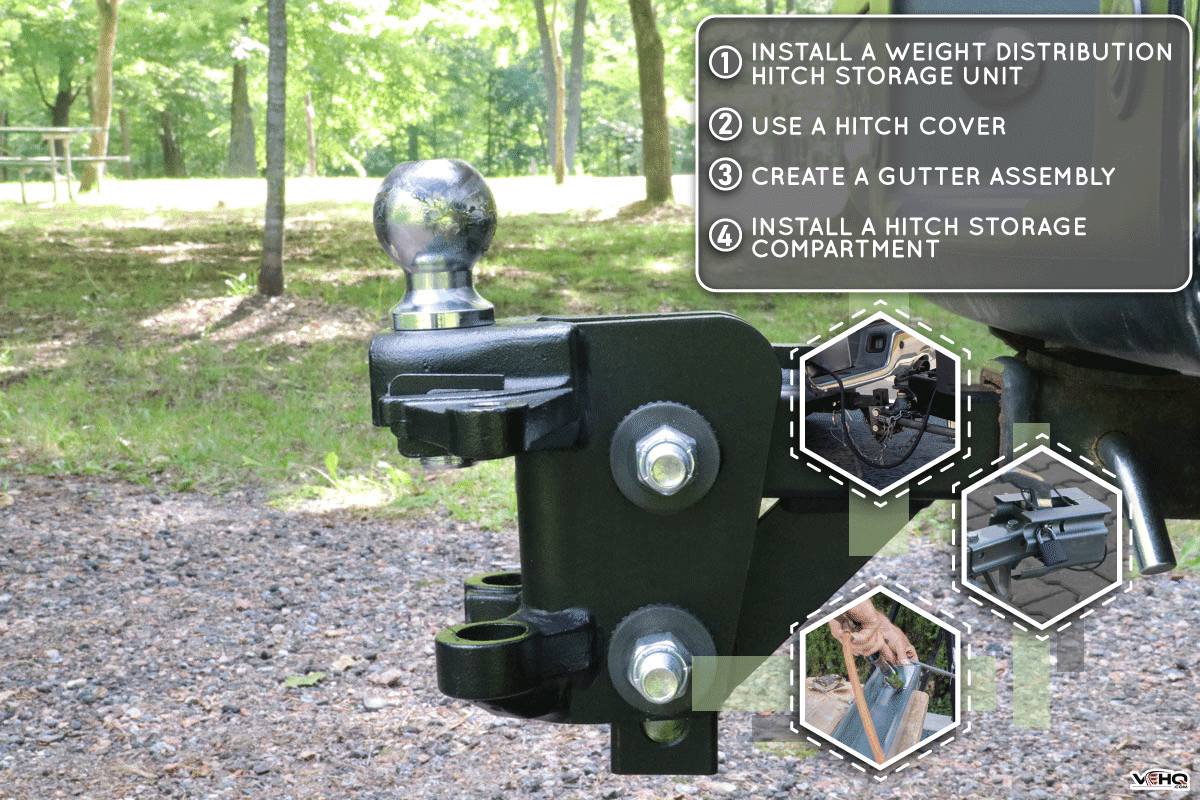
- Install a weight distribution hitch storage unit
- Use a hitch cover
- Create a gutter assembly
- Install a hitch storage compartment
Take note that each method has details that you need to follow for them to work properly. So keep reading as we talk about these RV weight distribution hitch storage ideas in greater detail.
Ways To Store RV Weight Distribution Hitch When Not In Use
Method #1: Install A Weight Distribution Hitch Storage Unit
You can purchase and install a weight distribution hitch storage compartment for your RV. Its installation is reasonably straightforward; just follow these steps:
What You’ll Need
- Weight distribution hitch storage kit
- Socket and ratchet
- Wrench
- Power drill
Step-By-Step Guide
- Park your RV and towing vehicle on flat and level ground.
- Engage the brakes on your RV and towing vehicle.
- Unmount and disassemble the RV weight distribution hitch.
- Attach the long bolts to the kit’s brackets to secure the system.
- Drill new holes in the storage kit if necessary. If not, skip this step and proceed to the next.
- Store the disassembled weight distribution hitch in this storage system.
- Secure the stored hitch with the hitch pin lock.

Check out this hitch and spring bar storage system on Amazon.
Warning: Make sure to select an installation location that won’t touch nearby propane lines.
Note: Different hitch storage systems exist on the market. Each hitch storage containment unit may have its unique installation procedure. So make sure to read the instructions or owner’s manual before proceeding with the setup process.
You can also watch the video below if you need a visual guide for this procedure:
Method #2: Use A Hitch Cover
A hitch cover is a reasonably inexpensive solution to protect and store your RV weight distribution hitch. Plus, you typically won’t need to remove the weight distribution hitch assemble from the towing setup for you to apply the cover.
Using a hitch cover may also unlock other benefits, including:
- Improve visibility. It’s possible to mount lights or reflectors on the cover for other drivers to see your towing setup at night.
- Add flair. Certain hitch covers have designs that can enhance the aesthetics of your motorhome setup.
- Increase storage space for other items. The removal of the weight distribution hitch from your RV’s cabin may allow you to store other items in the vehicle.
However, make sure that the hitch cover you purchase is compatible with your RV weight distribution hitch. Many covers exist on the market. But many of these products only fit the typical trailer hitch.

Check out this hitch cover on Amazon.
Warning: A cover doesn't usually protect your RV weight distribution hitch from thieves. You can add security measures, such as tying the cover, to reduce the likelihood of the assembly being stolen.
Method #3: Create A Gutter Assembly
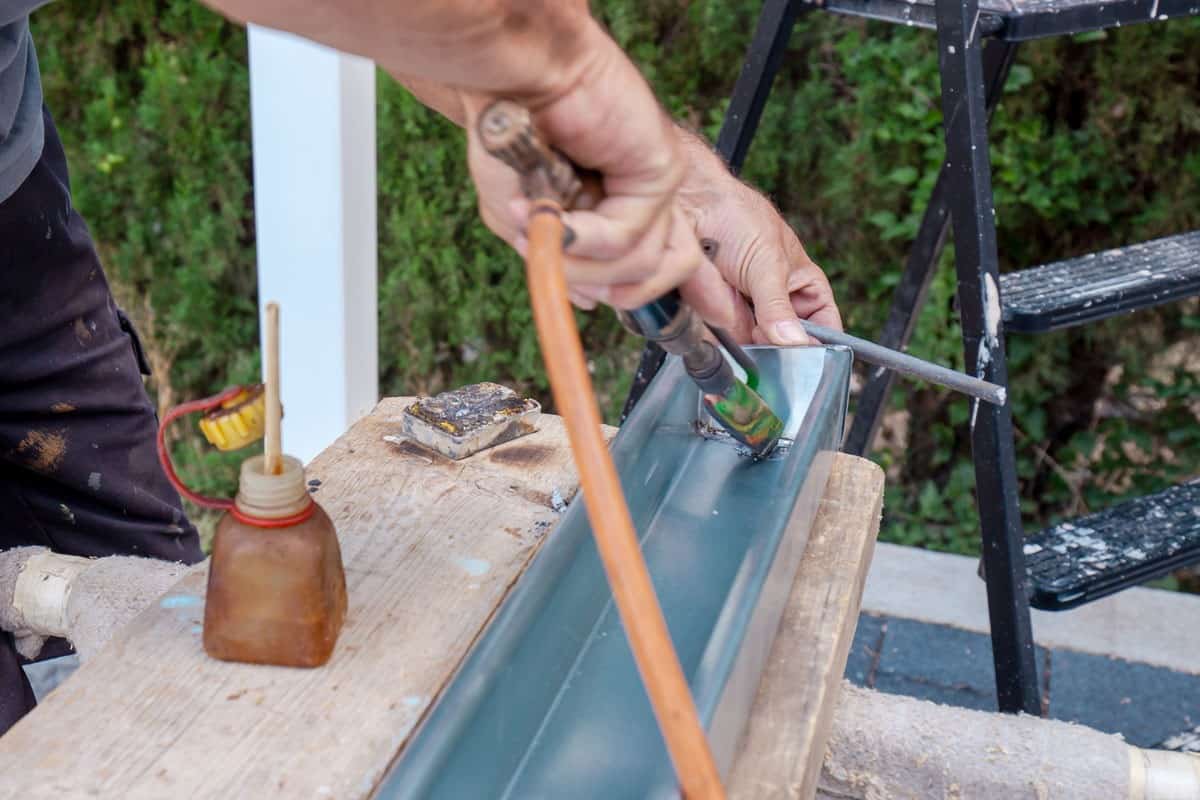
You may fashion a storage system for your RV weight distribution system using DIY techniques and certain materials. There are different ways to complete this DIY solution, and here’s one of them:
What You’ll Need
- Jigsaw
- Welding machine
- Measuring tape
- Steel plates
Step-By-Step Guide
- Park your RV and towing vehicle at a flat and level parking spot.
- Measure your hitch’s A-frame and document the readings.
- Cut and weld a steel bracket that fits your hitch’s A-frame.
- Cut a hole in the fashioned bracket so you can insert it into the A-frame.
- Drill holes in strategic locations through the DIY bracket for the long bolts.
- Insert and secure the gutter assembly you created into the A-Frame.
- Place the RV weight distribution hitch’s part into the bracket or gutter assembly for storage.
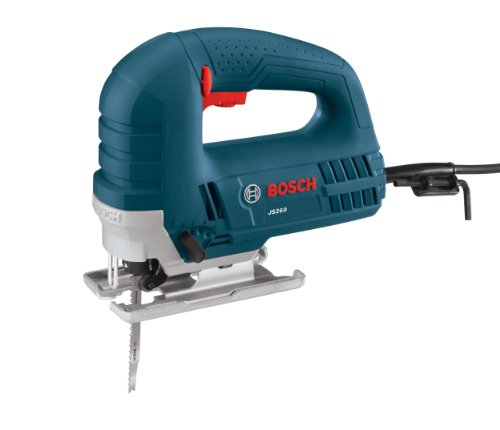
Check out this jigsaw on Amazon.
Note: This particular solution may not be for every RV user since it requires metal cutting and molding know-how. Think about buying a storage kit for your RV weight distribution hitch instead of using this method. You may skip this storage technique if you believe you don’t have the confidence or skill to proceed.
Tip: You can also use plastic instead of steel if you don’t want to use a welding machine. But make sure that the plastic material you’re using can carry the heavy weight of your RV’s hitch assembly.
Watch this clip to gain additional insights into this procedure:
Method #4: Install A Hitch Storage Compartment
Take note that your RV needs to have a hitch receiver for this solution to work. You can still install one if your motorhome doesn't have a receiver. However, purchasing the extra unit can add to overall costs.
If your RV already has a hitch receiver, you can proceed with this method by following these steps:
What You’ll Need
- Hitch storage compartment kit
- Wrench
- Ratchet and socket set
- Storage box
- Ropes
- Carabiners
Step-By-Step Guide
- Park your RV and towing vehicle on flat and level ground.
- Engage the brakes on both vehicles.
- Take out the parts of your hitch storage compartment kit and organize them for easy assembly.
- Place the two basket compartments on a table or a raised and flat surface.
- Connect the basket compartments and secure them with the included bolts and locking nuts.
- Slide and secure the kit’s main arm at the bottom center of the basket assembly.
- Install and secure the drawbar into the main arm.
- Insert the hitch storage compartment assembly into your RV’s receiver hitch.
- Place a storage box on top of the basket.
- Secure the storage box to the basket with ropes and carabiners.
- Place the disassembled RV weight distribution hitch into the box for storage.

Check out this hitch-mounted cargo carrier bag on Amazon.
The following clip shows you a visual guide for this installation job if you need it:
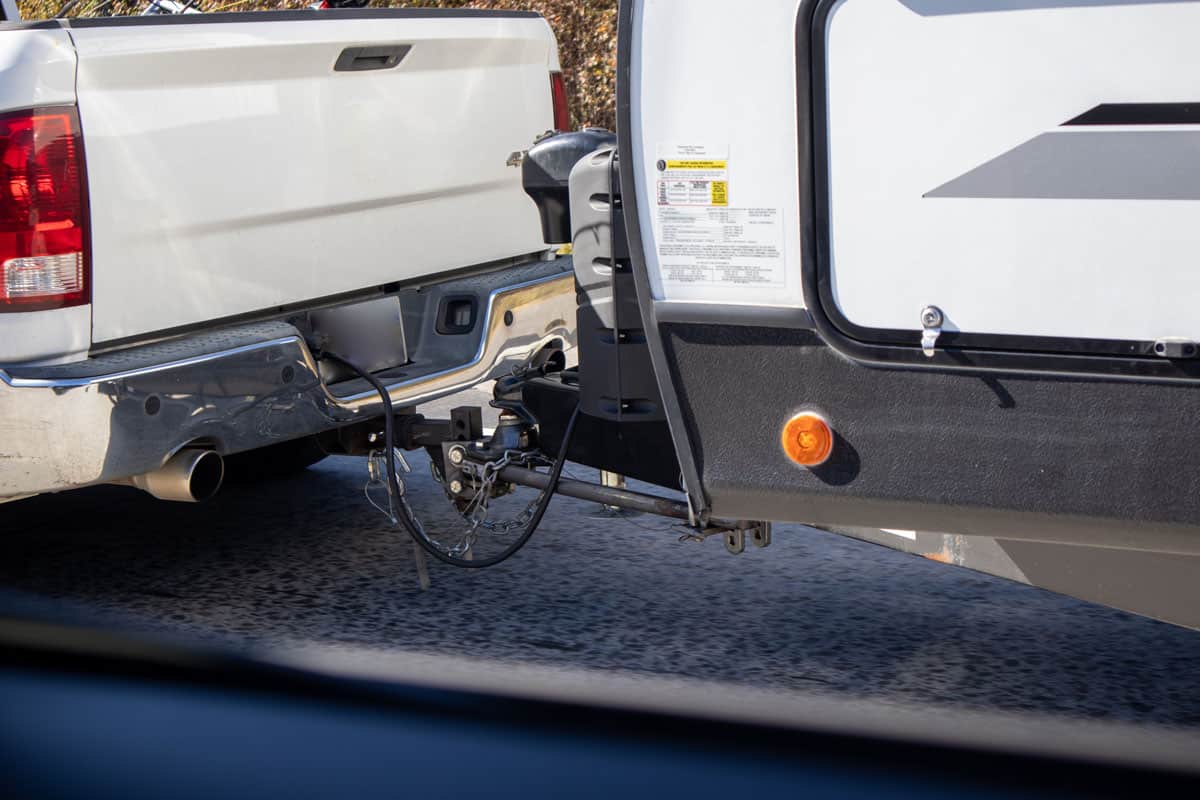
Should I Remove The Weight Distribution Hitch Before Backing Up?
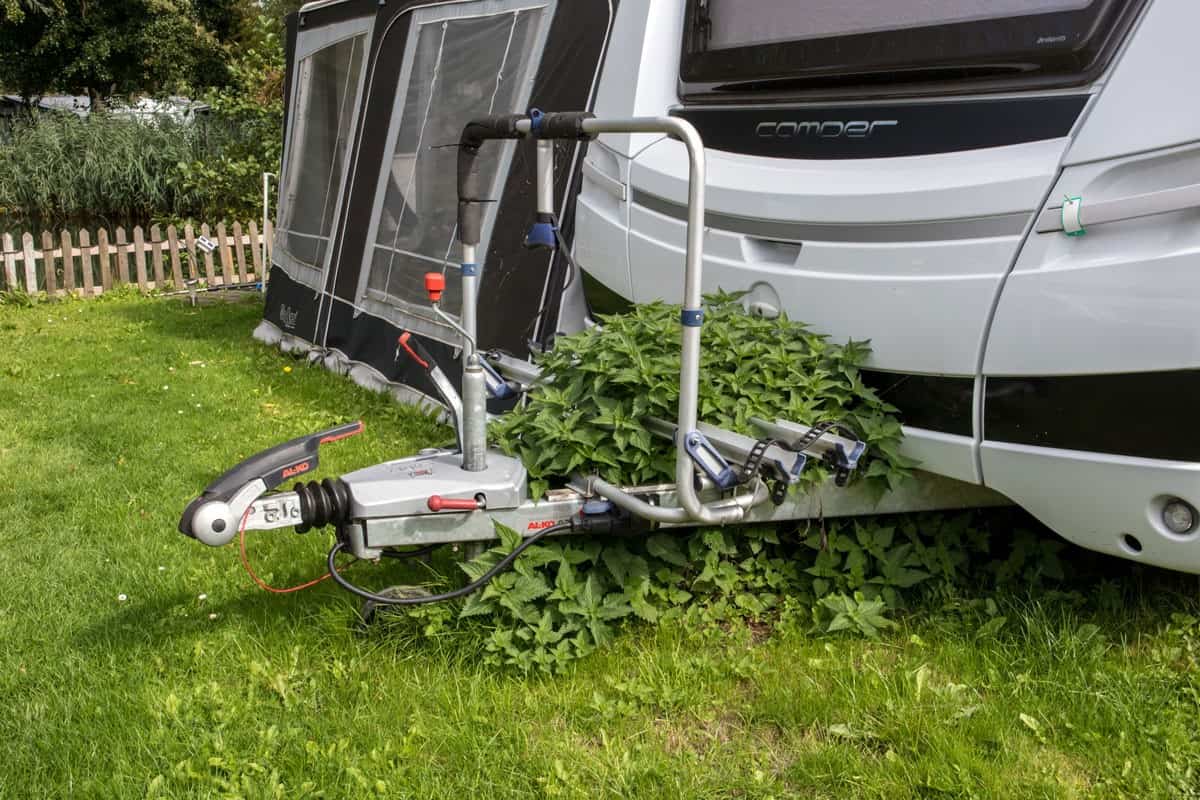
Check your RV weight distribution hitch’s owner’s manual or consult with the product’s manufacturer for the right answer to this question. The reason is that some weight distribution systems may not allow users to reverse their towing setups while these assemblies are still in between towing vehicles and RVs.
Once removed, you can store the hitch assembly in your preferred storage solution. On the other hand, some weight distribution hitches don’t have these restrictions. That way, you can keep the assembly in its installation location while reversing your towing setup.

Check out this weight distribution hitch kit on Amazon.
Take note that you may need an extra pair of hands to help you in removing and storing your RV’s weight distribution hitch. The materials often used in making the hitch may make it heavy. You can also learn more about how much a weight distribution hitch weighs by following this link.
How Do You Remove RV Weight Distribution Hitch?
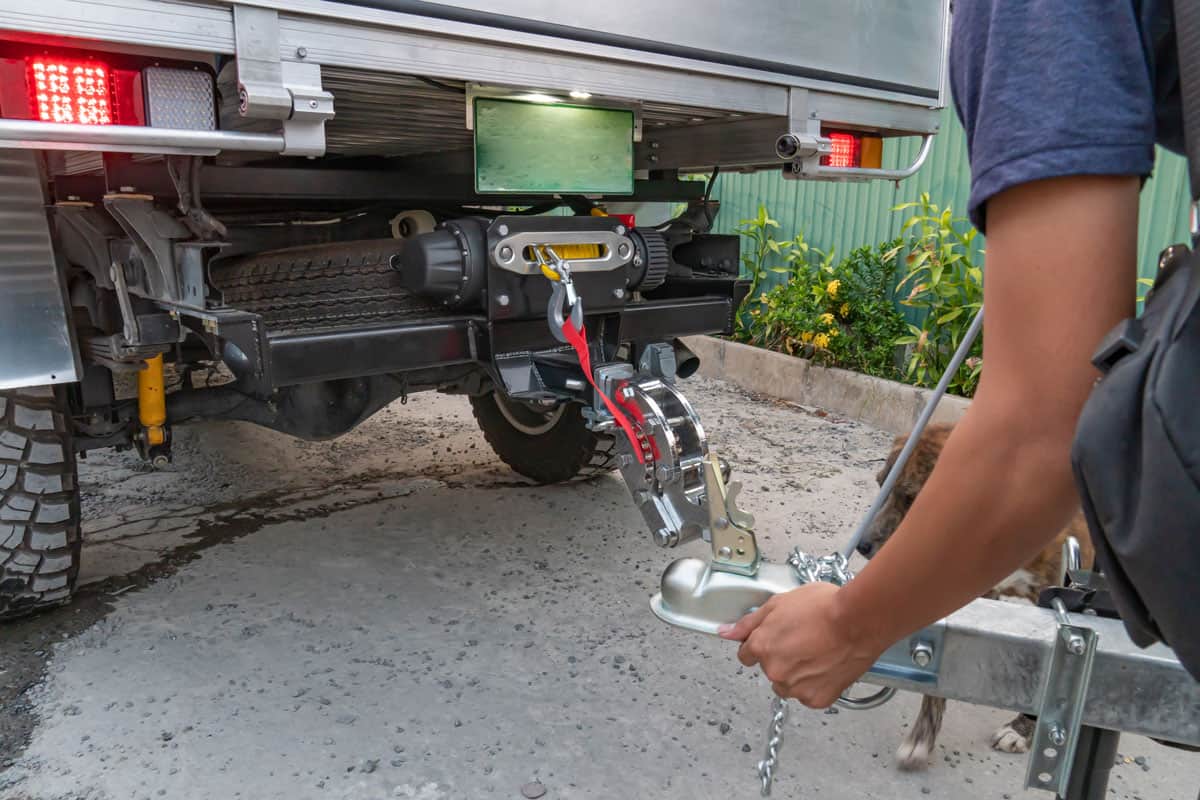
RV weight distribution hitch removal procedures may seem complicated. So follow these steps if you’re having difficulty removing the assembly, especially if you’re about to store the hitch:
What You’ll Need
- Breaker bar
Step-By-Step Guide
- Raise your RV near the weight distribution hitch. You can use a motor for this step or a standard floor jack.
- Insert a breaker bar into the hitch’s saddle and apply sufficient pulling pressure to the tool.
- Remove the hitch pin while maintaining the pulling pressure on the breaker bar.
- Lower the breaker bar slowly, which should also reduce the saddle’s height.
- Remove the chain and the weight distribution bar.
- Repeat steps 2 to 5 for the other side of the weight distribution hitch assembly.
- Store the RV weight distribution hitch in your preferred storage solution.

Check out this breaker bar on Amazon.
Watch this video for a visual representation of the steps mentioned above:
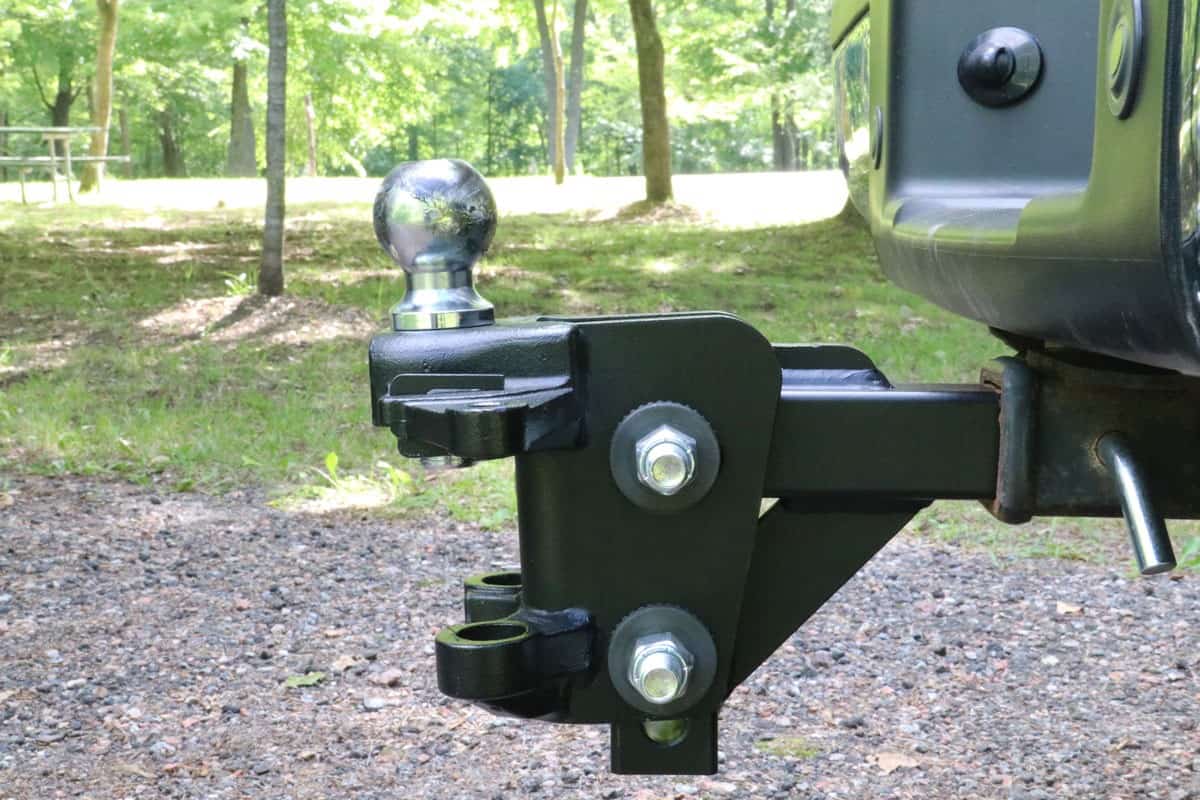
At this point, you might also be wondering how you can remove a trailer hitch off of its ball. If so, read our post on that topic to know the steps.
Final Thoughts
Storing your RV weight distribution hitch might be tough if you find it difficult to accomplish. But you can lessen the burden of this task by following the methods highlighted in this post. Don't forget to remove the hitch from your towing setup properly. Doing so should allow you to store its parts without the worry of harming the components.