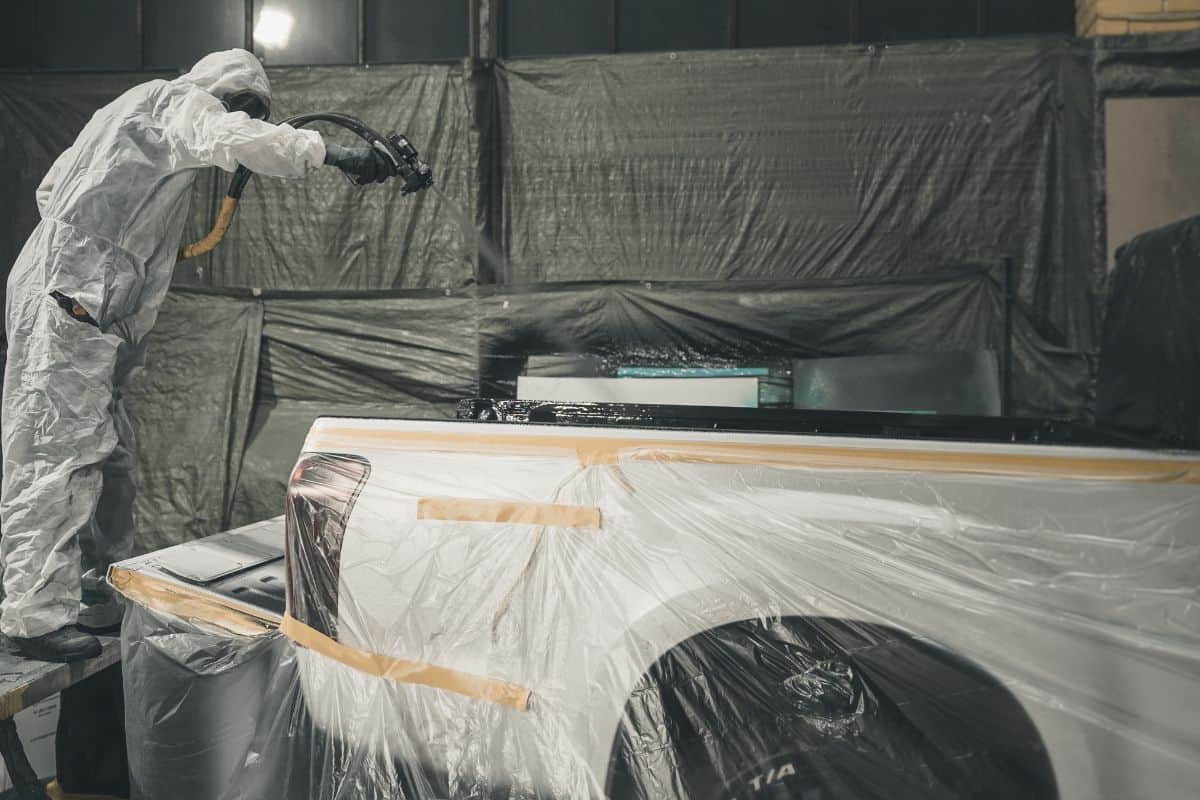
The Raptor liner is usually applied to a truck bed and helps protect it from everything the elements may throw your way. Wondering if you can apply it to wood as well? You are on the right page as we did some research on this topic to help you, and here is what we discovered.
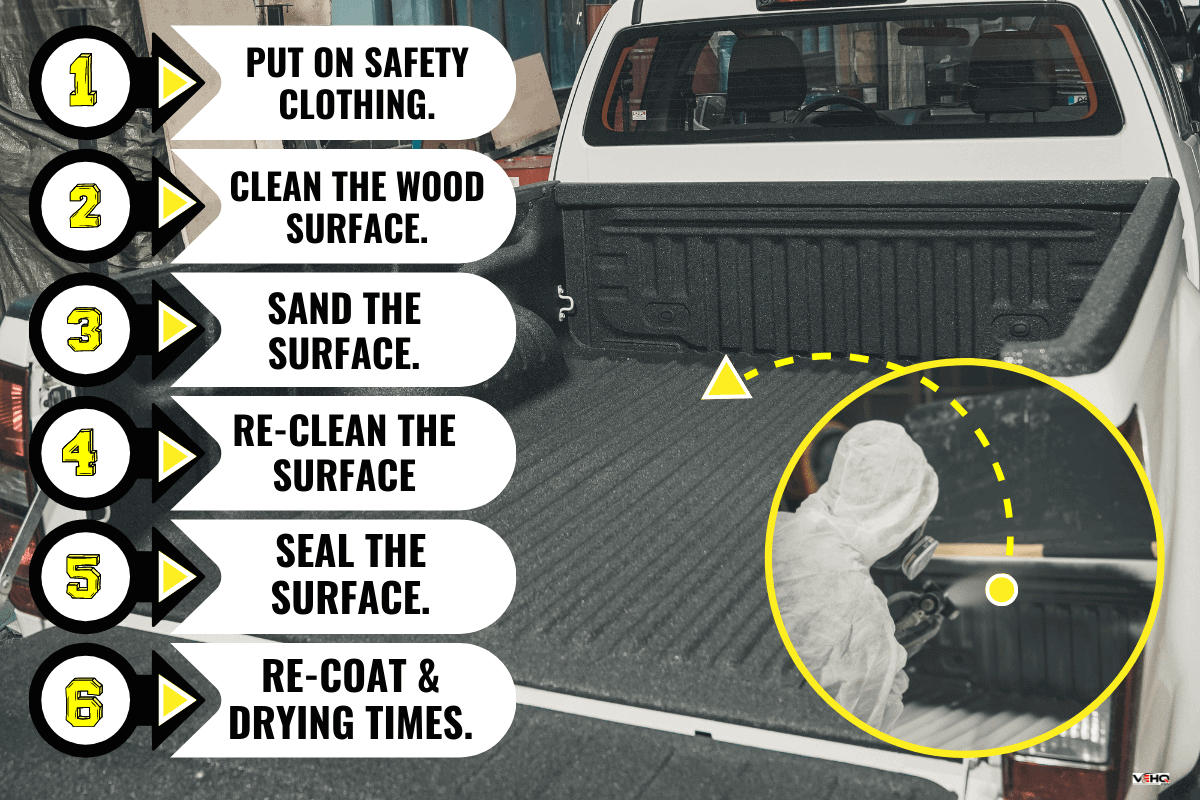
You can definitely apply Raptor liner on wood using the following procedures:
- Put on safety clothing.
- Clean the wood surface.
- Sand the surface.
- Re-clean the surface
- Seal the surface.
- Re-coat & drying times.
In this article, we’ll discuss thoroughly this Raptor liner application on wood in detail, especially each step mentioned above to guide you in case you plan to apply it on wood substrates. Also, we’ll share with you a better option between spraying or rolling bed liner and the effectiveness of this Raptor liner. More information ahead so keep on reading.
Can Raptor Liner Be Used On Wood?
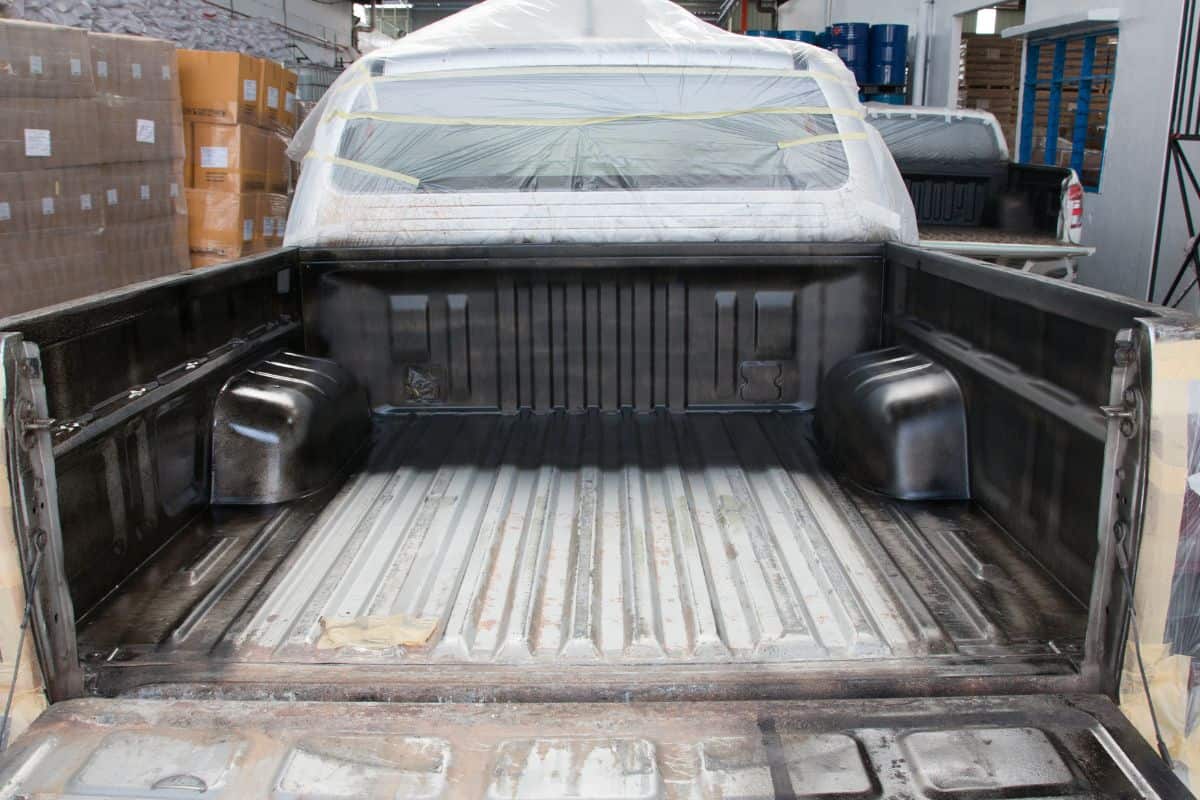
Raptor liner is a durable coating and is made to withstand the harshest environmental conditions. Once applied, it cures into an ultra-hard coating that may protect the exposed metal from chipping, scratches, and the inevitable rust that comes along with it.
Originally, Raptor liner was a coating for pickup truck beds. However, it can be used for other surfaces too, and is suitable for many substrates, including wood. To obtain the best results from Raptor liner, you must thoroughly preapre your wooden surfaces.
To properly prepare your wooden surfaces, take the following actions. However, keep in mind that the manufacturer warned against applying this if the temperature of the surrounding is below 50 °F.
1. Put On Safety Clothing
When applying do-it-yourself (DIY) Raptor liner on wood, you should dress protectively because you're essentially working with spray-on paint. Wear goggles, gloves, long sleeves, etc.

Click here to see this pair of goggles on Amazon.
Click here to see these gloves on Amazon.
This product can be challenging to remove from your skin and from any clothing it gets on. Wear clothes that you don't mind staining when you spray the liner on. Raptor liner gases are harmful. So if you apply indoors, opening your garage window and turning on a fan is a good idea.
2. Clean The Wood Surface
To properly clear a large hardwood surface, such as a wooden deck, of any dirt or debris, use your hose to spray it. Then, rinse with your hose once more after cleaning the surface with a non-chlorine home detergent.

Click here to see this hose on Amazon.

Click here to see this non-chlorinated detergent on Amazon.
Let it dry and sweep it with a broom to get rid of any remaining dirt. Remember that a freshly washed deck needs around 48 hours to dry out completely, depending on the weather condition.
Click here to see this broom on Amazon.
3. Sand The Surface
The Raptor liner won't attach correctly if you just apply it directly to a smooth surface. Instead, sand the surface to provide a texture that the liner can firmly cling to. With P80–P180 grit paper, sand the surface, and for especially challenging spots, use a red scuff pad.

Click here to see this grit paper on Amazon.
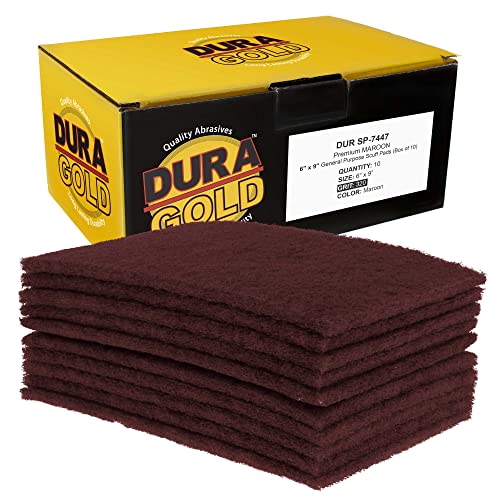
Click here to see this red scuff pad on Amazon.
4. Re-clean The Surface
Paint chips or other debris will end up on your wood surfaces after you've sanded the surface. All of this has to remove before you apply the liner.
Vacuuming the truck's bed is one of the fastest ways to get rid of the trash. Future bubbles and other issues may result from failing to completely remove all dust and dirt. You may also apply xylene to fully clean oil-based paint, varnish, epoxy, etc. before refinishing.

Click here to see this vacuum on Amazon.

Click here to see this xylene on Amazon.
5. Seal The Surface
Wood usually contains some contaminants, which, if the wood is not protected, might result in browning and fading. Increased moisture might also cause the wood to warp. This is particularly true for some quite porous wood species.
Therefore, for optimal results, you must first apply a sealant to these surfaces before applying raptor liner and you may choose any of the following:
Urethane Sealer
It is one of the most adaptable and long-lasting materials utilized in fluid power sealing. Suitable for a variety of surfaces, including wood. They are ideal for sealing cracks and gaps on the exterior of buildings since they are flexible and water-tight in any weather.

Click here to see this urethane sealer on Amazon.
Acrylic Sealer
This clear aqueous multi-purpose sealer offers protection and waterproofing capabilities on a variety of indoor and external surfaces. Protect porous surfaces from moisture infiltration, seasonal freeze/thaw damage, and weathering.
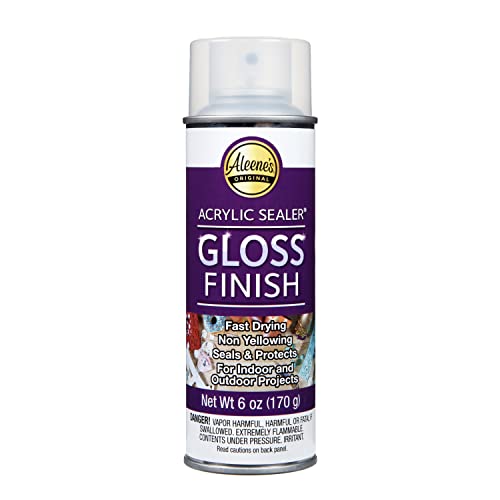
Click here to see this acrylic sealer on Amazon.
Epoxy Wood Sealer
It is extremely adaptable and frequently used with wood, which is one of its preferred uses. After application, the wood is protected from damage like abrasions and becomes water-resistant.

Click here to see this epoxy wood sealer on Amazon.
6. Apply Raptor Liner
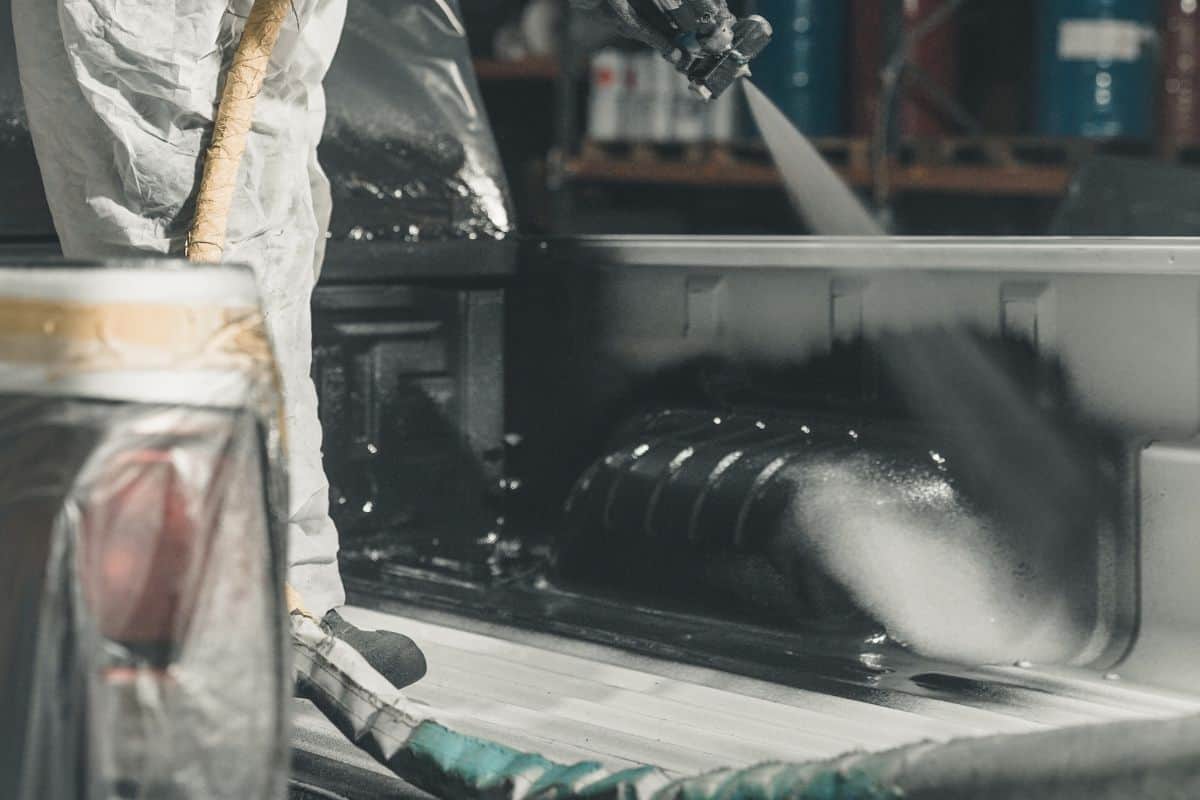
You can now add the Raptor liner after giving the seal an hour or more to dry. Both spraying and rolling are effective methods for applying this liner.
For spraying, mix ¾ Raptor liner and ¼ of Raptor hardener into the Raptor bottle. To properly blend the product, shake the bottle for two minutes. Then, attach the gun (possibly U-POL UP0726 gun) to the bottle.

Click here to see this Raptor liner kit on Amazon.

Click here to see this U-POL gun on Amazon.
Adjust the air pressure at the supply to your desired texture. Apply to the prepared surface in a sweeping motion at a distance of 1.5’ to 5’ to get the required texture.
Note that the mixture has a pot life of about 60 minutes, which means it is no longer usable after an hour. So, you need to refill again the next time around if you are not yet finished.
Whereas, for rolling, open the liner container and stir it to guarantee an even coat. Pour enough of the liner into your tray. Then, dip the roller brush into it and roll it on the tray's slope to make sure all the sides are moist. Afterward, roll it onto the wood surface.

Click here to see these paint trays on Amazon.

Click here to see this roller on Amazon.
7. Re-coat & Drying Times
Two or three light coats are preferable to one thick coat. Allow 60 minutes to pass between coats if applying more than one coat of Raptor liner.
In about an hour, it will be dry enough to not stick to your fingers. But for light-duty use, give it two to three days to fully dry and seven days for heavy-duty. Then you're done!
Which Is Better: Spraying Or Rolling Bed Liner?
When in terms of speed of use, nothing can beat spraying and that is why it is frequently used by professionals. However, nothing tops a roller for those seeking quality.
Both processes are simple and you can finish them in a few hours by yourself. The spray-on bed liner is an easy-to-use solution. You won't have to worry about your substrates having dents or scratches. It is simple to fix in the event that something goes wrong. All you need is a touch-up kit to get started.
Having a roll-on bed liner in your substrate has a lot of advantages that make it a preferable option too if you're considering applying one.
Compared to a spray-on bed liner, a roll-on bed liner is less expensive. They are just available for as little as $100. For spraying, you need to buy a spray gun which makes it pricier.
You can personalize a roll-on bed liner to your preferences. To make it more unique, you may, for instance, include graphics or logos. It sticks significantly better, has a better texture, and produces a more even finish.
Unlike a spray-on bed liner, a roll-on bed liner won't void your corrosion guarantee. Roll-on bed liners are more resistant to dents than spray-on bed liners since they have two levels of protection.
Is Raptor Bed Liner Any Good?
Its primary purpose is to safeguard your car's metal and so with other recommended substrates (wood, fiberglass, concrete, rigid plastic, aluminum, galvanized, etc.) of it. It has the capacity to diffuse pressure despite feeling hard to the touch and being quite thick.
Consider the scenario where you threw a generator into the back of your truck. Its impact on your vehicle bed could result in dents if it were to bounce about. This is a result of intense pressure being applied to a relatively small area.
However, when the same pressure is placed on your freshly applied protective coating, it flexes just enough to spread the load out and prevent harm to your car. This elasticity also makes it possible for it to firmly attach to your car. It won't peel or crack when driving, even on rough roads, unlike other coatings.
There are more important reasons why Raptor liners are used. Because it is UV resistant, unlike paint, it won't fade or change color. Another, it is waterproof that stops the substrates especially metal from rusting after prolonged use.
Moreover, it is frequently applied to heavy machinery because it doesn't react with engine oils or animal urine. Additionally, you can select any coating color you like.
Wrapping Things Up
Despite the fact you can use this Raptor liner on wood surfaces, it is still a good idea to read the manufacturer's instructions to make sure you are applying it properly. Raptor liners are typically simple to use, saving you the money you would otherwise spend on paying a professional to do it for you.
Before you go, check out some other interesting articles we have below.