Painting revamps a car's aesthetics. You may wonder if you can paint over the raptor liner. Don't worry, as we extensively researched this topic to provide an answer.
You can paint over the raptor liner. However, you must adequately prepare the surface to ensure that the paint sticks and does not peel off prematurely.
Please keep reading as we elaborate on how to paint over the raptor liner. We will also tackle other related topics, such as suitable paints to use over a raptor liner and how much it costs to paint a car.
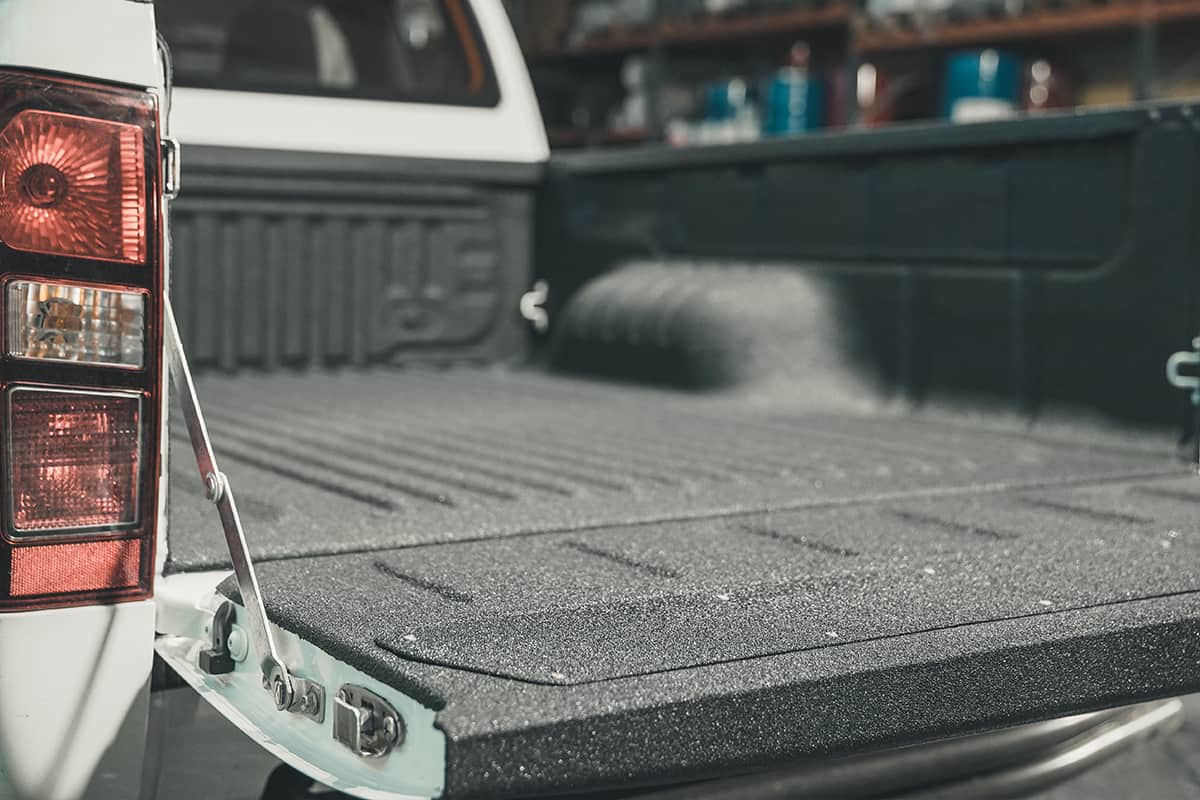
How To Paint Over Raptor Liner
The raptor liner coating is made to last. So, it can be pretty difficult to remove after it cures.
But you may want to polish your vehicle's look after having the raptor liner on for some years. Or maybe you would rather have a different finish other than what you can get if the liner is the final coating.
Painting over a raptor liner enables you to achieve the benefits of having a raptor liner and lets you get a finished look that you are pleased with.
Here is a guide on how to paint the raptor liner:
1. Let The Raptor Liner Dry
It is advisable to let the raptor cure for at least 24 hours before painting over it. This step is critical when painting over a new raptor liner.
Failing to wait for the raptor liner to cure can result in wrinkling or lifting if the solvents in your paint attack the raptor finish.
It is not advisable to leave your vehicle in the sun during the curing process. The sun's rays can interfere with the drying process. Consequently, the coating may fail to perform as expected in protecting your car from fading or rusting.
In addition, abrading can compromise a raptor liner that is not fully cured, thus bringing to naught all the work you did when coating your car with a raptor liner.
2. Abrade The Surface
Use a fine abrasive pad to roughen up the raptor liner's surface. Abrading creates a surface on which the paint can cling to the raptor liner, helping you achieve long-lasting results.
If you are not working on a fresh raptor liner coating, it is best to do sufficient prep work to achieve the desired results. So, check for any spots where the raptor liner may be peeling and repair these spots. Also, inspect for any signs of corrosion and address these problem spots before painting.
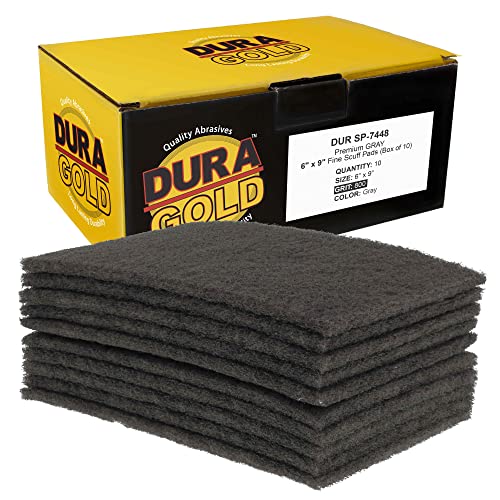
These general-purpose scuff pads are ideal for final auto-paint surface prep. Find them on Amazon.
3. Clean And Degrease
Dirt, dust, and oils reduce the paint's ability to adhere to a surface. So, you want to ensure that you clean and degrease the surface adequately before painting to avoid premature cracking, chipping, and peeling.
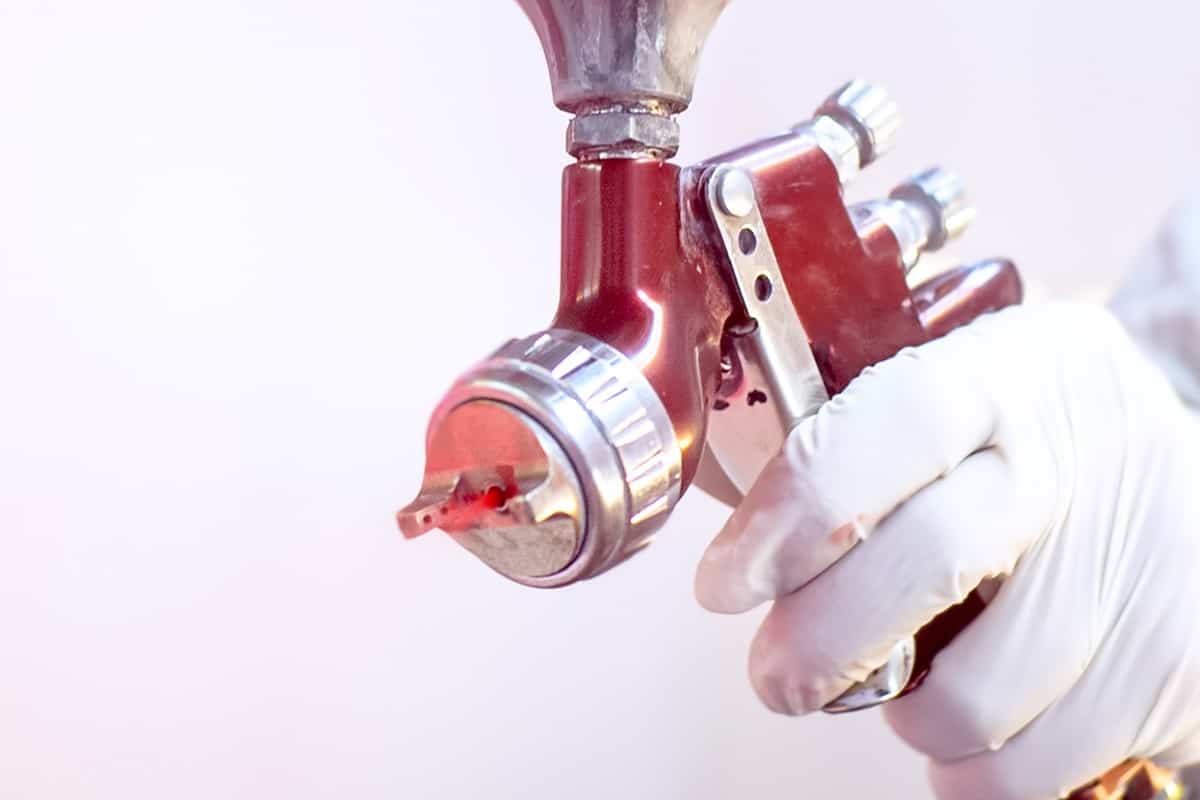
4. Paint
Invest in high-quality paint, thinners, and hardeners because poor quality can adversely affect the vehicle's finished look. Using products from the same manufacturer is best since mixing brands can result in a poor paint job.
Wear protective gear such as a paint suit, goggles, nitrile gloves, and compliant air-fed masks when painting your car.
Remember to cover any parts of the vehicle that you don't want to stain with paint. You can use multi-purpose drop sheets for the job. Although newspapers may not be as reliable considering paint can bleed through them, you can layer them for extra protection.
Carefully prepare your paint mixture in a clean, dust-free environment. Also, use a paint strainer to remove contaminants when pouring your paint into a spray gun.
You may need a viscosity cup to check if you have achieved the desired paint mixture thickness. You want to ensure that the paint mixture spreads evenly and flows smoothly from the spray gun.
Hold the spray paint gun at least 6 inches from your car's surface and follow a side-to-side sweeping motion to apply paint on the vehicle. Ensure that the paint coats are thin and uniform for an even look.

If the manufacturer recommends applying more than one paint coat, leave adequate time between the painting to allow each layer to dry well.
Ascertain that your garage has adequate air circulation since it aids in curing paint. Proper ventilation also guarantees that the toxic paint fumes dissipate quickly.
What Paint Should You Use To Paint Over Raptor Liner?

To paint over the raptor liner, you can use any solvent-based paint, such as mixed acrylic basecoat and 2K acrylic solid color.
Solvent-based paints hold up well in extreme weather conditions and varying humidity levels. Also, the organic compounds from which these paints are made ensure that the finish is hard and durable. As a result, your paint job resists abrasion and scratching.
How To Prepare 2K Acrylic Paints
If you opt for 2K acrylic paints, you get a high gloss finish and good color retention for your automobile. Furthermore, the paint works with the raptor liner to protect your car against water, corrosion, and mild chemical damage.
Mix the paint with 2K thinners and 2K hardeners. You can use a graduated mixing cup to accurately measure each component to ensure that you get the proportions right. Otherwise, you will have a shabby finished paint job.
Thinners help to achieve a proper spraying viscosity, while hardeners enable you to get the desired gloss, hardness, and color match. The hardeners also affect the paint's drying time.
If the thinner is insufficient, you may have an uneven finish or an orange peel effect on the final coating. On the other hand, using too much thinner can cause solvent popping. Solvent popping causes air to be trapped underneath the paint, eventually causing the coating to fall off.
Using too much hardener can cause checking. Checking demonstrates itself as fine, minute cracks on your final paint coating. Additionally, using too much or too little hardener can cause slow drying, whereby although the paint dries, it remains soft to the touch and can retain fingerprints.
To achieve the right consistency of 2K paint, mix two parts of paint and one part of 2K hardener. Next, add 1o% 2K thinner to the volume. However, you may need to alter the proportions based on the spray gun you use and the air supply.
Ensure that you mix thoroughly to get a uniform blend and color mixture. You want to avoid unevenness in the mixture since it will deteriorate your paint job.
What To Consider When Choosing An Auto Painting Kit
The spray painting kit you use when painting your automobile significantly affects the quality of your finished work. So, carefully choose a suitable kit. These are some factors that you can consider:
Air Pressure
The spray paint gun must have the right air pressure to achieve consistent results. And each paint gun has specific air pressure ratings. So, ensure that you pick a gun that you are comfortable with.
If the pressure is too low, the paint droplets may be too large and cause the paint may run instead of lying down smoothly.
Spray Nozzles
If you are doing a full auto paint job, it is helpful to have different nozzles as it makes it easier to paint different car parts. Getting the target results with only one tip and painting pattern can be challenging.
Weight
Invest in a paint gun that you can comfortably work with for long durations. You want to avoid a heavy spray painting kit, considering that you may use the kit over long periods.
Cleaning
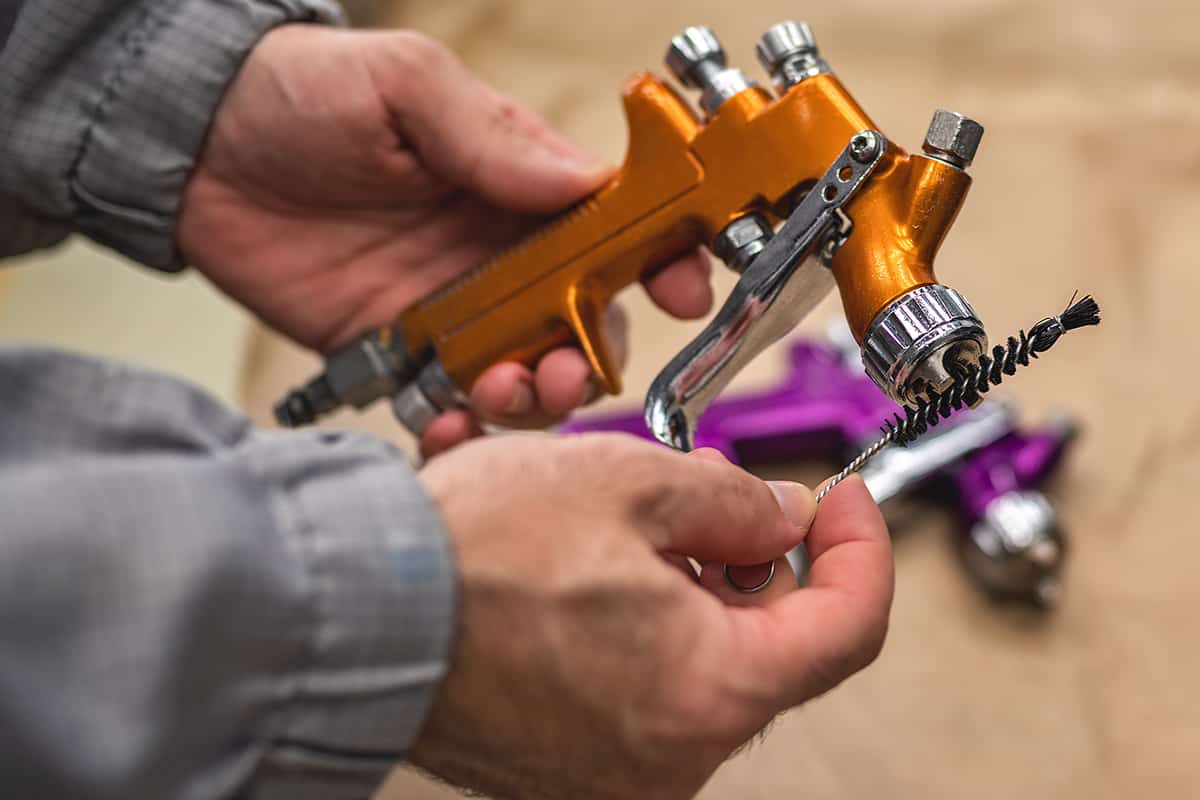
An auto paint project often requires disassembling the kit and cleaning it. And we cannot over-emphasize how dirt can mar your paint job. For this reason, choose an easy spray kit to take apart, clean, and re-assemble.

This electric spray gun has four nozzles, three spray patterns, a viscosity measuring cup, and a cleaning set. Find it on Amazon.
How Much Does It Cost To Paint A Vehicle?
Achieving a professional finish as a hobby painter is quite difficult since you lack the right experience. Additionally, painting a vehicle requires special tools that you may not have. With this in mind, you may decide to outsource painting your car instead.
Generally, the cost of painting a car will depend on its size, the type and color of paint to use, the desired finish, and the body shop you choose.
While evaluating each of these contributing factors, it's important to remember that you get what you pay for. The project's price and the quality of work done are directly proportional.
The bigger your vehicle, the more money you will spend on the project. Also, high-quality paints cost more. But these higher quality paints last longer. And if you opt for premium colors such as those used by premium automakers, you will pay more for the job.
A specialized ceramic finish will cost more than a regular wax finish, which may range between $100 and $200. And the labor fee in high-end body shops will be more than that in mid-range shops.
A standard sedan-sized vehicle paint job that entails sanding the body and eliminating rust before painting to get a glossy finish can cost between $1000 and $4500.
You may pay around $5000 for a truck paint job using high-quality, premium paints and a specialized ceramic finish.
Wrapping Up
Painting over the raptor liner can enable you to get the desired final finish in your automobile. But you need both technique and adequate preparation to achieve a professional look. We hope this post has shared helpful information on how to paint over the raptor liner yourself.
If you have any reservations, it is best to take your vehicle to a painting shop for professionals to handle the job. You are better off spending a little more money on the project than putting up with a shabby finish, considering that paint jobs last for years.
These posts may pique your interest: