Do you need to replace the head gasket of your car, and do you want to know if you can use a gasket maker for the head gasket? You’ve come to the right place, for we have researched this question and have the answer for you.
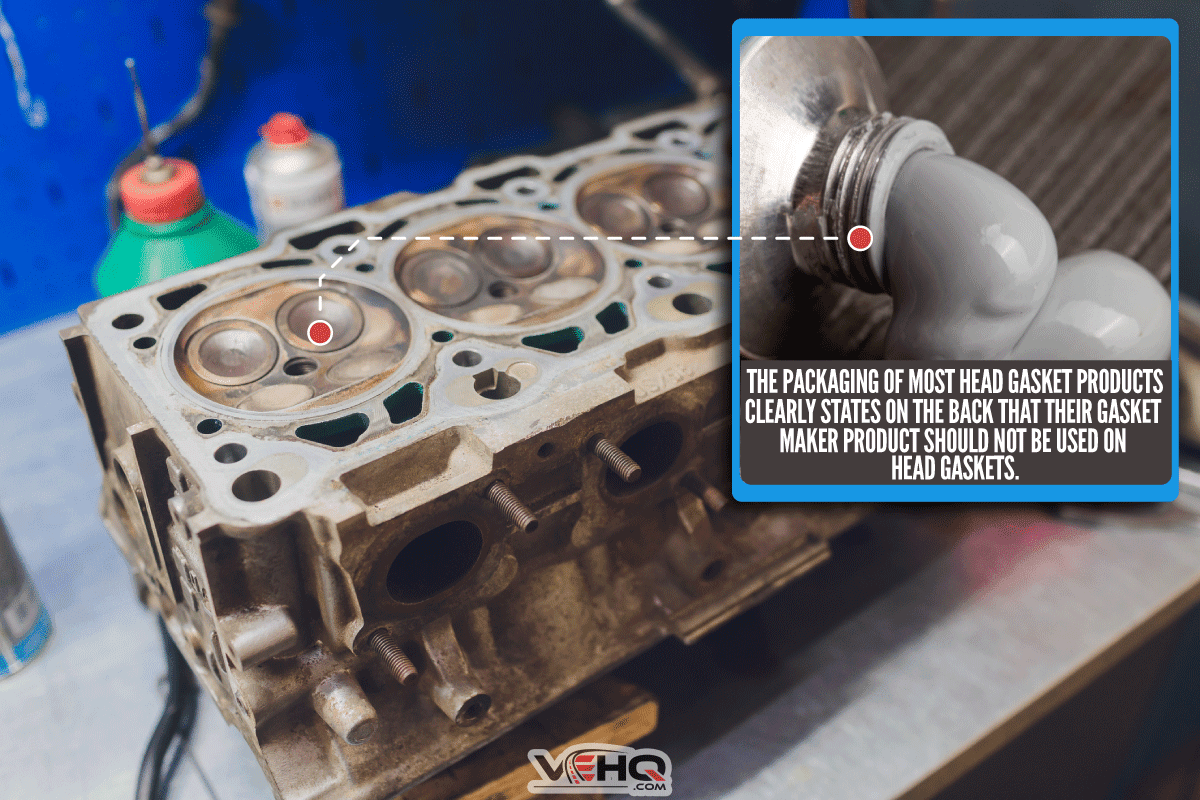
You cannot use a gasket maker on a head gasket, and you should not use it on a head gasket. The packaging of most head gasket products clearly states on the back that their gasket maker product should not be used on head gaskets.
Let’s talk more about the different mistakes that DIYers make when repairing the head gasket of the engine in the succeeding sections. Moreover, learn about the signs of a leaking head gasket below.
Read on!
What is a head gasket?
An internal combustion engine is made of two major parts.
The pistons and cylinders reside in the engine block. The engine block is often the lower half of the engine. On the other hand, the upper half is the cylinder head. It houses the engine valves, the spark plugs, fuel injectors, etc.
These two major parts combine to form the combustion chamber, a hollow cavity inside the engine where the pistons compress a mixture of fuel and air. The spark plugs ignite this mixture once it reaches maximum compression.
Each cylinder and piston have its own combustion chamber.
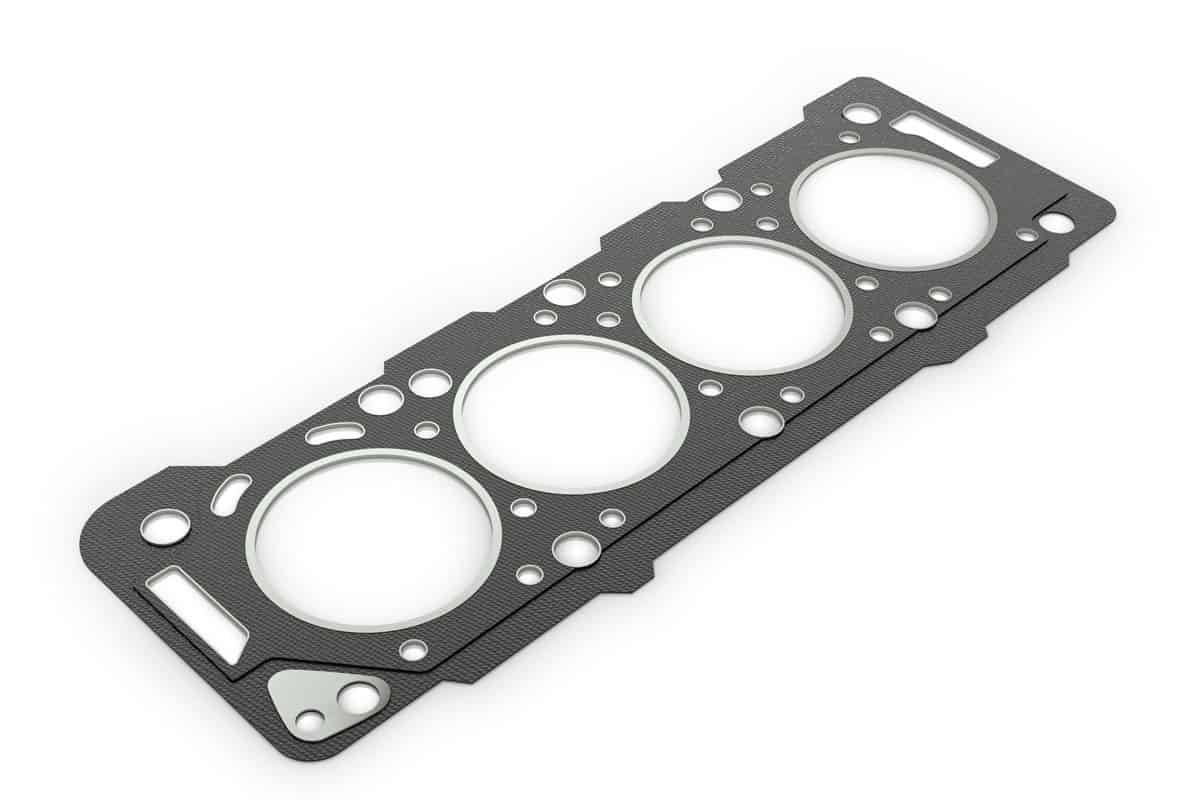
Since the combustion chamber is made of two parts, you need something to seal the contact point, or the deck. This seal is important because the process of combusting fuel inside the engine involves high pressures and temperatures.
Without a proper seal, the fuel and the byproduct of combustion will be able to escape through the contact point of the engine block and the cylinder head.
This is the purpose of a head gasket. It serves as the seal between the engine block and the cylinder head to keep the pressure of burning fuel within the combustion chamber.
The head gasket doesn’t only give the combustion chamber a tight seal; it also seals the pathways of the coolant and the engine oil. The head gasket prevents the engine oil from mixing with the coolant. Additionally, it prevents these two from getting into the combustion chamber.
What are the symptoms of a bad head gasket?
Now that we understand the importance of head gaskets, let’s look at the different symptoms of a bad head gasket. Needless to say, you should replace a blown head gasket as soon as possible. Not doing so can lead to engine problems—like a crack in the engine block—that are more expensive to fix.
Rough Idle
A leak in the head gasket will cause the engine to lose compression. Losing compression leads to a loss of power.
Your engine is losing compression when you notice that the engine is struggling to keep running while idle. It can even stall or knock in this state.
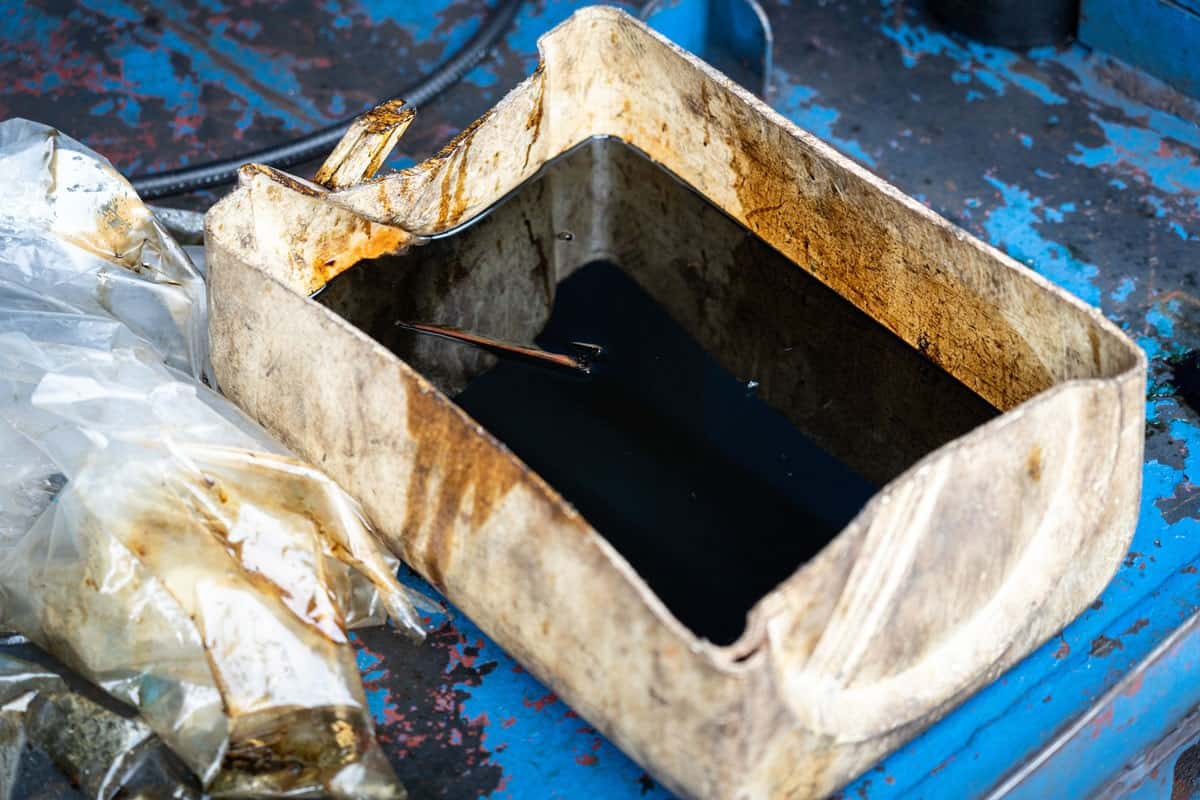
Contaminated Engine Oil
A leak in the head gasket can cause the coolant and the engine oil to mix. This is bad news because the engine oil will lose its ability to lubricate the different parts of the engine once the coolant contaminates it.
Bad lubrication will lead to more friction between the moving components of the engine. This leads to higher operating temperatures.
Check your engine oil. If the dipstick shows you an engine oil that has the color or consistency of a frothy latte, then you have an internal head gasket leak. The coolant is contaminating your engine oil.
Losing Coolant
Check if the coolant level is low. You will notice a drop in the coolant level without any noticeable dripping under your car if your coolant is mixing with your engine oil.
If this is the case, then the coolant can mix with the engine oil or make its way into the combustion chamber.
Check the smoke coming out of the exhaust pipe. If the coolant mixes with the fuel, you will see white smoke coming out of the exhaust pipe.
Overheating
Even though constant overheating leads to a bad head gasket, overheating is also a symptom of a leaky head gasket.
Once the head gasket starts to leak, the combustion chamber will no longer be able to keep all the energy from the combustion. This leak will lead to a drop in the power that the engine produces. Thus, the engine will have to work harder to produce the right amount of power.
A harder-working engine is a hotter engine. If your engine is also losing coolant, then it will easily lead to overheating.
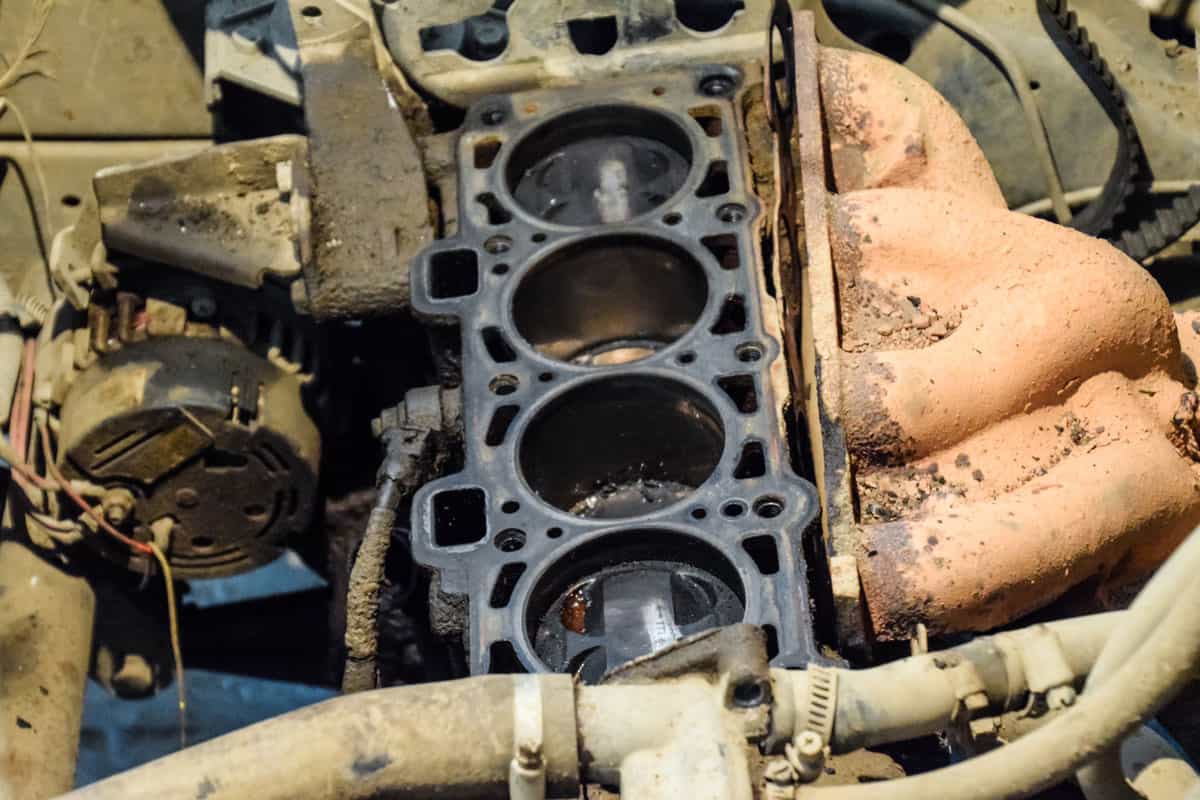
Engine Leaks
Visible leaking oil and coolant outside the engine is also a symptom of a leaky head gasket.
Check the areas surrounding the engine for any signs of oil or coolant leaks. Check the floor of your garage under your vehicle for any oil or coolant leaks. A coolant leak is accompanied by a sweet syrupy smell.
Replacing The Head Gasket
Once you’ve verified that you have a leaky head gasket, then it is time to replace it. Any of the symptoms above points to a leaky head gasket. You don’t need to have all of them before replacing the head gasket.
The head gasket itself is relatively cheap. It’s the cost of labor that makes the cost of replacement expensive.
Some engines are more complex than others. Thus, the price for replacing the head gasket can be different from one car to another.
If you decide to replace the head gasket yourself, here are common gasket installation mistakes that you should avoid.
Using A Gasket Maker To Replace A Head Gasket
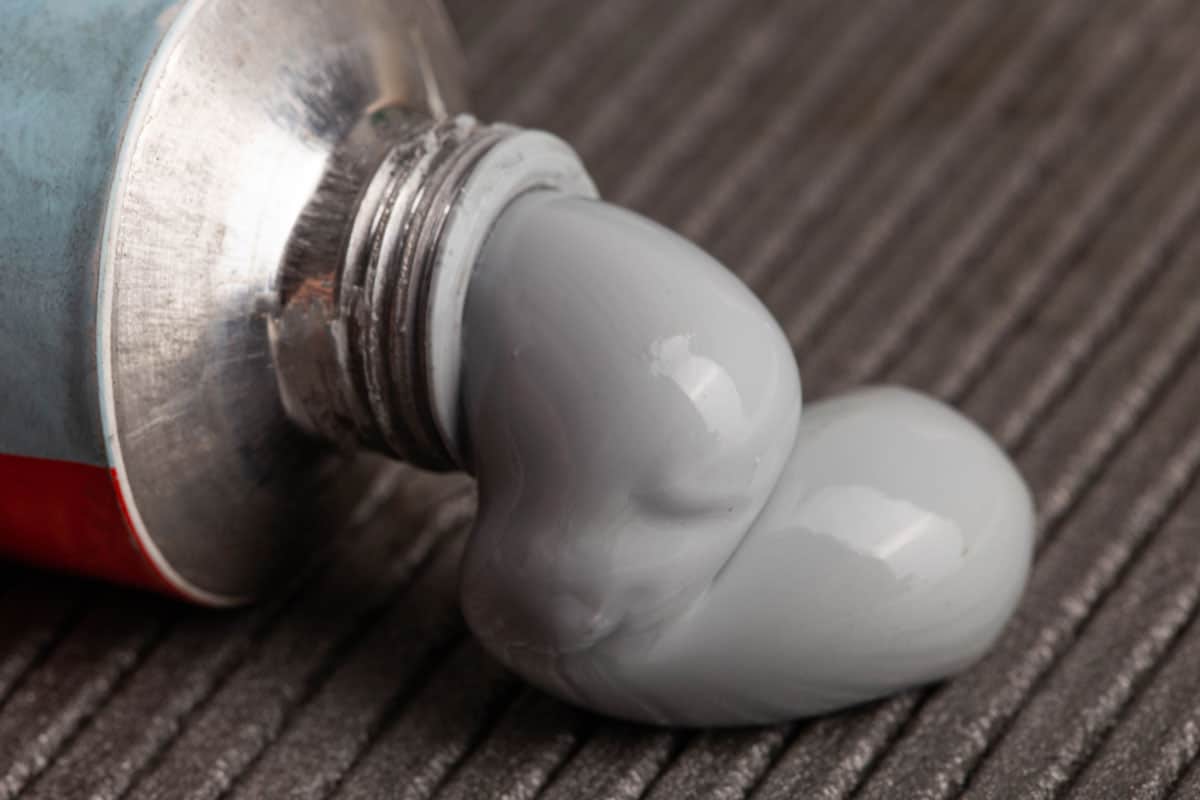
There are some areas in your car where you can use a gasket maker to replace the original seal. The engine is not one of them.
Don’t ignore the warning on the packaging that says not to use the gasket maker on the head gasket.
Improper Handling
Always wash your hands before you install the head gasket. Any dirt or debris on your hands can get to the head gasket when you install it. Dirt and debris—no matter how small—will prevent the head gasket from making a proper seal.
This also goes to the cylinder head. Clean it, then place it on a surface where it cannot pick up dirt and debris.
Ignoring Flaws
Always check the replacement head gasket for flaws. Do not proceed to use a replacement head gasket if you see any flaws. Even the tiniest flaw can lead to a leak.
Similarly, check the cylinder head and engine block for damage, corrosion, cracks, or pitting. Resurface the engine block and cylinder head to get rid of these flaws before you proceed with the reinstallation of the head gasket.
Using Old Or Damaged Head Bolts
Never reuse TTY bolts. TTY stands for torque to yield.
These bolts provide better clamping power. However, they are made for one-time use only. TTY bolts are slightly elastic to provide a better clamping force.
Unfortunately, that stretch is mostly permanent. Using them more than once will force them to overstretch, which could negatively affect their clamping ability or cause them to fail.
Check the threads of head bolts and replace the ones with any thread damage. Thread damage compromises the ability of the bolt to hold down the cylinder head.
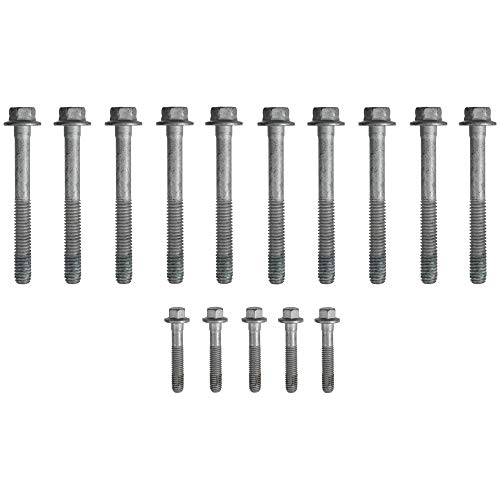
FEL-PRO ES 72390 Head Bolt Set is available on Amazon through this link.
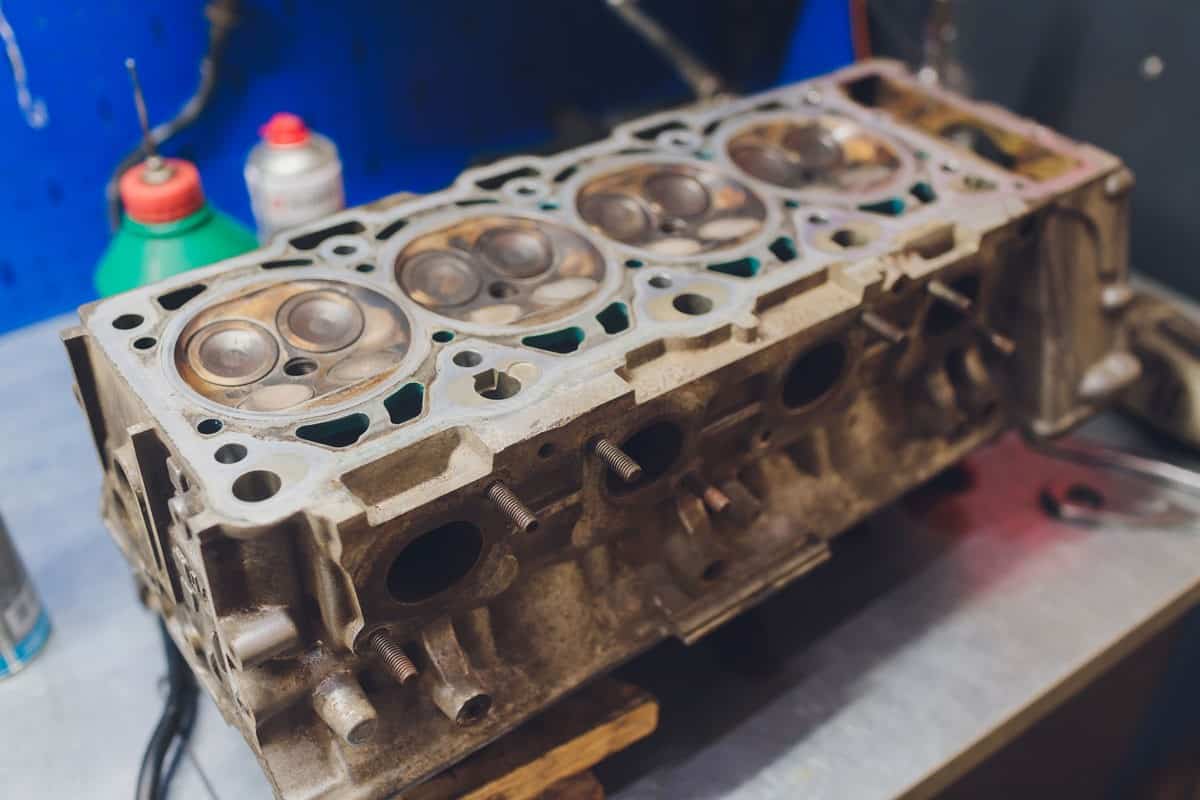
Improper Cleaning
Always clean the deck surface. The deck surface is where you place the head gasket. Make sure that the deck surface is clear of any leftover old gasket. Any leftover will create an imperfect seal with the new gasket.
Apply a gasket remover to get rid of any leftover head gasket. Use a wire brush to clean the surface thoroughly. Apply a surface degreaser to finish up.
Keep in mind that you should always use a non-metal scraper when removing the old head gasket.
Ignoring Recommended Torque Sequence
When reinstalling the bolts, always follow the recommended bolt installation pattern.
Install the bolts by hand first, then tighten them using a high-quality torque wrench. Cheap torque wrenches will give you false torque readings.
Adjust the torque wrench to the recommended torque for each bolt. Torque down the bolts gradually while using smooth movements. Sudden jerks in torquing your bolts will give you false torque readings.
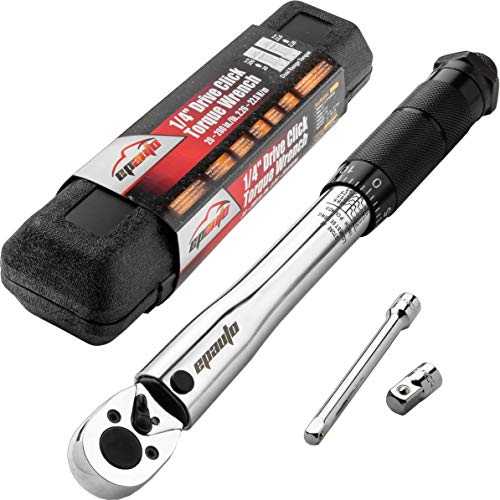
EPAuto 1/4-Inch Drive Click Torque Wrench is available on Amazon through this link.
Skipping Recommended Retorquing
Some engines have a retorquing procedure. Never skip this procedure.
The most common procedure is to let the engine run until it gets to normal operating temperature. Then retorque the bolts while the engine is hot.
Some engines require you to run the engine until warm, then wait until it is cool once more before retorquing. Always find out what the retorquing procedure is for your engine and follow that.
Not Draining The Cooling System
Always drain the cooling system before you install a new head gasket.
Draining the cooling system will allow you to get rid of any air pockets that could develop during the installation. Air pockets will lead to overheating of isolated areas in your engine.
In closing
Never use a gasket maker to replace a head gasket. Besides, it is easier to install the right head gasket replacement than to make a head gasket out of a gasket maker.
If you enjoyed reading this article, you might find the articles below equally enjoyable to read:
Will Head Gasket Sealer Ruin An Engine? [Can It Cause Engine Damage?]