Flushing the AC system of your car is essential. To save costs, you may not need to take it to a mechanic to do it for you. You can do it yourself if you have the right tools and follow proper guidelines. You're on the right page if you're looking for how to drain your car's AC system, as we have researched and gathered enough information.
To drain your car AC system, clean all the tubes, conders, and evaporators by disconnecting your air conditioning system. Reconnect everything while examining each component for damage.
When you have enough refrigerant in your system, fill your line through the low-side pressure port and check to see if the air conditioner is blowing cold air.
Anytime you change your AC compressor, it is mandatory to flush your AC system. To know more about AC system flushing, keep reading as we provide a more in-depth explanation for you.
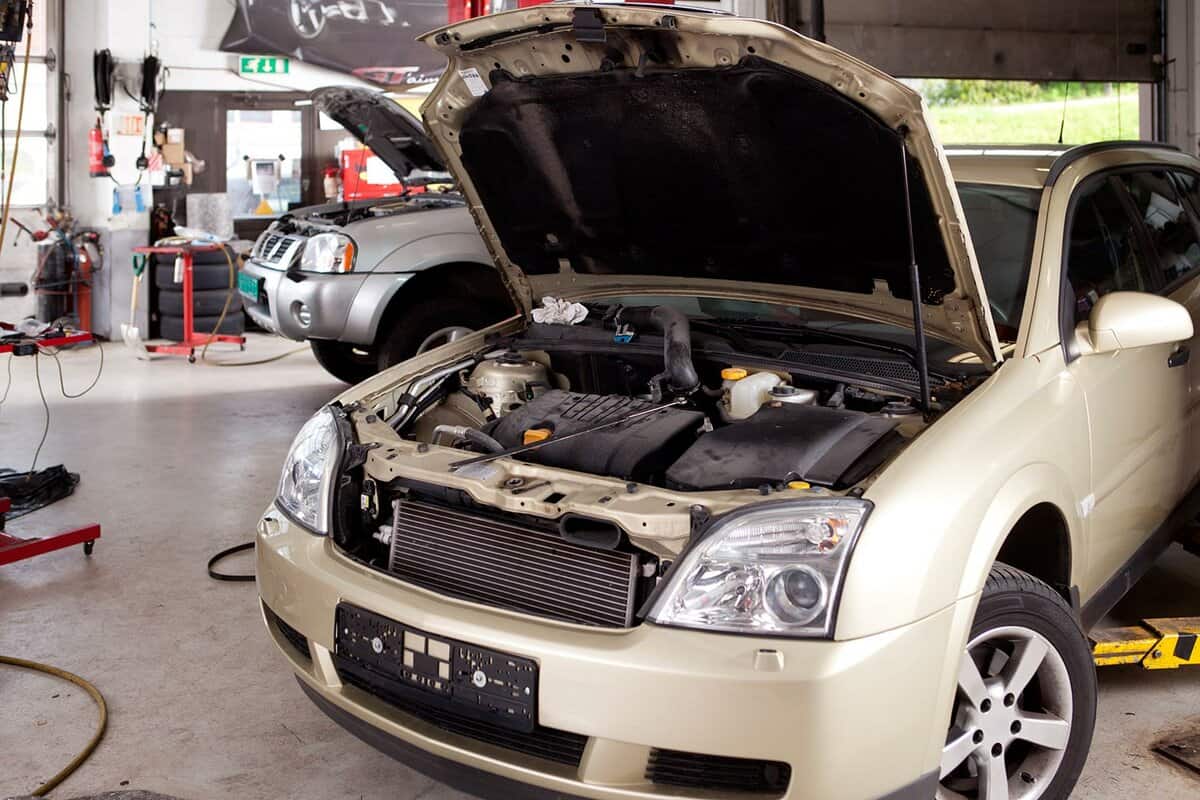
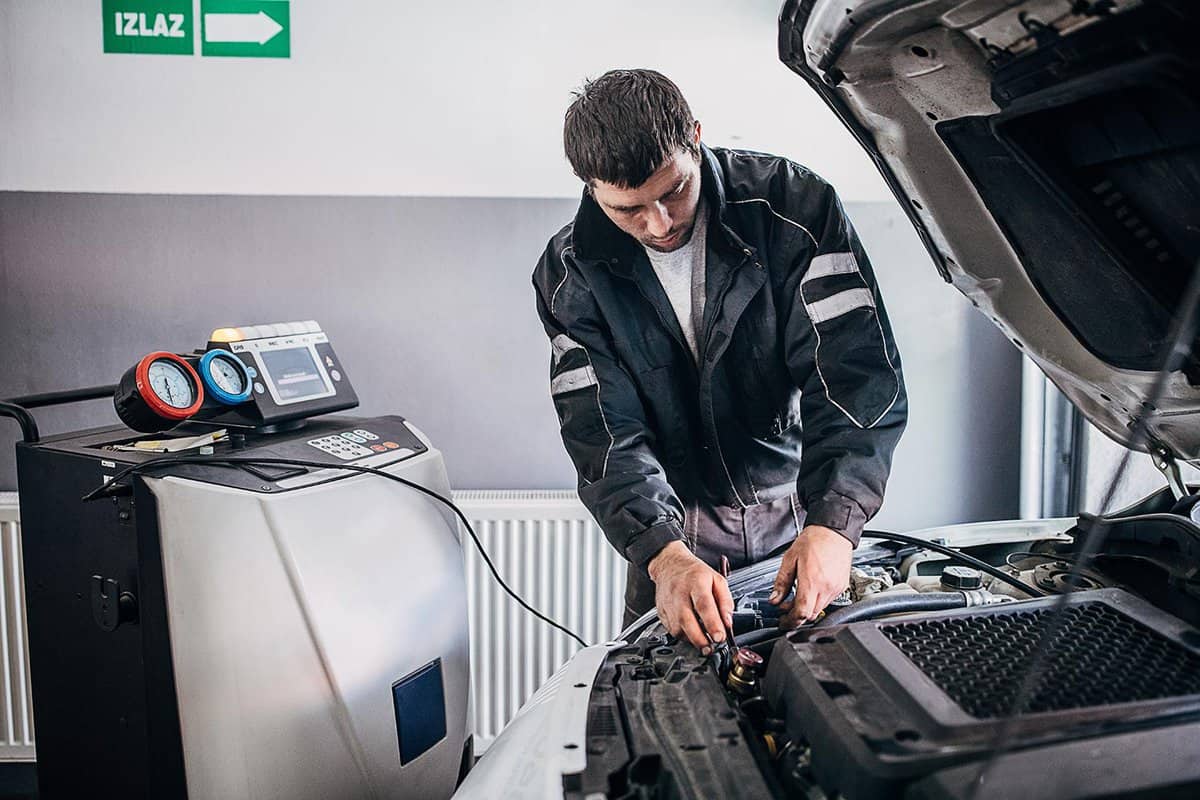
![Mechanic connects air conditioning system, How To Drain My Car AC System [In 13 Steps]](https://vehq.com/wp-content/uploads/2022/07/How-To-Drain-My-Car-AC-System-In-13-Steps.png)
How To Drain A Car's AC System
Here are the steps to follow to empty your car's AC system:
Step 1: Gather Your Tools

Before you start, wear your work clothes, glasses, and all equipment you will need for this operation.
You'll need a flush gun, and you'll also need to check your compressor to see if it is still functioning.
You need to check if there are proper attachments for the flush gun to the compressor. Also, ensure you have the main gauge, vacuum pump, AC recovery machine, and tank.
Step 2: Select A Place To Work
You must be on a surface that is flat to do this operation. Make sure you can park and work without interruption because it can take a full day.
It would be advisable to carry out this task in a spacious garage for movement and labor—no need to jack up your vehicle.
Step 3: Park Your Car And Leave It Idle
Put the parking brake on as you position your car in the space. Because idling your vehicle will keep fluid moving, you'll receive the best results.
But you shouldn't perform this procedure shortly after going for a drive. Because you'll be working in your engine bay, you don't want the metal components to boil.
With your car off, you can accomplish this. The only issue is that the refrigerant will be stagnant and could be lying inside a loop somewhere in the system.
Step 4: Find The Necessary Parts
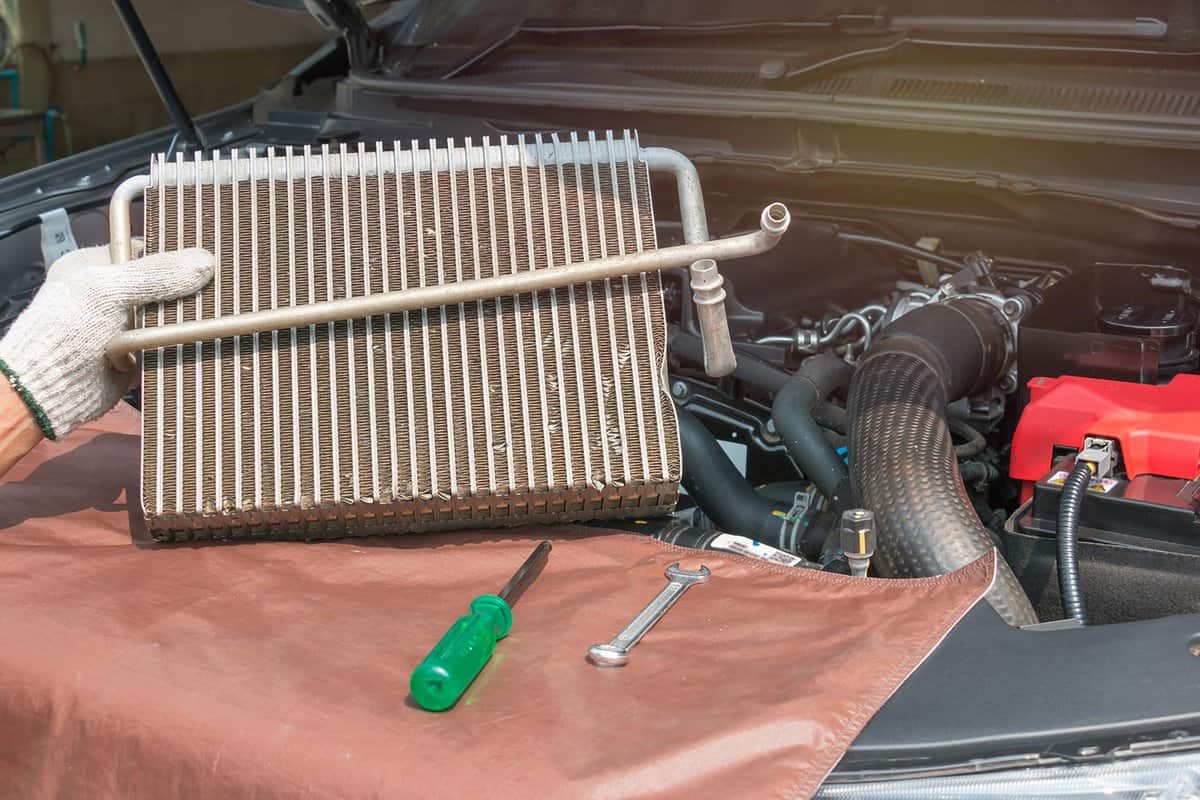
The evaporator, condenser, and liquid line are the three components that you must locate to flush your air conditioning system.
The evaporator is located close to your car's sheet metal in the back of the engine compartment.
An inlet and an outlet with metallic fins running up and down are on it. Near your radiator in the front is where you'll find the condenser.
Along with having an inlet and output port, it also includes tubes that resemble fins going over it.
Step 5: Identify The Fittings
Find the fittings after you've located the parts. Understanding which port is an inlet or an outflow for each component is crucial. When air is blown incorrectly, your car may suffer damage or not flush.
Step 6: At The Evaporator's Outlet, Attach A Hose.
The component at the back of the engine bay is the evaporator. You should be concerned with the port that will run to the compressor. Remove the connector to reveal a metal pipe with threads that serve as the outlet.
Push your 3/4-inch rubber hose against this outlet so that it is snug.
As you complete this step, you'll need to keep an eye on the hose if it's significant. The refrigerant will spill into your engine compartment and cause a mess in your garage if it breaks free.
Step 7: Place The Second Hose
It is necessary to place the rubber hose's opposite end into an empty bucket. You will blow all of the refrigerant and other debris into this area.
The bucket should be on the ground with the hose to make things easier. Since the procedure is downhill from the port, no refrigerant will be dumped back up the hose when you're finished spraying.
Step 8: Hold Off For A While
After doing this, it can take a while for the pressure in your AC system to normalize.
Step 9: Use A Flush Gun On The Evaporator
Next, let the evaporator's inlet be seen. You haven't yet touched the second outlet is the last of the two. Before passing through the evaporator and arriving at the compressor, refrigerant first enters the inlet.
Instead of encircling the inlet with a rubber hose in this step, insert the flash gun's nozzle into the inlet port's inner hole. Ensure you have enough flushing solvent in the flush gun before doing that.
After assembling everything, activate your compressor and depress the flush gun's trigger. Continue the procedure for the condenser.
Step 10: Repeat Step 9 For The Condenser
You can now proceed to the condenser after finishing the evaporator.
This will be the component of the engine bay that is in front of your car's grille. Place yourself to have a clear view and easy access to the inlet.
Grab your flush gun and top off the flush solution if necessary. Ensure the connection between the pancake compressor and the flush gun is secure before turning on the compressor.
You should insert the flush gun's nozzle into the inlet. Hold the trigger for a few seconds. Your condenser is now cleared and empty.
Step 11: Drain The Liquid Line
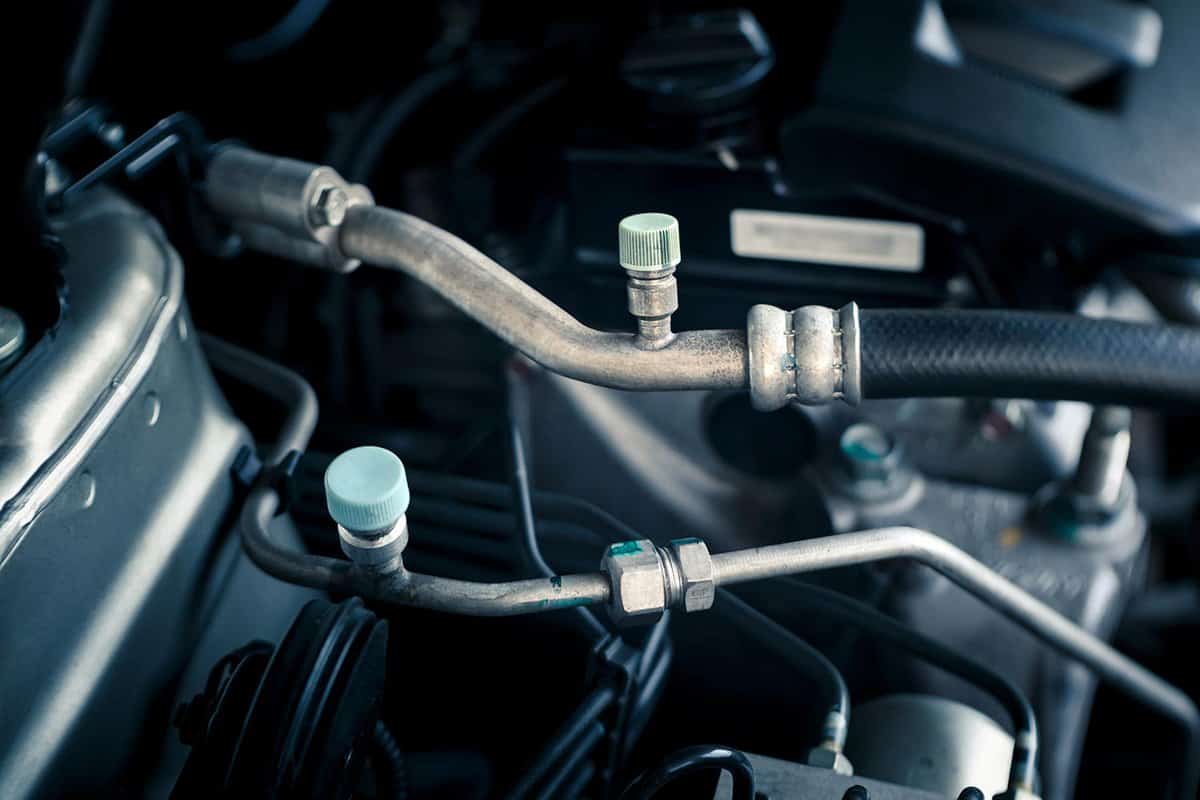
The refrigerants in your air conditioning system will move through a liquid line. The fluid line for the automobile, up close. This line doesn't need to be replaced; you can reattach the same one after draining it.
It is a metal line to distinguish it from the rubber lines that run throughout the rest of the area. It is typically located close to the battery.
Look at the line for a second. You must replace this liquid line if the insulation is broken in any spots or if corrosion pits are visible. Clean the line and reinstall it on your automobile if everything seems good.
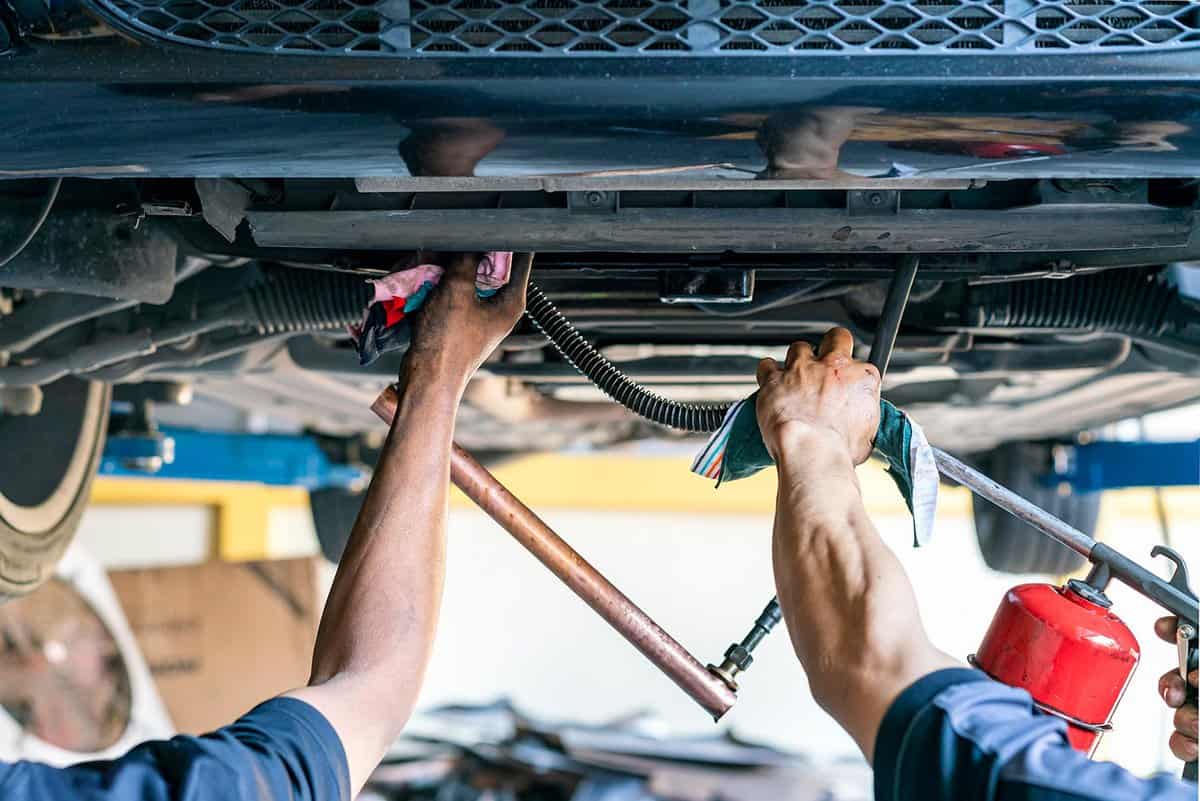
Step 12: Drain Each Hose

You must empty each of these hoses before reattaching the evaporator and condenser. Utilizing your flush gun in the open end, you will hold the hose upright in a bucket.
You should treat each hose for around 30 seconds for a thorough flush.
Step 13: Put Everything Back Together
You'll have several clean, dismantled parts by the end of this stage. Everything that you dismantled needs to be installed again.
How To Empty Your Car AC Without A Pump
A vacuum pump is a better option but not the only choice for an AC evacuation. Here are a few options for evacuating a car ac without a pump.
Access Valve Depressing
Please turn on your compressor once it has been installed, together with the low-pressure and high-pressure access valves. After that, open your AC's high-pressure side access valve.
Close the high-pressure access valve and turn off your compressor after the upper side pressure reaches its lowest position.
Low-Pressure Side Charging
Once the access valve depressing procedure has been accomplished. The lower pressure side must be charged to roughly 14 psi before use.
This is followed by three minutes of close observation of both the high and low-pressure sides.
Repeat The First Step
Turn the compressor back on.
However, keep an eye on the low side pressure rather than the high side pressure. Allow the access valve on the high side to close once it reaches its lowest possible point. Switch off the compressor when the valve is completely closed.
Repeat The Second And Third Step
You'll see that the low-side pressure doesn't drop as low as in the earlier steps, which is a sign of a successful evacuation.
This happens when the refrigerant absorbs the compressor oil and slowly releases it.
Allow the high-pressure side valve to shut down if it is not currently leaking any gas. Any air and moisture within your AC system will be gone by this point.
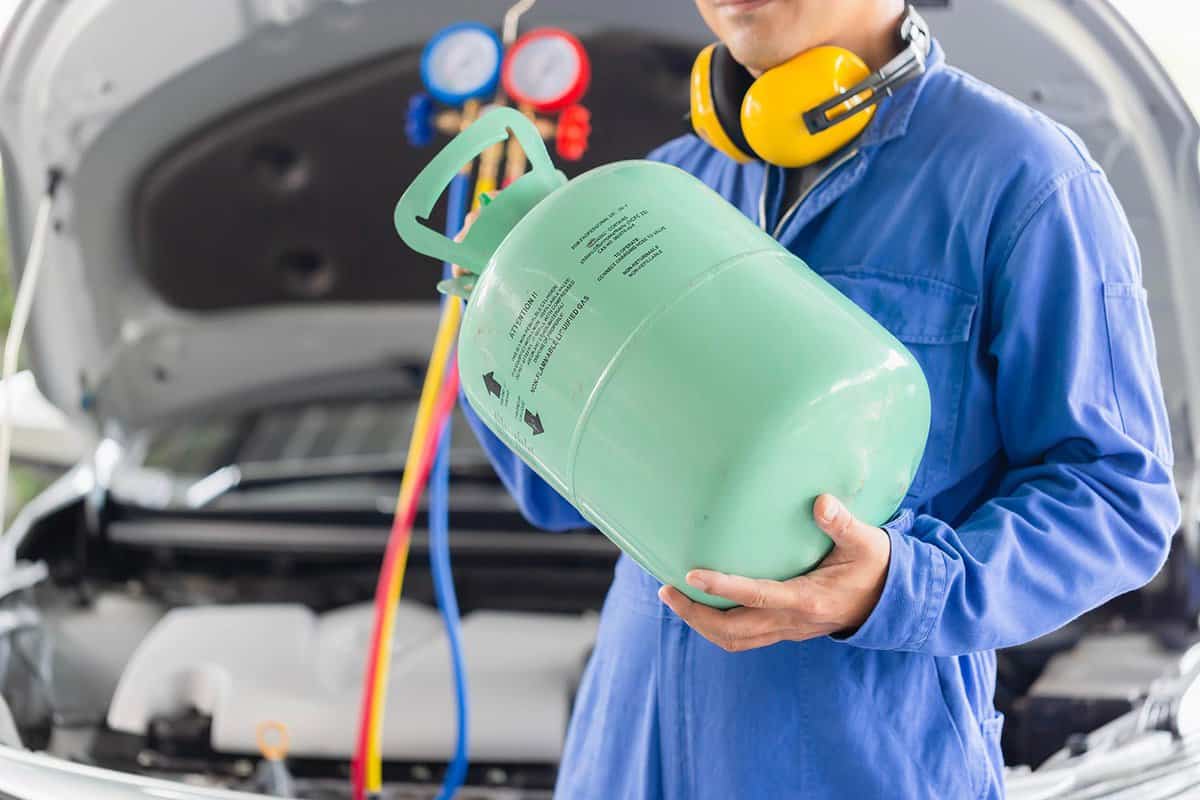
Charge For Refrigeration
Provide the proper amount of refrigerant to your air conditioning system. After that, turn off your compressor, and the system is ready to use.
How Much Does It Cost To Drain And Fill AC In A Car?
Depending on the size of your car and whether you go to an independent technician or a dealership, the cost of a gearbox flush can range from $100-$400.
How Much Does It Cost To Drain Refrigerant From A Car?
Removing refrigerants from your car's air conditioning system is inexpensive. Between $100 and $300 is what you can spend on refrigerant disposal.
The auto mechanic often determines the cost of the removal based on the time and effort required to complete it.
What Happens If You Put Too Much Refrigerant In A Car?
Contrary to popular belief, having too much refrigerant in your car's air conditioning system can lead to excessive heat and pressure, which may cause your AC system to blow hot air.
Unattended overcharging of your car's air conditioning system might harm the compressor.
To Finish Up
Anytime you change a damaged Ac system, you must always flush it for practical purposes. If you fail to flush your AC system, some parts of your car will be destroyed by the acids created by the high-temperature reaction of moisture and refrigerant.
To read more on car ACs, check out these related articles: