Are you having a problem with your parking brake after you had a brake job on your car, and you want to know what you can do to fix it? You’ve come to the right place, as we have researched this question and have the answer for you.
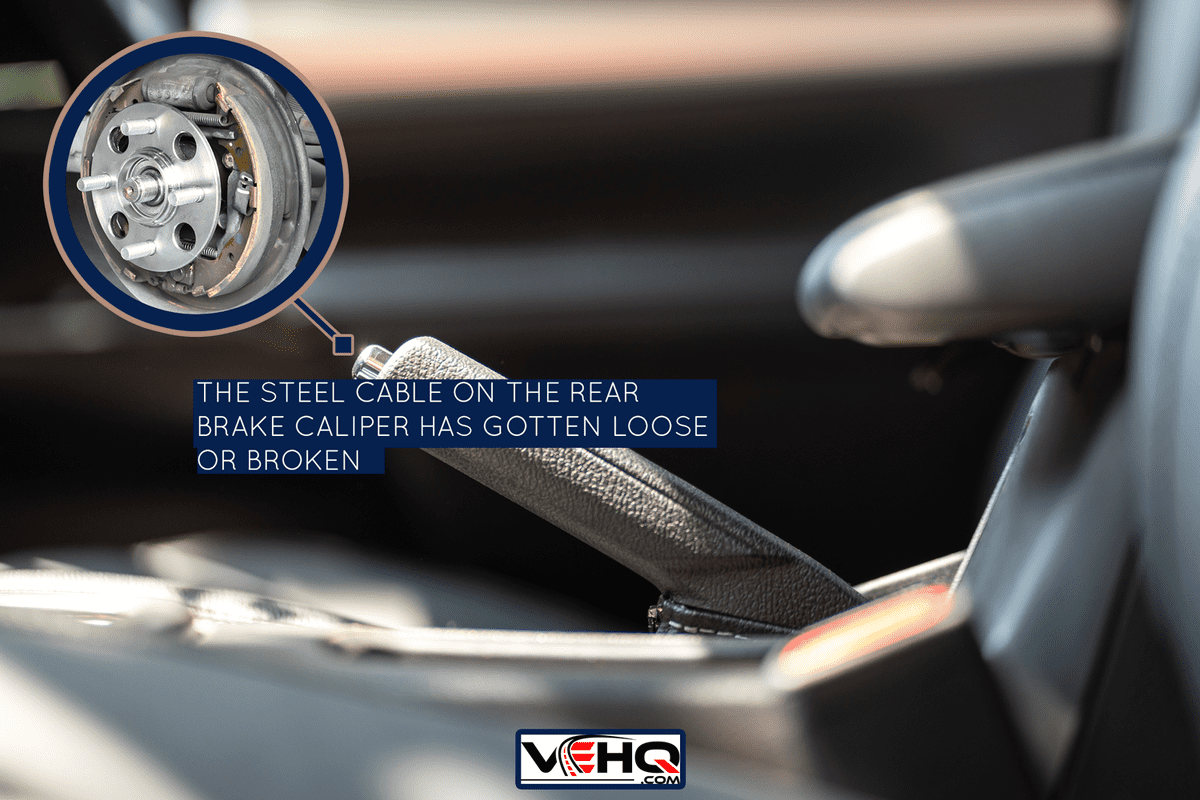
There are three possible reasons why your emergency brake suddenly doesn’t work after a brake job. First, the steel cable on the rear brake caliper has gotten loose or broken, or something is blocking the assembly, preventing it from moving to activate the emergency brake.
We'll dig deeper into this issue in the succeeding sections, where you will also learn how to fix the problem. Moreover, we will show you how to fix the other types of emergency brake issues , if you get a similar problem in the future.
What is an emergency brake?
The original design of the emergency brake was to serve as a secondary braking system in case the primary braking system fails.
Over time, the emergency braking system became more useful in keeping a vehicle in place while the driver's foot was not on the brake pedal—like when parking the car. Thus, it is now known as the parking brake.
Over the years, it was also known as the handbrake—because you activate it by hand and not by foot, allthough the parking brakes in some car models are also a pedal that you would find to the left of the clutch pedal.
Two Types Of Emergency Brakes

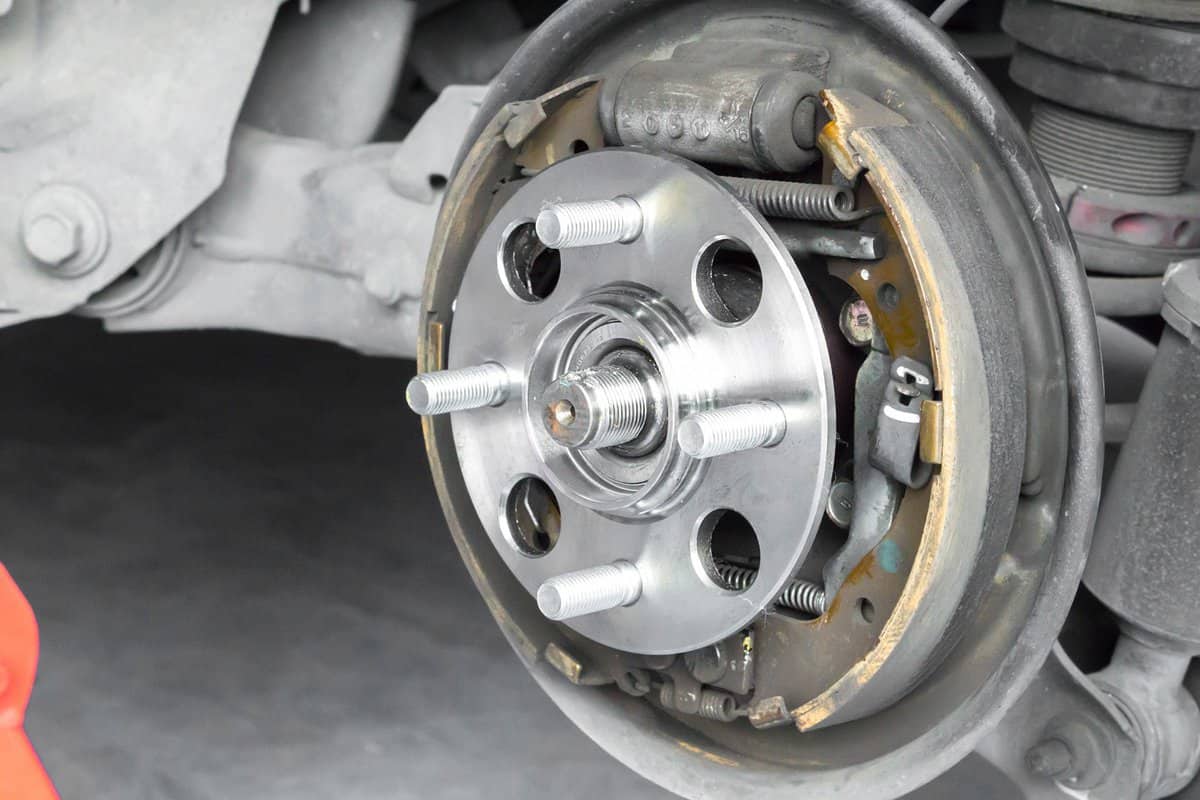
There are two types of emergency brakes. The first type is a drum brake that is built into the brake rotor of the rear brake. This is an independent system that is built into the regular brake system.
You activate it using the emergency brake lever (hand or foot) inside the car. The advantage of this system is that it does not use your regular brakes. Thus, activating the emergency brakes when parking on an incline doesn’t wear your regular brake pads.
The second type simply makes use of the rear brake caliper or the rear drum brake. This type adds a second method of activating the rear brakes through the emergency brake lever. However, this is not a separate system and uses the same rear brake pads.
Since the second type uses the same brake system, it is the type that is more likely to malfunction after a brake job that is not done right.
Emergency brake not working after a brake job—what went wrong?
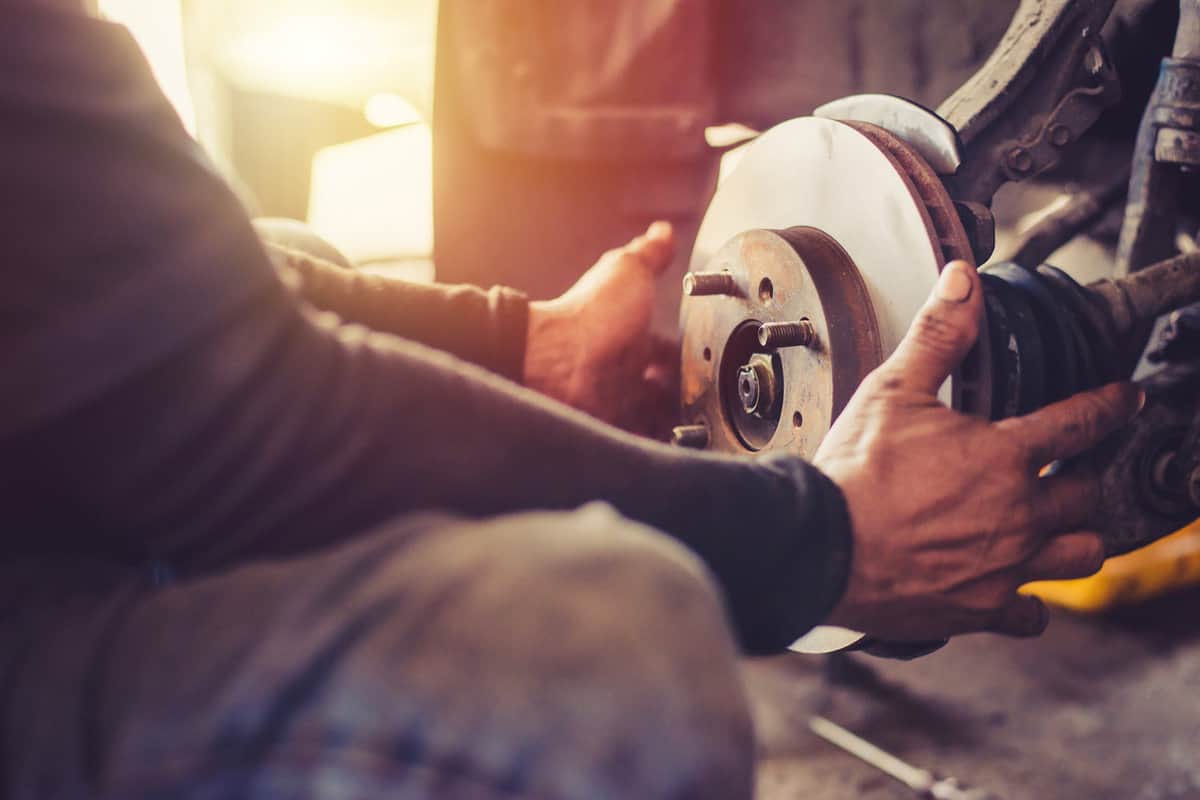
Your brake system has calipers that have hydraulic pistons connected to brake pads. The brake pads are made of a rough material that helps generate enough friction to stop your car.
The brake piston presses the brake pads against the brake rotor when you step on the brake pedal. The harder you step on the brake pedal, the more kinetic energy is converted into thermal energy that your braking system uses to stop your car.
An emergency braking system has a secondary method of engaging the rear brake calipers. Instead of using kinetic energy that goes through the hydraulic system of your brakes, it makes use of a steel cable that causes the brake pads to lock into the brake rotor to prevent your car from moving while parked.
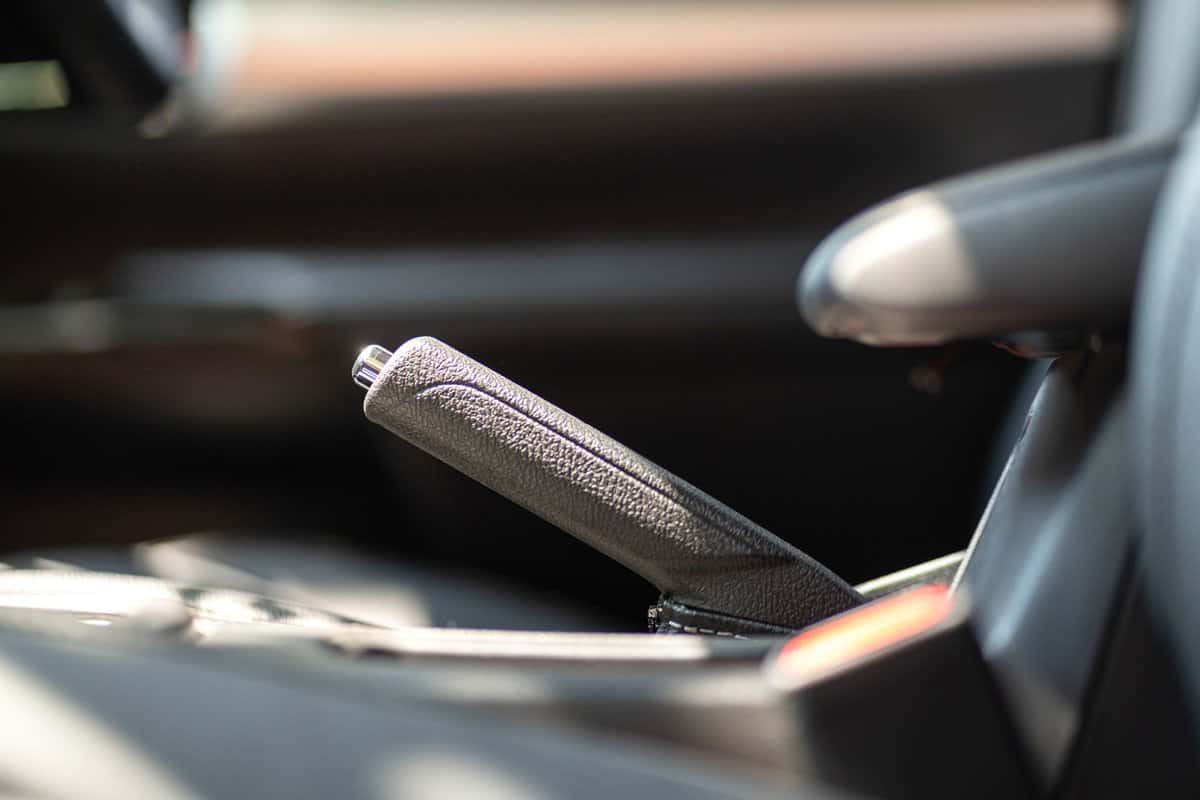
The steel cable is directly connected to the emergency brake lever inside your car. When you pull on the lever or step on the pedal, the steel cable tightens, pulling on the brake pads.
The energy from the tightening of the steel cable also causes the brake pads to tighten against the brake rotor to prevent movement.
You can usually find the steel cable somewhere above the hydraulic pipes of your brakes. While this position prevents brake fluid spills from getting to the steel cable and corroding it (brake fluid is highly corrosive and can eat through metal), it also makes it vulnerable.
Anyone who is not careful when working on the rear brakes can damage the steel cables or cause a blockage on the emergency brake assembly.
How to fix the emergency brake?
We will start with the steps to fixing the emergency brake that uses the same brake caliper, then we’ll talk about how you can fix the emergency brake with the independent drum brake.
Same Caliper Emergency Brake
- Park your car on a firm and level surface.
- Turn off the engine. Place chocks on the front and rear of the front wheels.
- Loosen the lug nuts of the wheel.
- Jack up the rear wheels of your car and place the jack stands under them. The emergency brake is often on the rear wheels. In some car models, the emergency brakes engage all four wheels. If you have an AWD, you need to place all four wheels on a jack stand, so you can spin the wheels.
- Consult the user manual where you can safely jack it up.
- Remove the lug nuts from the tires and set them aside.
- Remove the tires.
- At the back of the brake caliper, you will see the brake cable that is connected to it. Check the cable clip and make sure that it is secure. Then check the brake cable for damage. Any chip or crack in the cable means that you need to replace it. Check the cable if it has gotten loose from the brake assembly. Check the spring and the joint. Make sure that the arm can move freely.
- Remove debris and rust that prevent the cable from moving freely.
Adjusting The Cable
- If you did not find any damage to the cable, then the problem could simply be a loose cable. In some car models, there is an adjustment nut under the car doors that you can tighten. If your car model doesn’t have that, the adjustment nut will be inside the center console.
- Push both front seats forward as far as they can go.
- Start by looking for circle covers that hide the bolts. Reach under the center console to remove the covers. Remove the screws on the center console.
- Lift the center console cover.
- Remove the screws from the metal cover that partially covers the brake adjustment screws.
- Adjust the cable using the adjustment nuts. You need to do this on both sides—the left and right brakes. The tightness of the cables should be equal.
- Test the emergency brake by engaging it, then try to spin both rear wheels manually. Once you’re done adjusting, return the center console covers, and the front seats.
Replacing The Cable
If you found damage on the cable, then the best way to fix it is to replace it.
- Follow the steps to open the center console. Completely remove the adjustment nuts on both brake cables.
- Get to the rear wheel of your car. Look for the cable clip and remove it.
- The brake cable hooks to the emergency brake assembly. It will have a spring to manually pull the cable back once you release the emergency brakes. Trace the cable where it goes to the lock that keeps it in place. Unhook, unlock, or unclip the cable from the assembly. If the spring is making it difficult for you to remove the cable, press or pull on the spring using a pair of pliers.
- Trace the cable and remove it from the clips under your car.
- Once you get under your center console, pull the cable with a twisting motion to loosen it.
- After you remove the old cable, insert the new cable into the same tube.
- Reinstall the cable into the clips. Some clips on some car models have notches in them. Make sure to align the cable to get into these notches.
- Press the spring to reinstall the cable to the emergency brake assembly.
- Reinstall the cable clip.
- Repeat the same steps for the brake cable on the other side.
- Adjust the brake cables and make sure they have equal tightness.
- Reinstall the center console and the front seats.
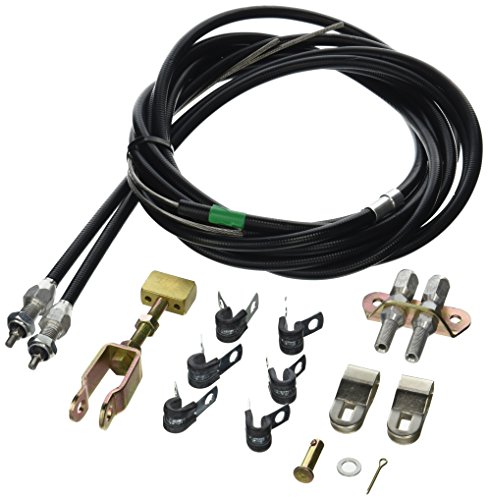
Wilwood parking brake cable kit is available on Amazon.
Drum Type Emergency Brake
The only time you will have a problem with this type is when the brake pads wear out, or when the cable breaks or stretches.
Brake pads wear out fast if you drive while the emergency brake is on or partially on.
- To replace the brake pad, follow Steps 1 to 7 from the section “Same Caliper Emergency Brake.”
- Remove the two bolts from behind the caliper. Once you loosen the caliper, lift it off the rotor and put it on something where it will not pull on the tubes.
- Remove the brake rotor screws.
- Pull out the brake rotor to reveal the brake shoes that you need to replace.
- The brake shoes are held in place by springs and a pair of clips. Carefully remove the springs one by one and remember their original location. Remove the clip, and pull out the boot.
- Install the new boot. Most replacement boots include replacement springs and clips. Install them following the location of the old ones.
- Once you’re done replacing the boots, adjust the brake cables.
- Reinstall everything.

ACDelco Gold Bonded Rear Drum Brake Shoe Set is available on Amazon.
Conclusion
A brake job not done correctly can make the emergency brake problematic.
If you found this article interesting, why not check the two articles below too: