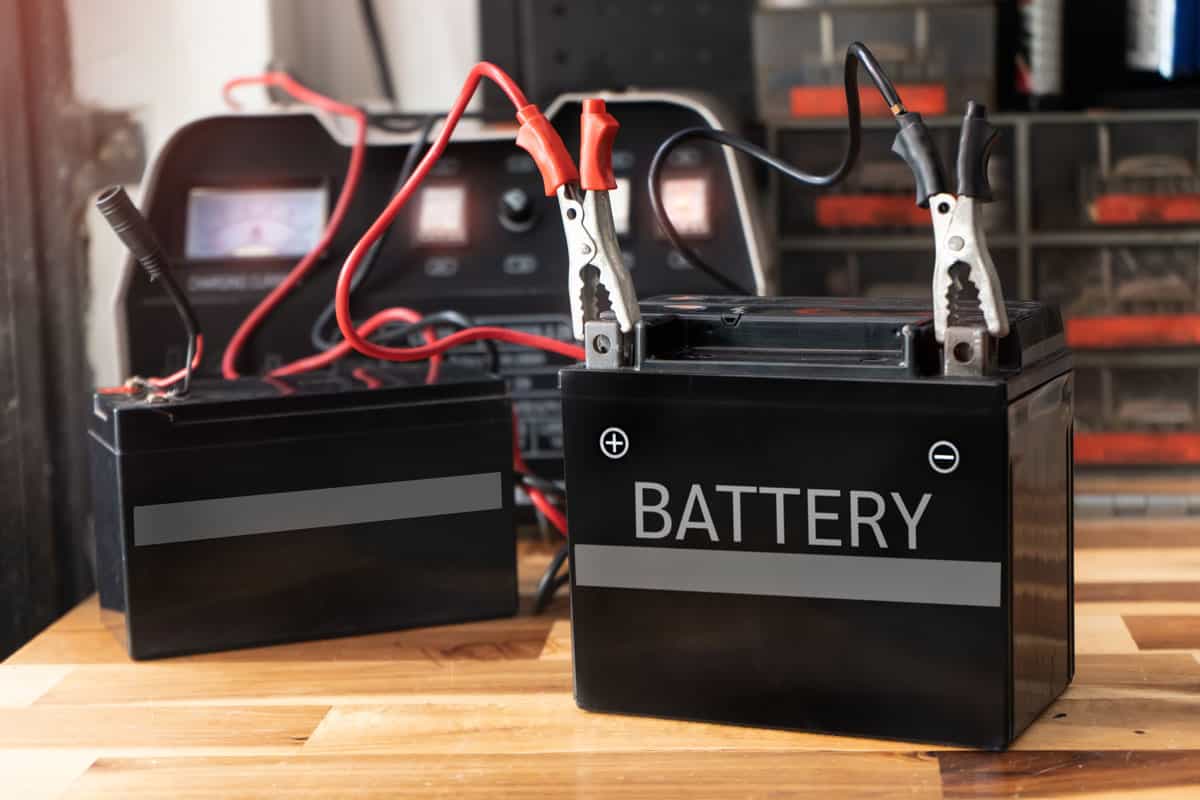
Charging a Harley Davidson’s battery should be part of the motorcycle’s routine maintenance. But the battery isn’t charging and you’re left wondering what could be wrong. So we researched this concern for your convenience, and here’s what we found.
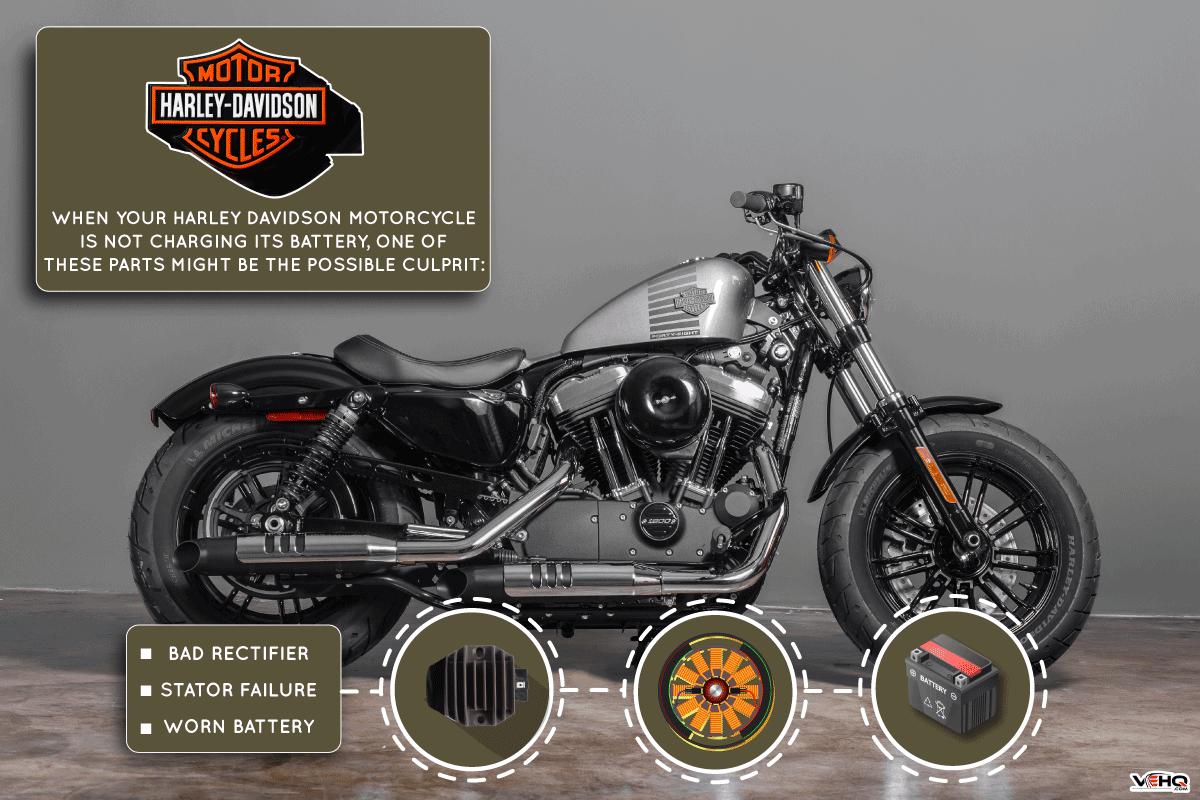
First, test your Harley Davidson’s battery and troubleshoot its surrounding assemblies and parts to find the source of it not charging. Take note that this problem may come from different sources, such as a bad rectifier, a stator failure, or a worn battery.
You should keep reading as we talk about these potential culprits in greater detail. We'll also tackle some techniques you may use that might solve this issue.
Why Is My Harley Davidson Motorcycle Not Charging Its Battery?
Take note that Harley Davidson motorcycles, along with many other motorcycle models, use a permanent magnet alternator. This assembly connects with other components to charge the vehicle's batteries.
That means that one of these parts might be the possible culprit of a Harley Davidson battery not charging. So continue reading to take a deeper dive into these potential culprits:
Bad Rectifier
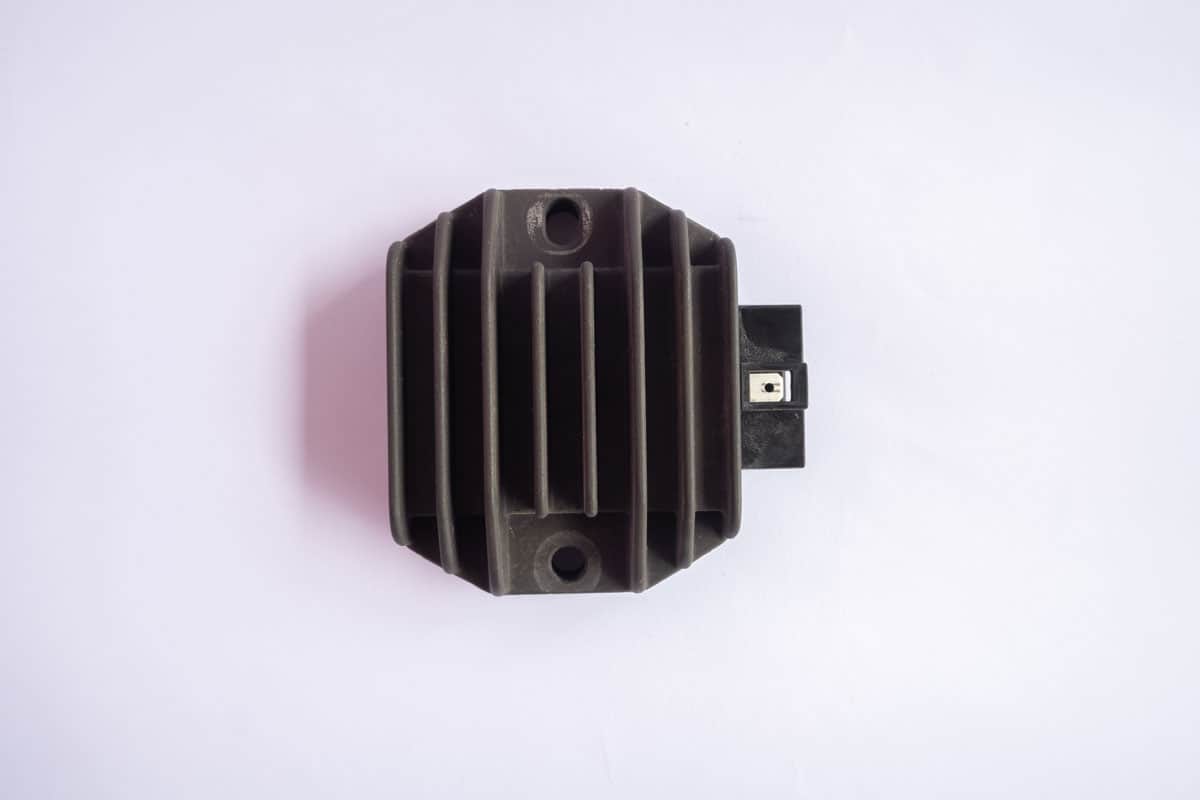
Also called a regulator, a motorcycle rectifier is responsible for converting the alternate current (AC) supplied by the stator to direct current (DC). It does this by removing the elements in the AC so the only component in the current is the DC, which the motorcycle's battery can use.
A bad rectifier may not be able to convert AC to DC energy, resulting in the Harley Davidson’s battery charge failure. The cause of this breakdown or malfunction can come from different sources, such as poor grounding or a weak or worn connection.
Apart from the motorcycle’s battery not charging, other signs of a bad rectifier or regulator are:
- Battery power drains faster than normal
- Fluctuating motorcycle performance
- Complete engine stop
Stator Failure
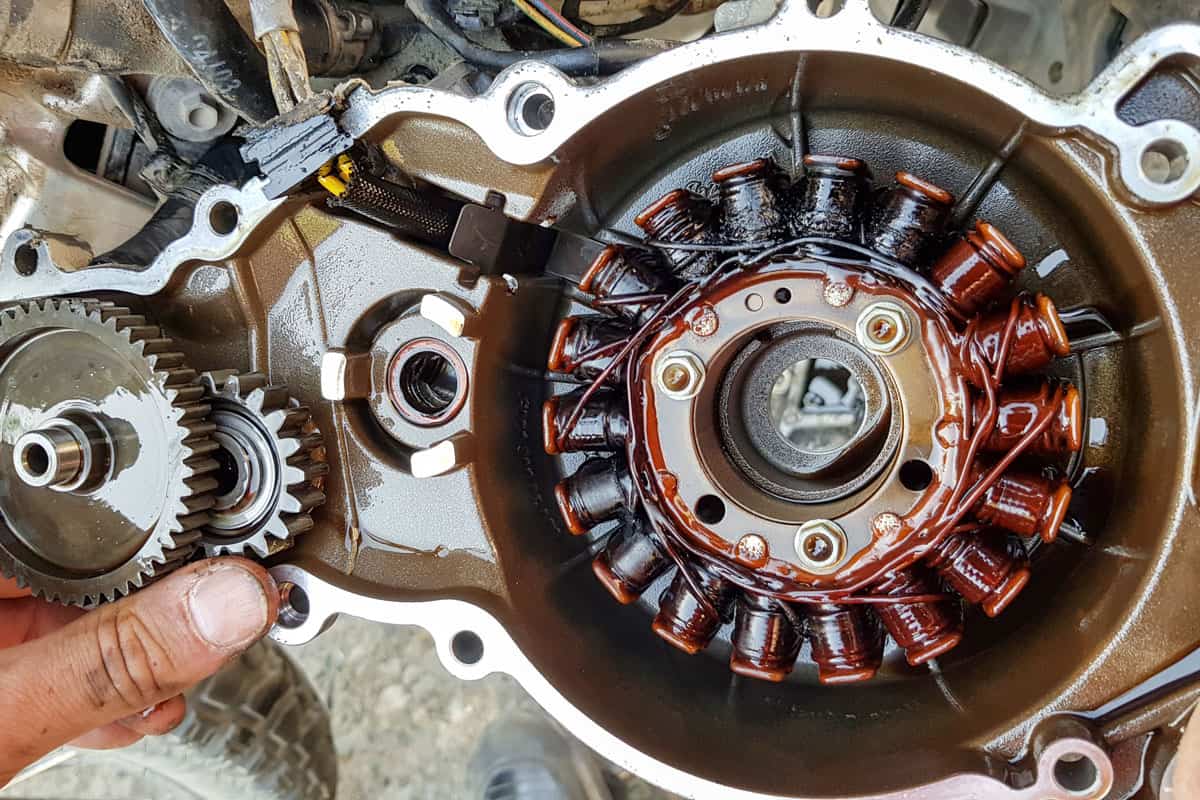
The stator functions to remove the unwanted elements from the leftover AC picked out from the rectifier. It’s also responsible for maintaining a sufficient charge in the motorcycle’s battery. So if this assembly fails, the battery can’t retain a reasonable charge, leading to its quick depletion.
Now, a motorcycle stator may fail because of reasons like unwanted heat buildup or physical harm to the assembly. Take note that replacing it might be a better solution than attempting temporary repairs on it.
Worn Battery
Aside from the rectifier or the stator, it can also be the motorcycle battery that's at fault for not being able to hold a sufficient charge. You should also be on the lookout for the signs of a worn Harley Davidson battery, like:
- Sulfation buildup
- Trouble or failure to ignite the motorcycle’s engine
- Visible signs of physical harm
- Weak horn and headlight performance
- Broken or corroded battery terminals
- Leak coming from the battery mount
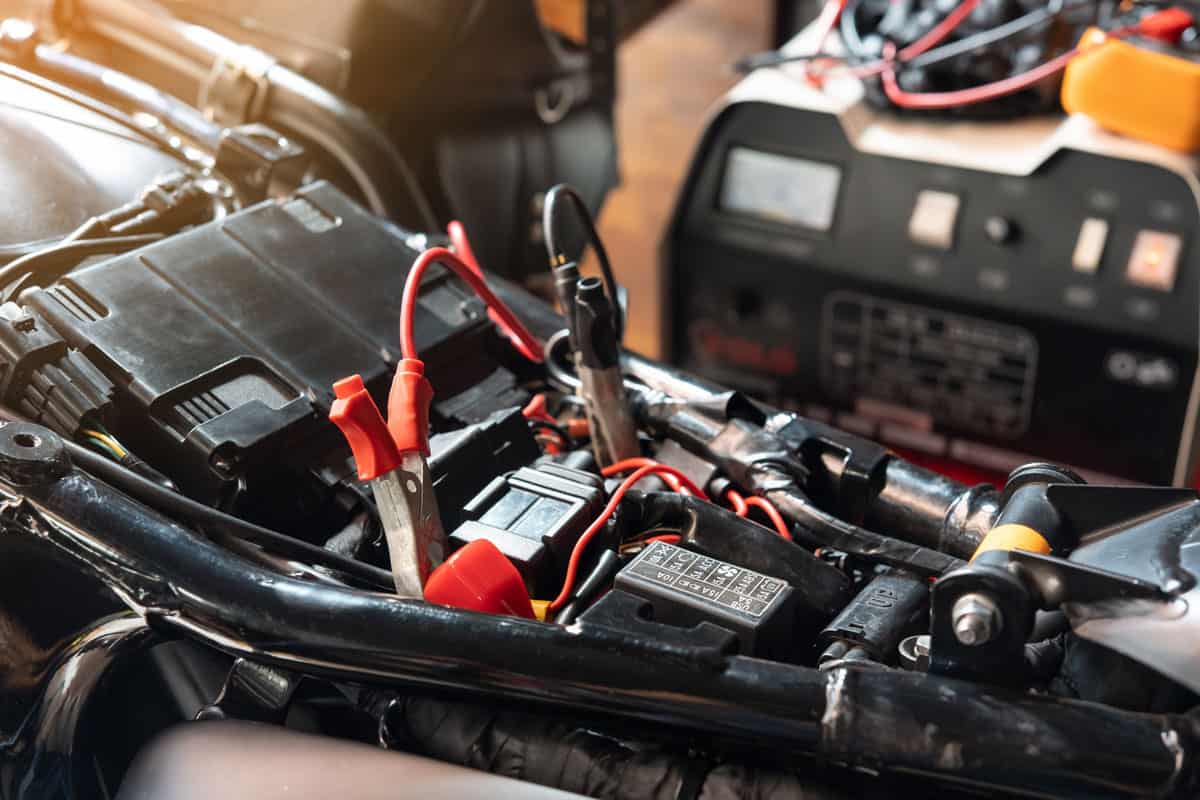
How Do You Test A Harley Davidson Battery?
Testing a Harley Davidson battery may help you in finding the main reason why it’s not charging. The following are the general steps on how to complete this task:
What You’ll Need
- Multimeter
Step-By-Step Guide
- Turn on the Harley Davidson’s headlight and the stereo, and leave them on for about 2 minutes.
- Insert the positive lead into the positive terminal on the multimeter.
- Insert the negative lead into the negative terminal on the multimeter.
- Turn the multimeter's knob to the 12-volt position.
- Place the other end of the positive lead to the positive terminal of the Harley Davidson’s battery.
- Place the other end of the negative lead to the negative terminal of the Harley Davidson’s battery.
- Take note of the readings displayed on the multimeter.

Check out this multimeter on Amazon.
If the reading on the multimeter displays around 12 volts, the motorcycle's battery might not be the cause of the issue. Instead, check the rectifier and stator if one of these assemblies is the reason why the battery isn't charging.
Watch this video below if you need a visual guide to the steps mentioned above:
How To Replace A Harley Davidson Rectifier?
Before you proceed with this task, ensure that the replacement rectifier you purchased (or are about to buy) is compatible with your specific Harley Davidson model. Don't attempt to install an incompatible regulator on your motorcycle. Otherwise, additional problems may arise.
Nonetheless, replacing a regulator or rectifier on a Harley Davidson is generally a DIY-friendly task. That means that you may not need professional services to complete this job without significant risks of making mistakes.
So continue reading to know the steps to this procedure:
What You’ll Need
- Replacement rectifier
- Socket wrench
Step-By-Step Guide
- Find the old rectifier on your Harley Davidson motorcycle.
- Unscrew the bolts that secure that component and set them aside temporarily.
- Follow the wires from the old rectifier so you can remove the lines from their connectors.
- Transfer the components on the old rectifier to the new unit, particularly those not in the new assembly.
- Install the new rectifier in the same location as the old unit while paying attention to its orientation.
- Secure the new rectifier with the bolts you removed in step 2.
- Attach the connector to the same location where you removed it when you did step 3.
- Turn on the motorcycle’s engine to check if its battery can now charge.

Check out this replacement rectifier for select Harley Davidson motorcycles on Amazon.
Check out the short clip below to see a visual representation of this procedure:
How Do I Install A New Motorcycle Battery For My Harley Davidson?
First, make sure that you're about to install the correct motorcycle battery for your Harley Davidson. Take note that you generally have two options for this procedure: lithium-ion or lead acid. Watch the video below for an explanation of which battery to choose for your motorcycle:
Once you purchase the correct motorcycle battery, continue this procedure by following these steps:
What You’ll Need
- Philips screwdriver
- Torx wrench
Step-By-Step Guide
- Remove the screws securing your Harley Davidson’s seat. Then, place the screws in a safe yet fairly obvious location.
- Lift the seat slightly. Then, slide it from the front to the rear to remove it from its mount.
- Press the tabs on the engine control module, which should make that assembly pop out.
- Remove the Torx bolts at the side of the battery’s bracket.
- Disconnect the wires that are blocking your access to the motorcycle’s battery.
- Push the battery’s cover to the side. Then, pull it out to expose the battery.
- Use the Philips screwdriver to remove the screw from the battery’s negative terminal.
- Repeat the previous step but for the battery’s positive terminal.
- Pull the strap underneath the battery to lift it.
- Remove the battery once it’s out of its bracket safely.
- Install the new battery while paying attention to its orientation.
- Screw in the positive wire to the positive terminal, and do the same for the negative wire.
- Reconnect the wires and connectors you removed earlier.
- Secure the battery by screwing its cover on top of it.
- Reinstall the other parts that you removed, including the Harley Davidson’s seat.
- Turn on the motorcycle and check if the battery can now charge.
Watch the video below to gain additional insights into this battery replacement job:
How Much Does It Cost To Replace A Harley Davidson Battery?
Replacement batteries from Harley Davidson have a price range of $89.95 to $299.95 at the time of this writing. You might be able to save on installation costs by installing the battery using DIY methods. Otherwise, prepare to spend extra cash to pay for professional motorcycle battery installation services.
Should I Charge Or Replace Harley Davidson Motorcycle Battery?
Try to charge the battery on your Harley Davidson to see if it can hold that charge. Then, wait for about 30 minutes so you can test the battery with your multimeter.
If the battery’s charge only falls slightly, you may only need to charge it longer than usual. However, if the charge falls significantly, it might be best to replace the old battery with a new unit.

Check out this replacement Harley Davidson motorcycle battery on Amazon.
Watch the video below to learn more about this particular topic:
Final Thoughts
Remember, park your Harley Davidson motorcycle in a safe spot for you to troubleshoot it. Find the main reason why its battery isn’t charging. Then, use the appropriate solution based on your findings to fix the problem at its source.
If you’re looking for answers to other Harley Davidson-related concerns, check out these other great posts:
Harley Davidson Is Not Starting, Just Makes Clicking Noise – What Could Be Wrong?