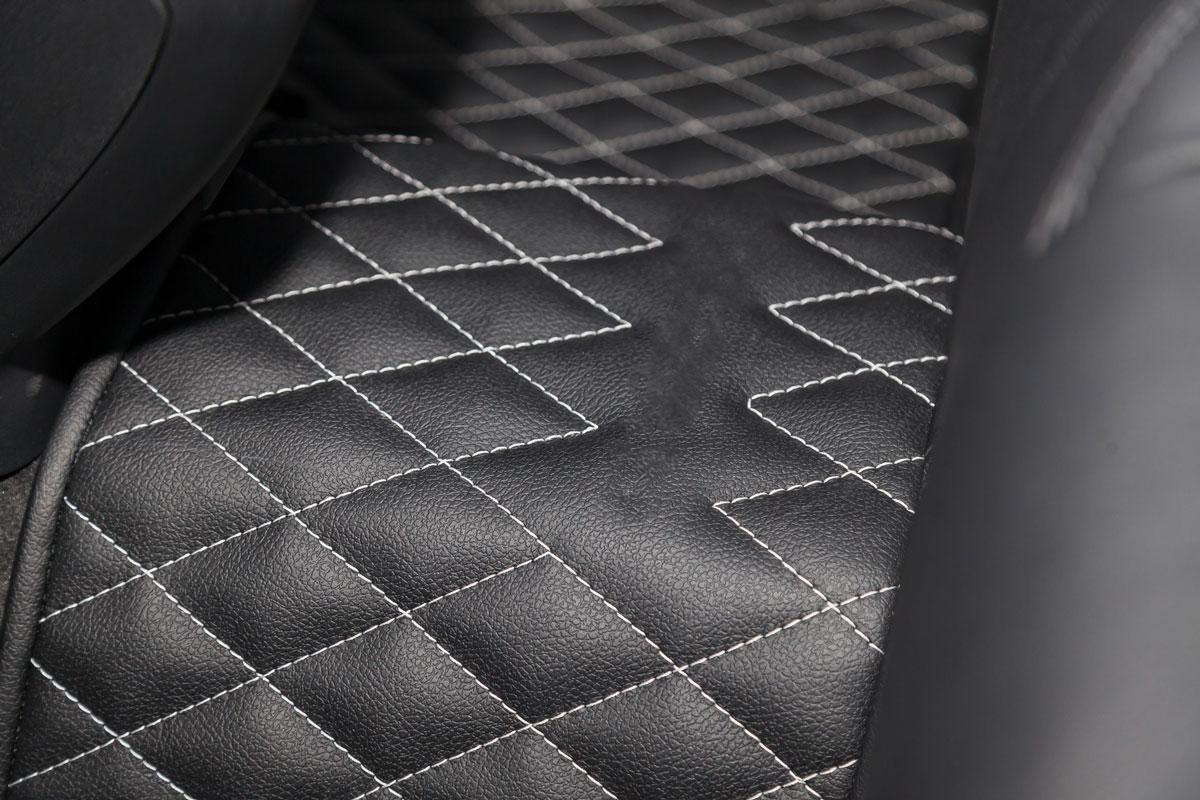
Would you like to know how to clean white stitching on leather seats? Well, we have researched this topic and have answers for you. Understanding how to clean white stitching on leather is vital to avoid damaging the leather or stitching.
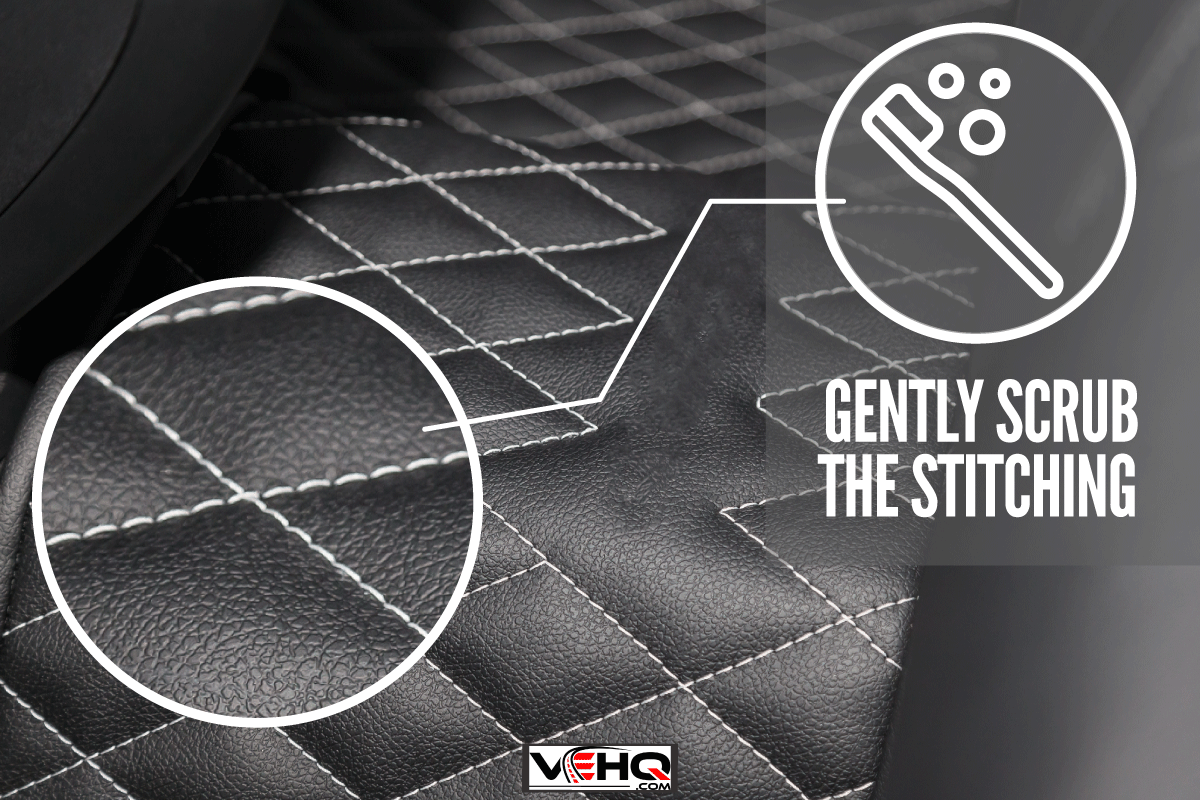
To clean white stitching on leather, take a toothbrush and dip it in a water solution with a small amount of dish detergent. Next, gently scrub the stitching clean. Avoid using harsh cleaners that can damage the leather or stitching.
In this article, we will learn how to clean white stitching on leather. We will also learn the answers to other interesting related questions, such as how do you repair stitching on leather seats, and how do you repair cracks in leather? Keep reading to learn more.
How To Clean White Stitching On Leather?
When cleaning white stitching, using the proper tools and cleaners is vital to avoid damaging the leather or the stitching. First, you will want to select a brush that has soft bristles.
While any soft bristle brush will work, a toothbrush is just the right size to accurately clean the stitching on leather seats.
Make sure that the toothbrush you use is new. Old toothbrushes can become hard and may scratch your leather.
Next, you must mix a gentle cleaning solution for both leather and stitching. One of the best cleaning solutions you can make to clean your leather seat's stitching gently is a water and dish detergent solution.
Using dish soap to clean is better because many harsh cleaners will also damage your leather.
Cleaners specially designed for leather often aren't also safe for upholstery stitches, so dish soap is the best choice.
Mix a few drops of dish soap into a bucket of water and dip your toothbrush in it. Next, take your toothbrush and gently scrub the white stitching with small back and forth motions. Ensure to wipe up excess water with a microfiber cloth.
If too much water seeps into your leather seats, it can cause damage or even cause mold to grow. Use a microfiber cloth to avoid scratching the leather.
Once you have scrubbed and dried all the stitching on your leather seats, you're finished.
How Do You Repair Stitching On Leather Seats?
If you were previously cleaning your leather seat's stitching with harsh cleaners, the seam may break or unravel. Before the stitching on your leather seats fully opens, repair it.
Gather The Tools
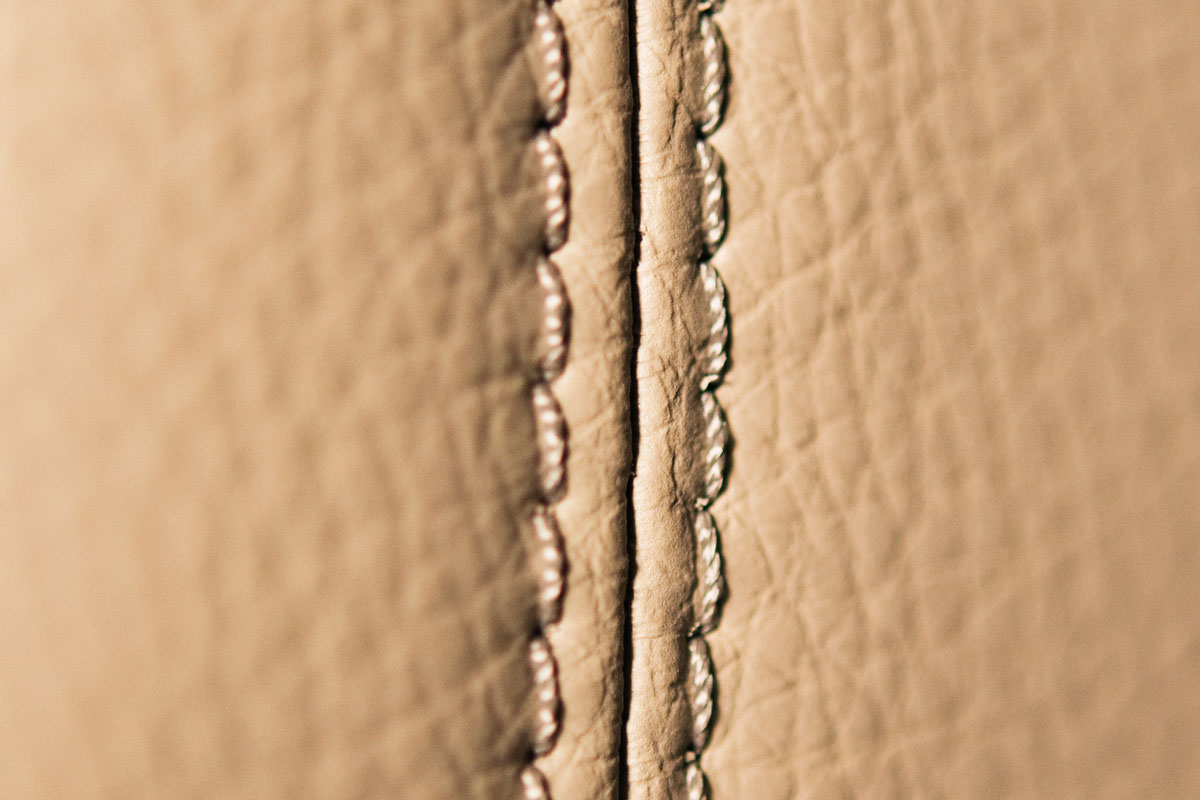
To repair the stitching on leather seats, you will need the right tools and material. You will first need a matching thread to restitch your leather seats.
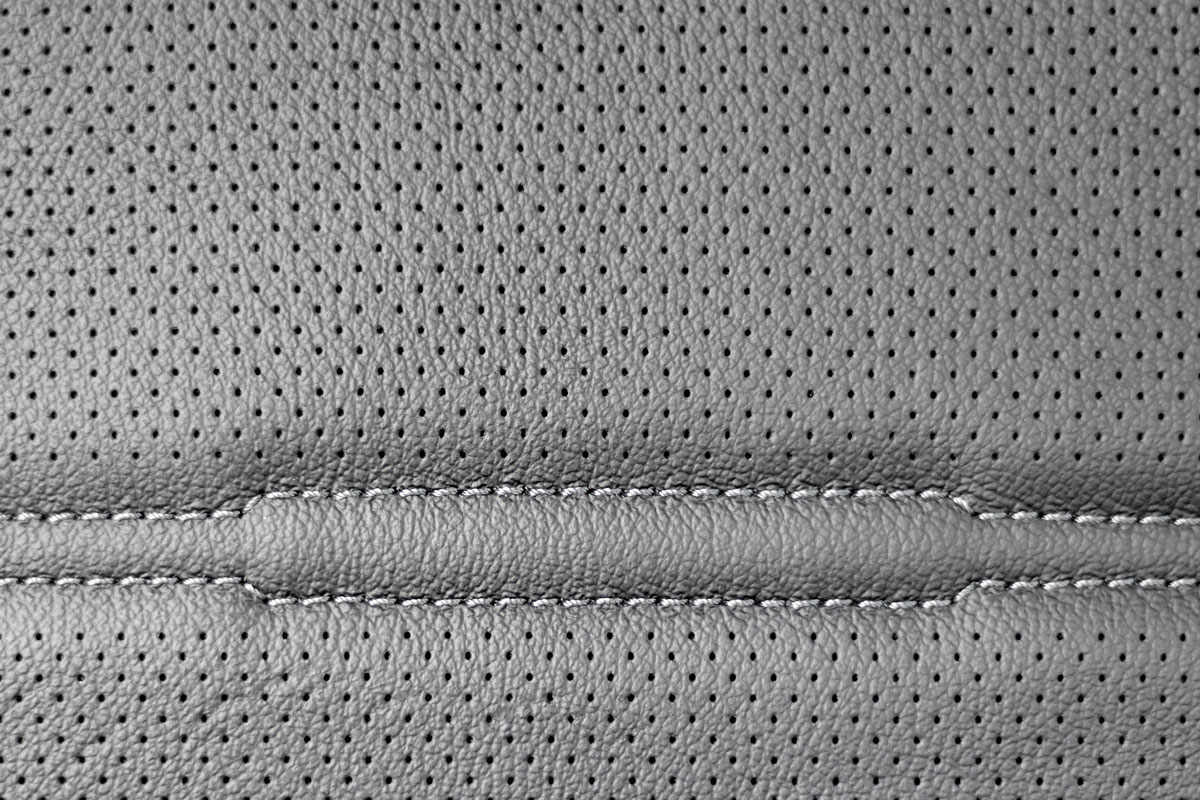
You shouldn't just use any thread to repair your leather seat's stitching. Leather seats are held together by upholstery stitching. This is more robust than using typical thread.
If you are unsure what type of stitching to buy for your leather seats, here are two of the most popular upholstery threads on Amazon.
Coats & Clark Inc Upholstery Thread

You can find this product here on Amazon.
Mandala Crafts Upholstery Thread

You can find this product here on Amazon.
Next, you will need a curved needle to stitch the leather back together. You can use different angles of curved needles for various situations.
If you don't know which stitching needles to buy, here are two popular ones that will work great for leather seats.
Curved Sewing Needles For Upholstery

You can find this product here on Amazon.
Heavy Duty Sewing Needles for Upholstery

You can find this product here on Amazon.
Stitching The Leather - What to Do?
Start by cutting a length of upholstery thread that is five times longer than the length of leather you wish to restitch.
Take your length of thread and insert it through your needle. Now alternate back and forth between inserting the needle through the left side, and then through the adjacent right side of the leather you are stitching.
Be sure to insert the needle through the old holes in the leather. If you try to make holes, you will need a tool since leather is tough. Also, if you don't use the last holes, your leather won't look correct once it's cinched up.
Keep alternating stitches until you have fully stitched through all the holes that are missing stitches. Now, slide your needle off the end of your thread and move to the next step.
Cinching The Leather Closed - What to Do?
Take a pair of needle-nose pliers and gently cinch the leather closed. Start from the center and move outward in each direction. You mustn't pull the upholstery thread too hard, or you could break it.
If you break the thread, pull out a few more stitches to have room to reattach your needle and restitch the break like in the previous step.
It would be best if you didn't try to cinch the leather closed in one step. Instead, use several progressive steps where each step brings each piece of leather closer together.
When closing up the leather, if there is a seam that bends inward, be sure to push the leather down while cinching it closed. It might be helpful to kneel on the leather seat while cinching to help make each side of the leather closer.
Tieing Off The Thread - What to Do?
Once you have fully cinched the leather closed, you need to tie off the ends of the thread. There is more than one way to do this step. One method is to take the end of the old and new stitching and tie a square knot to hold it in place.
You can also take the end of the new thread and loop it under several stitches and then trim the excess. Be sure to take your time tieing off the end of the thread. Doing this last step poorly can allow your stitching to unravel.
How Do You Repair Cracks In Leather?
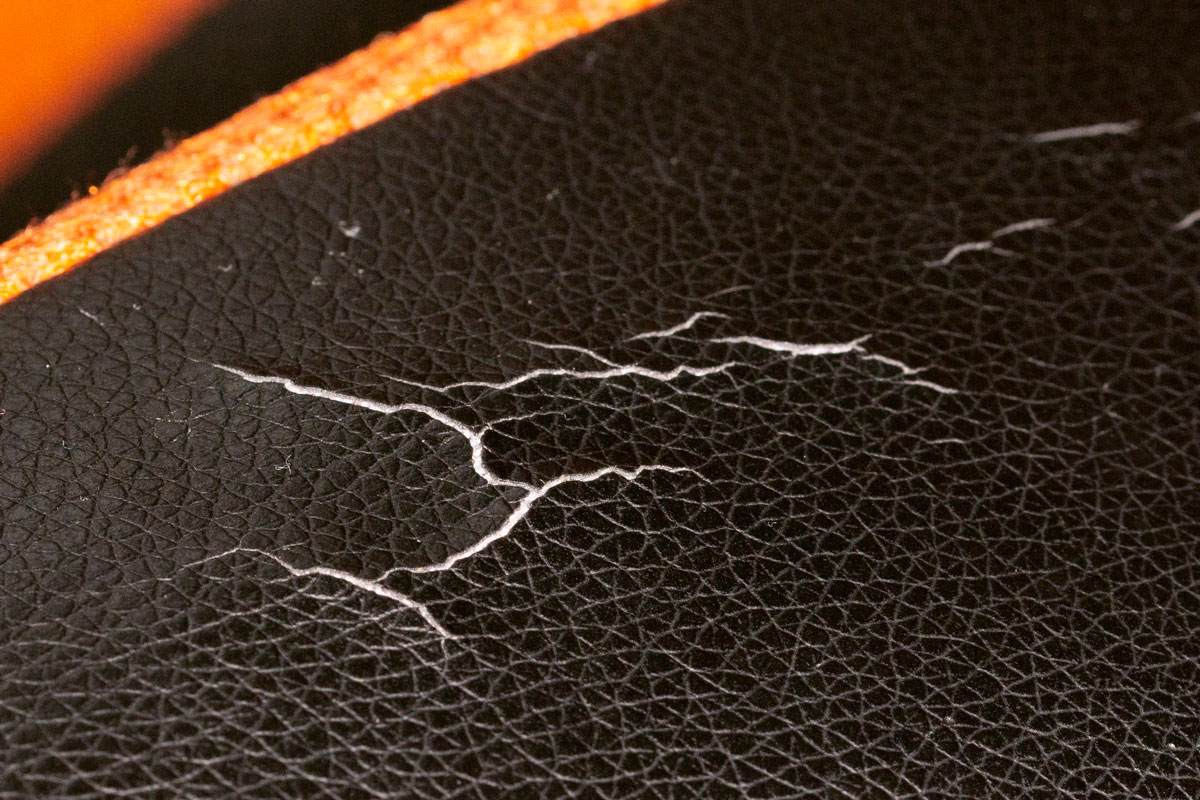
If you have a crack in your leather and it isn't the stitching in a seam coming undone, you won't be able to stitch it closed.
To repair cracks in the leather, you will want to buy a leather repair kit. Here are two of the most popular leather repair kits available on Amazon.
ARCSSAI ARCSSAL Leather Repair Kit

You can find this product here on Amazon.
Coconix Leather Repair Kit
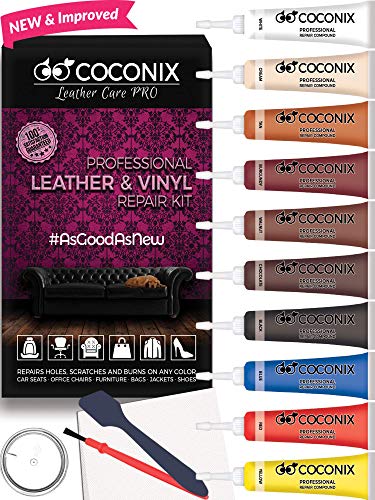
You can find this product here on Amazon.
First, clean the area you need to repair with warm water and thoroughly dry it. Once you are confident there is no dirt on the damaged leather, cut and insert the repair kit's backing fabric with the included adhesive.
Wait for the adhesive to fully dry. Then, take the textured paper included and trace the pattern of the damage on the back of the paper with a pencil.
Temporarily set aside the textured paper. Follow your kit's instructions to mix a batch of repair compound that matches the color of your leather seats.
Next, apply the repair compound over the backing paper. Be sure to keep the repair compound as level with your seats as possible.
Now heat your heating tool with an iron. Transfer the pattern of the textured paper to the repair compound by gently rubbing the back of the paper onto the repair compound with the heating tool.
After about 20 seconds, you can remove the textured paper and heating tool to reveal your finished leather repair.
How Do You Prevent Leather From Cracking?
Over time, leather can become rigid and crack. While keeping your vehicle out of the sun can help prevent this certainty, there is another way to preserve your leather seats.
Regularly applying a leather conditioner can help keep your leather soft and prevent cracking. First, select the leather conditioner you'd like to use.
If you aren't sure which leather conditioner to use, here are two of the most popular leather conditioners available on Amazon.
Leather Honey Leather Conditioner
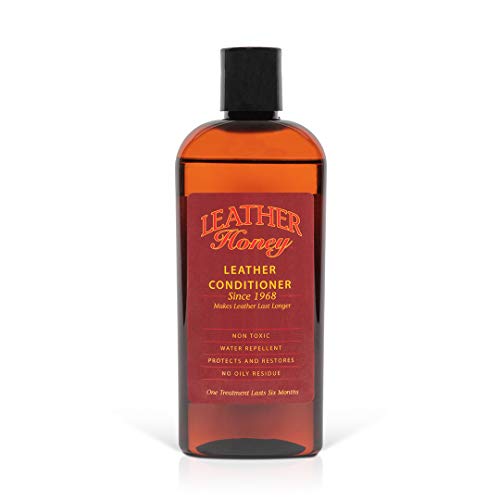
You can find this product here on Amazon.
Bick 4 Leather Conditioner
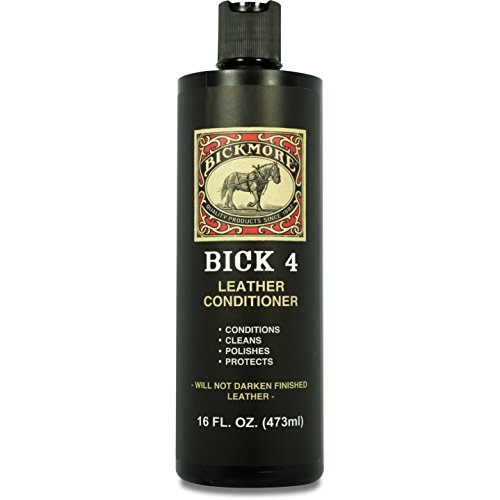
You can find this product here on Amazon.
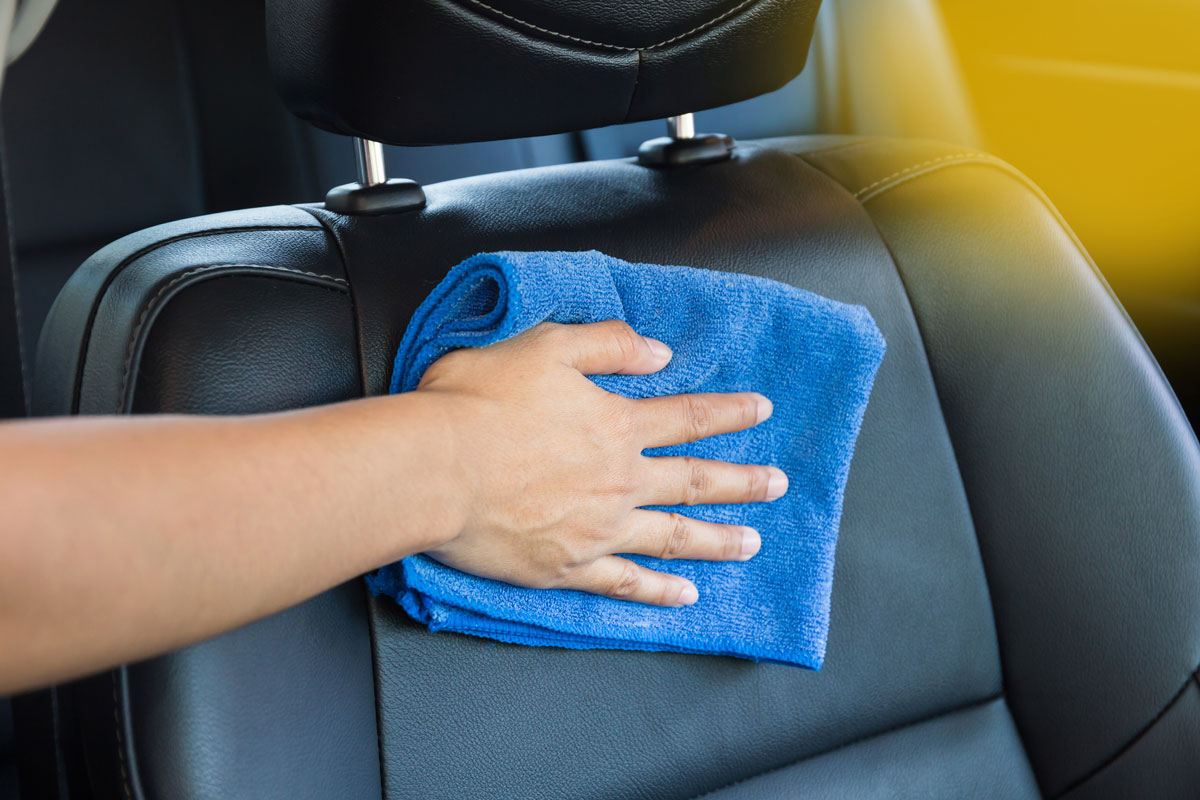
Take a small amount of leather conditioner and apply it to a microfiber cloth. You will want to use a microfiber cloth to avoid scratching your leather.
Next, rub down your leather seats in a circular motion. Rub all the conditioner into your leather. If your leather seats have not been conditioned in a long time, you may need to keep reapplying liberal amounts of conditioner.
Keep adding conditioner to your cloth and rubbing down your leather seats until you have conditioned all the leather.
Reapplying leather conditioner once a month can prevent cracks from forming in your leather seats.
Final Thoughts
In this article, we learned it's best to clean white leather stitching with a toothbrush and soap water. We also learned that you could repair the stitching in leather yourself with the right tools and technique.
Remember, to prevent your leather seats from cracking, apply a leather condition monthly.
We hope you enjoyed this article. If you want to learn more, check out some of these other posts.
How To Clean, Sanitize And Disinfect A Leather Steering Wheel