For those who are into cars, having a stylish and a well-painted engine are both top priorities. Making sure the engine looks fantastic is crucial, and engine paint is a vital part of that. If you want to discover how many coats of engine enamel you need, we are here for you. We've scoured the net and have gathered the top answers to this query.
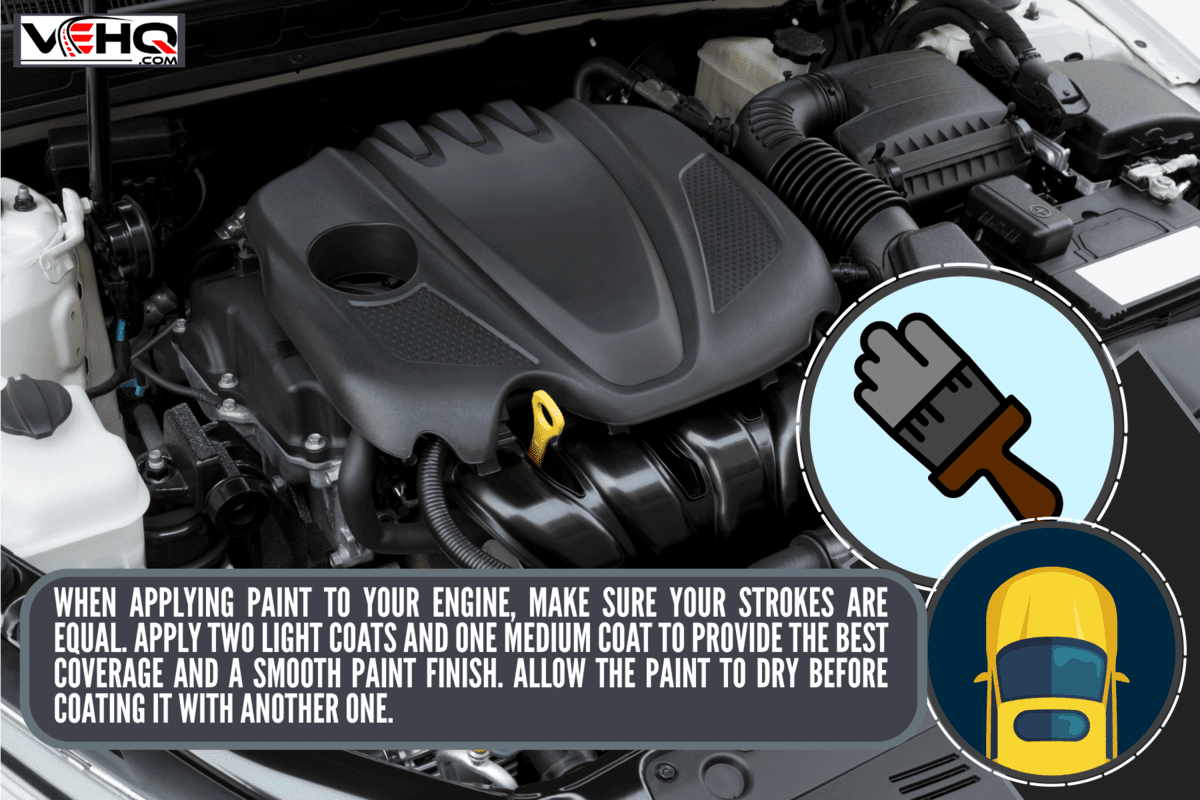
When applying paint to your engine, make sure your strokes are equal. Apply two light coats and one medium coat to provide the best coverage and a smooth paint finish. Allow the paint to dry before coating it with another one.
We will also discuss further details about the enamel engine, how to apply it, and how long it will take to cure. Stay with us to discover all the answers to these exciting topics.

Enamel Engine
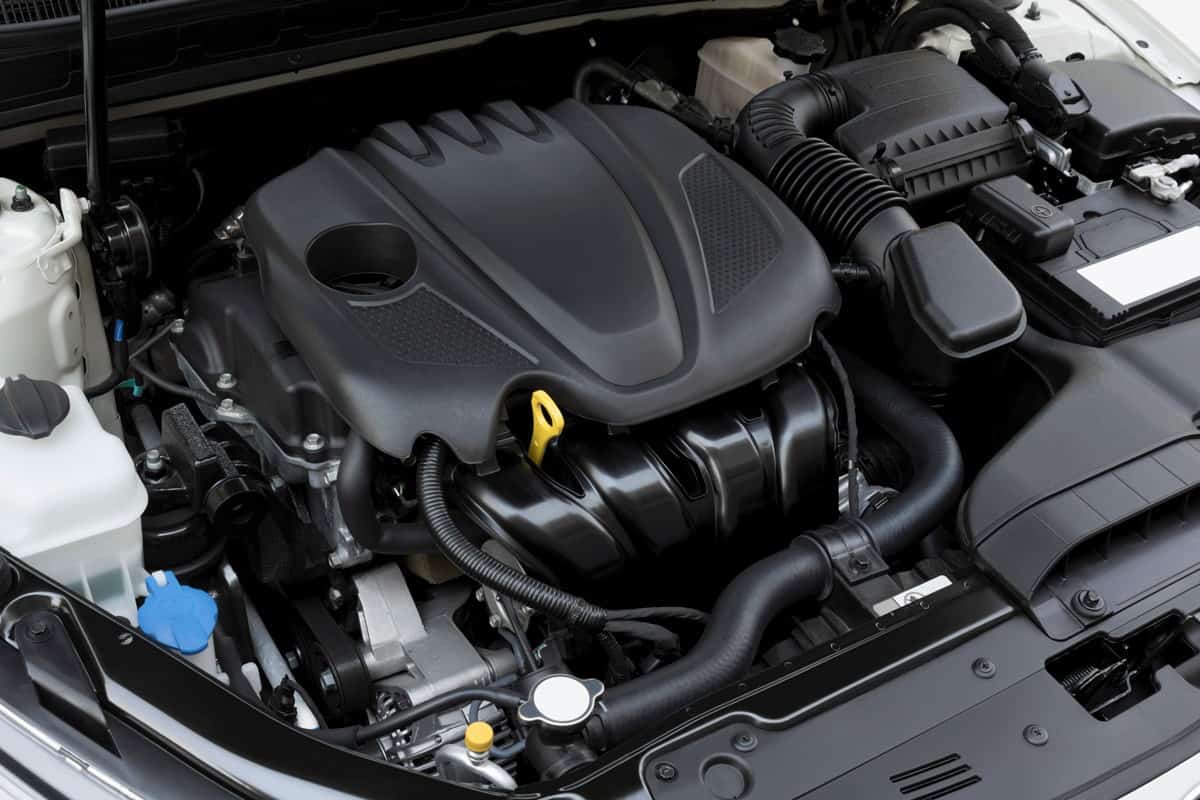
People may decide to paint their car's engine for various reasons, such as the paint on the hood might fade due to the intense radiant heat from the hot engine underneath.

Enamel paints often have excellent color retention and a strong, glossy finish. The fact that you can use enamels in various hues allows producers to provide a broad selection of possibilities. For a more personalized appearance, you can match the color of your engine to the paint on your car.
Click here to see this Por-15 engine enamel paint on Amazon.
Enamel can also offer higher heat resistance, which is essential for usage with vehicle engines and provides remarkable resistance to chipping, rust, and corrosion when adequately dried. Most enamel paints have a heat tolerance rating of up to 500 degrees Fahrenheit. Because of this, enamel paint is frequently used for engine paint.
The most popular engine paints are sprays, which frequently make use of aerosol cans.
Click here to see this Rust-Oleum engine enamel spray paint on Amazon.
Getting rid of all that grease makes it run a little cooler as a plus. It not only gives the engine a better-looking aesthetic but also shields it from corrosion and rust. However, extremely high temperatures and resistance to chemicals like gasoline and lubricants are requirements for engine paint.
How Do You Apply Enamel On An Engine?
Before a drop of paint touches your engine, it needs to be carefully prepared if you want it to look fantastic for years to come. The technique is crucial when painting an engine to make it last. These are the steps to apply enamel to your engine:
1. Remove the Engine

You must remove the engine if you want to repaint the engine completely. It is advisable to disassemble it completely.
You'll need to maintain order while separating everything to put it back together later. While you detach your engine block, you should label everything that comes off using tape.
Click here to see this Amazon Basics masking tape on Amazon.
However, if you only want to paint some portions of the engine, you can tape the surrounding regions to stop overspray.
Click here to see this frog tape on Amazon.
2. Cover the Sensors
You must cover everything with a sensor with tape. This shields the sensors not just from water but also the spray paint.
3. Clean the Surface
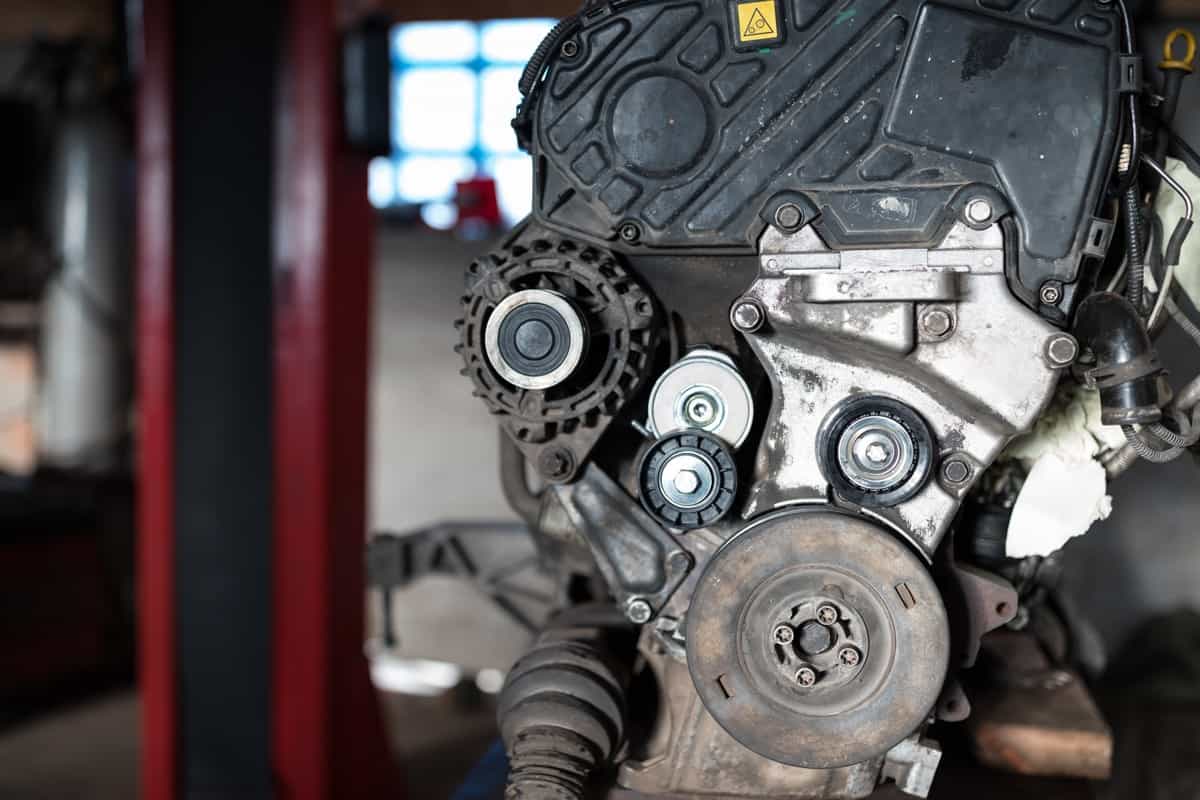
Due to years of oil and grease buildup, it can be challenging to get paint to adhere to your engine. With a stainless wire brush, start by removing the bulky material.
Click here to see this stainless wire brush on Amazon.
After that, you can insert a cylindrical wire brush into the drill and target any difficult nooks to reach with a regular wire brush.
Click here to see this twisted wire cleaning brush on Amazon.
Also, any rust and flaking paint on your block must be removed by sandblasting, revealing the metal beneath. Don't forget always to wear a mask.
Click here to see this Wogoboo sandblaster on Amazon.
You may also opt to combine one bottle of vinegar with one bottle of water. Spray that on the entire engine surface.
While the solution neutralizes everything, you'll probably notice some vinegar foaming. Spray with special care to avoid covering the places where masking tape has been applied.
Lead dust could be released if you scrape, sand, or remove old paint, which is harmful and can cause severe illnesses such as brain damage.
Apply a degreaser to the engine and let it soak for a while. Once you're set, start cleaning the engine with a scrub brush to remove any dirt and grease.
Click here to see this WD-40 cleaner and degreaser on Amazon.
After that, rinse off, and you can use compressed air to blow away all of the water. Just blow the moisture away until it's scorched. Rust and corrosion may result from letting any water sit on the metal.
Click here to see this Sin Shine electric air duster on Amazon.
4. Apply Primer
You should prime the entire engine or the component you plan to paint should be primed softly and uniformly. Allow the primer to dry as directed.
Paint thinner can damage rubber and electronic components, but you must have already removed or thoroughly covered it. You can apply the first color layer once the primer coat has dried for an hour.
Click here to see this Rust-Oleum primer spray paint on Amazon.
5. Apply Engine Enamel Paint
You can now apply engine enamel paint after the primer has cured. Purchase high-temperature engine paint, if necessary.
You must keep out of any windy circumstances while painting. The ideal temperature range for spraying is between 50 and 80 degrees Fahrenheit. Humidity also affects how the paint sticks to the surface and dries.
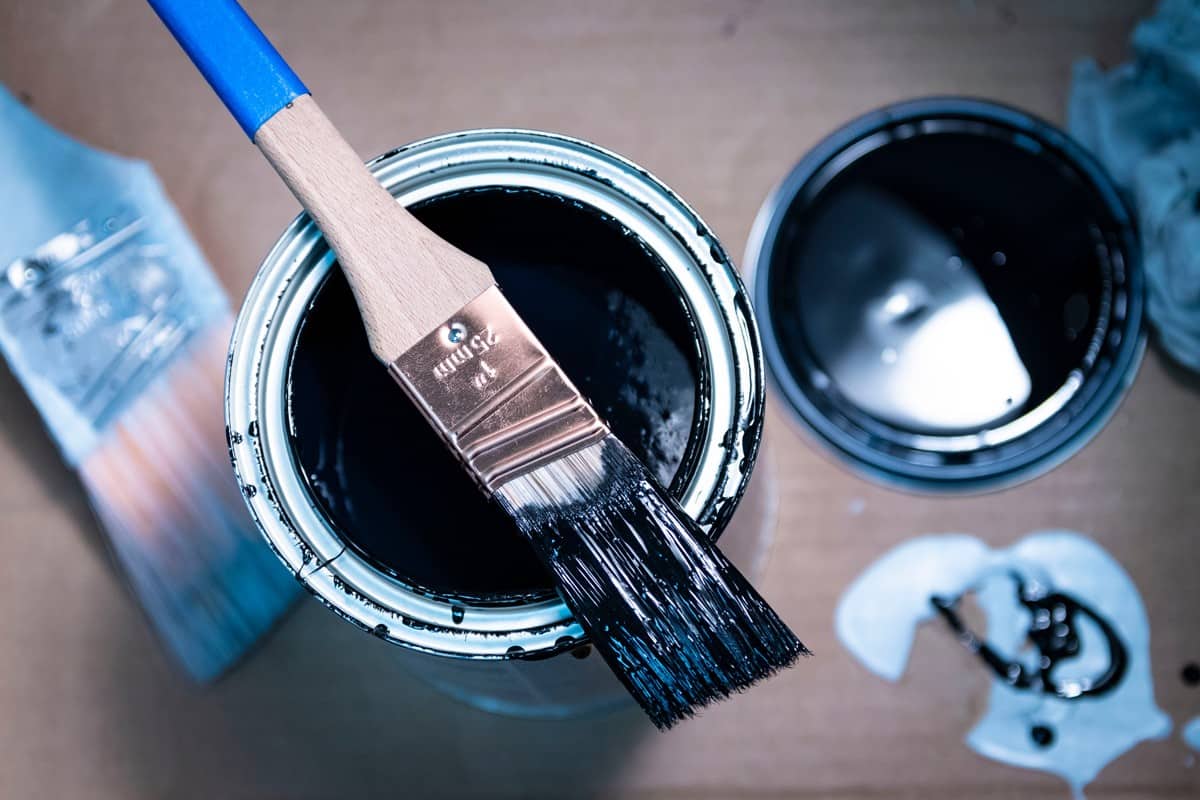
Hold the spray can 12 to 18 inches away from the surface while giving it a good shake. When applying paint to your engine block, ensure your strokes are equal and fluid. Apply two light coats and one medium coat. Make sure to wait around 10 minutes between each coat to achieve this.
You might need to use a paintbrush for some spots the spray couldn't reach. Keep in mind that every little detail significantly impacts the finished product. Before applying paint, read the label and instructions for the best product performance.
6. Let it Dry
Wait for the paint to dry before touching up any potential missed areas. The longer it dries, the harder it will become, and the less likely you will harm it when putting it back together.
7. Reassemble Your Engine
You're prepared to reinstall the parts you previously removed after your paint has completely dried.
How Long Does Engine Enamel Take To Cure?
Some engine enamels dry to the touch after 20 minutes and after an hour are dry enough to handle and recoat. These drying and recoating periods are based on a 70°F and 50% relative humidity environment.
Allow the paint to cure for seven days fully. The paint is considered "cured" when the pigments change from liquid to solid, and the substance reaches its maximal bond strength and hardness. Engine enamel goes through this process roughly a week, as previously indicated.
If it's chilly outside, give yourself more time. Furthermore, if you've ever sprayed a cold rattle-can, that will provide you with a cure time that is two to three minutes long.
Does Engine Enamel Need A Primer?
The paint will be uneven because of variances in the bodywork and difficulty adhering to smooth sheet metal. Therefore, don't skip the primer because the primer is meant to help the paint stick, make the paint more durable, and give the color coat a uniform color brightness. Additionally, the primer will have an additional layer of defense against harmful substances.
Can You Paint An Engine Without Removing It?
You can complete the painting process without removing or disassembling your engine. The key is to take the time to tape off everything that should be engine color and to detail everything else afterward.
In Closing

You'll feel tremendous pride once finished painting if you give the detailed work involved in updating your engine block your full attention. Even though the task requires a lot of labor, it is worthwhile. Additionally, painting the engine a noticeable color is an excellent way to increase the worth of your car if you want to trade it in the future.
If you've been experiencing any issues out of hand, don't hesitate to have a mechanic examine your engine. We also have other posts that might interest you:


