Shock absorbers eliminate vibrations caused by road imperfections, which is why it is one crucial component of a vehicle. And since many vehicle owners ask about installing shock absorbers to a trailer, we have conducted thorough research on how to do it.
To fit shock absorbers to a trailer, all you need to do is the following steps:
- Replace the U-bolts, flange nuts, and washer
- Torque the U-bolts
- Repeat the first and second steps
- Create compression
- Disengage compression
- Identify the measurement of the shock
- Use and put a floor jack at the bottom of the axles
- Measure the shock mounting lip perpendicularly
- Drill pilot holes
- Attach the I-beam
- Attach the grommet and washer
- Install the shock
- Install the additional set of materials
- Secure everything in place
The tires' ability to maintain contact with the road largely depends on the shock absorbers' performance. So, it would be best to learn how to maintain them properly. Additionally, it would be best to keep reading to understand shock absorbers better and know how to install them correctly.
Installing Shock Absorbers On A Trailer
To best learn the installation process for shock absorbers on trailers, please refer to the steps below.
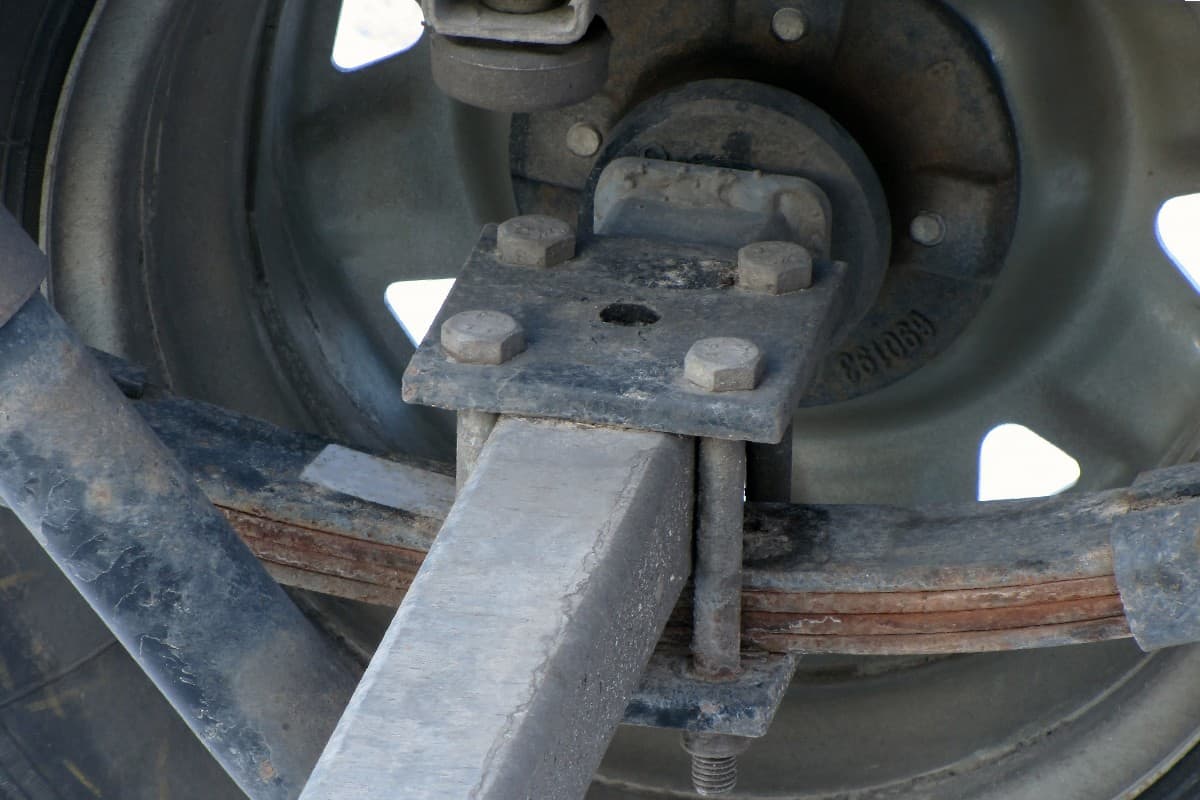
How To Prepare The Vehicle Or Trailer For Shock Absorber Installation
Before anything else, you should ensure safety. Check the working area for any obstruction that might delay your job.
- Check the space between the tire's inner surface and the I-beam flange. There must be at least a 4-inch gap.
- Raise the trailer following the instructions provided by the manufacturer, using a floor jack of the appropriate capacity. Note that if you need to get under the car, make sure you use jack stands with the correct load rating.
- To relieve the tension on the springs, it would be best to carefully raise the axles with a floor jack and support them with additional, appropriately rated jack stands.
- Detach the old tie plates and U-bolts, especially if they are rusty.
- Note that you should never reuse vehicle parts.
Click here to check out this 2-ton floor jack on Amazon.
How To Fit Shock Absorbers To A Trailer
Below is the proper installation process for shock absorbers. Carefully follow the following to achieve a successful task.
1. Replace The U-bolts, Flange Nuts, And Washers
If you use a 2 3/8-inch kit, replace the tie plate's flange nuts and U-bolts. On the other hand, if you're using a 3-inch kit, replace the U-bolts, washers, and nuts. Ensure to place the more protracted side of the tie plate in a position where it faces outward.
Click here to check out this U-bolt made in zinc on Amazon.
2. Torque The U-bolts
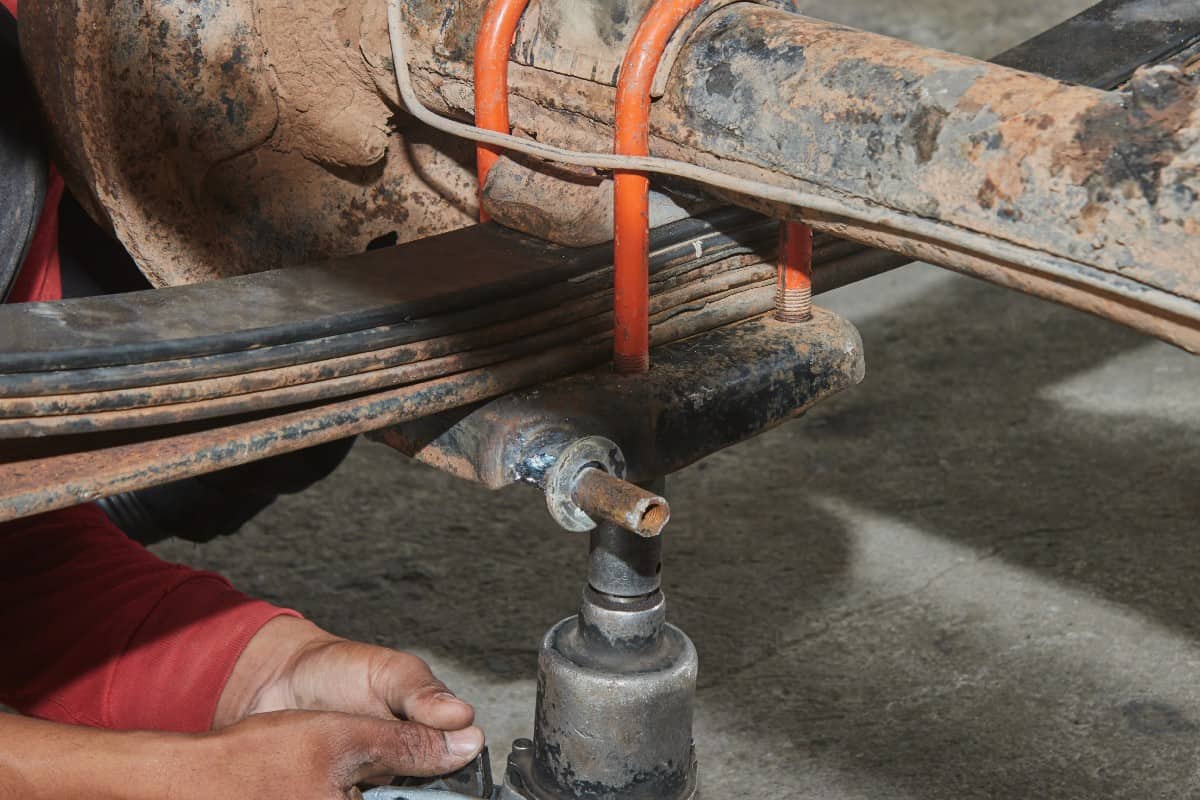
Put 50 foot-pounds of torque on the U-bolts if you're using a 2 3/8-inch kit and 90 foot-pounds on the bolts if you're utilizing a 3-inch kit.
3. Repeat Steps
Do the first two steps at the other end of the axle.
4. Create Compression
Squeeze the shock and create a visible dot inside the compressed shock at the point where the external shock intercepts.
5. Disengage Compression
Loosen the reins on the shock's compression and estimate the stroke. Using a non-permanent marker, mark the internal shock at the halfway point of the stroke you just measured.
Click here to check out this non-permanent marker on Amazon.
6. Identify The Measurement Of The Shock
Once you finish compressing the shock to the midway point completed in the last step, it is advisable to measure the span of the shock.
7. Use And Put Floor Jack At The Bottom Of The Axles
For this step, you should take away the jack stands and replace them with a floor jack beneath the axles. Additionally, it is a must to lower the trailers with equalizers until the equalizers are parallel to the framing and the springs are of a complete load.
8. Measure The Shock Mounting Lip Perpendicularly
Using the shock span determined in Step 6, you should get a measurement at 90 degrees to the shock mounting lip on the tie plate. After that, add two-inch and draw on the I-beam, aligning it to the shock's mounting lip.
9. Drill Pilot Holes
Drill four 11/32-inch pilot holes into the four outer holes of the top mounting rack for the shocks. Additionally, it would be best to ensure that the underside of the elongated portion lines up with the drawn mark on the I-beam from the eighth step.
10. Attach The I-beam
Next, you will need to attach the I-beam to the top mounting frame of the shock. And it would be best to employ the self-tapping 3/8-inch bolts.
11. Attach The Grommet And Washer
Prepare the upper and lower ends of the shock and attach the grommet and washer. Ensure to prioritize the cupped washer and attach it against the shock. On the other hand, attach the grommet's lip against the mounting bracket's holes.
12. Install The Shock
After that, ready the shock mounting lip and put the shock. Carefully squeeze it to accommodate it into the top mounting frame.
13. Install The Additional Set Of Materials
Attach the next set of cupped washers and grommets.
14. Secure Everything In Place
Hold the shocks in place by putting hex nuts on either end and constricting them until the diameter of the grommet outstretches to the same size as the cupped washer.
How To Maintain Shock Absorbers?
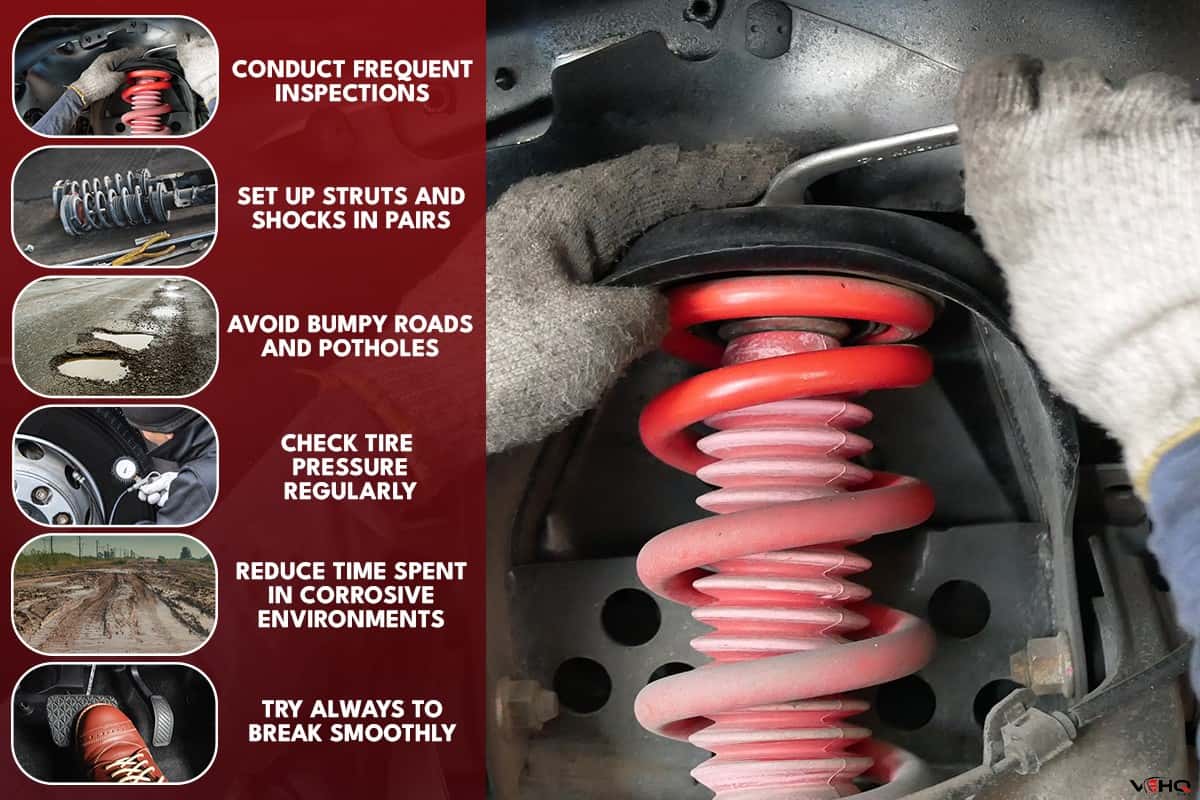
If you want your vehicle's shock absorbers always be in good shape, it would be best to maintain them correctly. Check the details below.
Conduct Frequent Inspections
At least once a year, it would be best to have a trained and licensed mechanic inspect your suspension system for wear that could compromise the safety of your ride and lead to costly repairs. On the other hand, you can also conduct it after every 12,000 running miles.
Remember To Set Up Struts And Shocks In Pairs
As a general rule, you should always put in a pair of shocks or struts. Since both sides experience the same corrosive effects or wear and tear, changing them simultaneously with new ones is appropriate.
Know that you can avoid timely failures by keeping up with regular maintenance. By adhering to these procedures, you can extend the life of your suspension system.
Avoid The Route Of Bumpy Roads And Potholes
As much as possible, you should avoid passing through potholes and bumps. When driving, it is a general rule always to keep your eyes on the road and be observant.
Keep in mind that wheels falling into deep potholes can cause significant damage to a number of components of your vehicle, most notably the vehicle's suspension and suspension systems components like the shock absorbers and struts.
Check For The Tire Pressure Regularly
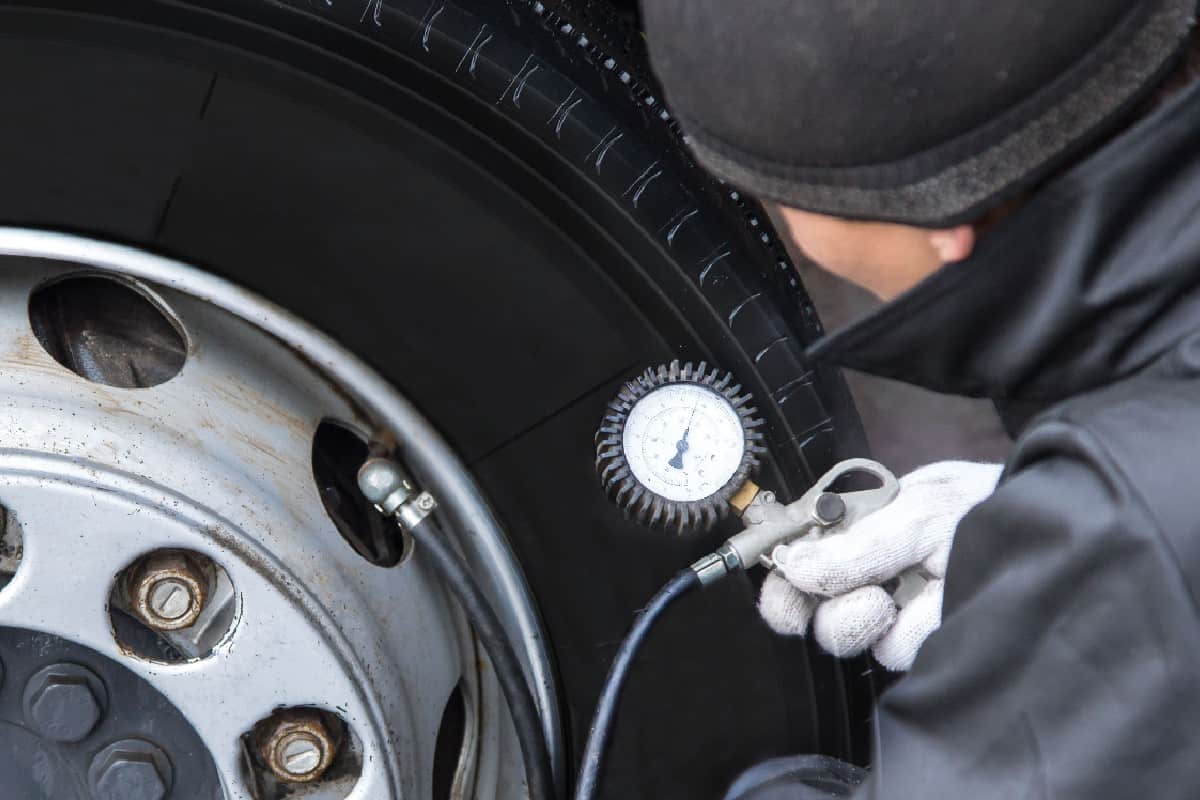
The tires are one of the most critical components of your vehicle suspension system. That said, it is highly advisable to check it regularly and ensure its pressure is adequate.
Failing to maintain the pressure of the tires will lead to the deterioration of other suspension system components.
Reduce The Time Spent In Corrosive Environments
If you don't want your vehicle's suspension system to experience premature wear and tear, as much as possible, avoid the following:
- road salt
- water
- chemicals (such as those utilized to repair roads)
Although driving on treated driveways or roads can happen anytime, even if you don't want it, know that you can still keep corrosion to a minimum. It is by keeping up with routine washing and waxing, paying particular attention to the undercarriage.
Driving on treated roads is inevitable, but you can reduce the risk of corrosion by regularly washing and waxing your vehicle. Also, it would be best to prioritize the undercarriage.
Try Always To Break Smoothly
Vehicle shocks and struts are particularly vulnerable to premature wear from the vertical motion that occurs during braking.
Take your time slowing down and braking if you spend most of your time behind the wheel in congested areas or places with lots of intersections and other situations where you'll need to use your brakes frequently.
When Is The Ideal Time To Replace A Strut Or Shock Absorbers?
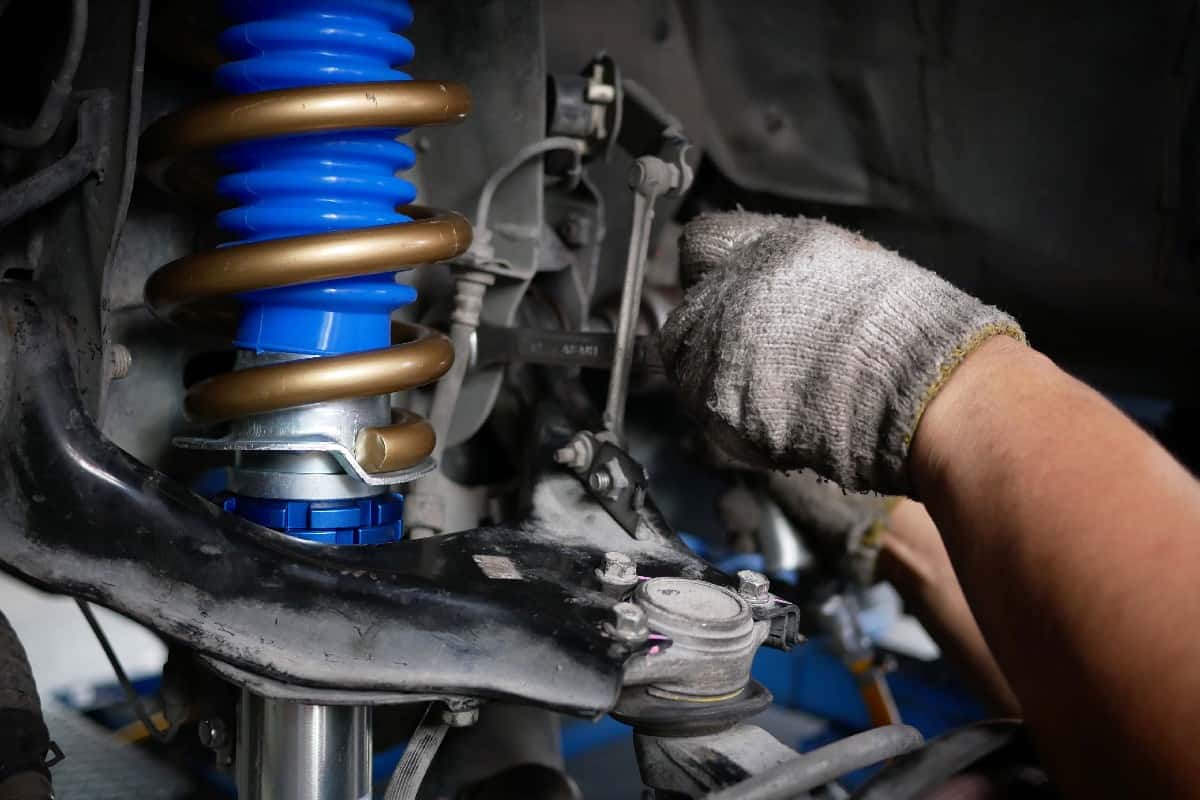
Damaged shocks or struts contribute to the difficulty of steering or controlling the vehicle in the desired direction.
Therefore, you should be aware that hitting a bump or pothole could cause you to get out of control of your vehicle. And such a situation will lead you and your passengers in danger. One common accident that can occur is colliding with other vehicles.
So, as frequently as possible, examine your shocks and struts before you use your vehicle.
The ideal time to replace your vehicle's struts or shock absorbers is when you experience the following:
- If you notice that every time you use your vehicle for travel, you experience irregularities on the road, and you can hardly control the vehicle when in contact with potholes or bumps.
- You find it hard to control the steering wheel, especially when turning.
- If you see obvious leaks on the struts or shocks.
- You may not know it, but you need to check the shock absorbers after every 31,000 miles of running. If there are visible issues, you must immediately replace the shock absorbers.
- A vehicle with defective struts is more likely to experience nosedives and wobbles when applying the brakes.
Wrapping It All Up
Following the guidelines about fitting or installing shock absorbers to a trailer discussed in this post will lead you to a successful task. It would also be best always to remember the tips for maintaining your shock absorbers or suspension system to ensure that you can make the most out of them.
Made it to the end? We want to hear from you! Please feel free to leave a comment if you still have additional concerns. Continue reading by checking these posts out!


