Do you have a new Kobalt truck bed toolbox, and now you want to know how to install it on your truck? You’ve come to the right place, for we have researched this question, and we have the answer for you.
Here is a summary of the steps for installing the Kobalt chest truck bed toolbox.
- Position the toolbox on the bed of your truck.
- Open the lid so you can see the space you need at the back.
- Mark where the high area of your truck and mark where it would be at the bottom of the toolbox.
- Drill four holes along the bottom of the toolbox.
- Position the toolbox on the bed of your truck and mark the location of the holes on the toolbox.
- Drill the holes in the bed of your truck.
- Bolt down the toolbox on your truck.
Let’s talk more about the installation of a toolbox on your truck’s bed in the succeeding sections. Learn more about the installation of different types of Kobalt toolboxes in the sections below.
Read on!
![Stainless Steel Pickup Truck Tool Box, How To Install A Kobalt Truck Tool Box [Step By Step Guide]?](https://vehq.com/wp-content/uploads/2022/12/How-To-Install-A-Kobalt-Truck-Tool-Box-Step-By-Step-Guide.png)
Trucks And Toolboxes
Pickup trucks are primarily made as work and farming tools. Although modern pickup trucks have similar amenities as modern cars, they are still common among truck fleets. Thus, the development of toolboxes follows the development of pickup trucks very closely.
There are many types of toolboxes for the pickup truck. You can now install a toolbox on almost every available space on your pickup truck.
What is Kobalt known for?
Kobalt was launched by Lowe’s and J.H. Williams in 1998.
The Danaher Corporation produced the majority of Kobalt’s hand tools from 2003 to 2011. After that, JS Products from Las Vegas took over Danaher as the supplier of Kobalt’s mechanic’s hand tools.
How to install a Kobalt toolbox?
Kobalt has several types of truck toolboxes available that come in different sizes. If you have a Kobalt toolbox that you need to install, we have the guide right here for you.
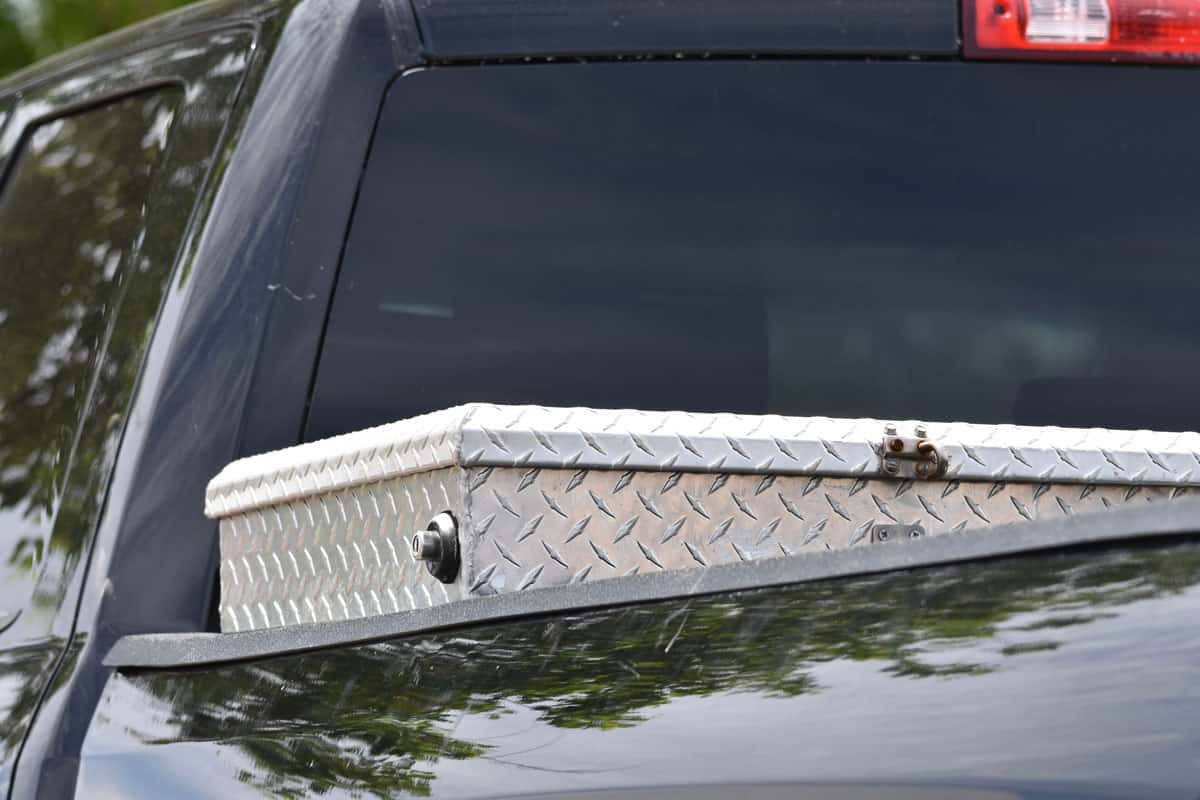
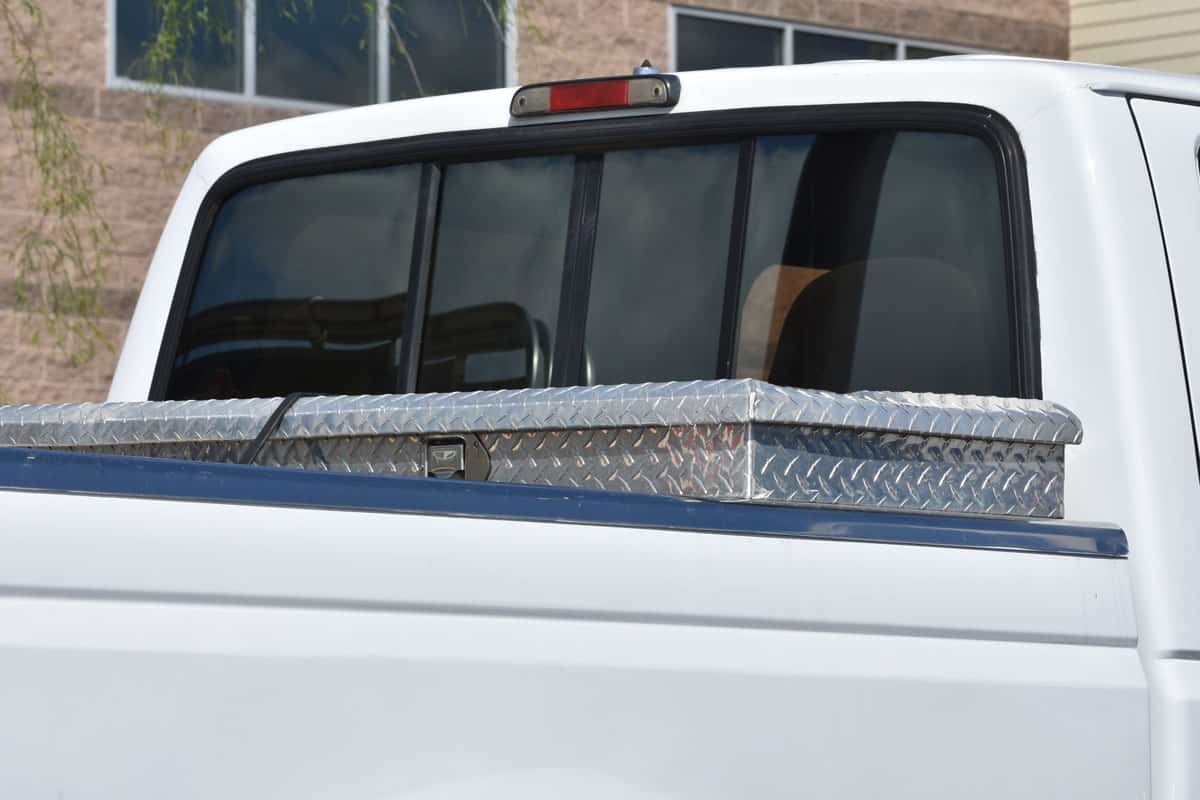
How to install a Kobalt crossover truck toolbox?
A crossover toolbox is also known as the saddle toolbox. This is the most popular type of truck toolbox. Whenever anyone hears a truck toolbox, the image that appears in their minds is likely a crossover toolbox.
It got its name because a portion of its top crosses from one side of the top of the bed rails to the other side. Although you can install a crossover toolbox anywhere along the length of the truck’s bed, you’d want it behind the cab. In this position, it wouldn’t get in the way of any cargo that you’d load on your truck.
Although crossover toolboxes do not need to be vehicle-specific, you have to get one that fits the width of your truck’s bed. This ensures that the toolbox is not too narrow or too long. You don’t want the wings of the toolbox to hang over the sides of your truck’s bed.
Most crossover toolboxes have a depth that is shallower than the depth of the truck bed. This is to allow the truck bed to haul long items on the bed. Deep versions of crossover toolboxes take up the entire depth of the truck bed.
There are a few ways to install a crossover toolbox. The first way is to use a J-bolt. Hook the J-bolt on the bed rail and fasten the other end on the wings of the toolbox with a washer and a nut.
However, this method is not too secure. The J-bolts become loose over time, and you have to periodically tighten them.
Kobalt Truck Toolbox Installation With Mounting Kit
- Place the toolbox on the bed of your truck. Make sure it is at the center of your truck’s bed.
- Measure the distance from the edge of the toolbox to the center of the space between the bed rail and the toolbox.
- Mark the inside of your toolbox that is equal to the measurement you took.
- Make two marks for bolt holes on both sides of the toolbox.
- Drill holes in the marks that you made.
-
- If you have a steel toolbox, deburr the inner edge of the holes.
- Apply some anti-rust paint on the inner surface of the holes to prevent rust.
- Apply rubber strips under your toolbox to prevent it from rubbing against the edge of the bed rails.
- Position the toolbox on your truck’s bed. Make sure that there is enough space between the lid of the toolbox and the rear glass of your cab.
- Insert a locking washer into the bolt, then a regular washer.
- Insert the bolt into the hole of the toolbox from the inside.
- Install the clamping block under the bedrails, then insert the bolt into the clamp.
- Tighten the bolt to secure your toolbox.
- Repeat the same process for the other three bolts.
-
- If you have the deep version of the Kobalt crossover toolbox, you have the option to install it with bolts to the bed of your truck.

AFA Tooling Deburring Tool is available on Amazon through this link.

POR-15 Rust Preventive Coating is available on Amazon through this link.

Newace Truck Tool Box Mounting Kit is available on Amazon through this link.

DOBTIM Neoprene Rubber Strips are available on Amazon through this link.
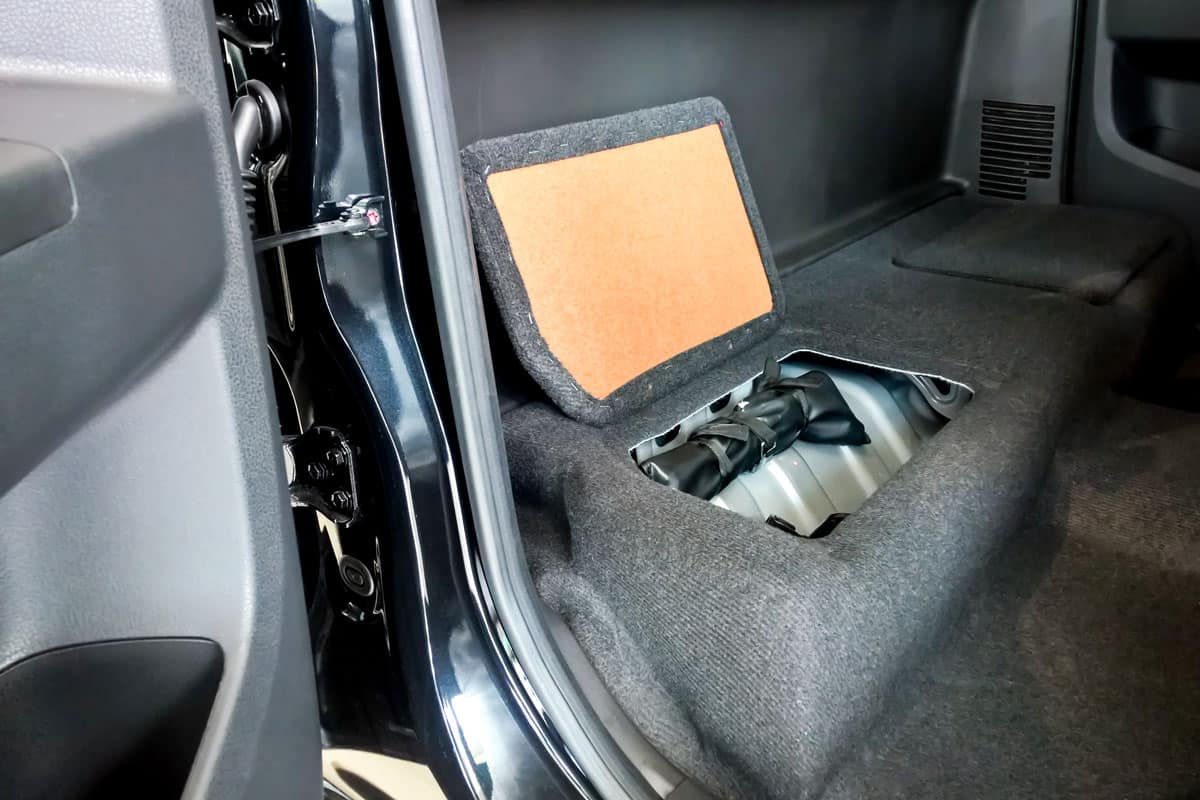
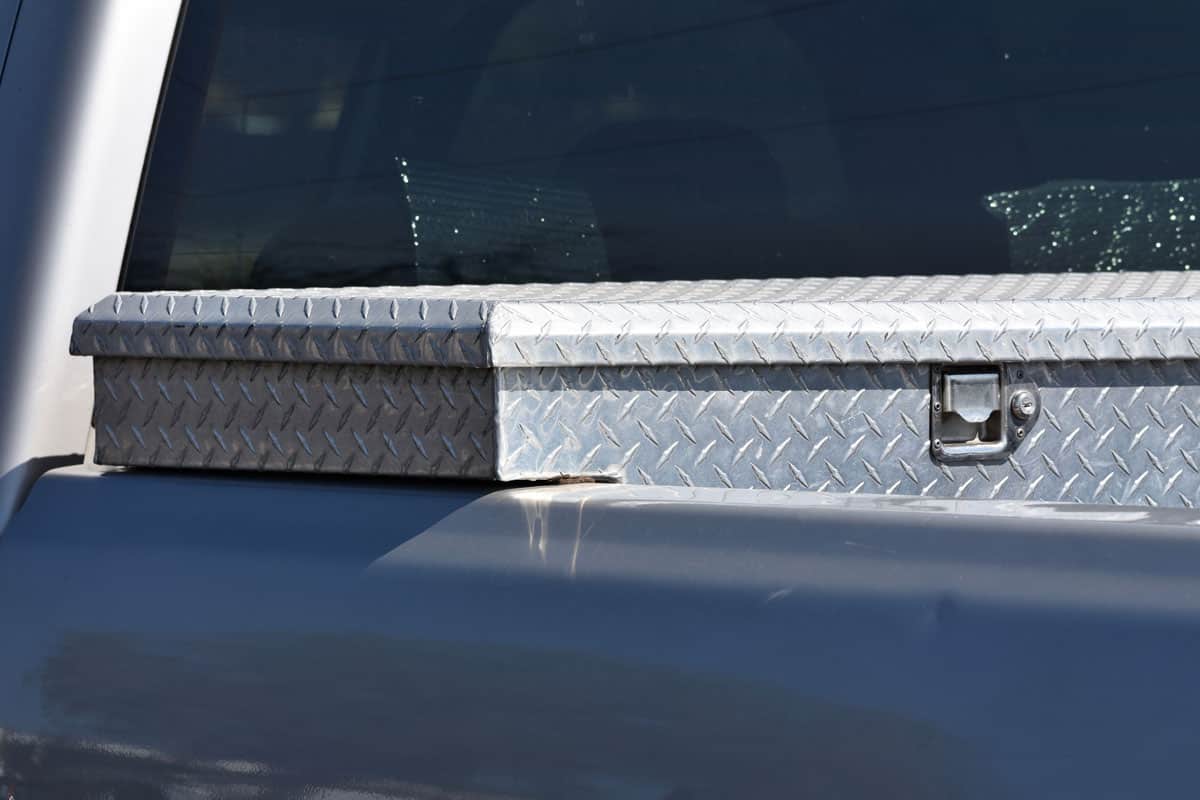
How to install a Kobalt chest truck toolbox?
A chest truck toolbox is similar to a crossover toolbox minus the wings. It got its name because it looks like a metal chest with its shape.
Some people prefer a chest toolbox over a crossover toolbox because chest toolboxes are more low profile since the toolbox is not taller than the wall of the truck’s bed. This also means you can install a chest toolbox and also install a tonneau over the bed.
Others prefer a chest truck toolbox because it allows them to have enough space for a top-mount toolbox above the chest toolbox.
Additionally, this provides you with a complete view from the rearview mirror.
Chest truck toolboxes have different lengths. You can pick one that doesn’t take up the hole width of your truck. This way, you’d have an area on the bed that still retains its full length.
Like the crossover truck toolbox, a chest truck toolbox is best installed behind the cab.
Kobalt Chest Truck Toolbox Installation
- Position the truck toolbox on the bed. If it doesn’t take up the entire width of the bed, make sure you place it where it will be after the installation.
- Measure the distance from the edge of the box to the closest raised part of the bed. Do not install your truck toolbox on a lower part of the bed floor.
- Do the same thing on the opposite side of the toolbox.
- Transfer your measurements inside the toolbox.
- Determine where you’d like to place the bolts along the measurements that you took.
- Drill two holes in your toolbox for the bolts. If you have a large chest truck toolbox, it is best to drill four holes.
- Deburr and paint with anti-rust if you have a steel toolbox.
-
- You can install rubber strips at the bottom of your toolbox before you place them on the bed.
- Place your toolbox on the truck bed. Check the clearance of the lid and the back of the cab.
- Mark the holes on your truck bed from the holes in the toolbox.
-
- Make sure that the holes will not hit anything under the truck’s bed.
- It is important to check that the fuel tank is clear of holes.
- Drill the holes in your truck’s bed.
- Deburr and paint the hole with anti-rust.
- Insert a washer into the bolt.
- Insert the bolt into the holes.
- Insert a regular washer, then a locking washer, into the bolt. Install the nut and tighten it.
- Do the same thing for the other bolts.
How to install a side-mount Kobalt toolbox?
A side mount truck toolbox is similar to a crossover toolbox because part of it rests on the top of the bed rails. The difference is that you install this type of toolbox on one side of the truck bed wall. With this option, you can have one on both sides of the truck.
Its unique advantage is that you can access it without getting on the truck bed. Some side-mount toolboxes open like a cabinet instead of opening like a chest. Another advantage is that you can have a toolbox that can store long tools up to the length of your truck’s bed, like rifles.
Installing Kobalt Side-Mount Truck Toolbox
- Measure the distance between the front edge of the toolbox to the middle of the space between the toolbox and the bed rail.
- Mark this measurement inside the toolbox and drill holes along this mark.
- Install a rubber pad under the toolbox.
-
- Deburr and apply rustproofing paint if you have a steel box.
- Insert washers into your bolt and insert the bolt into the hole of the box.
- Hook the clamp on the underside of the bed rail.
- Connect the bolt and tighten it.
- Do the same thing for the other bolts.
- Position the foot support of the toolbox in one corner.
- Drill two holes on the foot support all the way to the toolbox.
- Install two bolts into the foot support and secure them with a nut inside the toolbox.
- Repeat the process for the other foot support.
Conclusion
The installation of a Kobalt truck toolbox depends on the type of toolbox that you are going to install.
If you found this article interesting, why not check the two articles below too: