Are you planning to install an AVS Ventvisor on your vehicle, or maybe you want to replace a broken one? Do you want to know how to do it correctly? You’ve come to the right place, for we have researched this question, and we have the answer for you.
Here are the simple steps to install an AVS Ventvisor on your car.
- Clean the area where you will install the AVS vent visor.
- Position the AVS vent visor and visualize the fit.
- Peel off the protective cover of the adhesive.
- Position the vent visor and attach it into place.
- Take a clean cloth and press the vent visor into place.
There are two types of vent visors from AVS. Learn more about both types of vent visors and how to install both in the succeeding sections.
Read on!
![deflectors-side-windows-car-accessory-additional-done, How To Install AVS Vent Visors [Step By Step Guide]](https://vehq.com/wp-content/uploads/2022/10/How-To-Install-AVS-Vent-Visors-Step-By-Step-Guide.jpg)
Vent Visor Types
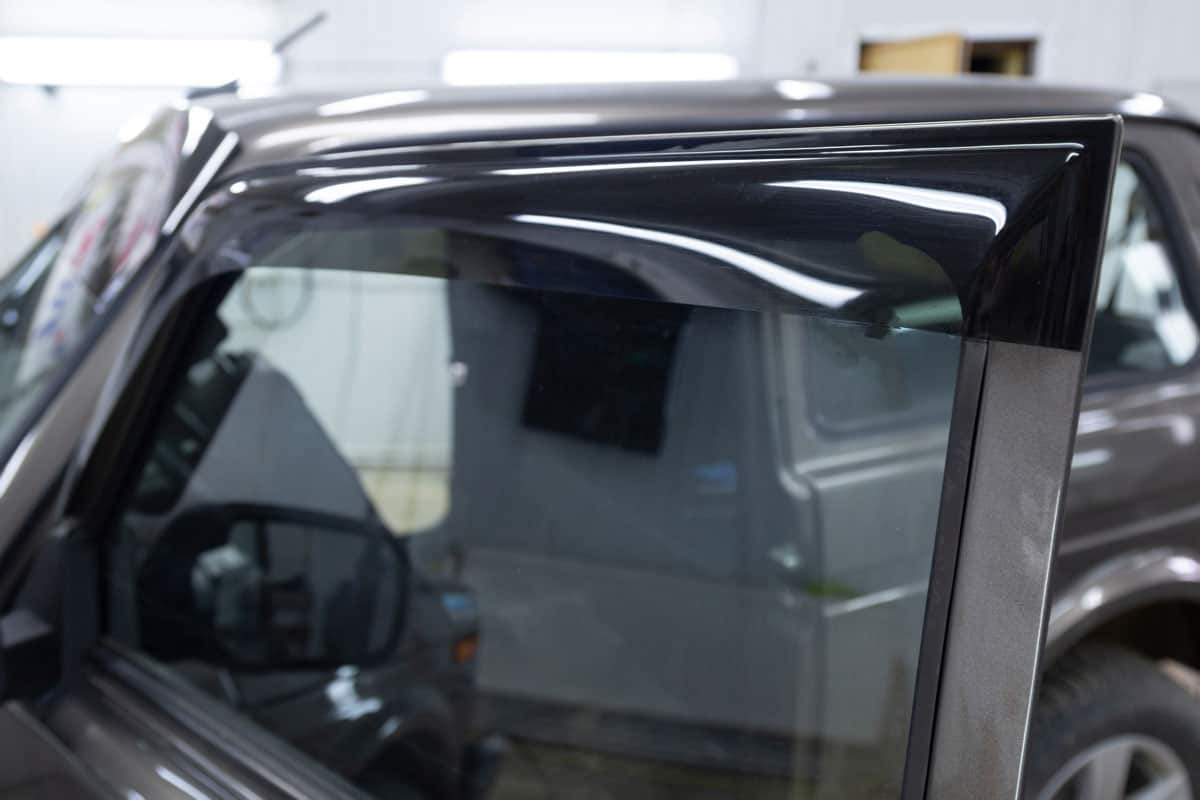
Ventvisor by AVS (Auto Ventshade) is a type of side window deflector.
Side window deflectors serve several purposes, which makes them a popular yet simple upgrade. They deflect rain, snow, and hail, preventing them from getting into your car while you’re driving with the windows open. This gives you access to fresh air regardless of the weather.
Even when you decide to drive under a hot sun, a window deflector has UV protection that protects you against too much exposure to the sun.
The shape of window deflectors effectively redirects the wind away from your car, reducing wind noise while driving with the side window open.
It can also reduce the condensation and misting of windows during chilly weather.
Perhaps the most important benefit of a window deflector for some drivers is its aesthetic appeal. It looks great when you install it properly on your car, giving it a sporty look.
Because of their popularity, there are different types of window deflectors that you can choose from. Pick one that matches the shade and profile of your car, including the shape of your car’s windows.
Tape-On Window Deflector
A tape-on window deflector is the most effective because you install them over the window frame of your car. As the name suggests, you use double-sided tape to install it on your car.
The advantage of a tape-on window deflector is that it can have a shape that will provide better protection. Since you install it outside your car, it can have any shape or profile.
However, it is not without a disadvantage. Its biggest advantage is also its disadvantage.
The adhesive that comes with window deflectors can harm the paint of your car. Alternatively, you can replace the included adhesive with an adhesive that is safe for the paint of your car.
Moreover, substandard adhesives can become weak over time as it is constantly open to changes in the weather and extreme temperatures. The car soap or shampoo that you use when you wash your car can also weaken the adhesives.
In-Channel Window Deflector
If a tape-on window deflector goes above your car window, the in-channel window deflector goes into the rubber insulation of the window.
This type needs to be made specifically for the model of your car. An in-channel window deflector must have the same shape as the window, or it will not fit properly.
This is the disadvantage of an in-channel window deflector. The fit should be perfect. An imperfect installation will cause leaks because of the improper seal.
It does gain the advantage of not being a danger to your car’s finish because of where you will install it. The adhesive will not be on the outside of your car. Instead, it will be inside the weatherstrip of the window.
Since the adhesive is hidden under the weatherstrip, the weatherstrip protects it from the elements and the soap or shampoo that you use to wash your car.
Things To Consider When Choosing A Window Deflector
Because of their popularity, manufacturers produce window deflectors with a combination of different features. Choosing between the different types of window deflectors is just the first step. The next step is to pick the different features that you want to have.
Fortunately, we have the complete guide for you below.
Material
A window deflector can be made of different materials. The most common material that you’d see is acrylic. It is often the cheapest of the different material options.
Acrylic is a transparent material that is lightweight and resistant to scratches. It can also retain its strength and form under extremely cold temperatures.
However, acrylic is not too strong as a material. And this is why you would also find window deflectors that are made of ABS or Acrylonitrile Butadiene Styrene.
ABS is not as clear as acrylic. However, this doesn’t really matter much since most window deflectors are smoked.
ABS is much stronger than acrylic and reacts well to adhesive. It is also resistant to extreme temperatures.
ABS window deflectors can be more expensive than acrylic.
In addition to ABS and acrylic, some rare window deflectors are made of aluminum.
Aluminum is a light metal and is a lot stronger than ABS and acrylic. It is impervious to UV. Long-term exposure to UV has no effect on aluminum.
Unfortunately, aluminum window deflectors are the most expensive, and they are commonly custom-made for your car, which increases the price further.
Profile
Window deflectors normally come in two types of profiles.
The first type is the more common profile, where it protrudes out from the window a little bit. The overhand of this type of profile provides the best protection from wind, rain, and sun.
The second type is a low-profile design. Unfortunately, this type’s profile offers very little protection because it is almost flush with the glass of your car’s window. However, this looks a lot better than the normal profile, especially in high-performance cars.
Tint And Finish
The amount of tint of your window deflector determines the protection it provides against the sun. Additionally, you can pick from a gloss or matt finish to match it with your car’s aesthetic.
Carwash Safe
Some manufacturers make sure that their window deflectors are safe from regular exposure to the car wash. This can be an important attribute if you prefer to install a tape-on type on your car.
How to install an AVS Ventvisor?
AVS makes some of the most durable window deflectors for your car. And they often have the two types made specifically for different car models.
We have the complete steps to install both types of Ventvisors below.
Tape-On Ventvisor
- Check the package and make sure that you have a complete set of Ventvisors.
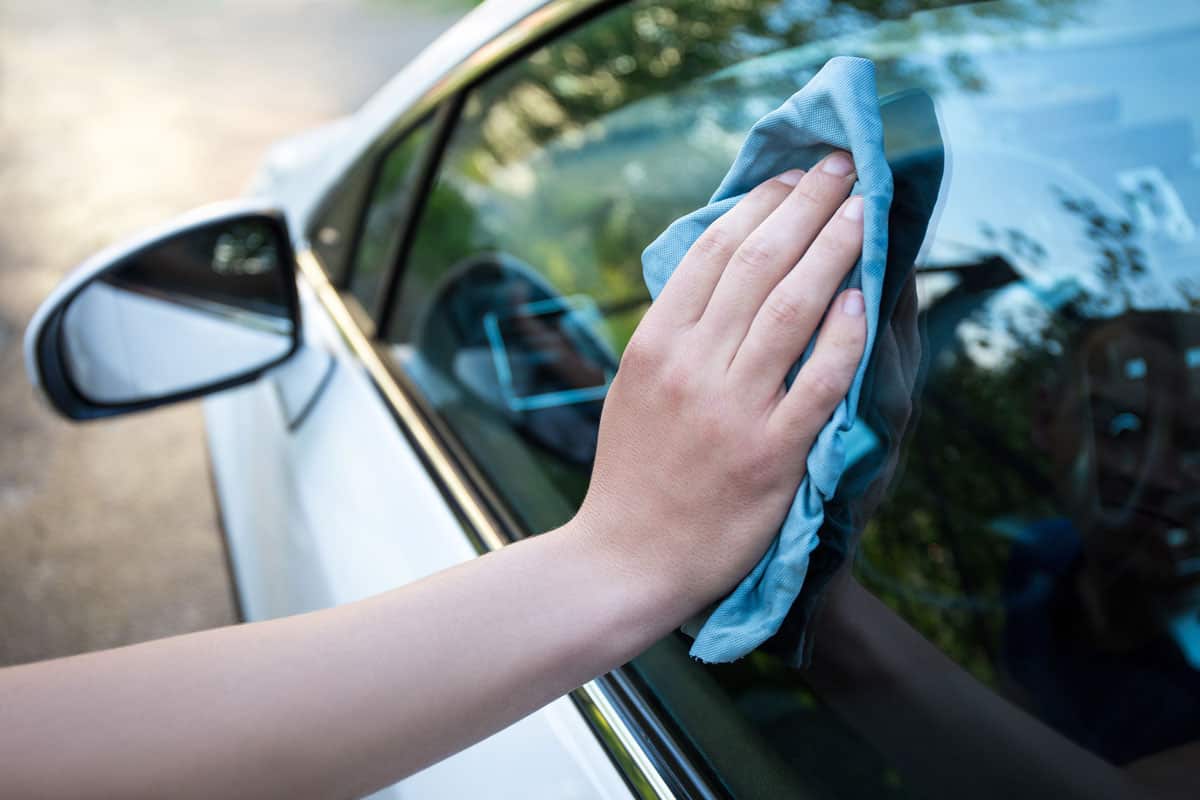
- Clean the area where you will install the Ventvisor. Most packages come with alcohol pads that you can use to clean the area. However, if your windows are dirtier than normal, you should wash your car first before using the alcohol pads.
- Let the area dry completely.
- While waiting for the area to dry, position the Ventvisor on the window of your car so that you’d know that you’re using the right part for the right window. Moreover, this helps you to visualize the position of the Ventvisor when it's time to install it.
- Peel off a small part of the adhesive cover on both sides of the visor.
- Fold the adhesive cover upward.
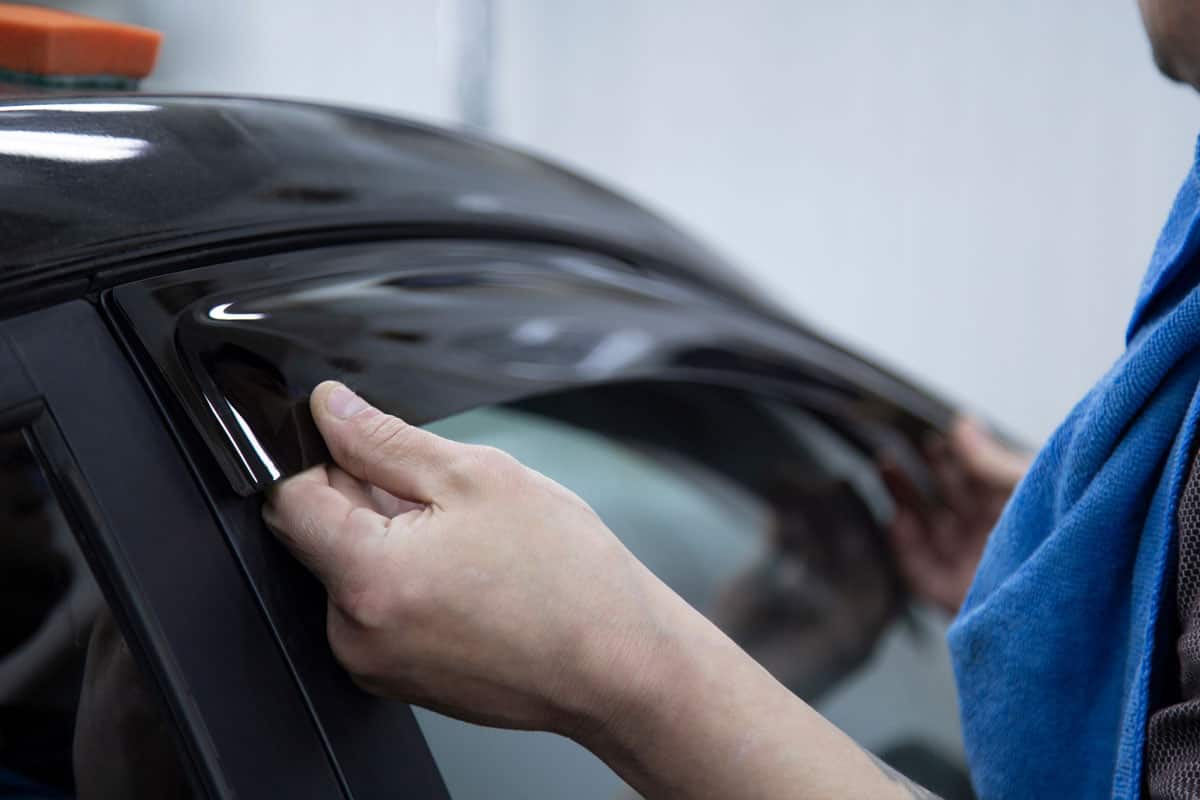
- Position the visor on your door window without touching the surface of the door with the exposed adhesive. Once you’re satisfied with the position, press the adhesive part to the door.
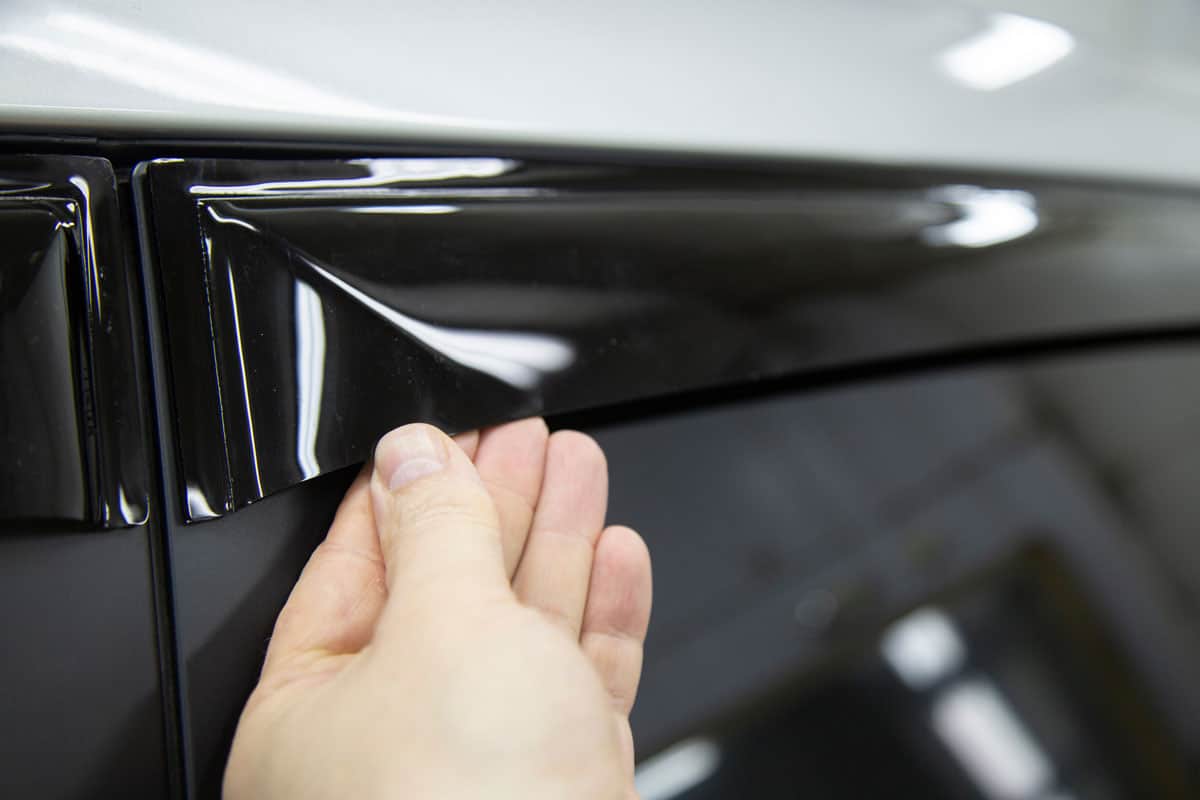
- Pull the adhesive cover slowly until you remove all of it.
- Use a clean cloth to push the adhesive firmly on your car. The clean cloth allows you to easily slide across the surface of the visor.
- Repeat the same process for the other windows of your car until you complete all the windows.
In-Channel Ventvisor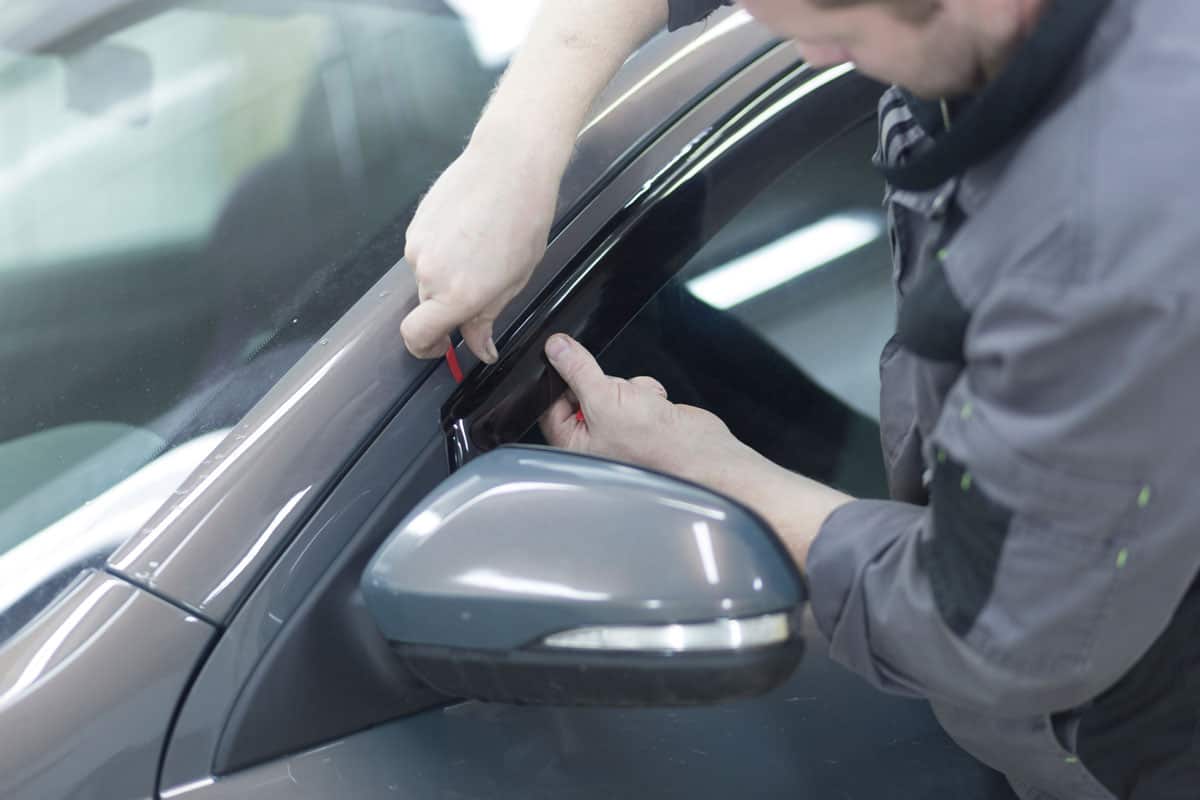
- Follow Steps 1 to 3 of the section “Tape-On Ventvisor.”
-
- Instead of focusing on the surface of your car during cleaning, you should also clean the window track on the side doors.
- Use the alcohol pad on the window track as well.
- Open the window of your car all the way down.
- Peel off the adhesive cover from both ends of the visor. Expose at least an inch of the adhesive on both ends.
- Fold the adhesive cover downward. You’d be inserting the in-channel visor upward. Thus, you’d be pulling the adhesive cover downward.
- Insert the front flange of the visor into the side mirror flap.
-
- When you start to work on the rear doors, the front and back flanges will go between the rubber gasket and the door.
- Insert the back flange between the rubber gasket and the door.
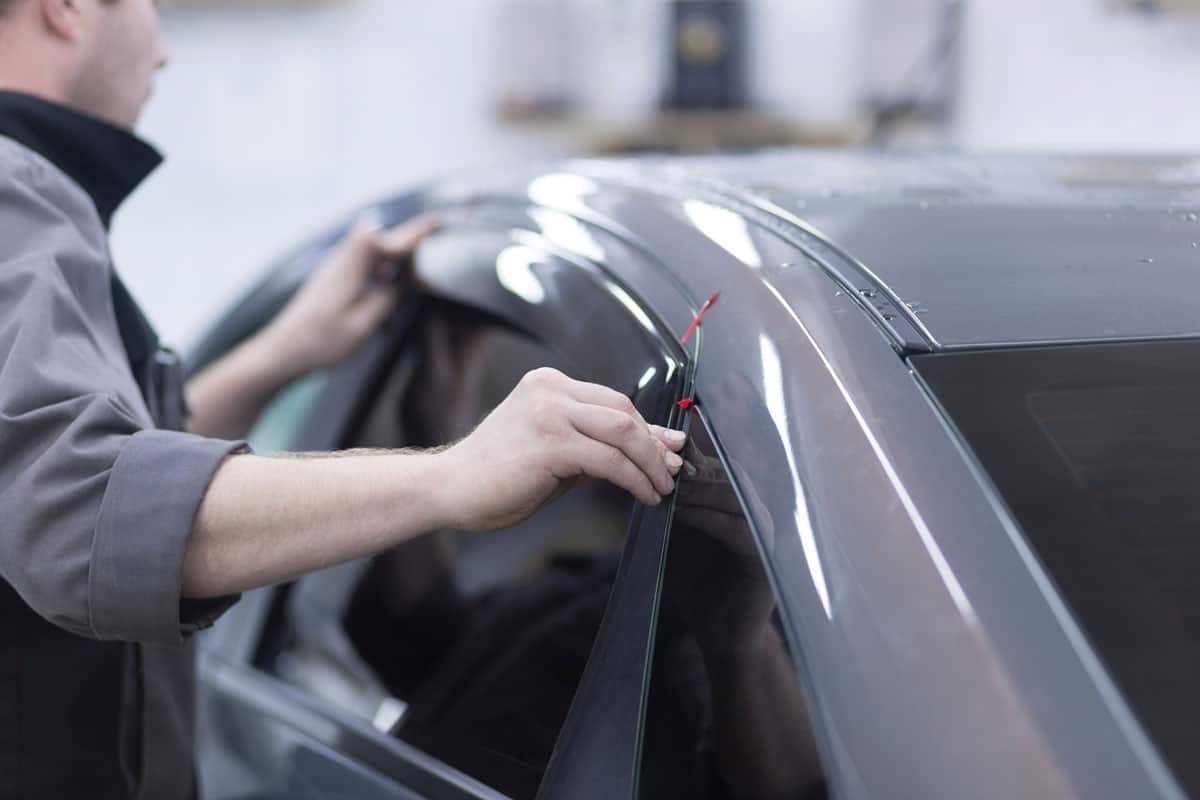
- Carefully slide the visor upward and insert the visor into the window jamb.
- Peel the adhesive cover, pulling it down until you remove all of it.
- Turn the ignition on to power the accessories of your car.
- Slowly close the window of your car until it pushes into place. The window will push into the rubber and press the adhesive into place.
- Repeat the same steps for the other windows of your car until you complete all the windows.
- Leave the window of your car up for at least 24 hours to give the adhesive time to set.
Conclusion
There are specific steps to install the two types of AVS Ventvisor. Identify the type of Ventvisor that you have and follow the steps to install it.
If you enjoyed reading this article, you might find the articles below equally interesting:
hello, i ordered an AVS window vent kit for my 2017 GMC Acadia SLE, read the instructions and did everything as instructed, the front windows installed great, until i shut the driver side window. it broke the corner of the vent…. the passenger side is fine, the vents for the back windows wouldn’t even install. guess i wouldn’t be to concerned but the vents cost me damn near $70.00, is there a way to remedy this?