You recently purchased highway pegs for your Harley Davidson, and you're excited to use them. However, you're unsure how to install them or where to place them. Don't worry! We share a thoroughly researched guide in this post to help you out.
These are the steps on how to install your Harley Davidson highway pegs:
- Install your highway pegs on the safety bars of your Harley Davidson.
- Decide the exact position to put your pegs where your leg is relaxed while on the road and your foot can comfortably rest on it.
- First, clamp the pegs on position with hex tools, an appropriate one with the kind of pegs you have.
- Don't tighten it right away just to set it straight.
- Once you have put it in place, gently tighten it.
- Measure the height of your first peg installation and apply it to the other side.
- Do the same installation on the other side.
The simple guide will save you time when installing your pegs. Keep reading to learn more details and how you can keep your highway pegs functioning and in place for a long time.
Installing Harley Davidson Highway Pegs
Highways pegs come in clamps to take hold of your motorbike bars. They provide room for positioning your legs the way you want.
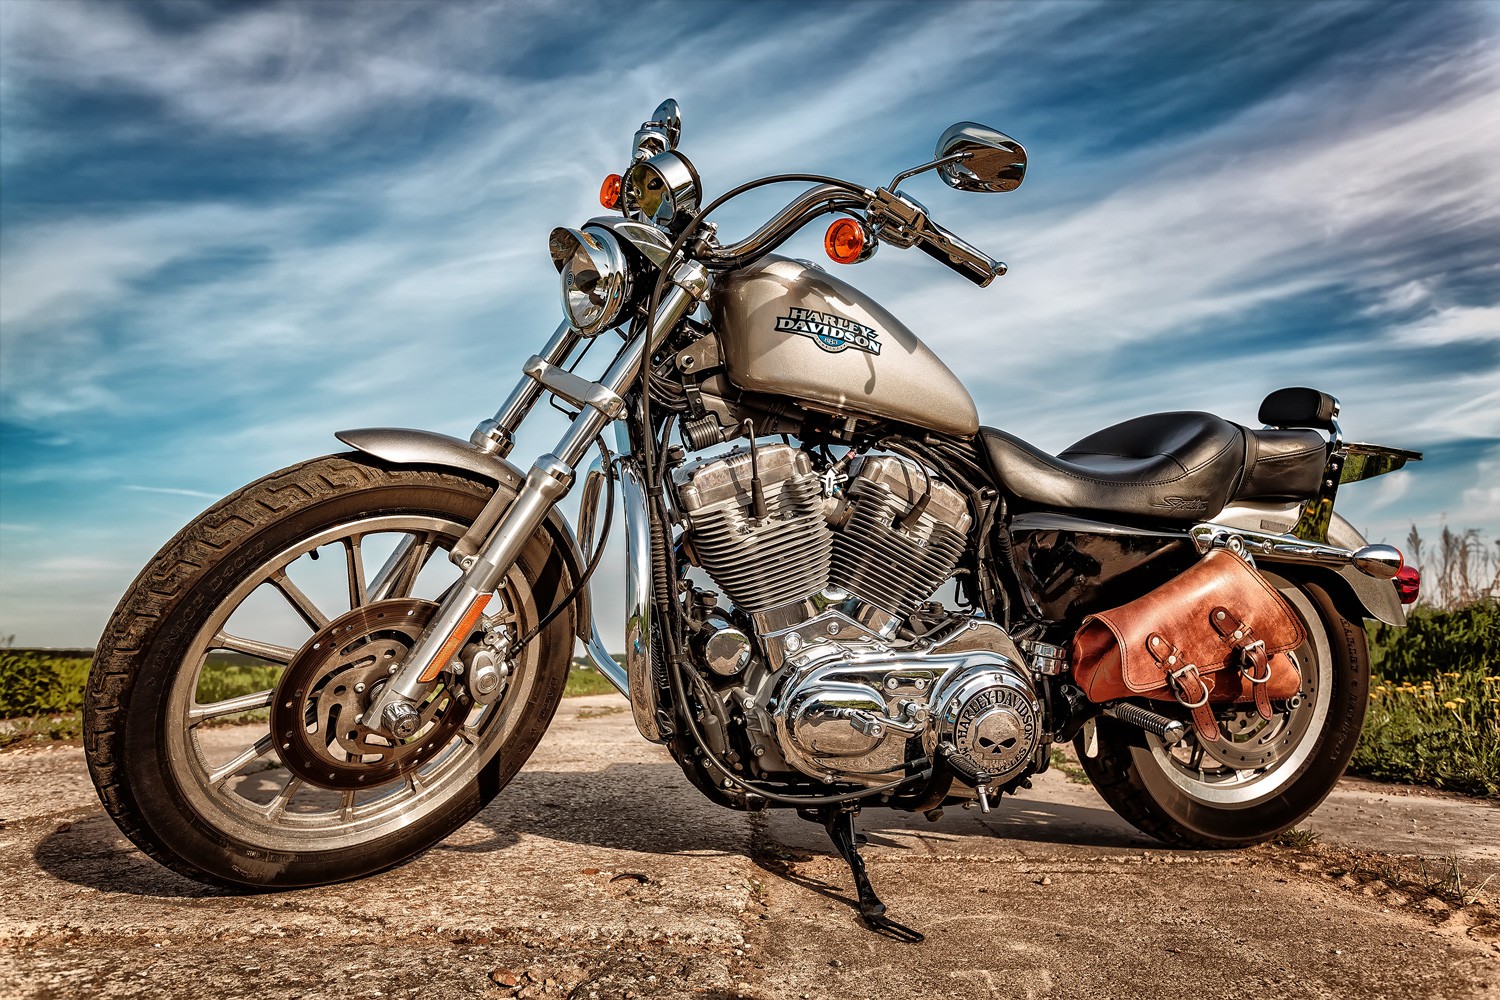
The pegs are flippable. You can flip them in or out and relax your legs on the pegs while riding or use them when turning a sharp corner. These pegs make the rider comfortable, lessen driving fatigue, and give more options on where to place your feet.
Check out these highway pegs on Amazon.
Types of Highway Pegs
Highway pegs differ on the material and the manufacturer. Generally, the pegs are made of:
- Steel - a traditional peg
- Aluminum - a light and soft material
- Cast steel or stainless - affordable and heavier than titanium or aluminum
- Titanium - super lightweight but easy to break
Check out these motorcycle highway pegs on Amazon.
Tools To Prepare
There are a few " target="_blank" rel="noopener">things to prepare in installing your highway pegs. Of course, you need to have your pegs ready. Unpack them and check that all the materials that come with it are complete.
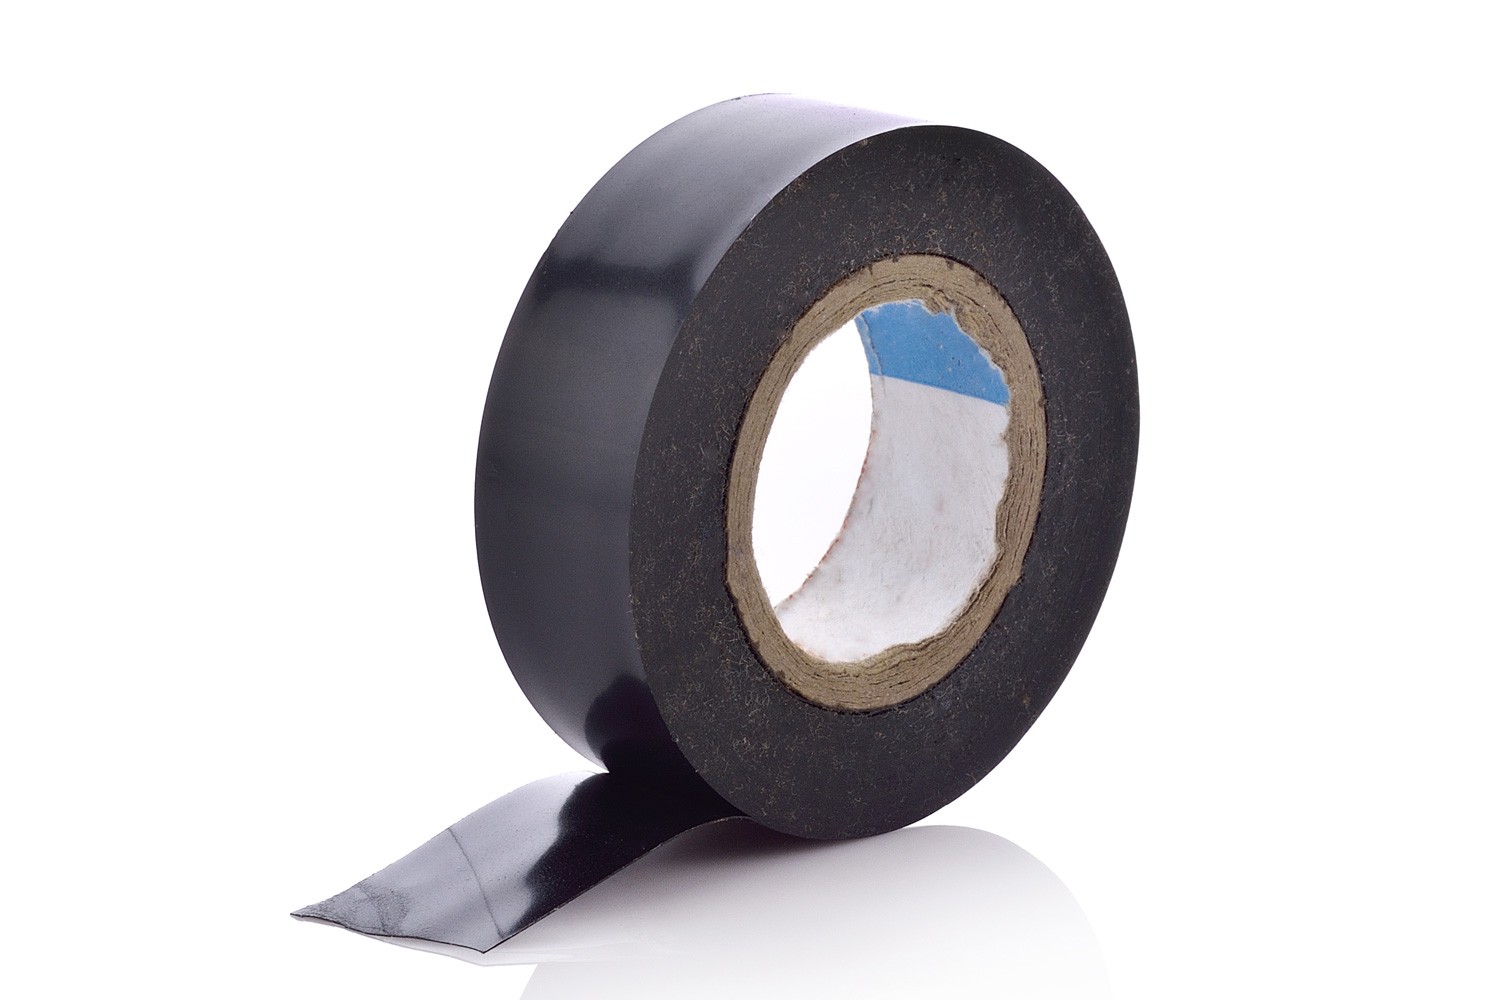
You will need electrical tape for protection from clamping the bar, especially when the bars have a finish coating. Some highway pegs come with a hex tool set. But if there isn't one, you should get one in the appropriate size.
You will also need a measuring tape or ruler to position both pegs on the same level.
Check out this hex wrench set on Amazon.
Where To Install Your Highway Pegs
Your highway pegs provide comfort even for bent knees while on a drive. Find the position in which most comfortable. Choose the degree of bend you want for better comfort. The taller you are, the further forward your pegs should be.
You should consider your motorcycle when buying pegs to ensure compatibility. Highway pegs are attached to the safety bars of your bike. Some bikes have longer bars, while some are short. It does not have more space to clamp the pegs.
Clamping And Leveling The Highway Pegs
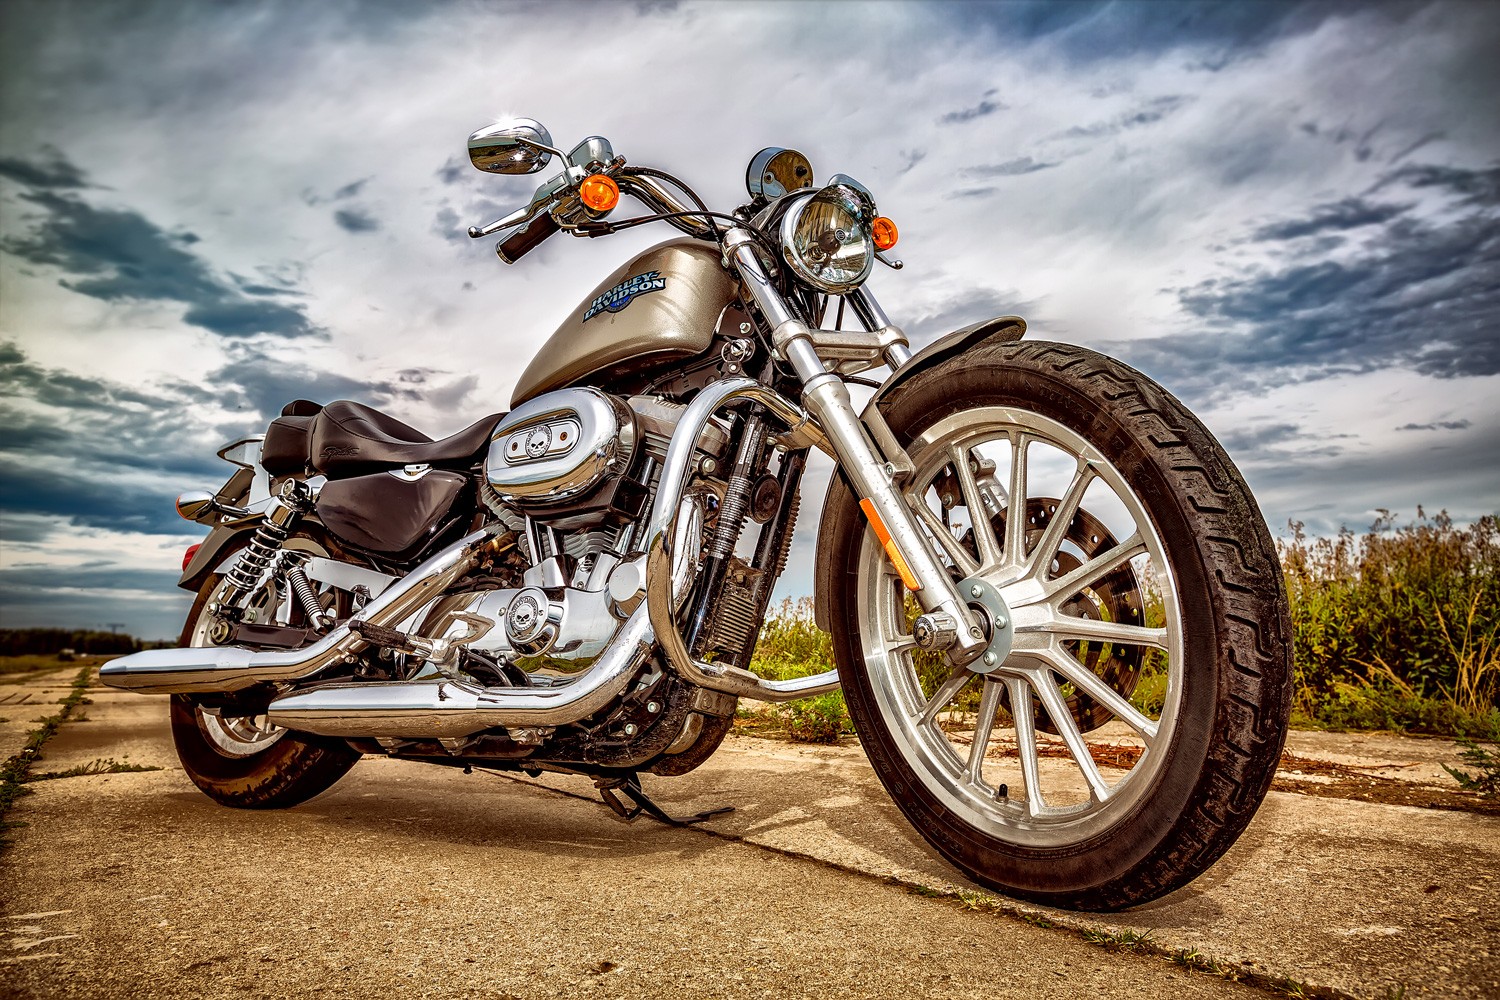
Attach your highway pegs with the protruding screw on top and the recessed part of the screw down.
You can use colored tape to mark the bar for the position of the pegs without tightening them at once to level-test the clamp or pegs before fitting it on the safety bar. Then, when you think it's level, bolt or screw the clamp to the bar.
Use a ruler or measuring tape to measure the height of the peg from which you will base the other peg for installation. Positioning both highway pegs on straight and proportional levels on both sides will give you the best comfort.
You will notice if one peg is proportionate once you rest your foot on it.
The Right Angle For Your Highway Pegs
Highway pegs come in short or long angles. Choosing the right one depends on the rider. Consider your height, weight, and inseam. These are the three factors that directly influence the angle you need.
Some riders know what works well for them. One rider who is 6'3" with a 34" inseam works fine with a short mount. Short angled mounts are also known to fit 6' 1" with 32" inseams. They are also reportedly a good fit for a 5'9" and 30" inseam.
Check out these adjustable highway pegs on Amazon.
Choosing The Right Highway Pegs
![]()
The right highway pegs for you are different from others. They are personalized. So you have to ask yourself some questions before getting them. Keep in mind these questions in considering pegs for your bike:
- How will you enhance your riding abilities with these highway pegs?
- What places or spots do you commonly go to on your bike?
- What time of the day do you like to ride? Is it in the morning, during weekends, or anytime?
- Do the pegs match your tires? Multipurpose tires call for versatile pegs.
- Will it make your body comfortable while riding, or does it relax your legs the way you want?
Best Features Of Highway Pegs
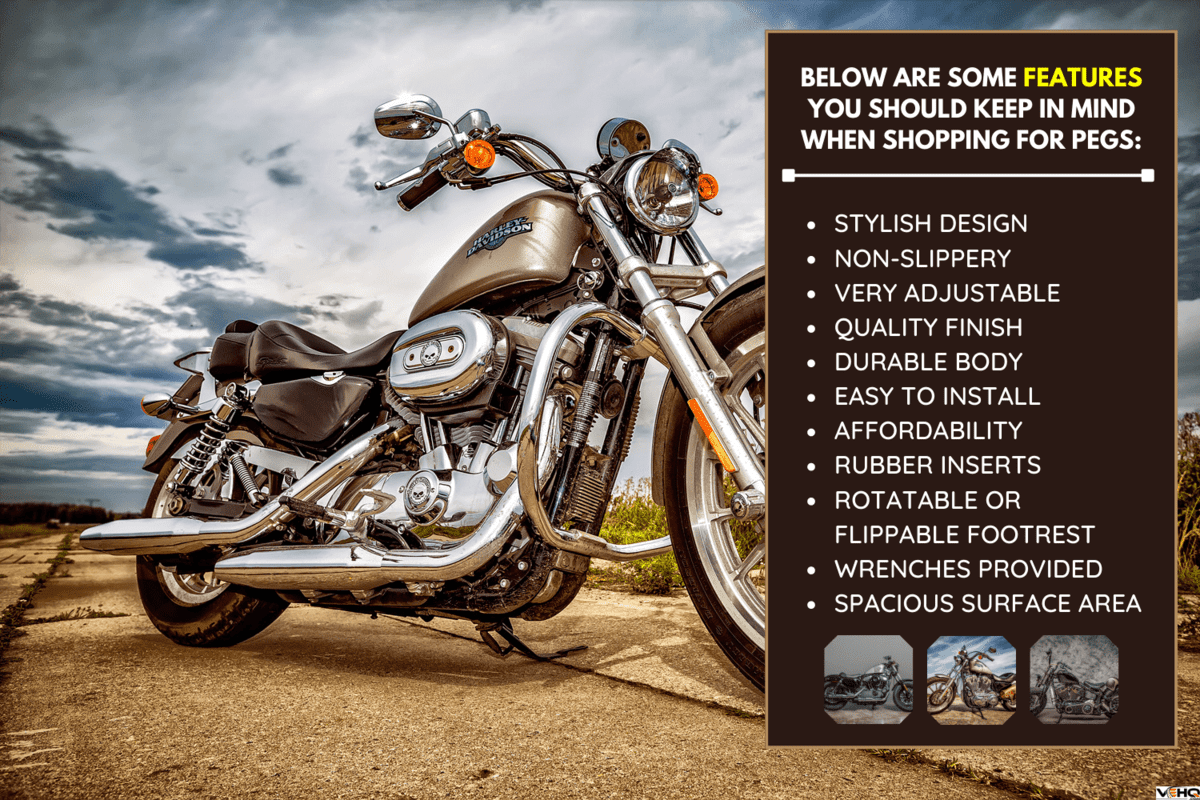
When you're looking for highway pegs, you should consider the best features of the highway pegs available. Below are some features you should keep in mind when shopping for pegs:
- Stylish design
- Non-slippery
- Very adjustable
- Quality finish
- Durable body
- Easy to install
- Affordability
- Rubber inserts
- Rotatable or flippable footrest
- Wrenches provided
- Spacious surface area
Safety Tips For Riding With Highway Pegs
It is always a good idea to add highway pegs for your bike. However, there are things that you need to remember when using them. Here are some tips to keep on when and how to use your highway pegs safely on the road:
- Never use your highway pegs on a road with a lot of traffic. Use them on an open road or highway where you can have a range of vision and position your feet smoothly.
- Stay alert and prepared to shift to emergency brakes whenever necessary.
- Avoid using your heels in shifting.
- Practice and get comfortable with your new highway pegs before going far or trying them on more demanding roads.
- Take time and practice transitioning quickly.
- Make sure your highway pegs are comfortable for you.
- Never have a long ride or frequent drive with only highway pegs on.
- Always carry a wrench or a set of tools for your highway pegs in case they get loose.
How Much Weight Can Motorcycle Pegs Hold?
Motorcycle pegs have a bolt of 6 to 8 mm. They can carry a minimum of 32,000 pounds for every square inch. Thus, the entire peg can take around 14,000 pounds. With more weight than that, the pegs could snap.
Can You Stand On Motorcycle Pegs?
Yes, you can. You contribute to the aggression of your bike in contrast to dead weight. You can have a clear line of vision off-road.
You can stand with your legs fully stretched with your knees secured on a long-distance ride. It helps you relax more and is less tiring.
How To Keep Highway Pegs From Slipping
First, confirm that you have the correct size of pinch clamps for your bar. You can put a chunk of rubber under the clamp. You can also put electrical tape before attaching the clamp to the bar.
Summing Up
Installing your Harley Davidson highway pegs requires a few tools, including a wrench, the right size of pegs for the bar, and electrical tape.
Put on the tape and clamp the peg on your desired bar section where your leg and foot feel the most comfortable while riding. Make sure you install the peg on level by measuring.
Discover more about Harley Davidsons in these posts:


