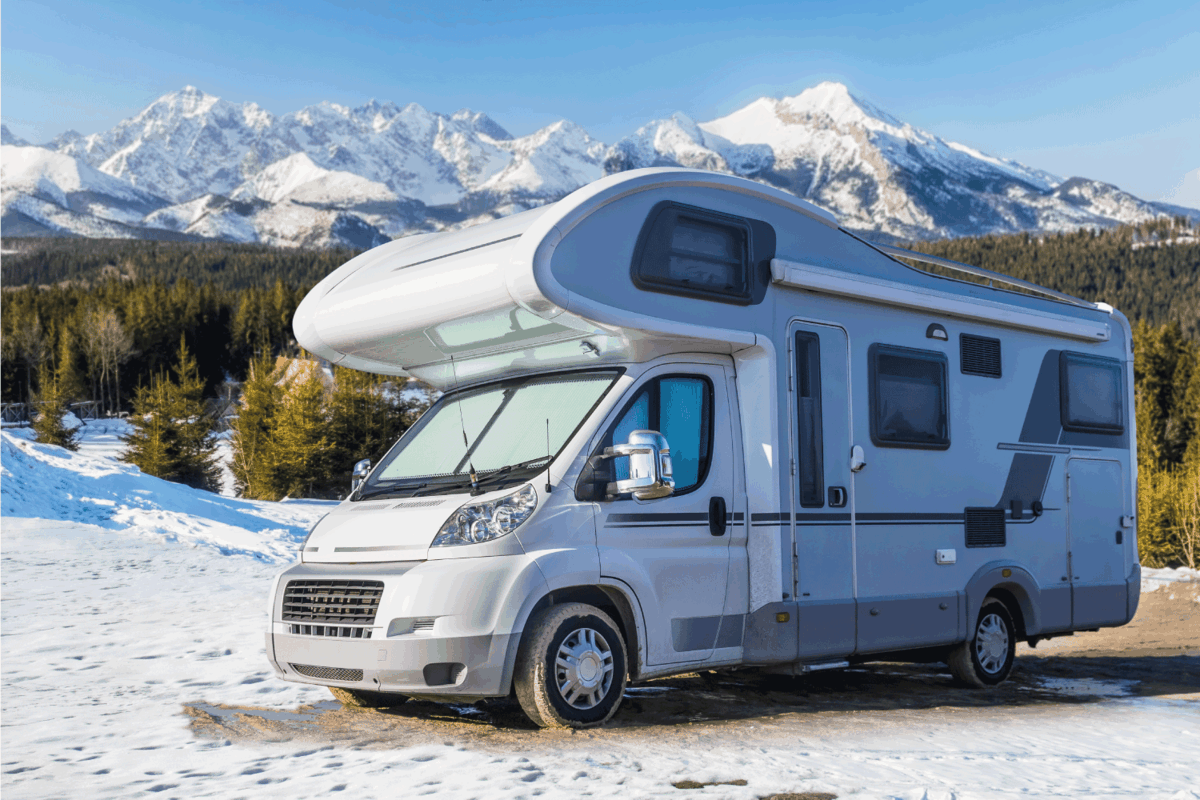
Not all RVers dream of wintering in the heat of Arizona. Some prefer to vacation in moderate climates or even to enjoy the frozen natural beauty of Alaska or Canada. A major issue to contend with if you're RVing in cooler climes is that your water and waste tanks can freeze. So, how do you protect your RV's tanks -- especially the grey tank, which is the one most susceptible to freezing? We've done the research, and we have the answers for you!
To keep your RV's grey water tank from freezing, use one or more of the following strategies:
- Winterize your RV's water system
- Put non-toxic RV antifreeze in the grey tank
- Empty your grey tank at strategic intervals
- Install skirting around the base of your RV
- Put a space heater in the wet bay
- Install a heated tank pad
- Combine skirting with one or more heating strategies
In the remainder of this article, we'll describe these strategies in detail and discuss the best conditions in which to use each. We'll also explain whether to leave your grey tank's valve open in winter. And we'll discuss the temperature at which the contents of your grey tank might freeze, as well as how long it can take the pipes and valves to freeze. Keep reading!
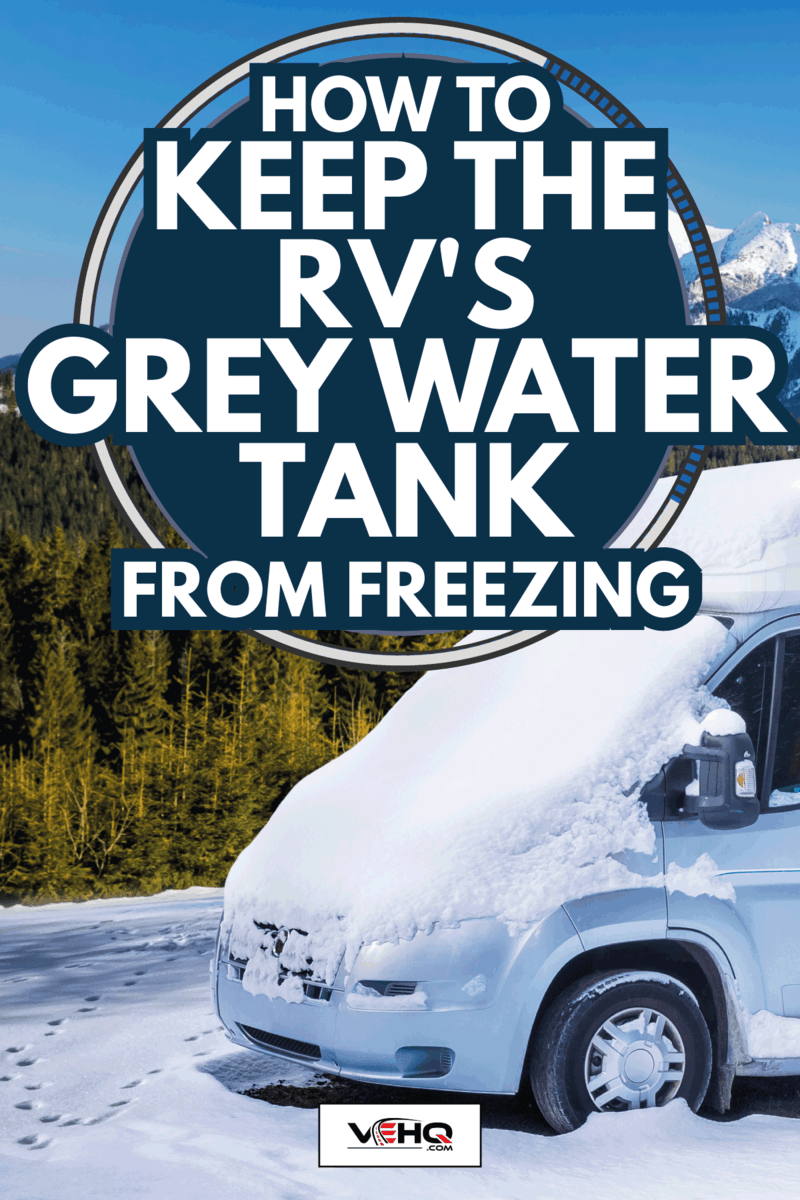
How To Keep The RV's Grey Water Tank From Freezing
Some newer RVs come with heated and insulated holding tanks, but if you have an older RV and want to go boondocking in cold weather, you'll need to take steps to keep your tanks, hoses, and valves from freezing. Two factors determine how much you'll have to do: the climate in the place where you plan to stay and the position of the water tanks in your RV.
Consider Climate
It goes without saying that if you're camping in the desert where the temperature drops to the low 30s at night, you won't have to do as much winterizing as someone who's spending the season in Alaska. So, your first step is to do a little research and determine how cold you can expect it to be at your destination.
Consider Tank Location
Next, determine where the holding tanks are located within your RV. If they're above floor level (typical in Class B motorhomes and conversion vans), the ambient heat in your RV will help keep them from freezing.
If, on the other hand, the holding tanks are mounted in the underbelly or outside the RV (common in Class A and Class C RVs, travel trailers, and fifth wheels), you'll need to take additional action.
Strategies to Prevent Grey Water Tank from Freezing
Based on the expected temperatures where you'll be staying and the position of your RV's holding tanks, select one or more of these strategies to keep your grey water tank from freezing.
Winterize Your RV's Water System
The safest option is simply to winterize your RV's entire water system, drink bottled water, and rely on campsite facilities and truck stops for toileting and bathing. Of course, this is also the most inconvenient strategy, so it's definitely not for everyone.
If you decide to winterize your RV's water system, follow these steps:
- Remove any inline water filters.
- Turn off the power to your water heater.
- Drain the fresh water tank.
- Drain and flush the black water tank and then the grey water tank.
- After the water heater cools, drain all the water out of it.
- Use a hand pump or a water pump conversion kit to infuse the entire system with RV antifreeze. Make sure you introduce antifreeze into all the lines.
- Pour antifreeze into each drain: kitchen sink, bathroom sink, toilet, and shower.
- Leave the valves open on all three tanks and the water heater.
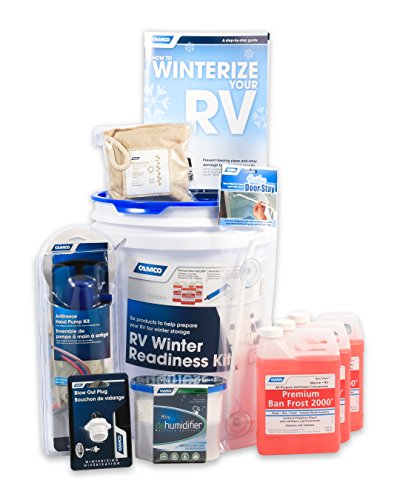
Click here for RV winterizing kit on Amazon.
This YouTube video demonstrates how to winterize your RV's water system:
Put RV Antifreeze In The Grey Water Tank
If you prefer a less dramatic option than winterizing and shutting off your water system, you may opt to add RV antifreeze to the grey and black water tanks. This is a relatively simple task; here's how to do it:
- Empty and flush your black water tank, then close the dump valve.
- Empty and flush the grey water tank, then close its dump valve.
- Pour two quarts of RV antifreeze down the toilet into the black tank.
- Pour another two quarts of RV antifreeze down the shower drain into the grey tank.
As wastewater enters the tanks, it dilutes the antifreeze, making it less effective. So, empty the tanks when they are half-full or less.
A note of caution: although this strategy protects your grey and black water tanks from freezing, it is not recommended for your freshwater tank. RV antifreeze is non-toxic, so it won't hurt you if you drink water that contains it, but the unpleasant taste is difficult to purge from your water system.

Click here for RV antifreeze on Amazon.
Empty Grey Tank At Strategic Intervals
If your wastewater tanks are at low risk of freezing, you might decide not to add antifreeze. In this case, you'll want to let your grey and black tanks get nearly full before you dump them. The additional water and waste help to slow down the freezing process. And, because there's no antifreeze in the mix, you don't need to worry about it getting diluted.
This is the riskiest of the strategies outlined here, and you should do it only if both of the following are true:
- The temperatures where you're camping don't go much lower than 32° F
- Your grey and black water tanks are located inside your RV above floor level or you have installed a heating device to keep them from freezing.

Click here for a replacement grey tank outflow valve on Amazon.
Install Skirting Around The RV's Base
If you plan to stay in one place for a while, consider installing skirting around the base of your RV. You can use prefabricated vinyl skirting kits or create your own out of plywood, tarps, insulation panels, or even bales of straw.
Skirting is highly effective in keeping cold air and drafts from getting underneath the RV and chilling the pipes, lines, and tanks. It also traps the warm air that radiates down from your heated trailer.
Whatever material you use, make sure you cover the entire perimeter of your RV. Even small gaps in the skirting can allow frigid air to creep into the space under your camper, greatly reducing the insulating effect of the skirting.

Click here for RV skirting on Amazon.
This video shows how to install EZ Snap vinyl skirting:
This one demonstrates how to use rigid foam board for skirting:
Put A Space Heater In The Wet Bay
The wet bay -- the storage segment holding your water lines and outflow valves -- is a critical place to keep your RV's grey tank from freezing. It's also one of the simplest ways to keep the water flowing in your RV.
Install a thermostatically controlled outlet in the wet bay and plug in a 250-watt space heater. When the outside temperature drops, the space heater will automatically kick on, preventing the water lines and outflow valve of your grey tank from freezing.
Thermostatically controlled outlets come with a wide variety of "on" and "off" temperature settings. Make sure you select one that turns on at 35° F and off at 45° F.

Click here for a thermostatically controlled outlet on Amazon.
Install A Heated Tank Pad
If you're heading for very cold climes, installing a heated pad on the bottom of each of your water tanks is your safest option. These pads come in a variety of sizes and shapes to fit the dimensions of your tanks. They adhere directly to the water tanks and are thermostatically controlled to switch on when the outside temperature drops to about 35° F.
Here's how to install a heated pad on your grey water tank (follow the same instructions for your fresh and black water tanks):
- Clean the bottom of the tank with a damp rag.
- Wipe the bottom of the tank with isopropyl alcohol to remove any last dirt particles.
- Allow it to dry completely.
- Starting at the edge of the heater pad where the wires come out, begin peeling off the backing.
- When several inches of the pad's sticky surface are exposed, adhere the pad to the bottom of the tank. Work slowly, making sure there are no air bubbles.
- Continue peeling off the backing and pressing the sticky side to the tank until the entire pad is attached to the bottom of the tank.
- Press hard around the perimeter of the pad to ensure that the edges firmly adhere to the tank.
- To provide power to the pad, attach the red (positive), and white (negative) leads to an available terminal in your battery bank.
- Secure the dangling wires to the underside of your RV.

Click here for a heated tank pad on Amazon.
Here's a YouTube video showing the process from start to finish:
Combine Skirting And Heating
Finally, if you're in a cold location and you intend to stay for a while, consider combining some of the options mentioned above. For example, you can put heating pads on your water tanks, add a space heater to your wet bay to keep the lines and valves from freezing, and erect skirting around the bottom of your RV to insulate the area underneath.
Mix and match the above strategies to meet your specific needs, based on your location and your RV!
Can You Leave The Grey Water Tank Valve Open In Winter?
Some RVers advocate leaving the dump valve for the grey water tank open in the winter. They argue that if the grey water drains out of the tank immediately, there won't be anything left in the tank to freeze. However, this strategy leaves the outflow valve susceptible to a gradual buildup of frozen water. This can create an ice dam, which can damage the valve and, potentially, the tank.
The best practice for emptying your grey water tank in winter is the following:
- If you put antifreeze in the tank, empty your grey water tank when it is half full. This way, the antifreeze does not get diluted.
- If you don't have antifreeze in the tank, wait until it's almost full before emptying it. The extra volume of water will delay freezing.
How Cold Does It Have To Be For RV Water Tanks To Freeze?
Your RV's water tanks -- even the black tank -- contain mostly water, which freezes at 32° F. The tanks are susceptible to freezing if their temperature drops to 32° F or lower.
If your RV's water tanks are located on-board and above floor level, the ambient heat within your RV will help protect them from freezing -- just keep your indoor temperature set at 45° F or higher, and you'll have no worries.
If your tanks are below floor level or mounted on the exterior of your RV, consider using one or more of the heating strategies we've described above.
Will RV Pipes Freeze In One Night?
In a word, YES! Water pipes are particularly susceptible to freezing because they are small in diameter and have a large surface area. Additionally, they are often located in small spaces that are inconvenient to heat. If you're planning to spend time in a cold environment, you may want to install heating tape on all your RV's water pipes.
In Closing
Now that you know how to protect your grey water tank from freezing, you can confidently camp in even the coldest climate. As we've mentioned in the body of this article, you can use the same strategies on your black and freshwater tanks, as well. So, pack up and head out this winter to enjoy the beauty of the great north!
You may also enjoy: