Adding a rubber coating to an RV roof can help prevent weather damage to the material. With the right product and application, the camper roof will have extra resistance against heat, moisture, and/or other elemental hazards. But how can you apply rubber coating to your RV roof? We researched for you and found out the appropriate way to apply this product.
Cleaning will be the first step to a rubber coating application on an RV roof. Once the camper vehicle’s roofing is spotless, rig owners can proceed with the next steps:
- Apply the correct primer based on the roof’s primary material.
- Use seam tape to bridge different areas, such as the joints and vents.
- Apply two to three heavy coats of liquid rubber coating.
- Add an extra coat of primer before passing with another coat of rubber finish.
Take note that you need to know the material of your RV roof before smearing rubber coating to an RV roof. Keep reading as we talk about the common materials used for camper and travel trailer roofing. We’ll also tackle the process of applying a rubber coating to an RV’s roof in greater detail.
How Do I Know If My RV Roof Is EPDM Or TPO?
Understanding the properties of ethylene propylene diene monomer (EPDM) and thermal polyolefin (TPO) allows you to care for your RV's synthetic roof properly. Follow these methods to know your RV roof’s main material:
Method 1
The first method is fairly easy since you only need to enter your vehicle and locate the roof vent. Once found, proceed with the next step:
- Remove the vent’s trim ring and take out the staples securing the excess roof material.
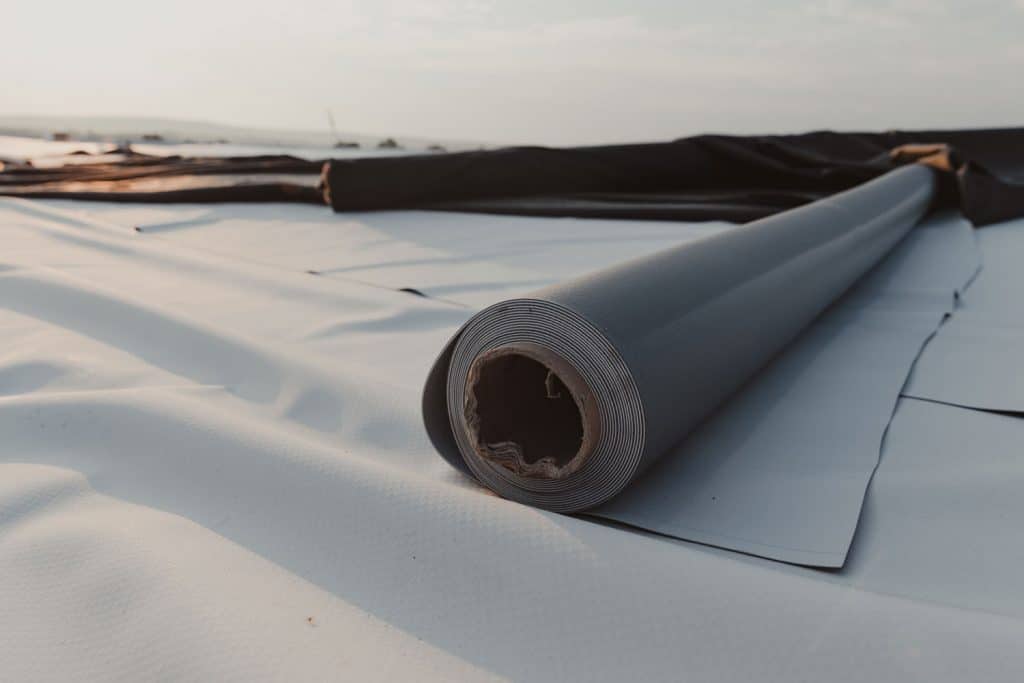
- If this excess material’s color is white on the side that’s facing you, and it has a black underside, the roof has an EPDM construction.
- If the roofing material is only one color on both sides (e.g., all white), the roof uses TPO.
Take note that different TPO RV roofs may have dissimilar textures. However, the point to remember is that TPO will always have one color for both its top and underside.
Method 2
This second method is often more laborious than the first means. But you may need to resort to this process if it’s difficult to remove the roof vent’s outer trim.
You need a stepladder for this operation. Once you have that piece of equipment, proceed with the rest of the procedure:
- Climb the stepladder at the rear corner of your RV to check the vehicle's roofline.
- Remove the screws from the side trim strip.
- Pull the strip slightly so you can examine the rear side of the roofing material.
- Again, check if the underside has a color that matches the entire strip. If so, the roof is TPO. Otherwise, it’s EPDM.
- Reattach and reseal the trim strip. Then, secure it with the screws you removed previously.
Be careful not to apply significant pulling pressure on the trim strip. Otherwise, you’re going to put permanent damage to this material.
You can also watch the video below to see how to do these methods:
Can You Put EPDM Over TPO?
Rig owners can install EPDM over TPO, particularly when the latter material is aging or if it contracted damage. This method can be a relatively inexpensive repair method as opposed to replacing the entire RV roof. Despite the added thickness, the result is new roofing that promotes enhanced durability and energy efficiency.

Check out this EPDM rubber roof material on Amazon.
How Do You Coat An RV Roof?
Before you finish an RV roof with a rubber coating, you need to ensure that the surface is clean. If not, dirt, dust, and debris can ruin the results. Use a brush or a mop dipped in a TSP or bio-degradable cleaning solution. Don't forget to close damaged or open areas to avoid water penetrating the roof. Then, use a pressure washer for stubborn muck or stains.
After ensuring the cleanliness of the RV roof, and verifying its material, you can move to securing other items for this project and moving to the next step:
What You’ll Need
- Roof primer
- Liquid rubber RV roof coating
- Seam tape
Step-by-Step Guide
- Prime the roof's surface with the correct product. Take note that EPDM and TPO often require different primers.
- Bridge the joints, seams, skylights, and vents with seam tape. The tape should lay flat onto the roof’s surface to avoid issues like leaking during the coating’s application.
- Apply the liquid rubber RV roof coating. Make sure to use heavy coats. Also, make two to three passes for the product to deliver a proper seal.
- If the rig has an EPDM roof, apply an extra heavy coat of EPDM primer.
- Apply another coat of the rubber roof coating.
If you masked certain areas on the roof, remove the painter's tape while the coating product is still reasonably wet. Also, avoid going through this operation under direct sunlight, or else the rubber material might dry quicker than usual.
For more information about how to do this project, watch the video below:
It’s also best to fix your RV roof before applying rubber coating. You can read our guide for help in that matter.
How Long Does A Rubber Roof Last On An RV?
A typical RV rubber roof will last about 20 years before it needs replacement or significant repairs. RV owners should expect some cracking or leaking to occur at about the 10-year mark. However, these problems may appear faster than usual, depending on specific parking conditions and the roof’s usage.
How Much Does It Cost To Put A Rubber Roof On A Camper?
Rig owners should expect to pay about $300 to $2,000 to install or replace a camper roof. The overhead may differ depending on certain factors like professional labor and the location of the service center. Other expenses to expect for this service may include:
- Roof decking: $24 per sheet
- Roof gaskets: $24.95 per air conditioner
- Aluminum radius: $5 per foot
- Old roof disposal: $20
- Molding removal and installation: $1.5 per hour
You can also read one of our posts for more information about the costs of replacing an RV roof.
How Often Should You Reseal RV Roof?
Resealing an RV roof should take place at least once a year. Take note that this regular maintenance practice may not require significant sealing to the RV’s rooftop. You might only need to seal small cracks and holes to prevent interior water damage.
Can You Use Flex Seal On RV Rubber Roof?
You can use Flex Seal to repair small to medium-sized fissures and other problems on an RV rubber roof. But you need to use the correct Flex Seal product to avoid damaging the vehicle’s rooftop. If you’re unsure about the roof’s material, you can do a spot check with a particular Flex Seal product. Then, keep a close eye for adverse reactions. If unfavorable results appear, discontinue using the product.

Check out this product on Amazon.
Final Words
Make sure that your RV roof is clean before applying a liquid rubber coating to the surface. Also, make two to three heavy passes with the product for a proper seal. If done correctly, you can secure your RV’s rooftop from potential hazards like weather damage.
There are several products available for RV owners to apply a RV roof coating and extend the life of their roof. We have an older RV with a rubber roof that was starting to leak in some damaged areas. Replaced some caulk around the AC and vents and recoated it myself two years ago with easy to use products I found online and it has been good since. Still have some product left. It’s RV roof magic. The easy one coat process was a big benefit to me.