Are you planning to install new armrest seat covers but you need to remove the armrest first and want to know how? You’ve come to the right place, for we have researched this question and have the answer for you.
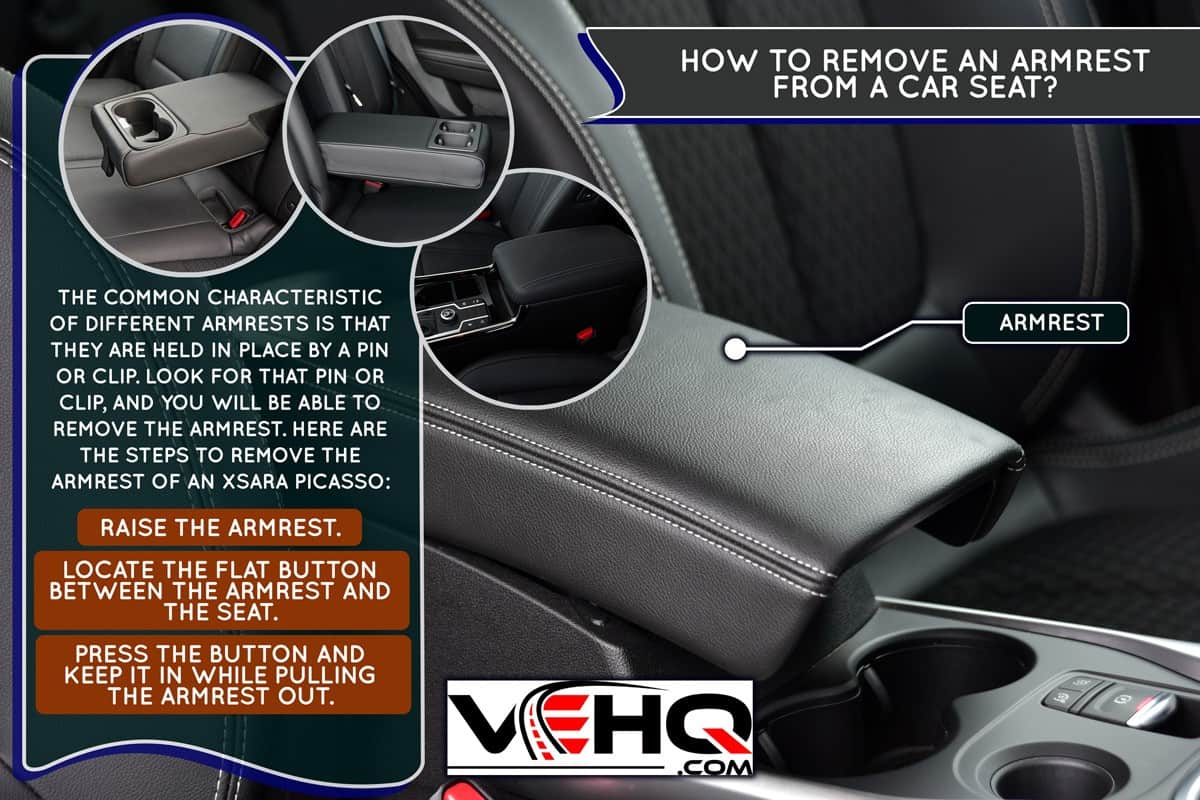
The common characteristic of different armrests is that they are held in place by a pin or clip. Look for that pin or clip, and you will be able to remove the armrest. Here are general the steps to remove an armrest:
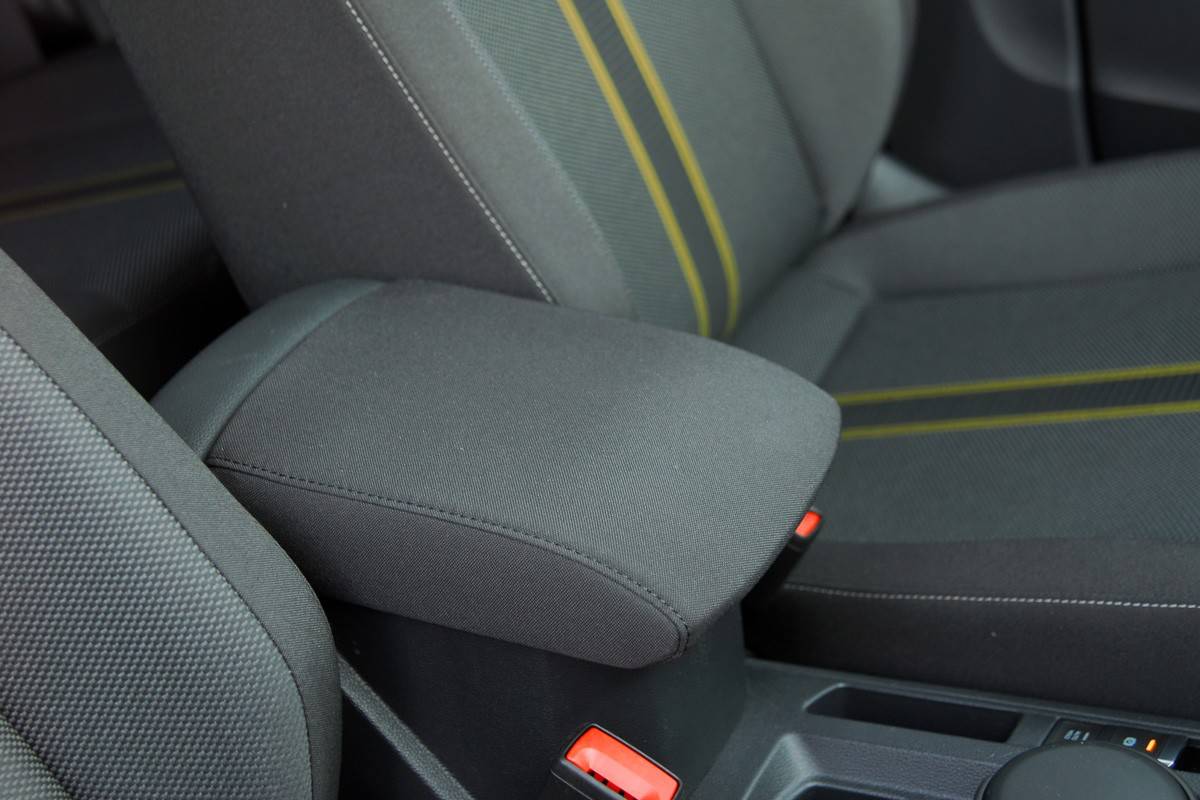
- Raise the armrest.
- Locate the flat button between the armrest and the seat.
- Press the button and keep it in while pulling the armrest out.
Let’s talk more about the armrest of popular vehicle models and how to remove them in the succeeding sections.
Read on!
Car Armrests: Comfort & Versatility
Larger and more expensive vehicles have seats that feature armrests to help improve the comfort level of the car.
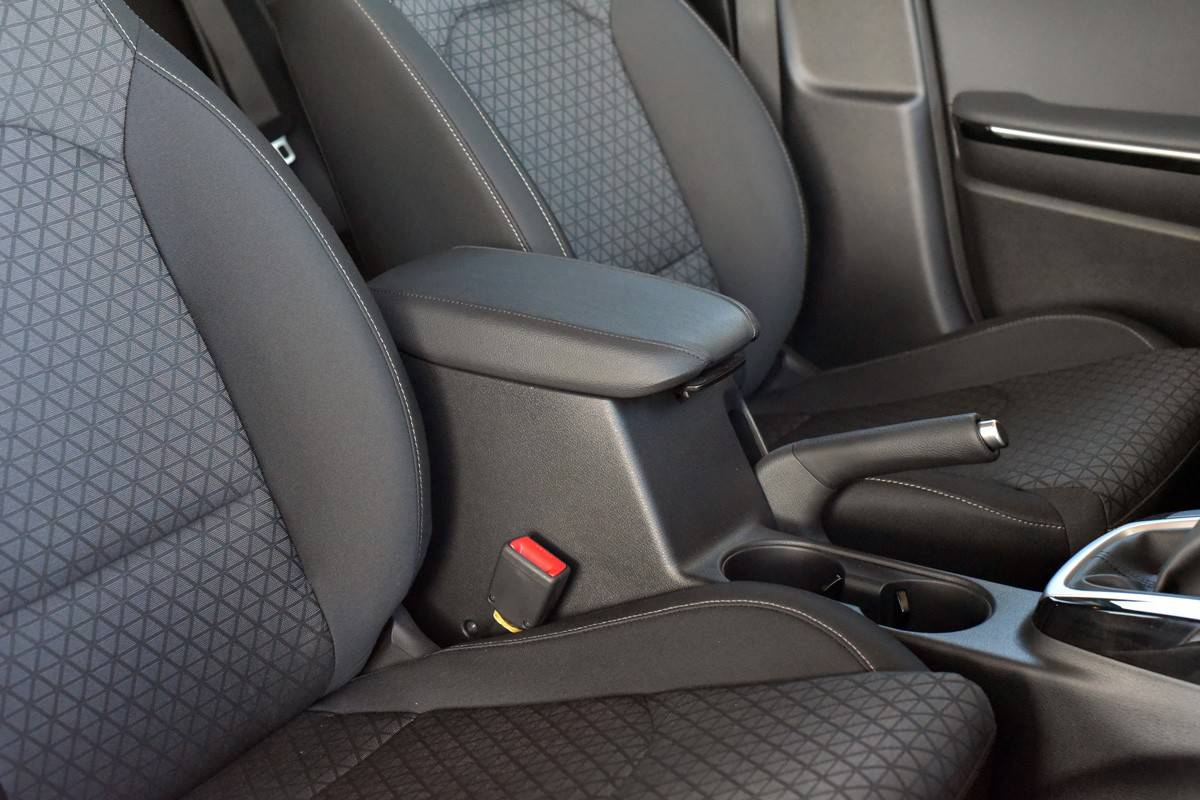
It is more common in larger vehicles because you need extra room between the seats to install an armrest. Even so, these seats often have only one armrest installed along the middle area of the vehicle. A common feature in cars is an armrest built into the door.
Wide vehicles that have enough space between the seat and the door have armrests on both sides of the seats. You can find these seats in campers, vans, and similar wide vehicles.
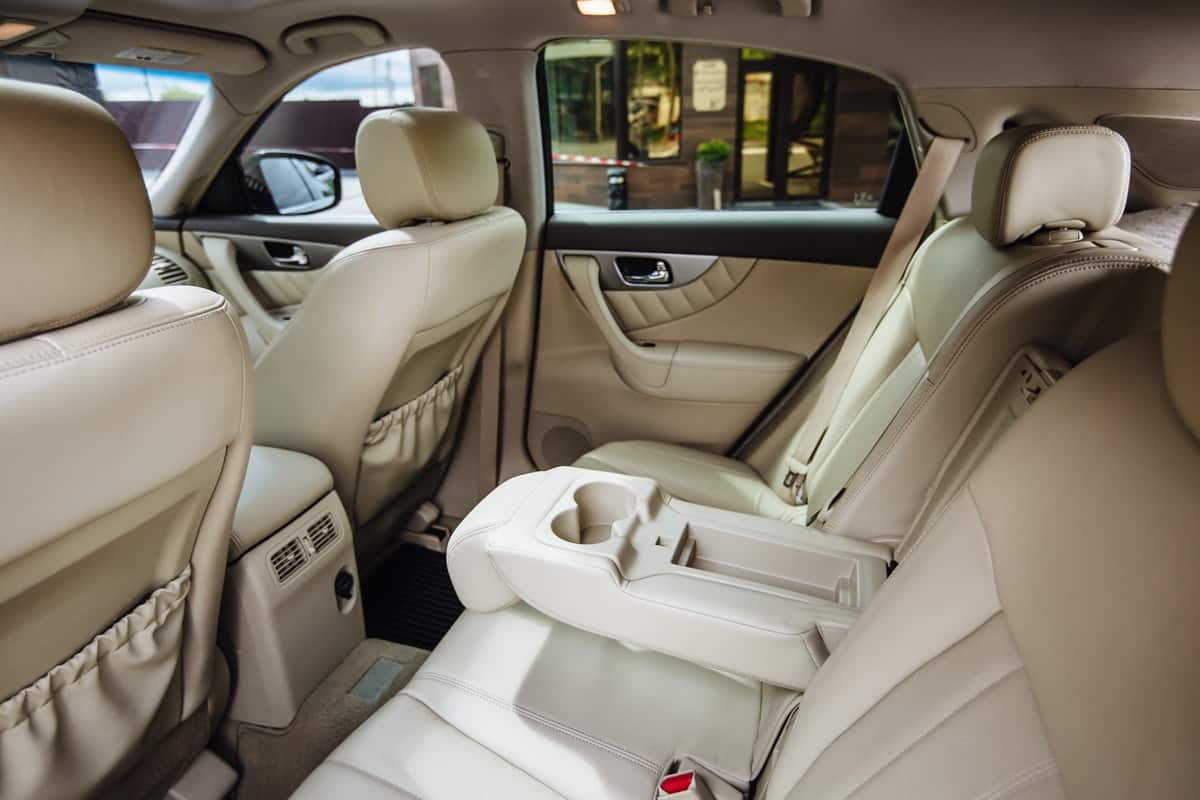
The armrest for rear seats commonly folds into the middle backrest. This is a shared armrest that occupies the middle area of the rear seat if no passenger is sitting there. You pull the armrest out of the backrest when you want to use it.
Shared armrests often feature two cupholders for the two passengers on the rear seat.
Some rear seat armrests double as a child seat. This design includes a specially adjustable seatbelt for the child occupant.
How To Remove The Shared Armrest Of A Chevy Silverado?
These steps will guide you on how to remove the shared armrest of a Silverado that also serves as the center console cover. You can use these steps for a Chevy Tahoe, GMC Sierra, or Chevy Suburban model years 2014 to 2020. These steps will also work for a Chevrolet 1500, 2500, and 3500.
- Park your vehicle on level ground.
- Activate the parking brakes, place your vehicle’s transmission to “park,” and then turn off the engine.
- Open the center console lid that doubles as an armrest for your truck.
- Use a plastic trim remover to pry off the plastic bottom. Start from the top and work your way to the sides of the plastic bottom. Make sure not to lose any of the metal clips that hold the plastic bottom in place as you pry it from the armrest.
-
- Carefully pull the plastic bottom from the hinge area. Avoid using sudden force to prevent breaking the clips that keep the plastic bottom connected to the hinge area.
- Disconnect the wire that provides power to the wireless charger if there is one. Some models have a wireless charger in the middle.
-
- To disconnect the wire, use a small flathead screwdriver to reach the back of the connector.
- Press the center of the connector with the flathead screwdriver.
- Gently pull as you press the center of the connector until it unlocks and comes loose.
- Locate the four Phillips screws that keep the armrest in place. These screws are usually inserted into two plastic bars that run vertically along the length of the armrest.
- Carefully pull the top armrest after removing all the screws.
- Clean the armrest thoroughly and let it dry naturally.
- Install the new armrest cover and reinsert the armrest back into the center console.
- Reinstall the screws. Reconnect the wire and reinstall the plastic bottom.
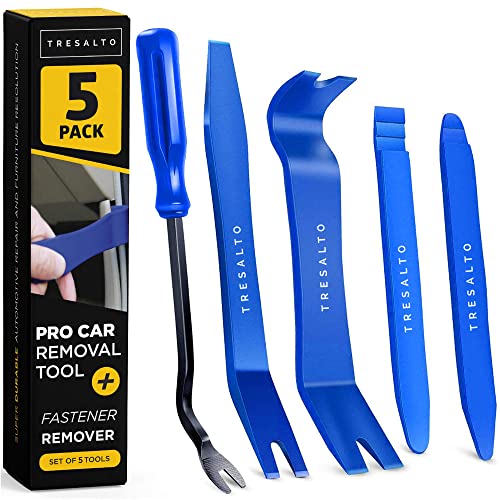
Get a trim removal tool set on Amazon through this link.
Replacing The Cover
If you plan to replace the old armrest cover instead of installing a new cover on top of the new cover, you will need to remove all the staples that keep the old cover in place. Use a flathead screwdriver to remove all the staples.
When installing the new armrest cover, you will need to use staples that are 5/32 inches in height with a crown length of 3/8 inches.
You will also need 1/4-inch staples for the corners. This size of staples is for when you have multiple layers of the armrest cover on the corners. They can easily become thick enough that the 5/32-inch staples will no longer be able to hold them in place.
Use an upholstery staple gun to make it easier for you to reinstall the new armrest cover. Remove the charging plate if your model has one. This will let you access the staples under the charging plate.
Remove all the staples of the old cover. Once you remove the old cover, use it to trace the exact replica over a sheet of vinyl or leather. Install the new cover using your staple gun, reinstall the armrest back to the center console cover, and fasten the plastic bottom back into place.

Get upholstery staples on Amazon through this link.
How To Remove The Armrest On A GMC Sierra?
The older models of trucks and SUVs have an armrest that is not multifunctional. Multifunctional means that the armrest also provides you with cup holders, wireless charging, or extra storage and organizers. This usually means that these armrests are not shared and connect to the seats individually.
These steps will guide you on how to remove the armrest from a GMC " target="_blank" rel="noopener">Sierra. You can use this guide to remove similar armrests that use the same method of fastening the armrest to the side of each front seat.
These steps also apply to 1995 to 2006 Suburban or Tahoe.
- Follow the first two steps of the section on removing the armrest from the Silverado (see above).
- Carefully pull the leather cover of the seat away from the side frame where the armrest is connected. Pull the cover to give yourself enough access to the pin lock that keeps the armrest in place.
- Use a 90-degree pry tool or a 90-degree long needle nose pliers to pull the rubber O-ring to one side.
-
- If you’re using 90-degree long needle nose pliers, pull the O-ring to one side, away from the hook end, and then pull it off.
- If you’re using a 90-degree pry tool, pull the O-ring to one side, then use a needle nose plier to pull the O-ring off.
- Use a 90-degree long needle nose plier to push the metal clip to release it. Keep the needle nose pliers locked on the clip. This is to prevent losing or dropping the clip into the inside of the seat.
- Pull the armrest out.
- Press the metal clip with pliers to tighten it.
- Reinstall the metal clip on the inside of the seat.
- Reinstall the O-ring to secure the opening of the metal clip. Reinstalling the clip and the O-ring will allow you simply push the armrest back into the seat, and the clip will lock it in place.
- Clean your armrest thoroughly and let it dry naturally.
- Install the new armrest cover. Make sure that you order the correct armrest cover that is specifically made for the model of your vehicle.
-
- Some armrest covers do not have a hole for the part of the armrest that goes into the seat.
- Install the armrest cover first, then use a cardboard cutter to make an “X” cut on the tip of the rod that is pushing against the armrest cover. This is the rod that you insert into the seat.
- Trim off any part of the new armrest cover that is blocking any mechanism that is necessary to reinstall the armrest back to the seat.
- Insert the armrest back into the seat. Apply steady pressure until it clicks back into position.

Get a long reach plier set on Amazon through this link.
How To Remove The Armrest On A 1992 Chevy Astro Van?

This is another Chevy vehicle that has a slightly different way to access the same armrest locking mechanism.
- Follow the first two steps of the section on the Chevy Silverado to secure your Astro van.
- Locate the Velcro strips at the bottom of the backrest of the driver or front passenger seat. You have one set on each side of the backrest. Release the Velcro straps.
- Pull the seat cover from the bottom, close to where you found the Velcro strips. You will not be able to completely pull up the cover. You just need to pull it enough so you can access the metal clip.
- Carefully raise the cover to avoid damage to it while you locate the metal clip.
-
- Some of these older models do not have an O-ring that helps keep the metal clip in place.
- Once you locate the metal clip, follow Steps 3 and 4 of the section on the GMC Sierra to release the armrest.
- Tighten the metal clip and reinstall it into the seat.
In Closing
The mechanism that keeps the armrest in place is similar across several models of vehicles from the same manufacturer.
If you enjoyed reading this article, you might find the articles below equally enjoyable to read:
Does Toyota Highlander Have 3rd Row Seating [And How Many Seats]?