Do you need to clean the intercooler of the supercharger in your Ford F-150 Lightning, and do you want to know how to get it done? You’ve come to the right place, for we have researched this question, and we have the answer for you.
Here is a summary of the steps to remove the supercharger on your Ford F-150 Lightning.
- Remove the air intake filter.
- Uninstall the heat shield.
- Remove the cold air intake tube.
- Disconnect the vacuum hoses.
- Remove the serpentine belt.
- Uninstall the bolts on the two sides of the supercharger.
- Lift the supercharger up from the back.
- Remove the bolts from the intercooler.
Let’s talk more about the Ford Lightning in the succeeding sections. Learn about the complete steps in removing the supercharger in your Ford Lightning in the sections below.
Read on!
Ford Lightning
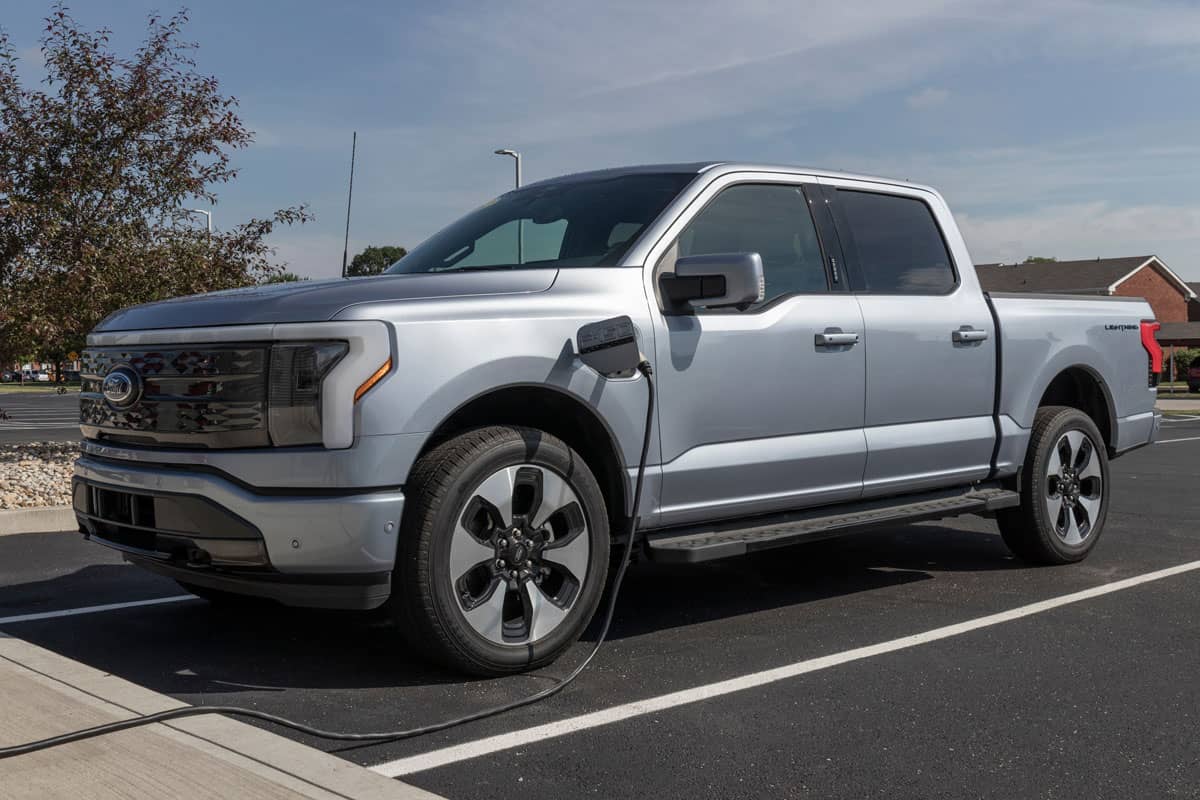
The 2022 Ford Lightning is s fully electric vehicle that can produce enough horsepower (563 horsepower and 775 pound-foot of torque) to humble some of the older Ford F-150 models. However, since the new lightning is an electric pickup truck, it cannot have a supercharger.

However, between 1999 to 2004, Ford produced a trim for the F-150 pickup truck that was designed like a Ford Mustang. This special trim was developed by the SVT or the Special Vehicle Team at Ford. Enter the Ford F-150 SVT Lightning.
This special 2-door F-150 trim is powered by a 5.4-Liter Triton V8 engine. Additionally, the engine comes with a stock supercharger that brings the horsepower to 360 and torque to 440 pound-foot. It can get from zero to 60 mph in just 5.8 seconds.
An earlier version of the Ford F-150 Lightning came out in 1993. This version was also developed by the SVT in-house division of Ford. However, this version does not have a supercharger.
What is a supercharger?
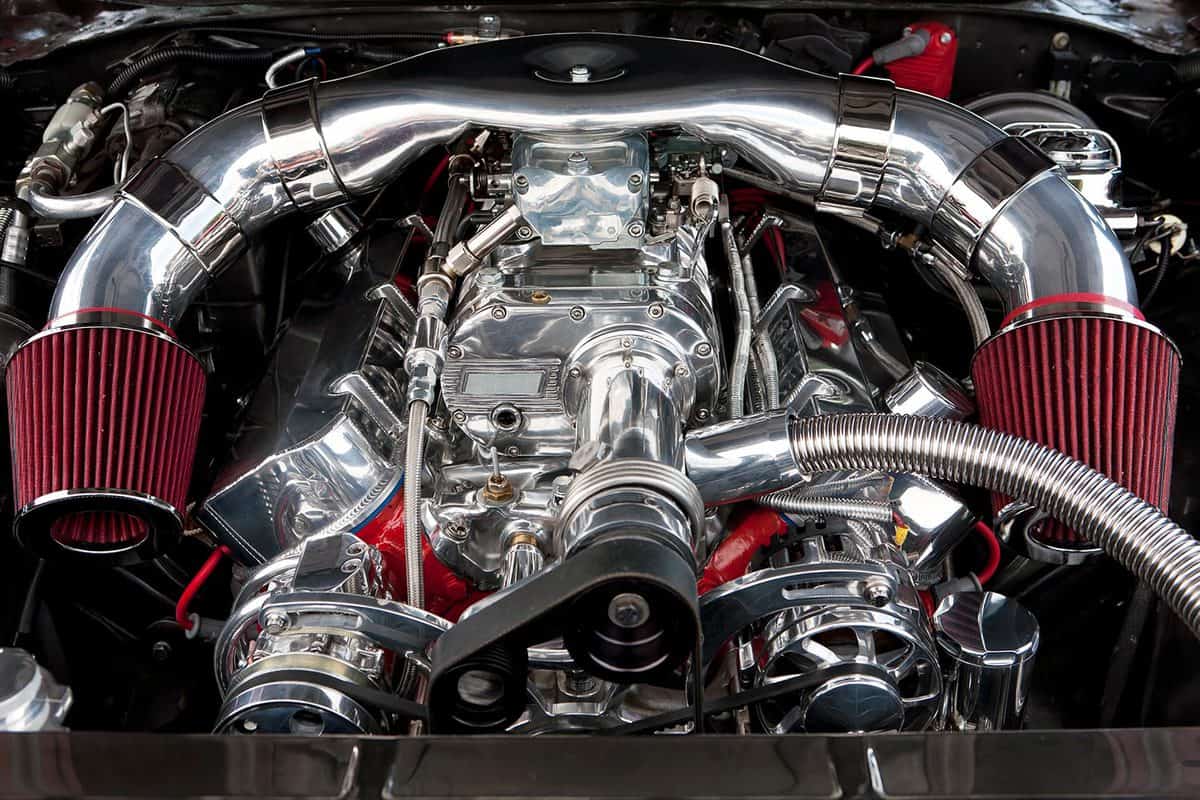
A supercharger is like a turbocharger. They both compress air before sending it into the combustion chamber.
Compressing air allows the supercharger to send more air into the combustion chamber. More air inside the combustion chamber means that the engine will be able to burn more fuel and produce greater power.
And with great power comes great horsepower and torque.
How do superchargers work?

Internal combustion engines produce power by mixing fuel and air and then igniting it inside the combustion chamber.
Normal internal combustion engines rely on the natural flow and density of air to supply the air for the engine. However, higher altitudes have lower air densities due to the lower atmospheric pressure that negatively affects the combustion inside the engine.
Lower air density means less air to mix with the fuel. Unfortunately, this also means that the combustion will be less efficient and effective.
The development of forced induction systems like a supercharger allows engines to receive a constant flow of air with the same mass regardless of the altitude.
Superchargers have two impellers that compress air as they spin. The rotational energy that these impellers use comes from the engine.
The impellers connect to a pulley outside of the supercharger. The pulley connects to the serpentine belt, and the serpentine belt harnesses the rotational energy from the crankshaft of the engine. Thus, the rotation of the engine powers the supercharger.
Pressure And Temperature
The temperature of compressed air rises. If hot air enters the engine, it will increase the internal temperature of the engine. This increases the chances for a pre-ignition where the fuel and air mixture ignites before the activation of the spark plug.
Therefore, the air coming out of the supercharger goes through an intercooler. An intercooler has fins like a radiator. Compressed air passes through the fins of the intercooler to drop the temperature before it goes to the engine.
Thus, keeping the intercooler clean is a good idea if you want to keep the performance of your supercharger at its peak.
How to remove the supercharger on a Ford Lightning?
Here are the complete steps to remove the supercharger on your Ford F-150 Lightning.
Preparing Your F-150
- Removing the supercharger and cleaning the intercooler can take some time. Make sure to park your Lightning on level ground and someplace where you can leave from time to time while still working on it. Someplace where you’re not going to lose any of your tools or parts is ideal.
- Activate the parking brake.
- Set the gear shifter to Park(P) if you have an automatic transmission. Set the gear shifter to the first gear if you have a manual transmission.
- Open the hood.
- Make sure the engine is cold enough to work on before you start.
- If you need to raise your Ford Lightning so you can get under it, then follow the steps below. A Ford F-150 Lightning is lower than regular F-150s and most people drop them further.
-
- Place wheel chocks on both rear wheels.
- Position the floor jack under the front jacking spots on your Ford Lightning.
- Jack up your Ford Lightning until it is high enough for you to slide under it.
- Position a jack stand under the jacking point.
- Do the same thing on the other side, making sure the jack stands are of the same height.
- Lower the floor jack and then raise it until it is barely touching the jacking point. This will turn your floor jack into a backup stand in case the jack stands fail.
- Give your F-150 Lightning a nudge to make sure that it is secure.
- You can take a picture of the connections on the supercharger before you take it apart. This will help you know where the cables and hoses go when you need to put them all together later.

BIG RED T43202 Torin Steel Jack Stands are available on Amazon through this link.

Camco 44414 Wheel Chock is available on Amazon through this link.
Removing The Air Intake Assembly
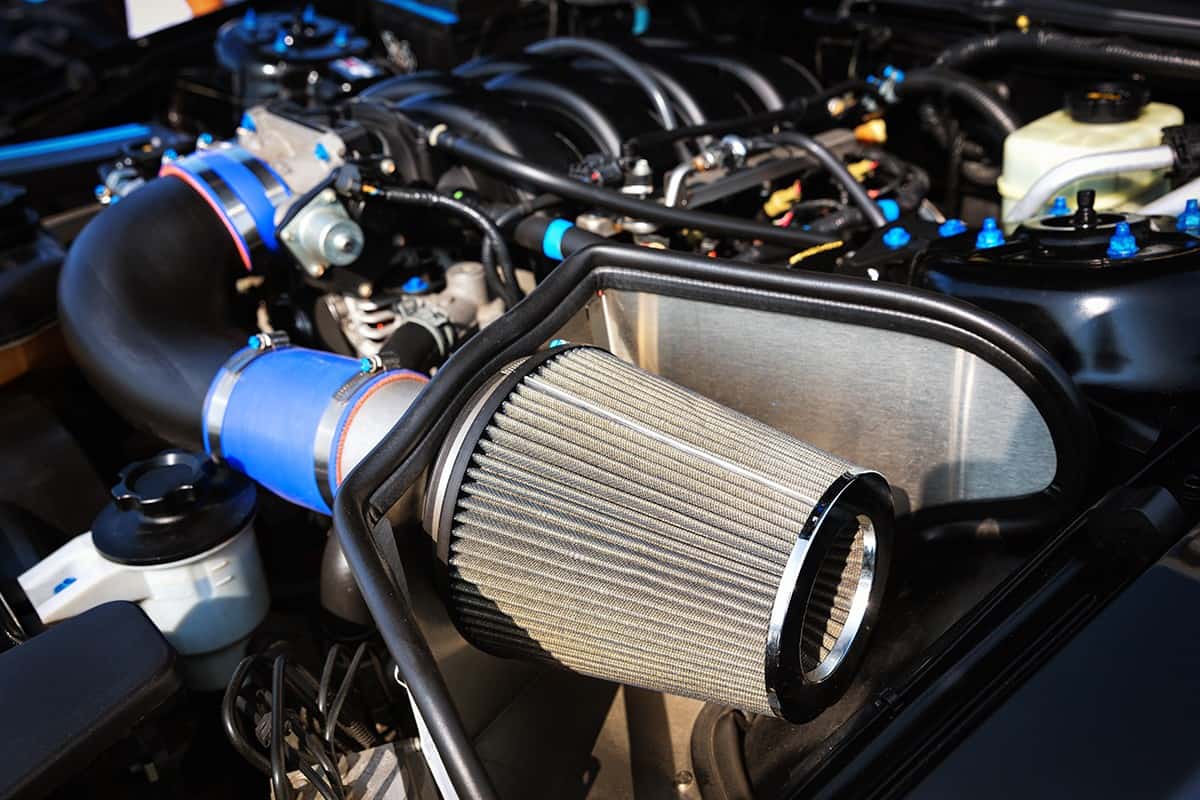
- Loosen the clip that keeps the air filter in place, then remove it.
- Remove the air filter.
- Remove the heat shield.
- Loosen the hose lock and remove the intake pipe.
- Disconnect the hoses that connect to the intake pipe.
- Loosen the bolts that keep the blue and black cables on the firewall.
- Pull the cables away from the firewall to make it easier for you to reach behind the supercharger.
- Remove the bolts behind the supercharger.
- Pull the intake assembly off.
Uninstalling The Supercharger
- Remove the bolts on both sides of the supercharger.
- Remove the bolts that hold the coolant reservoir in place.
- Move the coolant reservoir slightly to the left. This will give you the space that you need to reach down under the coolant reservoir area with a wrench.
- Use a wrench to loosen the tensioner pulley or the belt tensioner. Turn the wrench counterclockwise to loosen the belt tensioner.
- Remove the serpentine belt while keeping the belt tensioner loose.
- Carefully lift the supercharger from the back. The supercharger is heavy, and you need to lift it off the engine at a weird angle, so be careful.
Draining The Intercooler

- Slide under your truck and locate the intercooler pump. The pump looks like a small cylinder that is slightly longer than the oil filter. Alternatively, you can trace the coolant hoses coming from the intercooler. These hoses will go to the intercooler.
- Remove the hose lock that keeps the hose connected to the intercooler pump.
- Place a drain pan under the intercooler pump. Position it under the hose that you plan to disconnect.
- Disconnect the coolant hose that connects to the intercooler pump.
- Direct the flow of coolant down to the drain pan.
- Wait until the coolant stops draining.
-
- Check the coolant pump for possible issues. If the pump is already failing, you can replace it with a new pump before you put everything back.
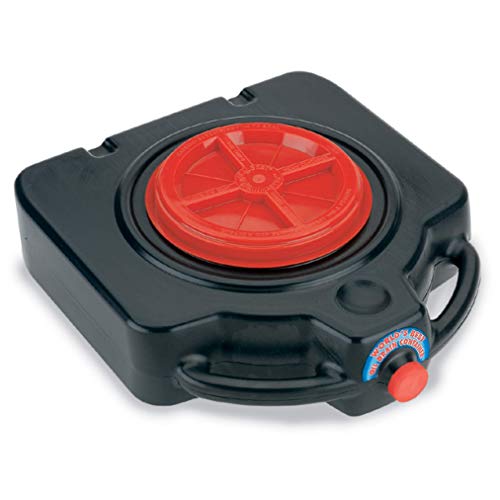
LUMAX LX-1632 15 Quart Drainmaster Drain Pan is available on Amazon through this link.
Removing The Intercooler Manifold And Cleaning
- Remove the bolts that hold the intercooler in place.
- Lift the intercooler out of the turkey pan area of the engine.
- Spray the outside of the intercooler with an engine degreaser. Let it sit for a while, and then rinse.
- Pour degreaser into the intercooler.
- Shake the intercooler around to let the degreaser reach all the areas inside the intercooler.
- Pour the degreaser into a waste collection bucket.
- Repeat the process once more.
- Pour kerosene inside the intercooler and let it sit for 15 minutes.
- Shake the intercooler to let the kerosene loosen the dirt inside.
- Drain the kerosene into the collection bucket.
- Pour mineral spirits into the intercooler and let it sit for 15 minutes.
- Shake the intercooler to let the mineral spirits further loosen the dirt inside the intercooler.
- Drain the mineral spirits into the bucket.
- Rinse the intercooler with water from the hose. This will get rid of loose grease and the residue of the cleaning chemicals.
- Let the intercooler dry completely before reinstalling.
- Clean the turkey pan area, removing any accumulated gunk and dirt. This area is notorious for oil deposits.
-
- Use a clean rag that is wet with brake cleaner to clean the turkey pan area.
- Reverse the steps of disassembly to put the supercharger back together again.
CRC BRAKLEEN Brake Parts Cleaner is available on Amazon through this link.

Coleman 32-oz Kerosene is available on Amazon through this link.
Conclusion
Removing the intercooler can be challenging. However, putting it together once more can be even more difficult than taking it apart.
If you enjoyed reading this article, you might find the articles below equally enjoyable to read:
How To Turn Off Mykey In A Ford F150 [Even Without Admin Key]?
F150 Won’t Start But The Lights Are Flashing – What Could Be Wrong?