Are you installing a new gray water tank in your RV, and do you want to know how to vent it? You’ve come to the right place, for we have researched this question, and we have the answer for you.
There are many ways to vent the gray water tank in your RV. The simplest is to connect a small vent hole on the top edge of the gray water tank. This allows gases to escape from under your RV.
Let’s talk more about venting the gray water tank of your RV or van in the succeeding sections. Learn about the different ways that you can vent the gray water tank in the sections below.
Read on!
![Man attaching a hose to the grey water tank of the RV, How To Vent A Gray Water Tank [Step By Step Guide]?](https://vehq.com/wp-content/uploads/2022/11/How-To-Vent-A-Gray-Water-Tank-Step-By-Step-Guide.png)
Purpose Of Venting The Gray Water Tank
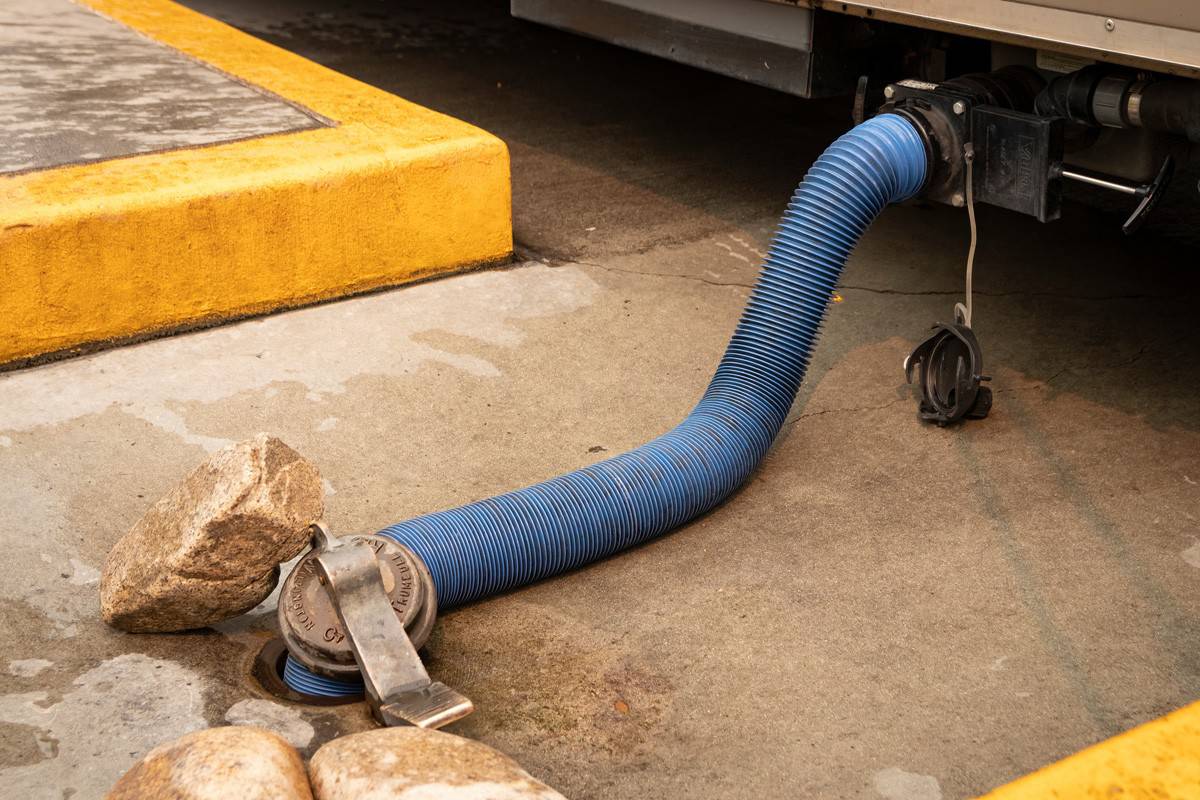
The gray water tank holds all wastewater in your RV except toilet water. It may not immediately be obvious, but the wastewater will eventually produce bad odors within a day or two. So, a vent redirects gases and resulting odor from the gray water tank to outside the RV.
Venting Pressure
Gray water tank vents serve other purposes. Without a vent, no air gets inside while the tank is being drained. This could cause the tank to begin to collapse upon itself due to building pressure, potentially causing structural damage or leaks.
Venting Gases
When your sink or shower drains to your gray water tank, the air that previously occupied it will need somewhere to escape. If the air and gases don’t have anywhere to go as wastewater drains into the tank, the rising water level will force the gases out elsewhere.
For example, if you’re taking a shower, the draining water will flow to your gray water tank displacing the air and gases inside. Once the pressure of the air and gas becomes great enough, it will push upward to other places. Unfortunately, these other places can be the drain of your sink.
The gray water tank can accumulate enough pressure to press the water in the P-trap upward and escape through the sink’s drain. And this means odor escaping into the living area of your RV.
How to vent a gray water tank?
Before we proceed, you must check if there are any local safety codes that you need to comply with when installing a gray water tank in your RV or van. If there are, adapt the steps below to comply with those codes. If there are requirements, you should ensure that all your equipment and measurements comply.
There are several ways to vent a gray water tank. We will talk about two ways here. You can modify these two methods of venting your gray water tank to come up with your own method that works best for your RV or van.
Additionally, we will also talk about some best practices when setting up the vents for your gray water tank.
Preparing Your RV
- Park your RV or van on a level area where you can easily slide under it.
- Activate the parking brake and place the transmission of your RV on "Park(P)."
- For added safety, position your RV chocks. This is in case you accidentally hit the brake cable while installing the gray water tank.
Preparing The Gray Water Tank
- Measure the dimensions of your gray water tank.
- Get under your RV and locate an ideal area where you can install the tank.
- Once you’ve found an ideal location, mark the areas where you can install the brackets that will hold the gray water tank in place. Ideally, you should install the tank brackets on the frame to better support its weight.
- Most gray water tanks have designated holes for the drain, fill, and vent. Check that the location of the vent is at the topmost point of the tank. Some tanks have all the holes on one side without considering if it is the vent's highest point. If this is the case for your tank, drill a quarter-inch diameter hole on the highest point.
- Apply some marine adhesive sealant around the perimeter of the part of the check valve that will go into the tank.
-
- The check valve will allow gas and air from the tank to vent out. Make sure that the direction of the valve is correct. It should let the gas from inside the tank get out but not let anything in through the valve.
- Insert the check valve into the hole for the vent.
-
- If there is enough space above the tank and the underside of your RV or van, you don’t have to do anything else. The check valve will serve as the vent for your gray water tank. It will vent the tank outside of your RV or van.
- However, if there isn’t enough space between the tank and the underside of your RV or van, then you’d have to continue following the rest of the instructions below for the installation of an alternative way to vent the tank.
- Assemble your bracket using the measurement of your gray water tank.

EVIL ENERGY’s check valve is available on Amazon through this link.

3M marine adhesive sealant is available on Amazon through this link.
Installing The Gray Water Tank
- Drill holes on the floor of your RV or van that match the holes of the gray water tank.
- Install the fittings on your tank. Apply some marine adhesive sealant around the perimeter of each fitting before you install it into the tank.
- When you complete installing the fittings, assemble the bottom of the brackets around the bottom of the tank.
- Raise the tank to the level where you want to install it. Double-check that the fittings are aligned with the holes.
- Use jack stands to support the tank and keep it in place while you install the brackets that will keep it in place.
- Install the supports for the brackets. Apply thread locker on the nuts and bolts before you install and tighten them.
-
- Use galvanized bolts so that they will not rust easily.
- Install the connectors that go to the holes in the tank.
Installing The Gray Water Tank Vent
- Connect a hose to the vent of your tank.
- Hide the hose behind the walls of your RV or van.
- Fasten the hose on the walls. Position it higher than the floor level. It can be a foot or two above the floor level, or you can have it as high as the ceiling of your RV or van. The important thing is that you can move the hose from where it originates to where you want it to exit.
You have two options here: ventilate via the ceiling or via the underside.
You can vent the hose to the ceiling of your RV or van. However, this can be a source of a leak in the future unless you seal it correctly. However, the advantage of this method is that the exiting gases will disperse higher than the level of your RV or van.
You can vent it to the underside of your RV or van. Just make sure that you’re not drilling into a tank under your RV. Some of the odors might be noticeable when you camp near your RV or van unless you set up camp closer to the source of the wind than the RV or van.
Sink Installation
- Install the sink as normal. Connect the sink’s drainpipe to the fill hole of the tank. However, instead of a regular P-trap that goes to a right angle that goes to the tank, the P-trap should end on a T fitting.
- Measure four inches from the level of the P-trap and trim the top of the T fitting here.
- Install another check valve that is big enough for the drainpipe.
-
- The check valve on the tank’s vent allows gases and air to escape from the gray water tank. However, the movement of gases is only one way. The check valve doesn’t allow gases to get into the tank. This takes care of venting gases out, but it does not let air in when you drain your tank.
- The check valve near the sink’s drainpipe will allow air into the gray water tank but not let gases out. This will allow your sink to drain water faster and supply the air into the tank when you’re draining it, preventing pressure from collapsing the tank.
- Alternatively, you can replace the P-trap with a HepvO valve. A HepvO valve serves the same purpose as a P-trap, and it provides the same function as a check valve.
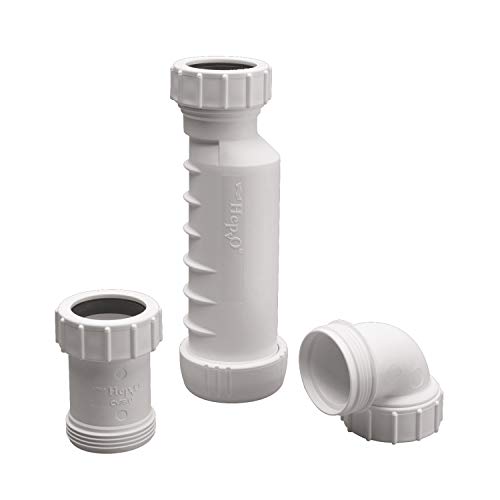
Wavin’s HepvO valve is available on Amazon through this link.
Conclusion
There are different ways to vent the gray water tank of your RV. It is simplest to install the vent when you are just installing the gray water tank so that you can include the installation of the vent with the installation of the tank.
If you found this article interesting, why not check the two articles below too: