Long-distance travelers or full-time truckers can use auxiliary fuel tanks for stress-free trips. But how do you properly vent them? We've researched this topic, and here are the answers we found.
Additional vents in an auxiliary fuel tank are necessary if the tank doesn't have them. You can add them by:
- Bolting them through the sheet metal.
- Attaching rubber hoses that fit the diameter of the vents.
- Sealing all connections securely.
These tubes serve as alternative vents other than the gas cap. Continue reading as we detail the installation and the proper materials to use when venting an auxiliary fuel tank.
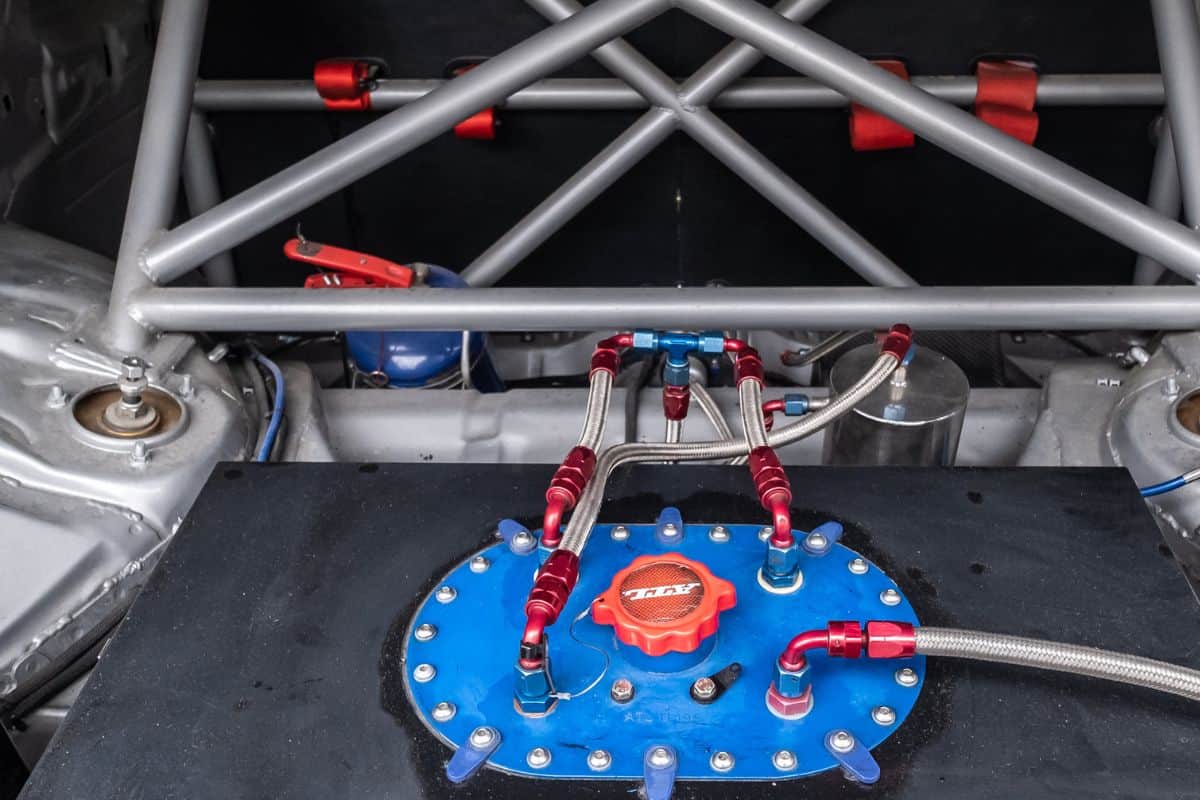
![trunk of the drift car, fuel tank. - How To Vent An Auxiliary Fuel Tank [Detailed Guide]](https://vehq.com/wp-content/uploads/2023/01/trunk-of-the-drift-car-fuel-tank.-How-To-Vent-An-Auxiliary-Fuel-Tank-Detailed-Guide.png)
A Detailed Guide To Venting An Auxiliary Fuel Tank

Auxiliary tanks constantly top up the fuel in your main tank. Thus, they are connected directly to them. The fuel feeding to the main tank happens by gravitation. These auxiliary tanks can be added to any type of transport, from motorcycles to boats or trucks.
But safety is crucial if you are riding around with a tank full of fuel. Therefore, you must vent it properly to avoid combustion due to pent-up pressure and friction. The fuel tanks are made of heavy-duty materials and might need additional vents.
To add these vents, you will need the services of a professional if this isn't your area of expertise. A vent is a breather tube that is appropriately routed to avoid fuel spillage or accidental siphoning. Leaving any caps open isn't ideal.
You can do the following:
- Purchase steel marine vents. Even though they are designed for boats, they work perfectly on any auxiliary tanks for trucks.
- Bolt them through the tank, which is sheet metal.
- Additionally, buy five-eighth rubber hoses and pair them with half an inch of stainless steel tubing at the ends. You might prefer stainless braided hoses instead.
- Finally, ensure you blow any dust and debris from the vent lines. This final step is crucial as you don't need impurities contaminating your fuel instead of venting the tank.
Make sure you do the job properly to avoid problems.
Click here to buy this vent on Amazon.
What Happens If You Don't Vent An Auxiliary Tank Properly?
Any tank needs proper ventilation, no matter how small or big. If you don't vent your auxiliary fuel tank correctly, it might:
- Collapse due to pressure build-up.
- Explode because of the friction caused by the expansion and contraction of fuel inside.
Ventilation allows you to release the pressure in the tank caused by the evaporating liquid. Vent valves act as breathers for the auxiliary fuel tank.
Do You Need A Warranty For An Auxiliary Fuel Tank?

Yes, you need a warranty for your auxiliary fuel tanks. Generally, a seven-year warranty is offered for auxiliary tanks installed in the United States and Canada. The warranty covers the fuel flow system, construction, and materials.
The warranty won't become void if you install the system personally. However, ensure you follow all the steps and use the supplied parts.
Installation is relatively easy for any vehicle owner with basic mechanical skills. But if you aren't confident enough to tackle this installation, engage the services of a professional for an easy night's sleep.
Where Should An Auxiliary Tank Be Located?
An auxiliary fuel tank in your vehicle should be in a cool enough position. Avoid having it close to the sides, and place it in the front or back.
The truck bed is an ideal location, but you can also position a tank at the bottom of a vehicle. It will work if there's enough clearance underneath the vehicle.
How To Install An Auxiliary Fuel Tank

Installing an auxiliary fuel tank in your truck bed can be easy. With the correct calculations, adding vents can be done before you mount the tank onto the truck making the process faster. Overall, installation can take two to four hours.
The installation steps for installing an auxiliary fuel tank are as follows:
- Park and lift your vehicle in a well-lit, spacious area. Ideally, you should work outside or in a garage workshop.
- Engage a friend to help with moving, lifting, and rearranging. You could also hire a professional team to do the job.
- Place the tank to see how it fits in the position you want it. Before you drill any holes, ensure that you place the auxiliary fuel tank in a central position on your truck bed.
- Mark the position you'd like to drill the tank holes. Start drilling by making pilot holes to avoid jagged holes. Moreover, the pilot holes will help you identify where the hole goes through the vehicle's undercarriage.
- Attach the filler lines to the auxiliary and main tank through the drilled holes. Mount the fuel tank and attach any needed hardware. Don't tighten the bolts and nuts before counterchecking if the tank is as it should be.
- You can set up the filter before filling the tank with fuel. Also, install the adapter kit and connect the auxiliary tank to the main one.
- The final step is to use the auxiliary tank. Remember, there's a shut-off valve you should always leave on if you use an auxiliary fuel tank that uses gravity to refill the factory car tank.
Click here to see this stainless steel braided rubber hose on Amazon.
This video elaborates on the step-by-step process. Check it out for more details.
Parameters Of An Auxiliary Fuel Tank
Getting an auxiliary fuel tank that's the right shape and size is essential. The tanks come in primarily two forms: rectangular and wedge. The largest tank has an overall size of 64 x 48 x 25 inches; the smallest is 22 x 14x 20.5 inches.
The capacity of the auxiliary fuel tank is in gallons, with the smallest being 20 and the largest carrying 66 gallons. They all come with an outlet that's three-eighths of an inch in diameter.
Most auxiliary fuel tanks are aluminum and can withstand high pressure. They have welded seams that don't allow leaks. The tanks don't corrode, which helps keep your fuel clean and free of contaminants.
How Much Do Auxiliary Fuel Tanks Cost?
The price of an auxiliary fuel tank is affected by the brand, capacity, and specifications. Expect to pay $400 to $1,500 and additional costs for installation and equipment.
Auxiliary tanks are a worthwhile investment if you don't want to experience a scene from a horror movie, stranded in the middle of nowhere with no fuel.
Have a look at this auxiliary fuel tank on Amazon.
Can I Use My Auxiliary Fuel To Transport Gasoline?
Yes, you can. You should purchase an auxiliary fuel tank to suit your needs because there might be restrictions depending on the thickness and other parameters. Other than that, auxiliary fuel tanks can transport gasoline, diesel, water, fertilizer, oil, kerosene, biofuel, or ethanol.
How Long Do Auxiliary Fuel Tanks Last?
Although they are made of high-quality material, the elements and time take a visible toll on auxiliary fuel tanks. Since you need to have your auxiliary fuel tank inspected every 18 months, any issues that require you to replace the fuel tank will be evident on time.
Do Auxiliary Fuel Tanks Need Emission Tests After Installation?

Auxiliary fuel tanks must meet the recommended regulations specified in 49 CFR178.803. Every two-and-a-half years, auxiliary fuel tanks must be retested to ensure that they are mounted correctly and that any changes, such as adding vents, are done professionally.
Is An Auxiliary Fuel Tank The Same As Transfer Tank?
No, they aren't the same! An auxiliary fuel tank occupies truck bed space and uses computer controls to fill your main truck tank. It has a large capacity for long distances as it uses gravity to feed fuel to the truck.
A transfer tank is not attached to your vehicle and only carries a few gallons of fuel. It is a temporary solution to your fuel needs and won't take you far.
To Wrap Things Up
Vent your auxiliary fuel tanks using additional hoses, which can be attached to the fuel tank by drilling into the sheet metal. Ensure that you seal the holes and hoses together correctly. Remember to position the hoses higher to avoid fuel spills or siphoning.
Choose an auxiliary fuel tank that caters to your needs and have it inspected every 18 months. Engage the services of a professional because the installation requires some mechanical knowledge.
If you found this post helpful, check out these related articles:


