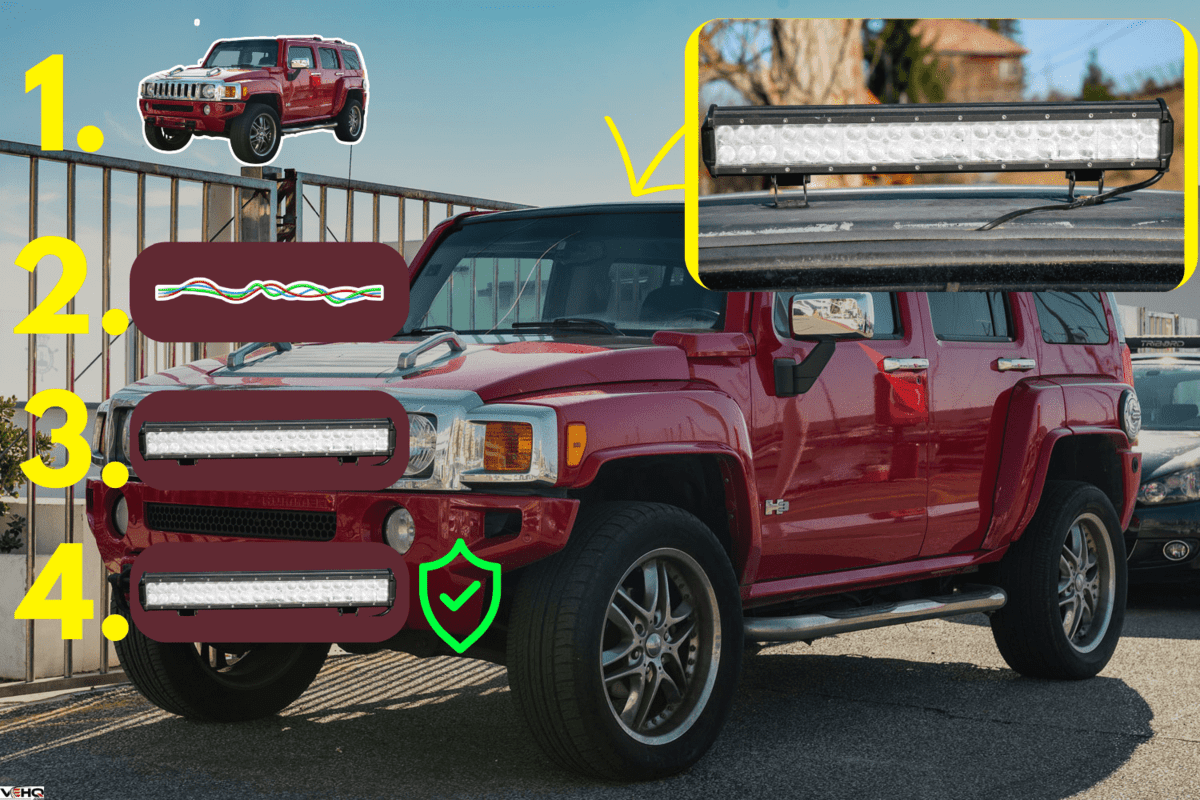
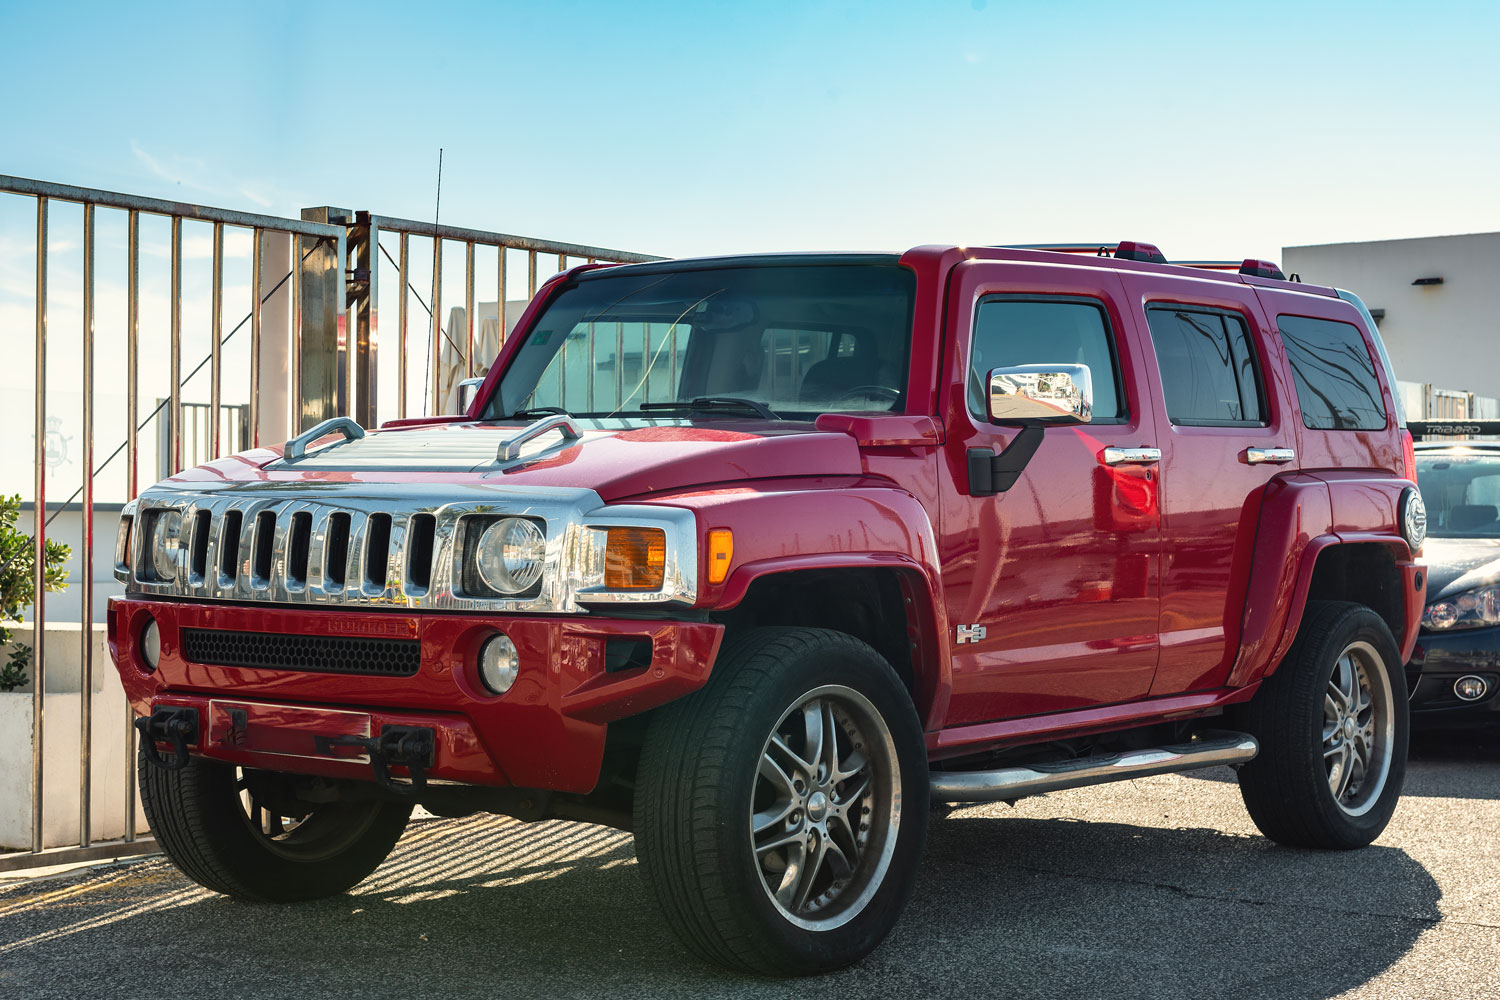
Installing a light bar on your Hummer H3 can help ensure that other drivers and other nearby individuals see the vehicle at night. But now you’re wondering about the steps to install this accessory to this vehicle. We researched this concern for your convenience, and here’s the information we found.
First, purchase the correct light bar for your Hummer H3. Then, follow these steps:
- Prepare the vehicle
- Route the wires
- Connect the light bar
- Secure the light bar
Make sure to make it to the end of this post, so you don't miss important details regarding this installation. That way, you can also avoid making expensive mistakes.
How Do I Choose A Good Light Bar For My Hummer H3?
Perhaps the first step to a proper light bar installation is to choose the ideal model for your Hummer H3. You should base your decision while thinking about certain factors. Some elements that you should be thinking about as you’re choosing the best light bar for your Hummer H3 are:
Size
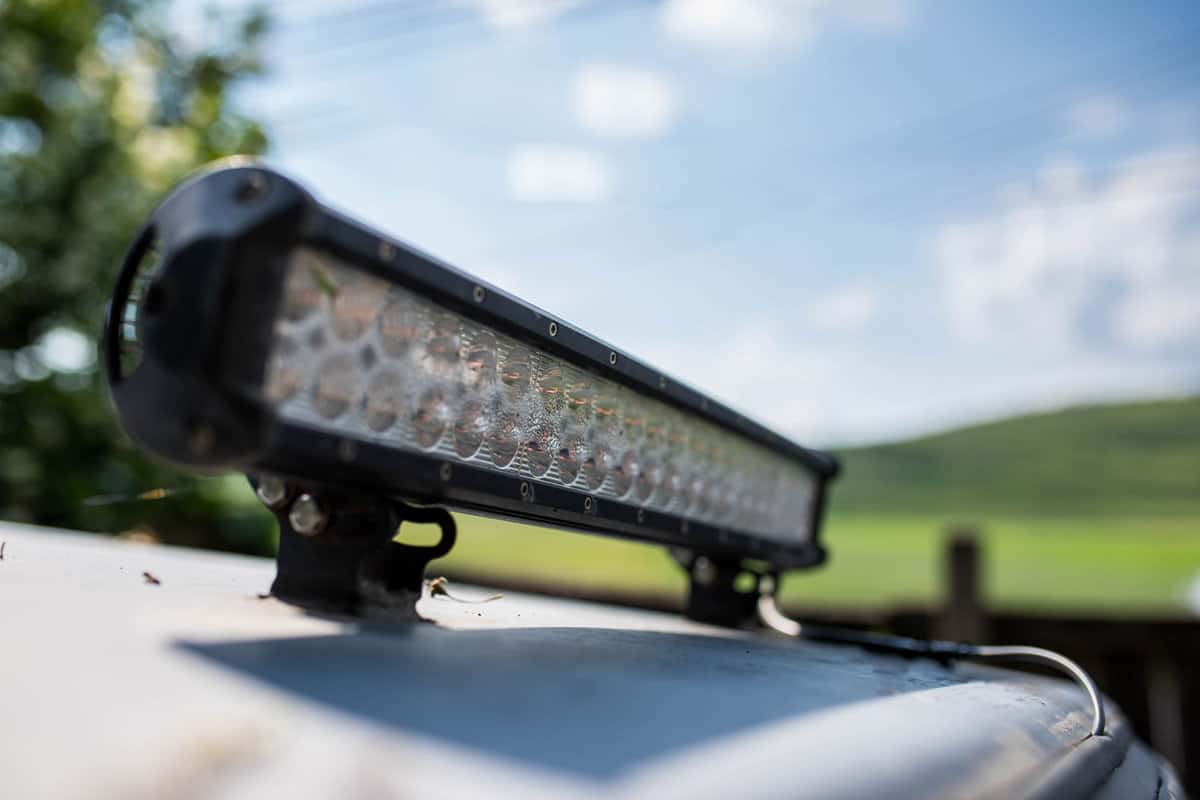
Different light bars for vehicles are available on the market. But some models may not fit your Hummer H3 properly.
So, take a look at your Hummer H3’s current setup. If you’re going to mount the light bar on the roof, does your vehicle have a roof rack? Ask the same question to yourself if you’re going to install the light bar on the vehicle’s hood.
Identifying the accessories already installed on your Hummer H3 can help you decide the appropriate size for your new light bar. A good length to start with is 20 inches if you’re unsure about the light bar’s size.
Rows
Generally, you can purchase vehicle light bars in either one- or two-row kits. Again, inspect your Hummer H3’s current setup before deciding on the number of rows for your light bar.
For instance, it might be ideal to only get a one-row light bar if your Hummer H3’s hood has other accessories. If not, you may install a two-row model.
Shape
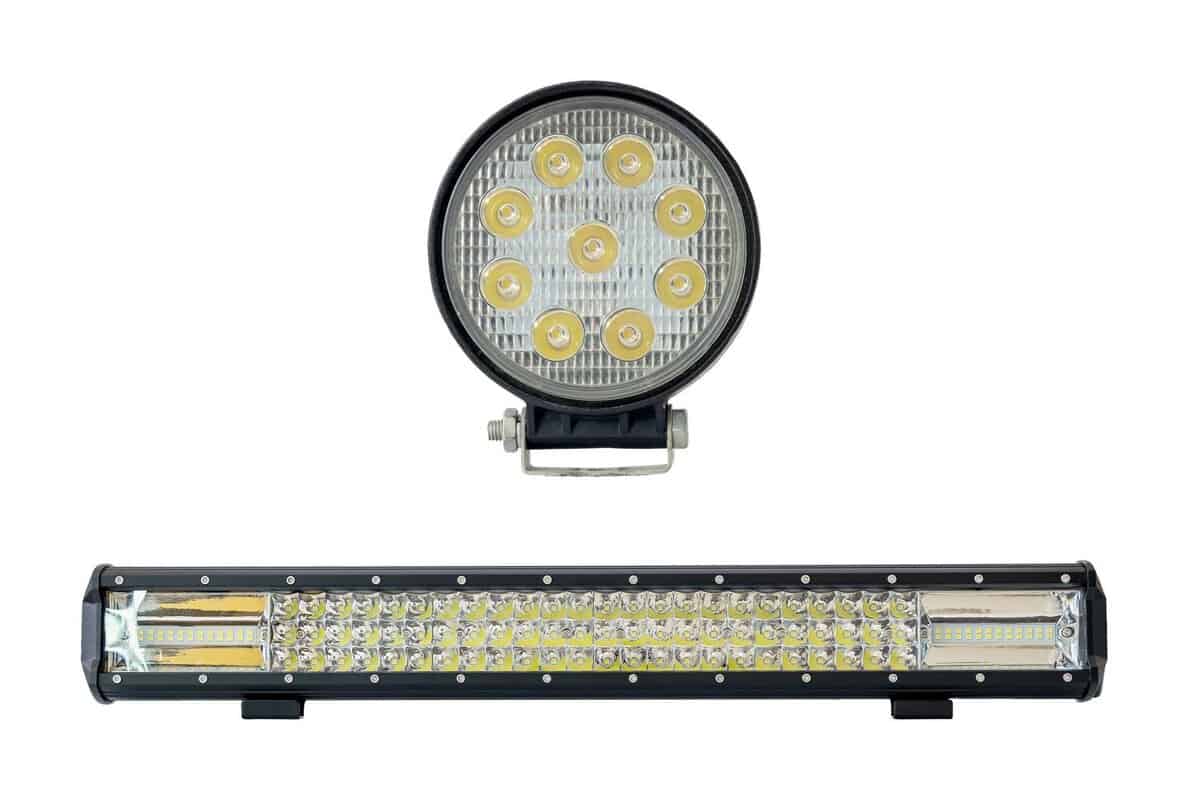
These accessories typically come in two options: straight and curved. Take note that one selection doesn't have a significant advantage (or drawback) over the other. Ultimately, your choice of light bar shape often falls under preference.
Light Color
Many automotive light bars only produce one-colored light. But you can find models that come with LEDs that allow you to change their colors.
These multi-colored options can be good if you want to add to your light bar’s versatility. For example, you can stick to the white light while driving your Hummer H3 on the highway at night. Then, change the light bar’s LED to amber or yellow if driving off-road with a low-visibility condition.
Durability
Remember, light bars can be great investments. That also means that these assets should last a sufficiently long time. In particular, LED light bars may last about 20,000 hours, particularly when you follow their routine maintenance religiously.
What You’ll Need
After purchasing your ideal light bar, the next step is to gather other equipment and materials needed for the job. The general things you’ll need for this installation project are:
- Panel remover
- Hand drill
- Wire crimpers
- Pliers
- Philips screwdriver
- Ratchet and socket
- Zip ties
- Utility knife
- Heat gun or blowtorch
- Electrical tape
- Light bar installation kit
Note: Read your light bar’s owner’s manual before starting the installation. Your model may require you to use other equipment other than those listed above to complete the job.
DIY Instructions For Installing A Light Bar On A Hummer H3
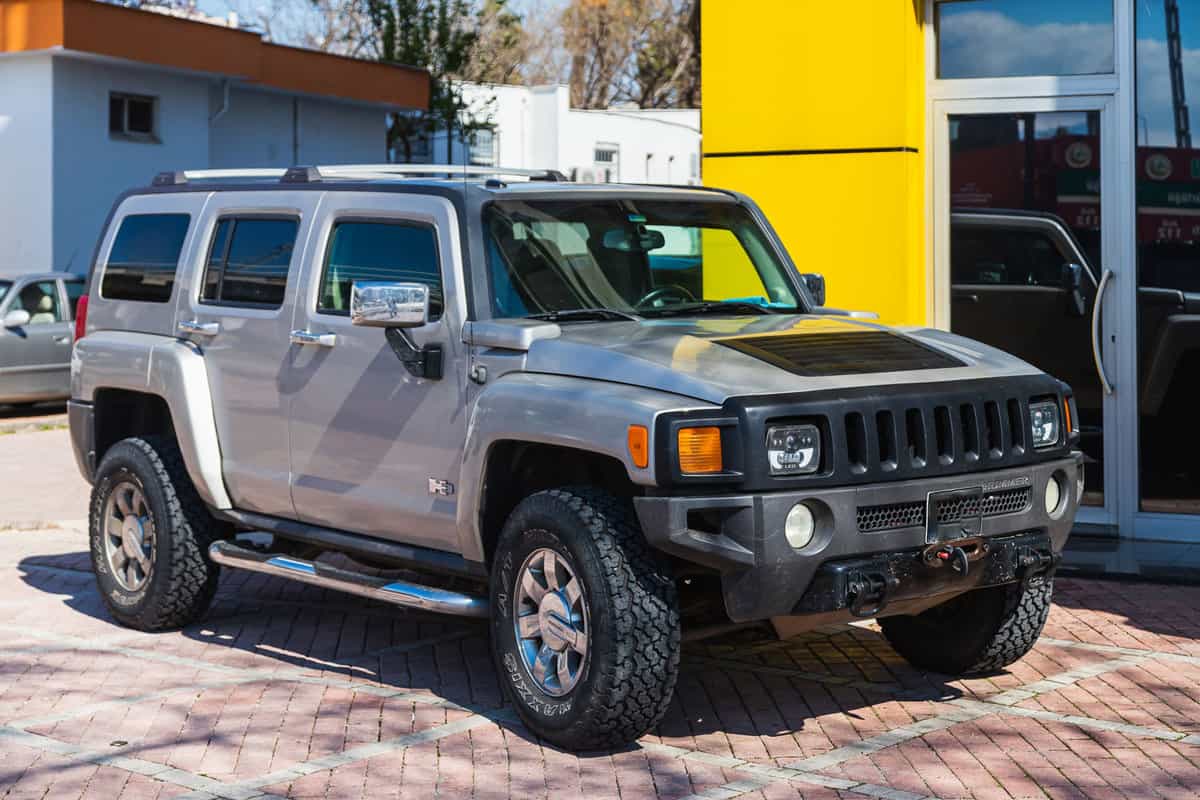
Take note that the following procedure focuses on installing a light bar on a Hummer H3’s roof. You may need to modify some of the steps if you’re going to mount a light bar on the vehicle’s hood.
Step #1: Prepare The Vehicle
Park the vehicle in a well-illuminated and well-ventilated spot. Also, ensure that the site has flat and level ground.
Next, turn off the engine and allow it to cool. Chock the wheels while the engine is still cooling. Then, open the hood and secure it in place.
Step #2: Route The Wires
You should see a hole near the Hummer H3’s battery with wires running through it. Those wires should seemingly go inside the vehicle’s cabin.
Now, run the wires included in your light bar installation kit through that hole. Don’t forget to locate where the wires exit to route them properly.
You should also route the light bar’s switch through the same hole. Attach the switch to an accessible location afterward. The last part of this step is to zip-tie the wires so they don't dangle, which may otherwise become annoying as you're driving your Hummer H3.
Tip: Crimp and cut the wires if they’re longer than needed. Make sure to connect the wires with the help of electrical tape to prevent exposing them.
Step #3: Connect The Light Bar
Open the driver-side door and remove its weather stripping. You should be able to see Philips head screws after pulling out the weather-stripping tape.
Unscrew the newly exposed screws and set them aside temporarily. Remove the panel that the screws were securing afterward. Then, remove the weather-stripping tape, the screws, and the panel on the other side of the vehicle.
Moving forward, remove the cover that was below the panel you removed earlier. This cover should be on the driver-side of the vehicle. Removing this cover should allow you to see additional holes. Run the wires for the light bar through those holes in a snake-like pattern.
Then, place the light bar on the Hummer's roof. Crimp the ends of the wires (the ones connected to the light bar and the switch). Connect those ends and seal the attachment with electrical tape. Apply a moderate amount of heat with a blowtorch or a heat gun to the electrical tape to seal it.
Next, tuck the light bar’s wiring within the small space by the windshield. At this point, you can hide the wires by returning the covers you removed earlier.
You can also test the light bar if it’s working by turning on your Hummer H3’s engine. Turn on the switch for the light bar to inspect if it’s now functioning as intended.
Tip: Tie the light bar’s wires or bind them with electrical tape as you run them through the holes.
Step #4: Secure The Light Bar
With the covers returned, install the light bar's brackets according to the manufacturer's instructions. Then, attach the light bar to the brackets and secure it with the kit’s accompanying fasteners.
Once you secure it properly, you can now return the removed parts to their original locations. Also, don’t forget to apply a new coat of adhesive to the rubber gasket to ensure it doesn’t fall off.
Tip: Close the driver- and passenger-side doors on your Hummer to check if it interferes with the bracket installation. If so, you may need to modify the brackets to ensure it doesn’t hinder the door from opening or closing.
Check out this light bar kit for Hummer H3 on Amazon.
You can also watch the video below to see a visual guide to this procedure. It's important to mention that the audio disappears at the 3-minute 23-second mark. You can turn on the player’s closed captions to follow the instructions presented in the clip:
What Is The Best Light Bar To Buy For My Hummer H3?
It’s safe to say that different light bars offer varying benefits to their users. That also means that one light bar may not provide every advantage to all Hummer H3 owners.
Nonetheless, some light bars present more benefits than their competitors. One ideal candidate is the Westin B-Force light bar. It’s available for purchase with different size options. It also has a build quality that’s quite resistant to dust and moisture.
Check out this product on Amazon.
Is It Illegal To Drive Around With A Light Bar On A Hummer H3?
Although it’s not illegal to drive with a light bar in most states, some laws exist that point to its proper usage. Here are some light bar laws based on specific states:
- Arkansas: The state prohibits light bars and other auxiliary lighting on public roads.
- California: Light bars and other auxiliary lights should be off while driving on public roads.
- Florida: Up to four lights should be present in front of vehicles.
- Indiana: Light bars and other auxiliary lights should be 24 to 42 inches from the road.
- Tennessee: The state allows a maximum of two light bars or auxiliary lights, and the beams shouldn’t face other oncoming drivers.
Final Thoughts
Installing a light bar to a Hummer H3 is a reasonably DIY-friendly job. However, make sure you follow the steps highlighted in this post carefully. That way, you can avoid making costly mistakes with the installation.
If you’re looking for answers to other Hummer H3 concerns, you might find it interesting to check out these posts:


