Is your LiftMaster garage door suddenly not closing properly, and you want to know if there is anything you can do to fix it? You’ve come to the right place, for we have researched this question, and we have the answer for you.
A common solution to a LiftMaster garage door that suddenly stops closing is to adjust the Protector System sensor in the LiftMaster garage door. Additionally, these are also possible reasons why your LiftMaster is not closing correctly:
- Power issue
- Remote control reset
- Limit switch position
If you’re wondering how to do adjust the Protector System, wonder no more for we have the details on how to adjust it in the succeeding sections. We also included solutions for the other possible culprits. Read on!

What is the Protector System of LiftMaster garage door?
Let’s take a brief step back and talk about the Protector System first before we proceed since it is one of the possible causes of the problem.
The Consumer Product Safety Commission (the CPSC is an independent regulatory agency established by the Consumer Product Safety Act of 1973) has a regulation in place that requires all residential garage door operators to include a feature that serves as an entrapment-sensing device.
What this means is that any garage door operator, like the one made by LiftMaster, should have a sensor that detects the presence of people or objects that might be trapped under the garage door as it closes. This is the key safety feature for automatic garage doors.
Some sensors will even reverse their movement once it detects the presence of a person under the garage door.
The Protector System of LiftMaster is based on this regulation. It is the system that LiftMaster uses to safeguard anyone that might be under the garage door. The sensor will check for the presence of a person or object under the garage door before it closes as prescribed by the regulation.
How to adjust the Protector System in my LiftMaster garage door?
Now that we have an idea of what the Protector System is and how it works, we can adjust it to get rid of the problem. Before we can adjust the sensors, we need to locate both the sensors on your LiftMaster.
One of the sensors sends an invisible light, and the other one receives it. If the light gets interrupted, the receiver will interpret it that there is someone or something in the path of the garage doors.
If the receiver and the transmitter are not in the correct position, the receiver will not get the light coming from the transmitter. The receiver will interpret this as a person or object in the path of the garage door, and it will prevent the garage door from closing.
Checking The Alignment
There are LED indicator lights in both the transmitter and the receiver. Both will have a steady light if the transmitter and receiver are in correct alignment.
If the receiver’s LED light is off, flickering, or dim, then there could be an obstruction between the transmitter and the receiver.
Remove any item, rock, or debris that could be blocking the light from the transmitter and preventing it from reaching the receiver. Clean the surface of both the transmitter and the receiver to ensure that accumulated dirt is not affecting the transmission of the light.
If there is nothing between the transmitter and the receiver, and the light is still off, flickering, or dim, then the two could be out of alignment.
Aligning The Transmitter And The Receiver
Follow these simple steps to align the transmitter and the receiver.
- The receiver on your LiftMaster is the one with the green LED light. The transmitter is the one with the amber LED light. Check which one looks like it is out of alignment with the other.
- Loosen the wingnut so you can adjust the position of the receiver or the transmitter.
- Slowly move the receiver or transmitter to align it. Once the green LED light on the receiver becomes solid, that means that the transmitter and the receiver are back in alignment.
- Tighten the wingnut to fasten the transmitter or receiver in the correct position.
Testing The Receiver
Your LiftMaster should be tested each time there are changes to the transmitter or the receiver. Follow the steps below to test your LiftMaster garage door.
- Use the remote control or the wall-mounted controls to close the garage door. Once the garage door is completely closed, use the remote to open it once more.
- Place a piece of 1x1-1/2 board or a 2x4 board under the path of your LiftMaster garage door.
- Close the garage door by remote or by the wall-mounted controls.
- Your LiftMaster garage door should automatically stop once it hits the piece of wood under it. It should then reverse its movement and open the garage door. Newer models of the LiftMaster garage door opener will beep five times to signal you that there is an obstruction and that the garage door cannot be closed.
- If the garage door stops but does not reverse to open the garage door, check your LiftMaster for issues that could prevent it from reopening.
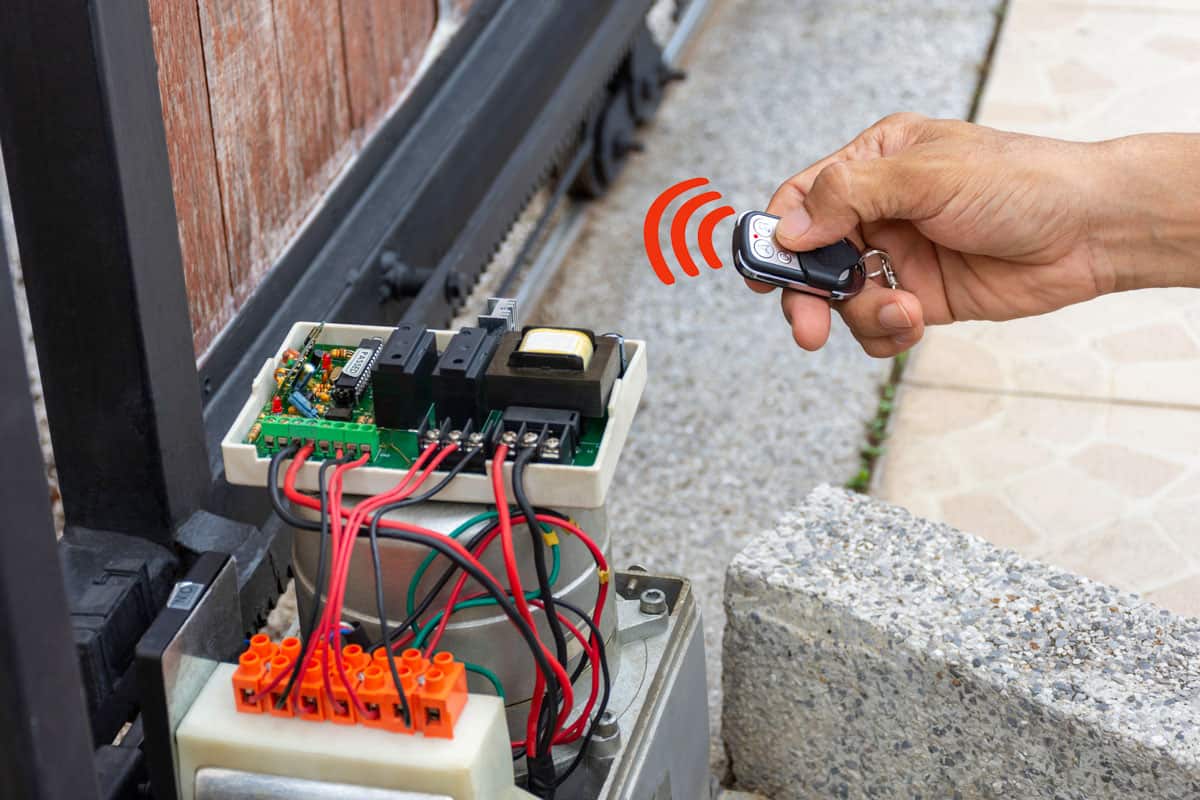
What to do if LiftMaster is not responding to remote or wall-mounted controls?
If your LiftMaster garage door is not opening or closing when you use the remote control or the wall-mounted control, then the problem is power.
Follow the simple steps below to check the power supply of your LiftMaster:
- Check the power supply of the motor unit. Check the wires of the motor unit and check for any damage. Make sure that there are no broken wires.
- Make sure the unit is securely plugged into a wall socket. If the unit is securely plugged in but the motor unit is not getting any power, check that the wall socket is supplying power by plugging in another electronic appliance on the same wall socket and checking if it will get power.
- If the electrical appliance is not powering up, reset the circuit breaker for the problematic wall socket.
- Check the wall socket for power after resetting the circuit breaker. Verify if the wall socket is now supplying power by connecting another appliance. If there is still no power, have an electrician check that wall socket.
- Connect the power plug of the motor unit on the wall socket if the test appliance can get power from the wall socket.
- Bring the motor unit to be checked by a professional if it is still not getting any power.
Battery On Remote
If your LiftMaster garage door responds to the wall-mounted control but not to the remote control, then the problem is likely the battery of the remote control. Replace the battery on the remote control and test if your LiftMaster will open and close via the remote control.
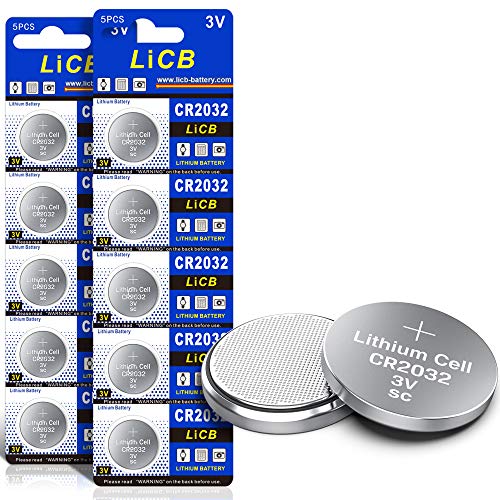
LiCB CR2032 3V lithium battery in a pack of 10 is available on Amazon. Check it out through this link.
Wiped Memory
If your garage door still doesn’t respond to the remote after replacing the batteries, then the problem could be a power surge that wiped out the memory of the motor unit of your LiftMaster.
Use a stable ladder to reach the motor unit of your LiftMaster. Open the rear cover and locate the “Learn” button. Press and hold the button until the LED light on the button starts to flash.
Press a button on your remote to acknowledge synchronization with the motor unit. It should now work with your garage door.
What to do when my LiftMaster garage door doesn’t close completely?
Check the tracks and the rollers. These are some of the most common reasons for garage doors suddenly stopping at a certain point when closing.
Damage on the rollers or tracks can prevent your LiftMaster garage door from closing all the way. A bent track can be hammered back into the right position. Make sure the tracks are aligned—from the ones at the bottom to the tracks at the top.
Apply silicone-based grease to unstuck rollers that might be stuck and prevent your garage door from closing all the way. Stuck rollers can make your LiftMaster garage door think that it has hit something.
The DANCO Waterproof silicone grease is available on Amazon. Check it out through this link.
Adjusting The Limit Switch
Your LiftMaster garage door has small knobs along the track that limits the movement of the garage door upward or downward.
When one of the rollers touches the limit switch (or limit screws) while it is on the way to close, the switch will activate and stop the movement of the door.
Adjusting the limit switch can be different from model to model. Consult your user manual on how to adjust the limit switch for your LiftMaster garage door.
Conclusion
Fixing a LiftMaster garage door that will not completely close can be a simple DIY unless the problem is a malfunction with the motor itself or in one of the electronic components.
If you found this article interesting, why not check the two articles below too: