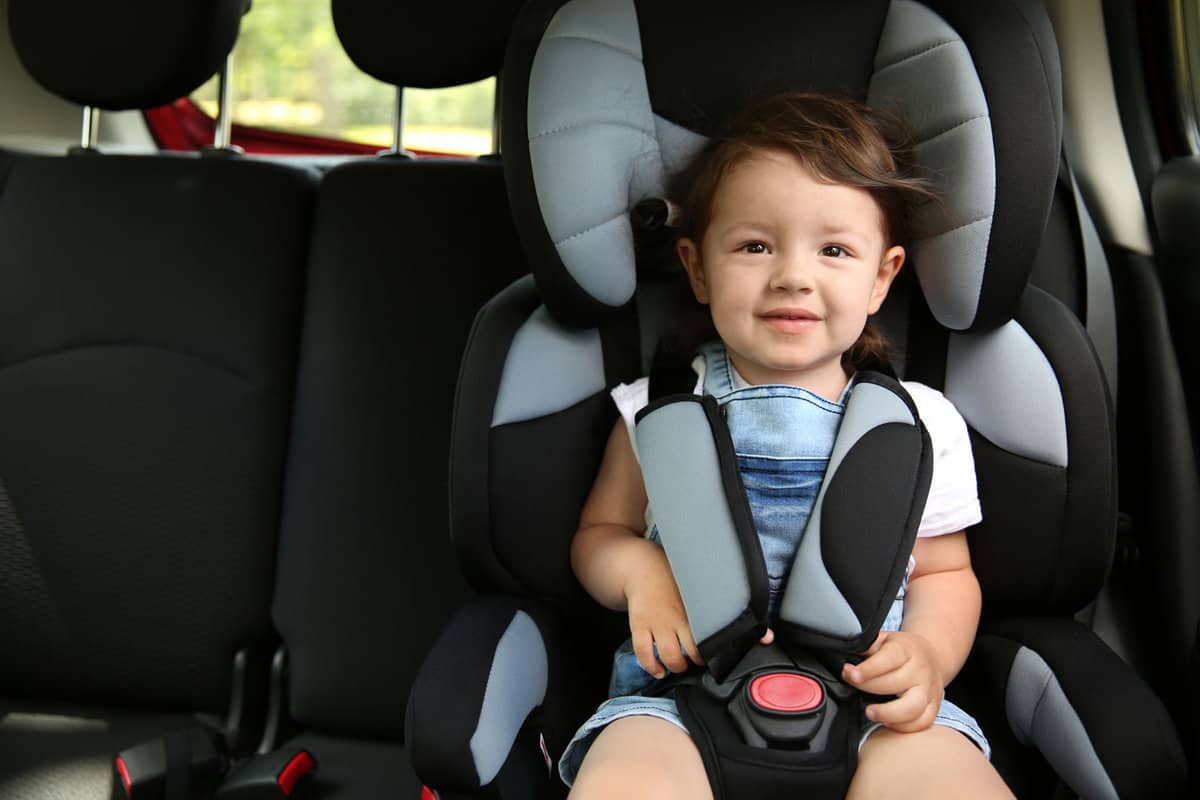
Cosco makes simple, adjustable car seats. If it needs a wash, you can remove the cover. However, putting it back on is the hard part. How can you put it back together after washing it? If that's your concern, we've made a guide for you!
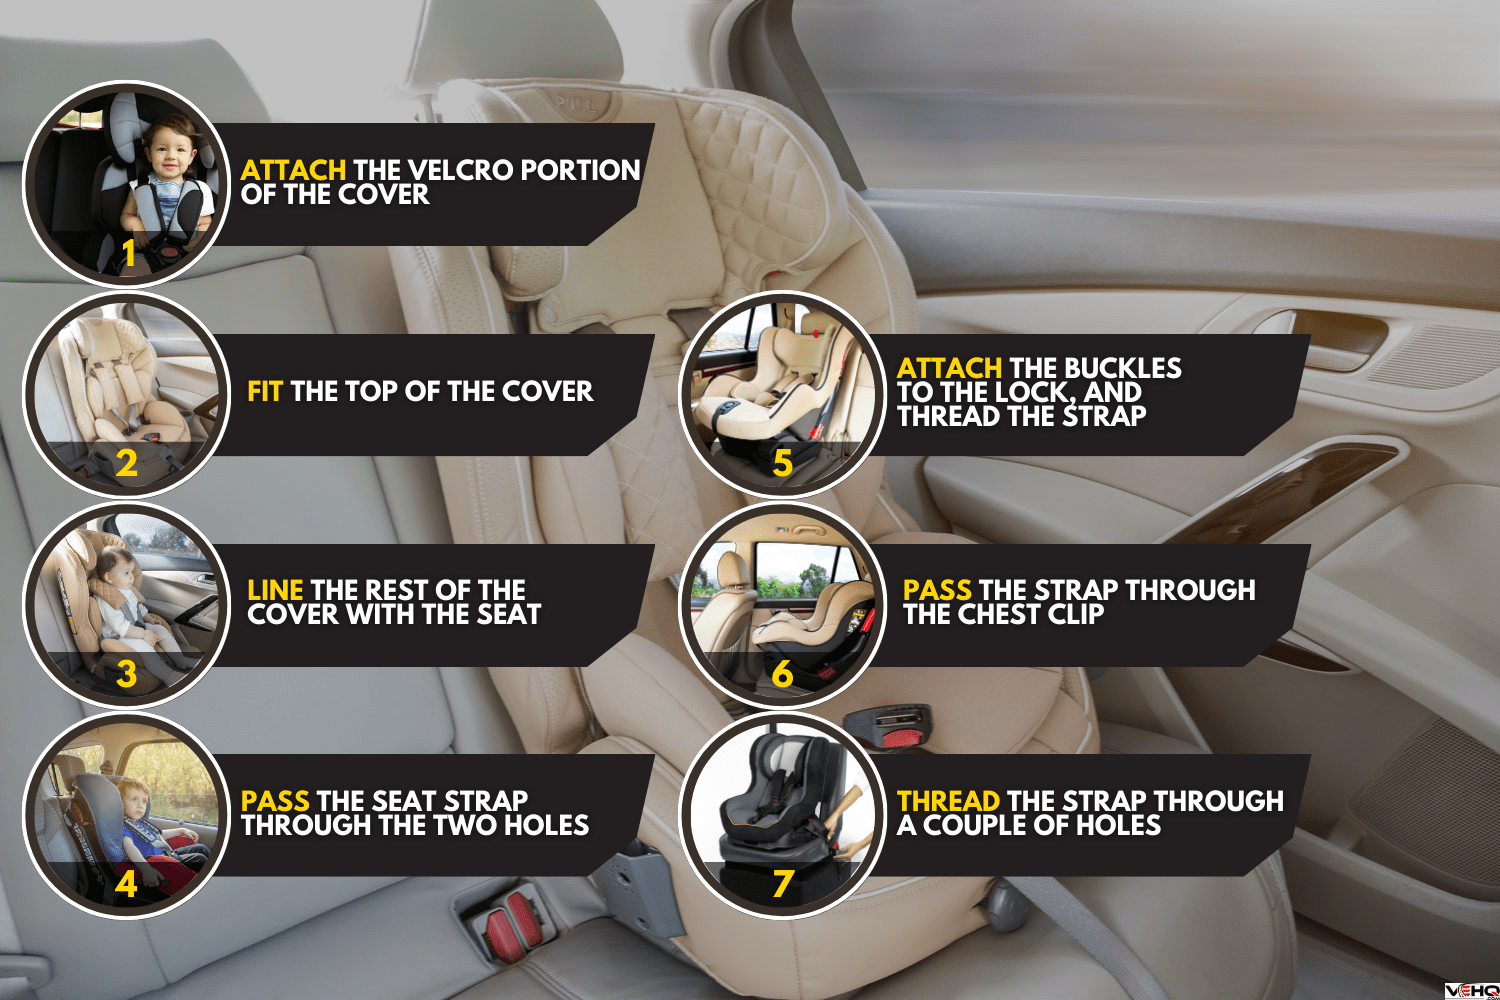
You can start by anchoring the cover onto the seat. Push the seat lock through one of the three holes on the seat pad. Then, you'll have to:
- Attach the velcro portion of the cover under the headrest.
- Fit the top of the cover over the headrest.
- Line the rest of it with the seat.
- Pass the seat strap through the two holes from the back of the chair.
- Attach the buckles to the lock, and thread the strap through them.
- Pass the strap through the chest clip.
- Finally, you'll need to thread the strap through a couple of holes beneath the headrest.
The process seems simple, but it's easy to become confused along the way. There are various areas the seat strap will need to go through. Nevertheless, we can power through it step-by-step. To learn more about the process, keep reading.
How To Assemble Cosco Car Seat Back Together
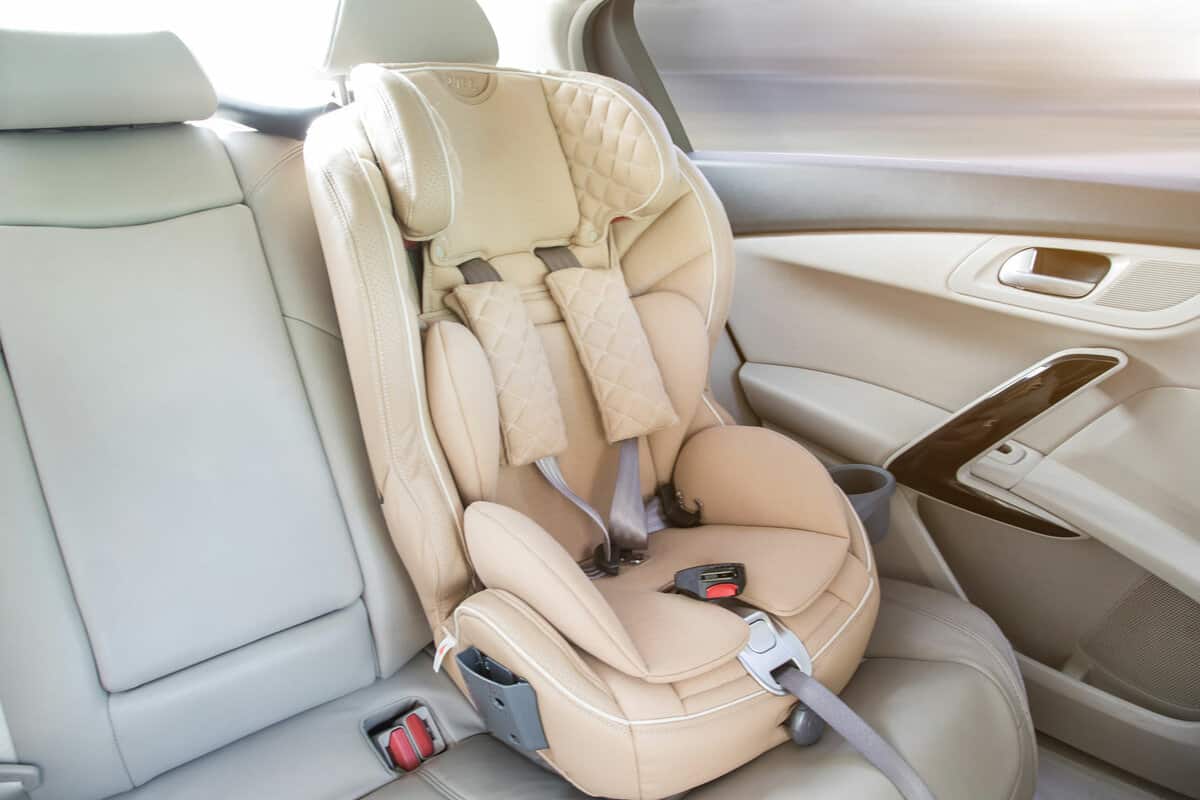
Setting the cover in place is the first step towards getting the car seat to look as it did before. It's also the straightforward portion of this task. So, let's start by discussing all the details about attaching the cover.
As mentioned, you can start the process by anchoring the cover onto the seat. Doing this is as simple as pushing the lock through one of the holes in the seat pad.
The lock is the part with the large red button.
The hole the lock goes through will depend on the child. If the child is older, push it through one of the farther holes. This way, they can get enough room to sit comfortably.
1. Attach the Velcro Portion of the Cover Under the Headrest
Some Cosco car seats don't have a tongue part on their cover. If you own one of those models, skip to the next step. This step only applies to Cosco car seats that include a headrest.
There will be a velcro piece above several holes on the cover; it keeps the top attached to the backing. Take the velcro portion and secure it under the headrest.
It should slide underneath easily. Once it's underneath the headrest, it will still have some wiggle room. It's a detail worth noting if it feels too loose.
There's no need to worry about this. That's how it should function.
We can call the velcro portion the tongue part of the cover. It's not the best name for it, but it helps us label things sufficiently.
2. Fit the Top of the Cover Over the Headrest
Now the top of the cover should go over the headrest. You will need to adjust it to fit snugly.
The tongue of the cover might slide out from underneath the headrest. If so, straighten it out again.
3. Line The Rest Of The Cover With The Seat
Flip the car seat over and line the rest of the cover with it; this part is straightforward.
Though, the bottom of the cover will have two elastic pieces that you will need to loop onto hooks on the car seat shell. After this, we can move on to threading the straps.
4. Pass the Seat Strap Through the Two Holes From the Back of the Seat
You'll want to use something to hold the seat for this step. It makes threading the straps through the back easier.
There are two holes above the lock part of the seat—one on the left and one on the right.
These two holes are the first area you will need to thread the straps through. So, take one end and fit it through the one hole. Then, take the other end and do the same for the other.
5. Attach the Buckles to the Lock and Thread the Strap Through Them
Now it's time to thread the strap through the buckles of the lock.
Cosco is against removing the buckles, but there's no need to worry if you've removed them from the lock.
The buckles will look like keys, and placing them back in is as easy as pushing them into the lock. You should hear a click when you do this.
Once the buckles are in place again, thread each end of the strap through the buckle's holes.
However, thread the straps behind the buckle—not in front.
6. Pass the Strap Through the Chest Clip
Grab the chest clip and put it together if it's in separate pieces. Then, we will have to thread the strap through the bottom and upper openings.
However, there's a certain way to do it. It starts by threading the strap through the bottom opening but on the front side.
Then, thread the upper opening through the backside. Repeat this for the other end of the strap.
If you do it correctly, the chest clip should be in place without being lopsided.
The length of each end of the strap should also be equal. In other words, one side should not be longer than the other.
7. Thread the Strap Through a Couple of Holes Beneath the Headrest

Finally, we'll need to thread the strap through another set of holes. This time, it will need to go through the shoulder harness slots.
There are five sets of two slots. Of course, you'll need to thread the strap through the set that will be most comfortable for your child.
Now the ends of the strap should hang free on the back of the car seat. We need to anchor it to avoid having it unthread itself.
So, flip the car seat over, and look at the bottom. There should be a mushroom-shaped metal piece hanging freely; Cosco calls this the splitter plate.
Attach the strap loops to this part. However, ensure the sewn ends of the strap loops face toward you. In addition, the loops should be fitted completely on both sides of the splitter plate.
In other words, there should be no way the loops slip out of this component. Give the straps a firm tug on the front side of the seat to test it.
If you've threaded the strap successfully, nothing should come loose.
Wrapping It Up
With the strap in place, you can finish off everything else. If your car seat has a headrest, now would be the time to fit the headrest cover over the car seat shell.
The same goes with any accessories like cup holders. If you have more concerns, visit Cosco's customer care site for the instruction manual.
Of course, none of this would be easy to follow without some visual guidance. So, here's a YouTube video if you need additional help:
Here's another video with a different Cosco car seat model:
The only difference between the two models is the headrest. Even if they have a few differences, the reassembling process should be the same.
In Closing

Taking something apart is easy, but putting it back together is the hard part. Luckily, Cosco doesn't make reassembling the car seat too difficult. It only requires threading the strap through some holes. Hopefully, it won't take long to learn how to do it.
Good luck reassembling your car seat. We hope you found this guide helpful! Before you go, do you have other car seat concerns?
Do you or someone else need help to reassemble a Graco car seat? For more information, check out:
How To Put A Graco Car Seat Back Together After Washing?
Here are other car seat topics that might interest you!
Can Car Seats Go In The Middle Seat? [Yes! Here Is What You Need To Know!]