Your car felt unstable while you drove it, and after looking into it, you find out that the struts need replacing. But now you’re thinking about replacing the struts without aligning them. However, is it possible to complete that task without additional risks? We researched these concerns for you, and here’s what we found.
Take note that it’s possible to replace your vehicle’s struts without aligning them. But the alignment is often not necessary if you’re changing the struts with the same model. If you have the correct struts, follow these steps to replace the old units from your vehicle:
- Secure the vehicle
- Remove the wheel assembly
- Lubricate the old strut
- Loosen the strut
- Remove the old strut
- Install the new strut
So continue reading as we talk about the strut replacement process in detail. We’ll also tackle some important yet relevant information to help you complete this operation with as little risk of mistakes as possible.
DIY Instructions To Replace Struts
![Shock absorber strut with coil spring, How To Replace Struts Without Needing An Alignment [Is It Possible?]](https://vehq.com/wp-content/uploads/2023/01/shock-absorber-strut-with-coil-spring-suspension-system-of-modern-car-How-To-Replace-Struts-Witho.png)
Take note that you should purchase the correct type of strut to prevent issues during and after this replacement job. Struts generally come in two classifications:
- Front: Typically mounted near the fender and firewall.
- Rear: Often heavier than front struts but typically found in many vintage vehicles.
After purchasing the correct struts for your vehicle, proceed with this procedure by following these steps:
What You’ll Need
- Floor jack
- Jack stands
- Wheel chocks
- Lug nut wrench
- Mallet
- Screwdriver
- Standard wrench
- Ratchet and socket set
- Pry bar
- Clamp or vice grip
- Metal wire brush
- Torque wrench
- Breaker bar
- Penetrating fluid
- Replacement struts
Step-By-Step Guide
Step #1: Secure The Vehicle
Park your vehicle at a site with flat and level ground. Ensure that the area also has good shade and proper ventilation.
Turn off the vehicle’s engine and allow it to cool before opening the hood. Raise the front or rear of the vehicle, depending on the location of the struts you’re going to swap. Install jack stands to help support the vehicle’s weight. Then, chock the grounded wheels to prevent them from rolling.
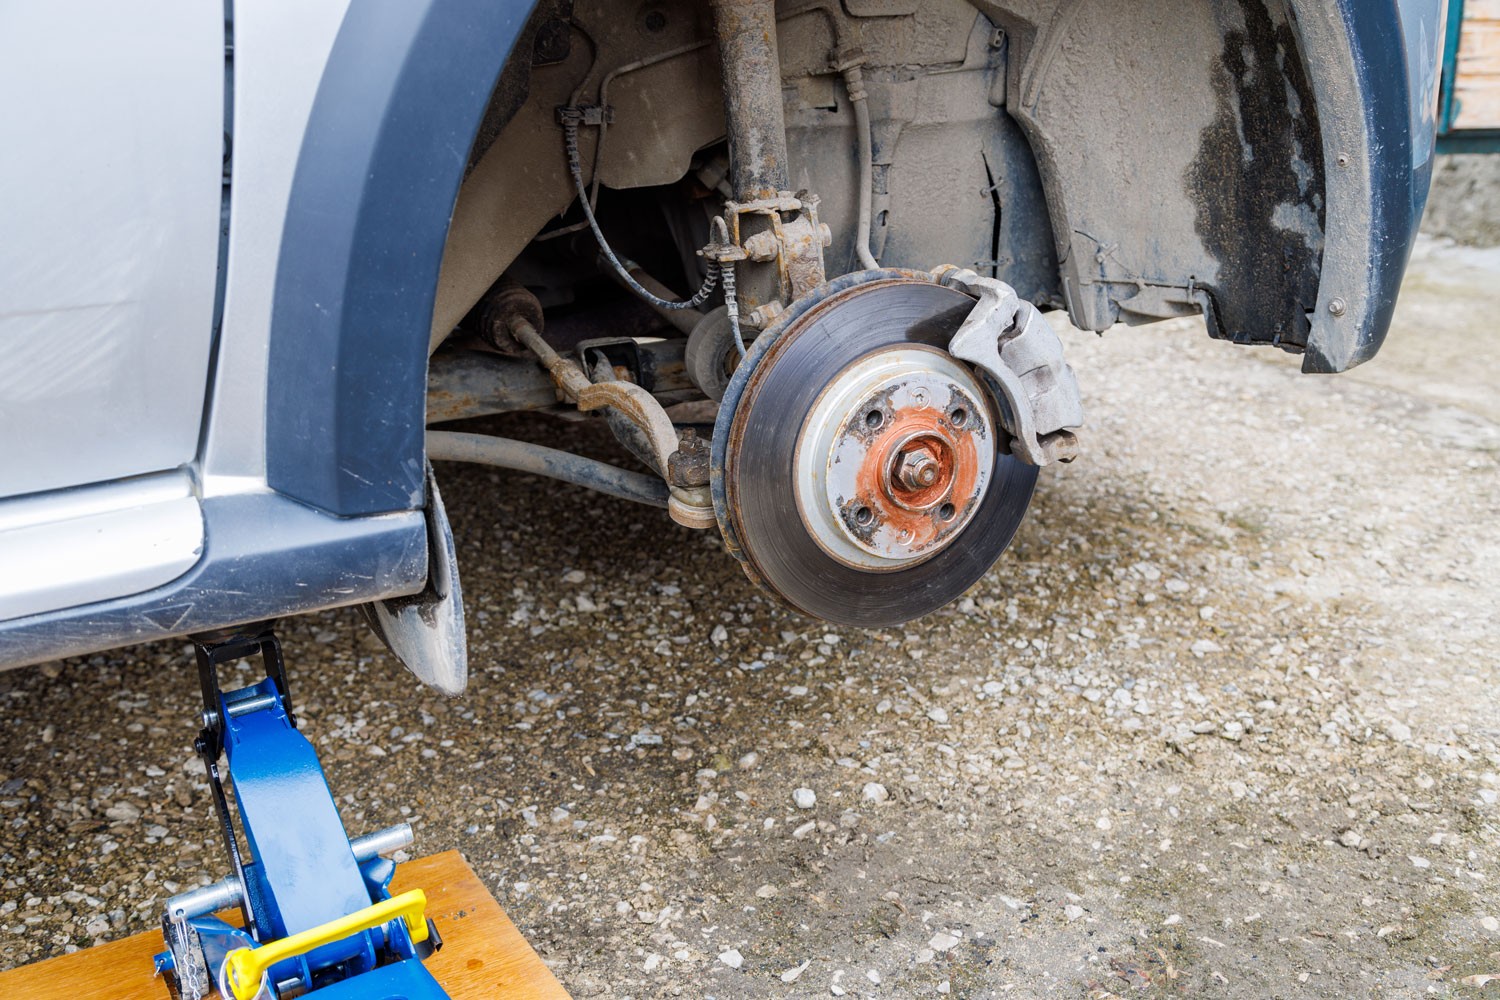
Step #2: Remove The Wheel Assembly
Loosen the lug nuts on the wheel that you’re going to remove. Make sure to follow a star pattern when loosening the lug nuts. Otherwise, the wheel’s weight will shift with gravity, which may cause the assembly to fall.
Once the lug nuts are reasonably loose, pull the wheel assembly out of its mount. Set the wheel aside temporarily.
Watch the video below if you need additional help in removing your car’s wheel:
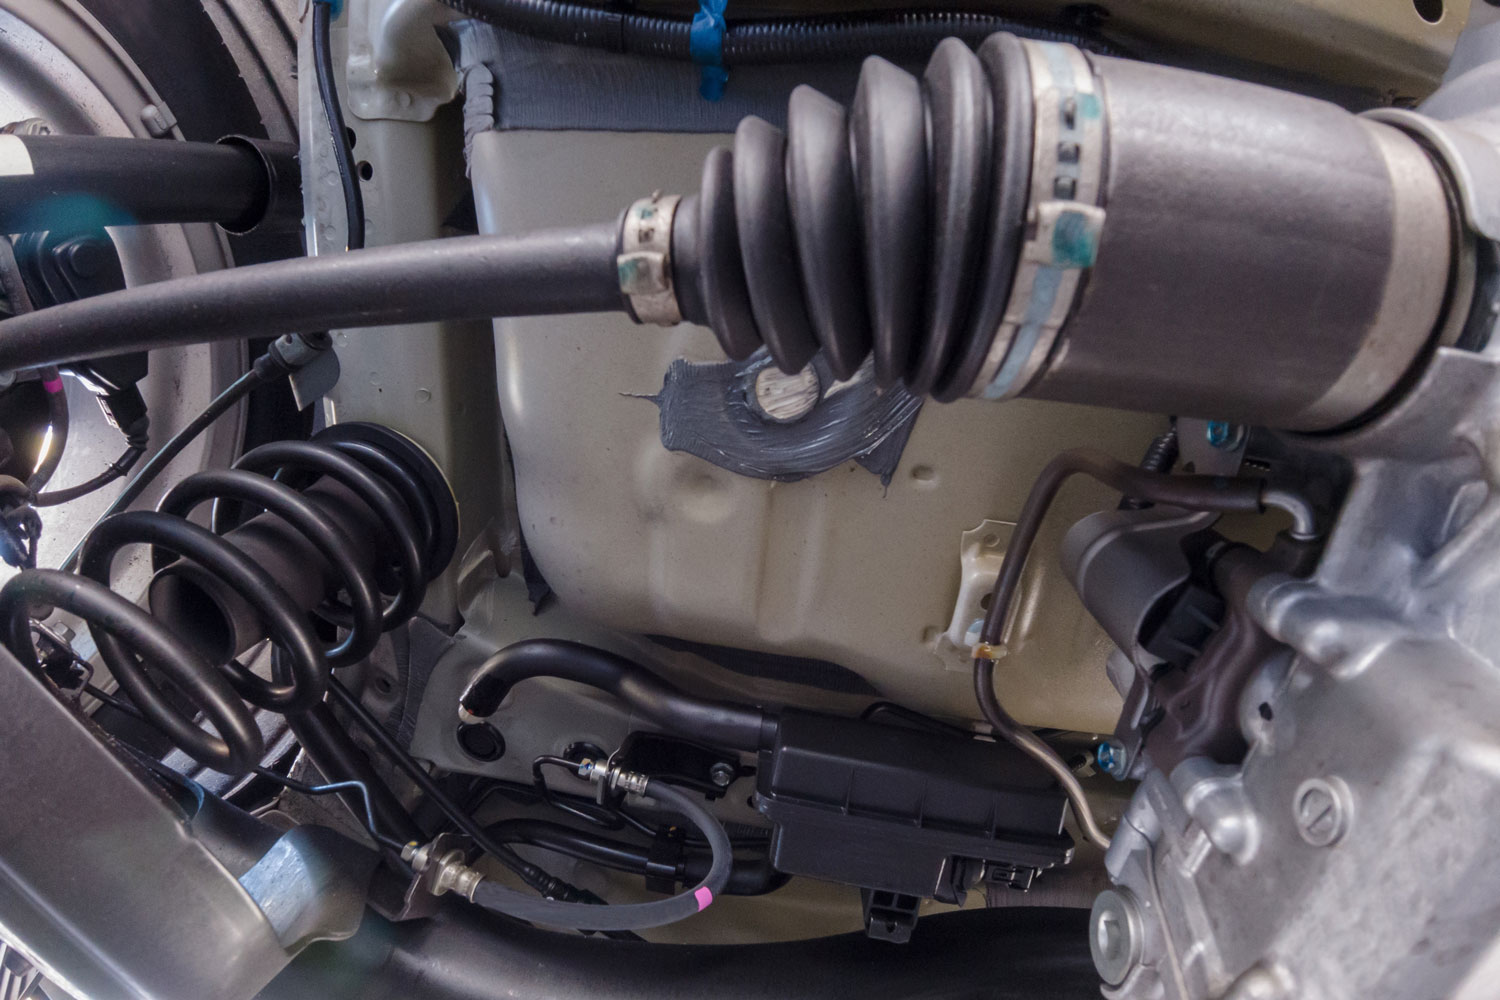
Step #3: Lubricate The Old Strut
With the wheel out of its mount, you should now have access to the old strut. Don’t attempt to pull out the strut yet. Instead, apply penetrating fluid to the assembly, especially its fasteners (e.g., bolts and nuts). Doing so should help make the removal process easier than trying to detach the strut without that product.
Tip: Apply the penetrating fluid one day before replacing the strut. This waiting period should allow the product to set, making it even easier than expected to remove the assembly.
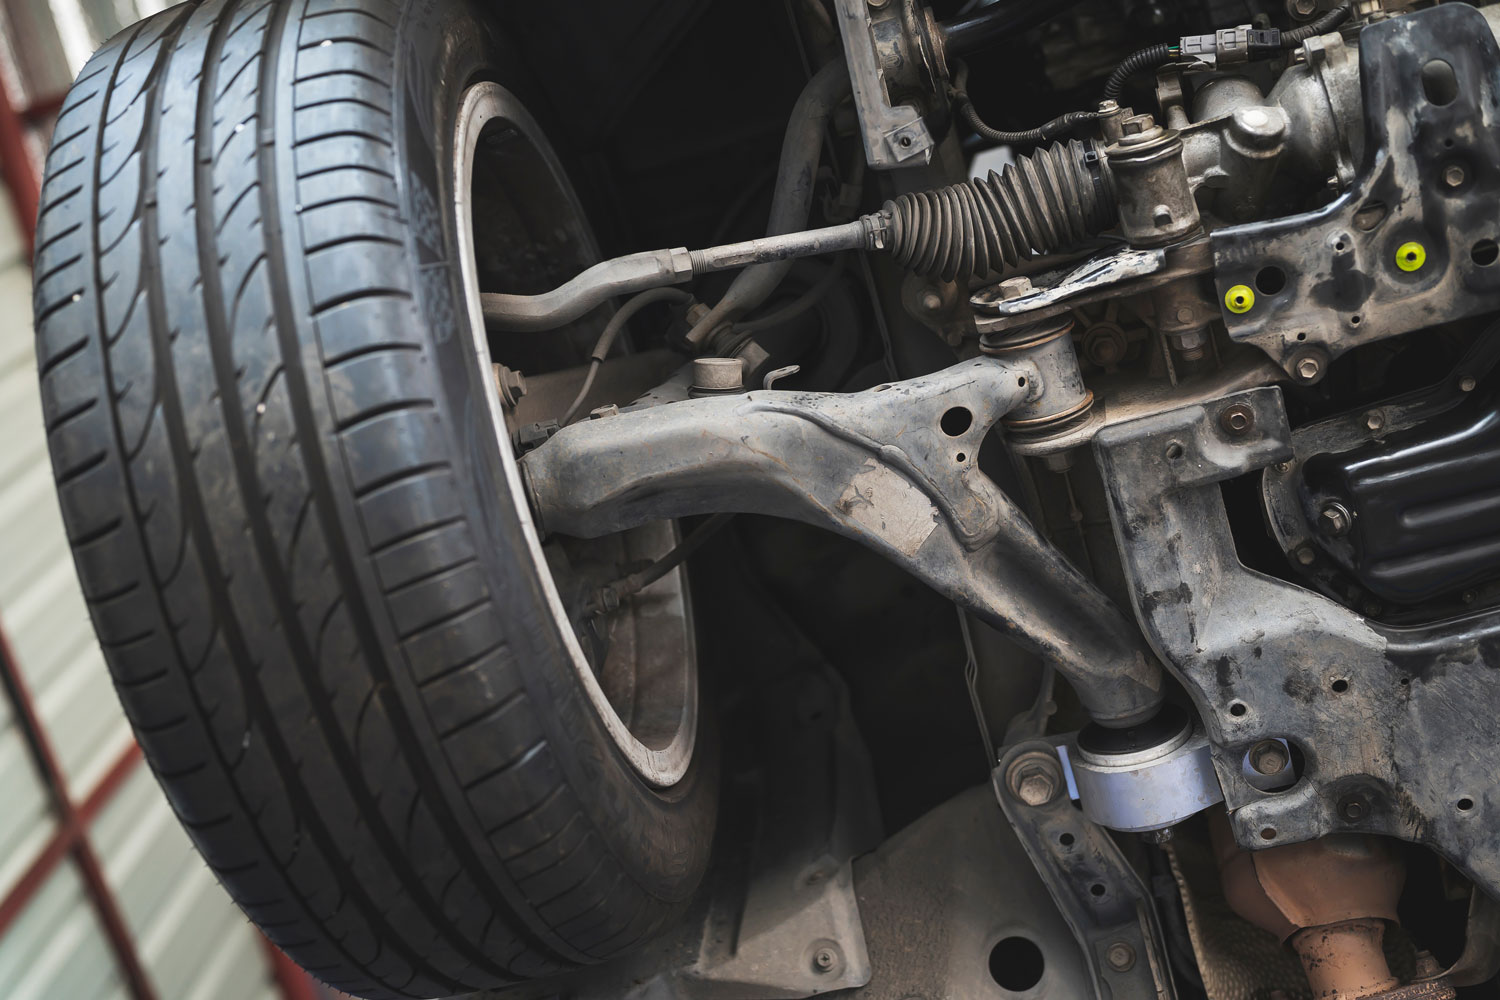
Step #4: Loosen The Strut
Turn the steering wheel so you can gain extra access to the strut assembly. Next, use a flathead screwdriver to detach the brake line from the strut assembly.
Then, use the breaker bar to loosen the bolt at the base of the strut. Use the appropriate ratchet and socket afterward to remove the bolt from its installation location.
Turn the steering wheel the other way to gain access to the last bolt to remove the strut assembly. You’ll find this fastener at the top of the strut.
Loosen and remove this particular bolt by inserting the circular hole at the bottom of the wrench into that fastener. Then, place the appropriate ratchet and socket on that bolt. The setup should have the wrench in your left hand while the ratchet and socket are in your right hand.
Next, push the wrench downward and to the right, while pushing the ratchet and socket upward and to the left. Doing so should loosen the bolt, allowing you to apply sufficient turning pressure to remove it.
Step #5: Remove The Old Strut
Pull out the sway bar from the strut assembly. Detach the ABS cable and use the mallet to apply sufficient yet repeated force to the strut assembly’s knuckle.
Open your vehicle’s hood afterward. Locate the bolts securing the strut assembly from that location. Once found, loosen and remove the bolts. With the bolts out of the way, you should be able to remove the strut from its mounting location.
Tip: Use another floor jack to raise the suspension if you have difficulty removing the sway bar.
Step #6: Install The New Strut
Clean the strut’s mounting brackets with a metal wire brush. Next, install the new strut while following the same location and orientation as the old unit.
Start securing the strut by tightening the bolts at the top of the assembly, which is also inside the hood. Then, twist the strut so that the back hook will slide into the small gap in the mounting bracket.
Next, use another floor jack to raise the suspension, which should also allow the strut to get into its mounting bracket. You’ll know when to stop when the bolt holes align.
Secure the strut from this side by sliding and tightening the bolts. Insert the sway bar afterward and secure it in place. Reconnect the ABS cable to its terminal and return the brake line cable. Once finished, you can repeat this entire procedure for the other struts you want to replace in your vehicle.

Check out these replacement struts on Amazon.
Note: Ensure that the struts you’re going to install are the same models as the units you’re replacing to skip the alignment. Also, consult your owner’s manual if you need help with certain parts of this replacement procedure as some steps may not apply to your vehicle.
You can also watch this video if you need a visual guide for this procedure:
Should You Replace All Four Struts At Once?
You may not need to replace all four struts during a swapping procedure, but it’s generally ideal to replace the struts in pairs. That way, it’s unlikely for you to experience alignment and stability issues with the new struts.
How Often Should Struts Be Replaced?
Unless there’s a clear reason for you to replace your vehicle’s struts, you should still think about replacing these components at around the 50,000-mile mark. Take note that the issues you may experience with the struts might increase over time if you don’t replace them soon.
What Are The Signs Of Bad Struts?
You may need to replace your vehicle’s struts sooner than later if your drives become unstable. Some signs that may notify you of the appropriate time to replace your struts are:
- Bouncy ride even while driving on the highway
- Vehicle isn’t level with flat ground
- Visible sign of an oil leak near or on the strut
- Tires wear out faster than usual
- The vehicle’s front or rear tips during acceleration
How Much Does Strut Replacement Cost?
Professional strut replacement costs about $450 to $900. The service often includes the parts and services needed to replace a pair of vehicle struts. However, you may save some money if you bought the struts and you’re only paying for the expert’s labor.
What's The Difference Between Shocks And Struts?
Also called shock absorbers, shocks are components that help cushion the force of the vehicle as it moves up and down. It also helps in maintaining a proper movement for the springs and suspensions.
On the other hand, struts are vital elements in a vehicle’s suspension system. Unlike shocks, struts function to help support the vehicle’s structural integrity and support the springs.
But struts may also function like shock absorbers as these components. It’s because struts often have piston rods that push against hydraulic fluid. The result is a fairly stable ride, particularly when driving in rough terrain.
Also, follow this link if you want to know if a Chevy Silverado has shocks or struts.
Final Thoughts
Replacing a vehicle’s struts may not need an alignment, particularly if you’re swapping out the old units with the same yet new models. Take note that the replacement procedure might be laborious and time-consuming. So you have the option of proceeding and completing this operation using DIY techniques or with the help of reliable automotive technicians.
If you’re looking for answers to other vehicle alignment concerns, check out these other great posts: