Igniting the engine on your Yamaha Waverunner greets you with an illuminated check engine light. At this point, you figured that resetting the jet ski may turn off that light. But how do you to do that? We researched this concern for you and here’s what we found.
Resetting a check engine light on a Yamaha Waverunner is a fairly straightforward affair. Here are the general steps to complete this task:
- Ensure that the jet ski is out of the water.
- Loosen the strap securing the reverse gate from falling.
- Start the Waverunner’s engine to verify if the check engine light persists.
Take note that the steps mentioned above may only work for minor annoyances from a Yamaha Waverunner. So keep reading as we talk about the possible reasons why the jet ski’s check engine light illuminates. We’ll also tackle some possible reasons to get rid of the check engine light if the mentioned process didn’t work.
Reasons Check Engine Light Is On A Yamaha Waverunner
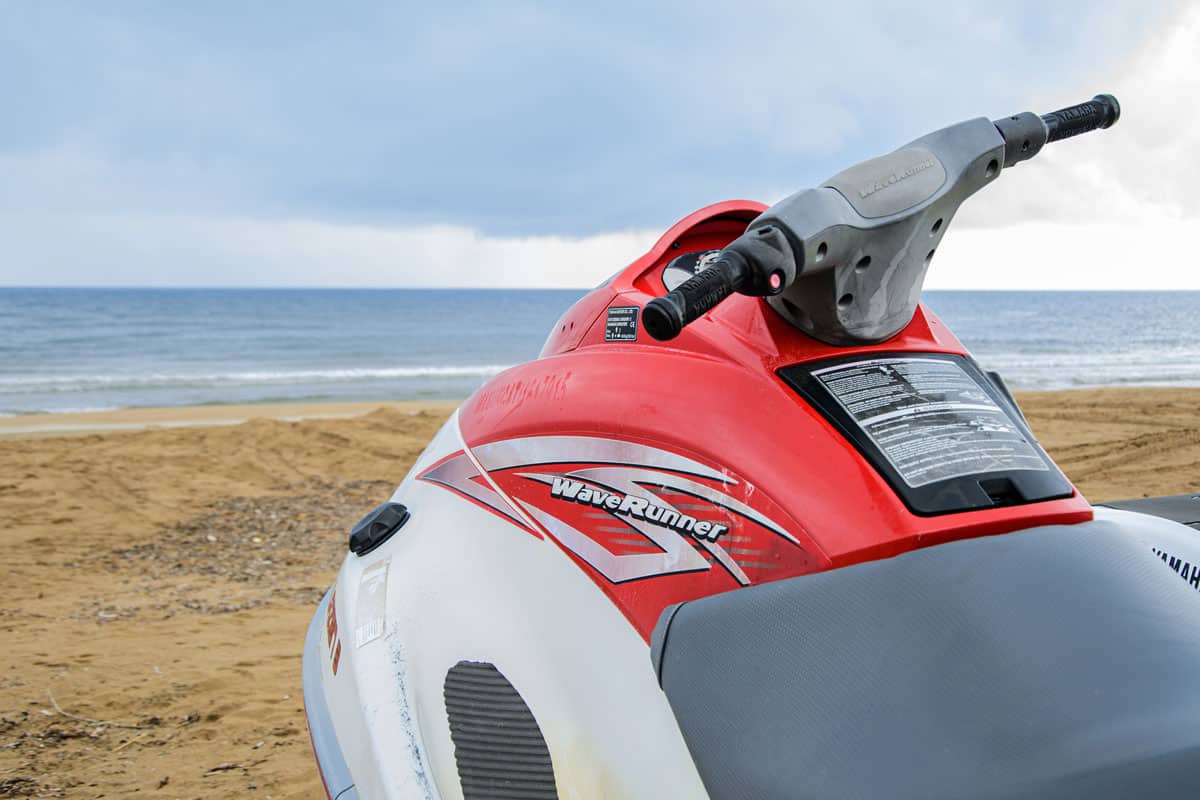
![Aerial top view of jet ski cruising in low speed in mediterranean emerald clear waters, How To Reset Check Engine Light On Yamaha Waverunner [Step By Step Guide]](https://vehq.com/wp-content/uploads/2022/12/How-To-Reset-Check-Engine-Light-On-Yamaha-Waverunner-Step-By-Step-Guide.png)
Disconnected Or Loose Wire
A wire in the Yamaha Waverunner, particularly one that should attach to the jet ski’s engine, might be loose or not in its proper terminal. Reinserting and ensuring that the wire is secure may disengage the check engine light.
Note: Disconnect the jet ski's negative battery cable from its terminal before troubleshooting for disconnected or loose wires. Also, remove any metal objects on your body. Doing these preventive measures can help prevent further damage to the Waverunner jet ski.
Bad Starter Solenoid
The starter solenoid is typically a durable switch that should be able to help the jet ski’s engine to turn over while in the water. Also called the starter relay, you might be able to verify if this assembly is the main suspect in the check engine light with a relatively simple action.
Try to turn on your engine; if you hear one click or thud, it’s the starter relay or solenoid at fault. Take note that the check engine light may persist until you repair or replace this assembly.
Low Oil
Generally, you need to change a jet ski's engine oil at least once per year or every 50 hours. The illuminated check engine light on your Yamaha Waverunner might be the vehicle’s way of telling you that it needs an immediate oil change.
Faulty Cruise Assist Button
Also called the Yamaha Waverunner “No Wake” mode, this feature should help users maintain the speed of the watercraft while in the water. Activating and deactivating this feature is often possible with a press of a button.
However, the check engine light may turn on if the Cruise Assist or No Wake button is faulty. Replacing the button may help restore this feature’s normal functions and turn off the check engine light.
You can learn more about the Yamaha Waverunner Cruise Assist mode by watching this video:
Engine Overheat
Jet skis, particularly Yamaha Waverunners, can have their engines overheat. These events may appear because of reasons like:
- Damaged cooling lines
- Blocked outlet holes
- Incorrect gasket installation
Also, a jet ski’s engine may overheat if it runs out of water for extended periods. Fixing the engine overheating problem from its source may restore the watercraft’s normal functions. It may also disengage the check engine light.
How To Replace A Starter Solenoid In A Yamaha Waverunner?
A Yamaha Waverunner starter solenoid replacement procedure often requires sufficient jet ski maintenance and repair know-how. But it might still be possible to complete this operation without significant jet ski care experience by following the step-by-step guide below:
What You’ll Need
- Ratchet
- Screwdriver
- Replacement starter solenoid
Step-By-Step Guide
- Ensure that the jet ski is out of the water.
- Open the seat to expose the watercraft’s engine.
- Locate the electrical box and remove the bolts securing the container.
- Lay the electrical box on its front carefully. That way, the back of the box should be facing you.
- Remove the bolts at the back of the electrical box. Pull out the back cover afterward.
- Remove the bolts that are securing the bad starter solenoid.
- Wedge the screwdriver between the solenoid’s plastic tab and the electrical box.
- Pull the bad starter solenoid out of the electrical box and dispose of it properly.
- Install the new starter solenoid into the same position as the old unit.
- Return the back cover and the bolts to the electrical box.
- Return the electrical box to its original location and secure it.
- Turn on the jet ski’s engine and verify if the check engine light is now off.

Check out this replacement Yamaha Waverunner starter solenoid on Amazon.
Warning: Don’t install random starter solenoid into your Yamaha Waverunner. Doing so may bring further harm to the jet ski, leading to costlier repair and/or replacement operations than expected.
You can also watch the video below if you need a visual guide for this procedure:
How To Do A Yamaha Waverunner Oil Change?
Take note that the oil to use on your Yamaha Waverunner depends on the jet ski’s specific model. For instance, the Waverunners in the GP model line with 4-stroke engines takes 10W-30 oils. On the other hand, Waverunners within the EX line can take 10W-30, 10W-40, 20W-40, and 20W-50 oils.
After purchasing the correct oil for your specific Yamaha Waverunner model, continue this procedure by following these steps:
What You’ll Need
- Drain cable
- Electric or manual pump
- Funnel
- Jet ski engine oil
Step-By-Step Guide
- Ensure that the jet ski is out of the water and on a raised surface (e.g., a trailer).
- Open the seat to expose the engine.
- Remove the oil dipstick and set it aside temporarily.
- Insert the drain cable into the opening where you removed the dipstick.
- Attach the drain cable to the electric or manual pump.
- Connect the pump to a power source and turn it on to drain the excess oil from the jet ski.
- Place rags or pieces of cloth under the Waverunner’s engine assembly.
- Loosen and remove the jet ski’s oil filter.
- Pour oil into the oil filter. Stop dispensing oil once it reaches the filter’s halfway mark.
- Apply a small amount of oil to the filter’s seal.
- Return and hand-tighten the oil filter to its original position in the engine assembly.
- Loosen and remove the oil plug from the Waverunner’s engine and set it aside temporarily.
- Place a funnel in the newly exposed opening.
- Pour oil into the funnel, which should allow the product to escape into the engine oil reservoir.
- Close the jet ski’s oil container and turn on its engine.
- Check if the check engine light persists.

Check out this product on Amazon.
Note: If you have the official Yamaha change oil kit, it should include a chart that includes the vehicle manufacturer’s different jet ski models. The data also has the correct oil to use for specific Waverunner models.
How Much Does It Cost To Replace A Yamaha Waverunner’s Engine?

Replacing a jet ski’s engine typically has similar costs regardless of brand, make, and model. So prepare to spend about $1,000 to $7,500 to cover the parts and professional labor associated with this procedure.
Take note that replacing a Yamaha Waverunner’s engine can be a viable option if you’re experiencing multiple problems with the assembly. You may also proceed with this goal if the check engine light doesn’t disappear after exhausting all your DIY options.
What Are The Yamaha Waverunner Fault Codes?
You can check the fault codes on your Yamaha Waverunner with a special diagnostic tool. Knowing the code that shows on the diagnostic tool’s screen may help with your troubleshooting and repair attempts for your Yamaha Waverunner.
A total of 123 fault codes may appear on the diagnostic tool’s display. Some of these error codes are:
- 1: Normal or no fault
- 15: Incorrect engine temperature sensor signal
- 44: Incorrect engine stop lanyard switch signal
- 156: Communication error with channel engine remote connector
- 252: Engine overheat

Check out this OBD2 diagnostic code reader on Amazon.
Final Thoughts
Resetting a Yamaha Waverunner’s check engine light shouldn’t take more than a few minutes to complete. However, your jet ski might have underlying problems if attempting to reset the check engine light yielded little to no satisfactory results. If so, troubleshoot the watercraft and move forward by applying the right method based on your findings.
If you’re looking for possible solutions to check engine lights illuminating on other vehicles, check out these other great reads:
My BMW Check Engine Light Is On But Gives No Message Or Codes – Why? What To Do?