If your electric RV steps stop working, you can have bigger problems on your hands than just convenience. Steps that are stuck in the down position make driving dangerous, and steps that won't let out cause the risk of falling. We set out to help you understand the possible reasons for malfunctioning RV electric steps and how to fix them. See our findings below.
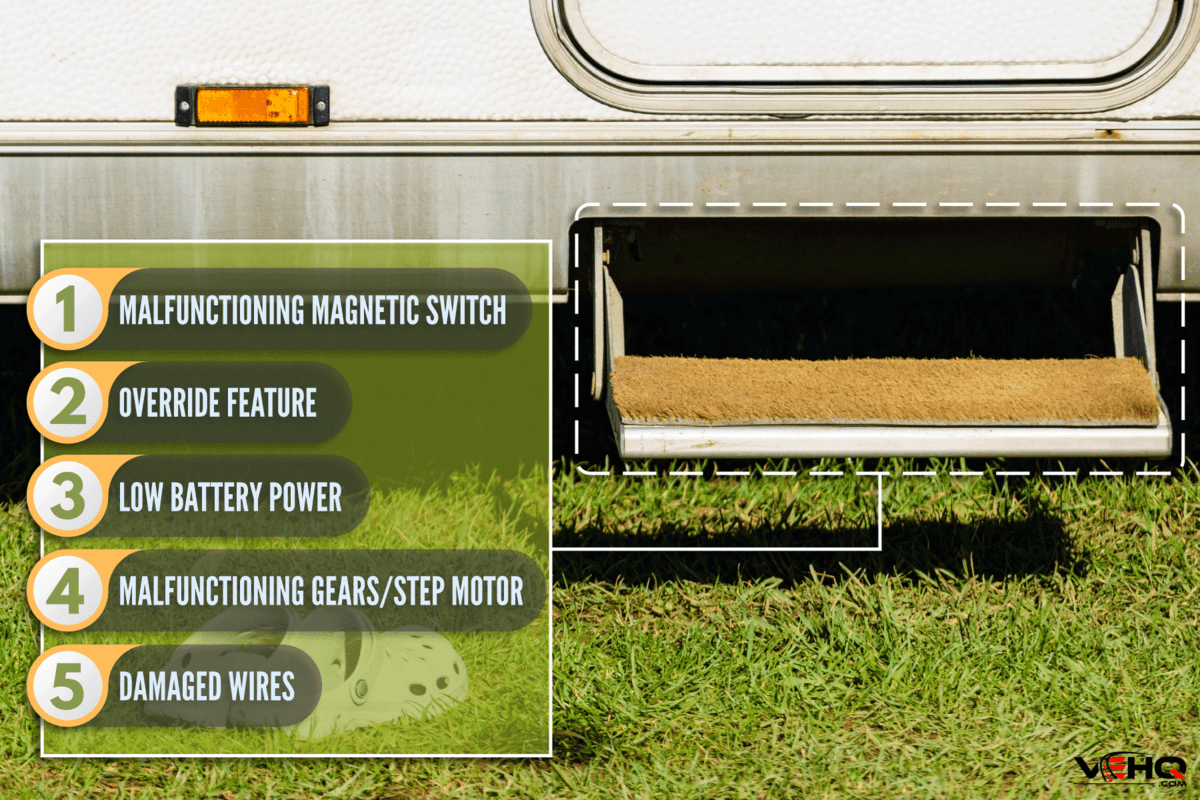
The most plausible causes of electric RV steps not working are the following:
- Malfunctioning magnetic switch
- Override feature
- Low battery power
- Malfunctioning gears/step motor
- Damaged wires
Now that you know some of the possible causes for your RV electric steps not working, keep reading to learn how to fix those issues. You'll also discover where to find the step motor, how to lubricate your RV electric steps, how to remove the motor, and much more.
Why are My RV Electric Steps not Working?
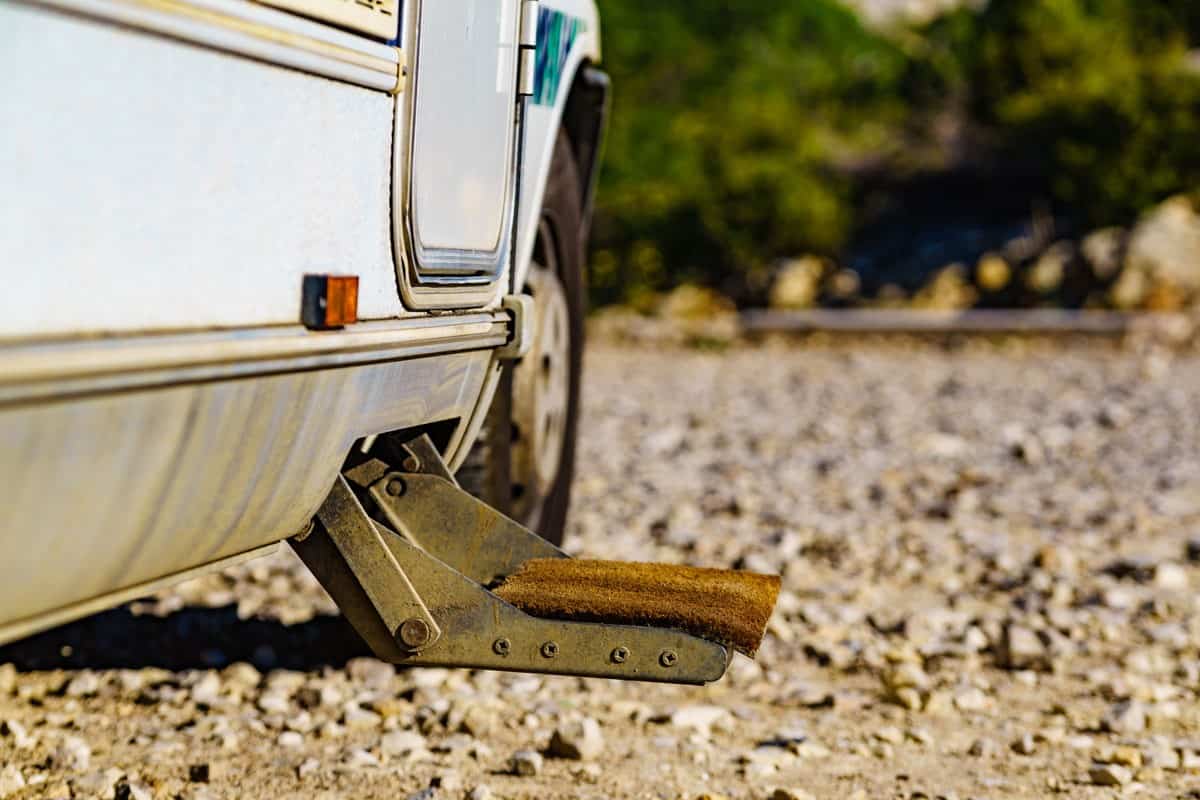
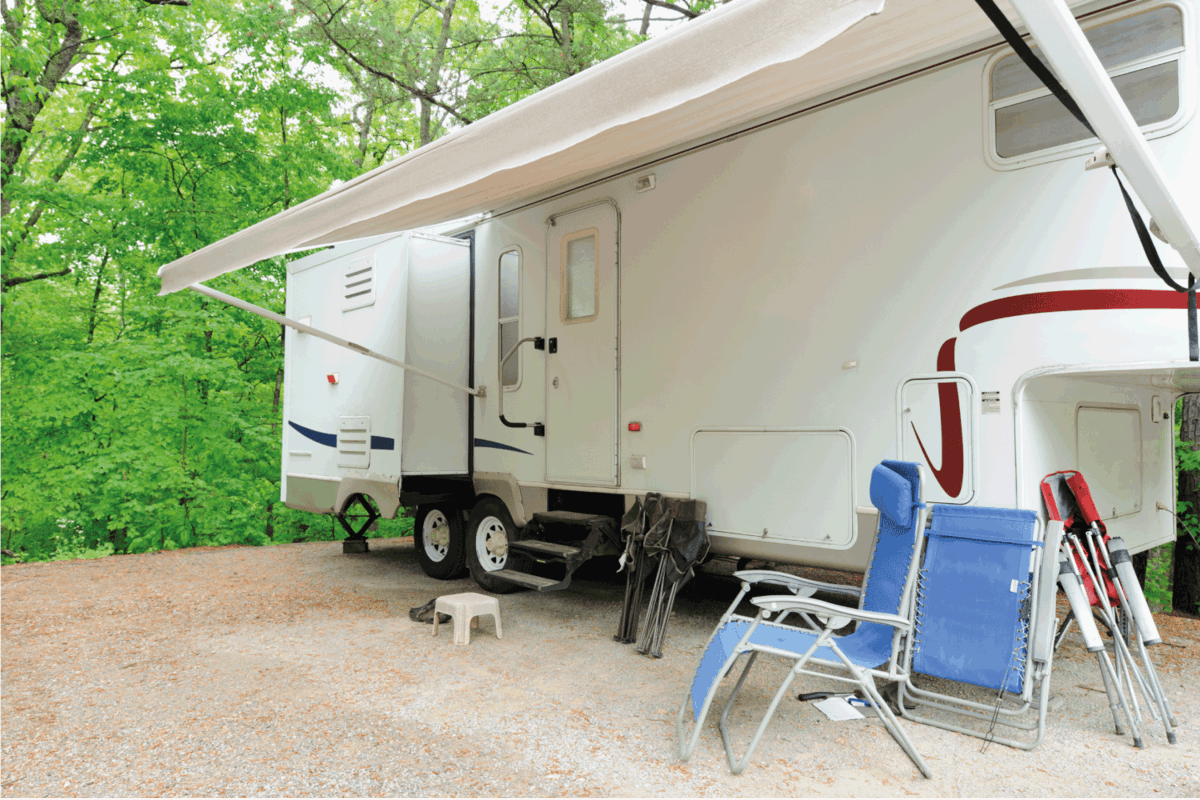
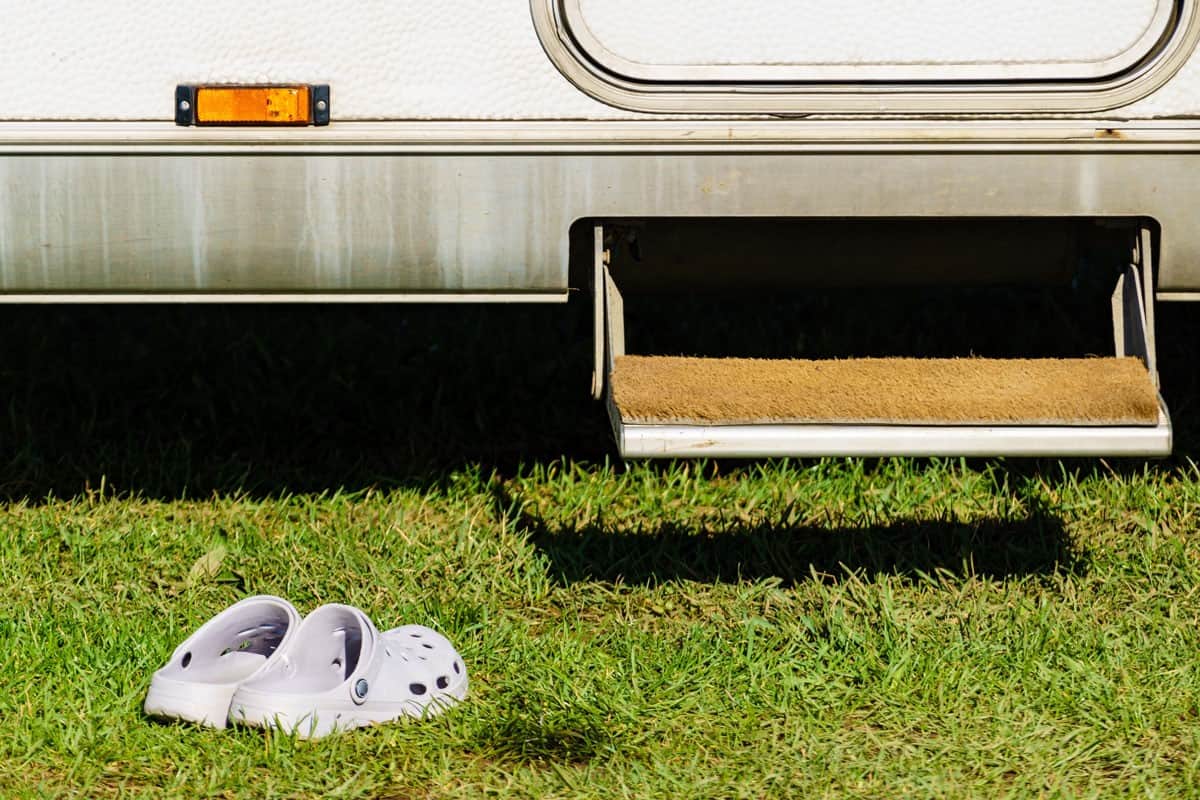
RVs have one of two types of electric steps. They either have manual steps or automatic. Automatic electric steps let out each time the door opens and pull back in when the door closes.
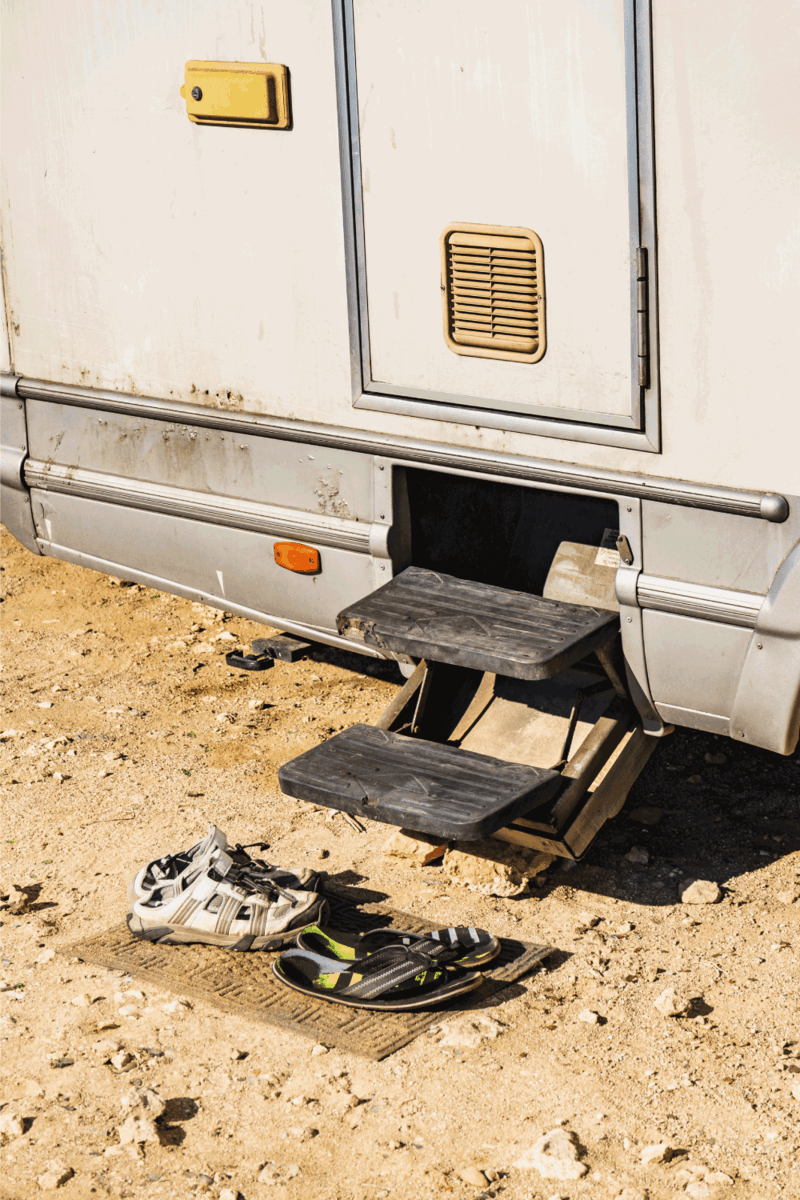
Likewise, the steps retract when you crank the ignition to keep you from driving away with the steps down. Manual steps, on the other hand, have a switch that you must press to either lower the steps or retract them.
1. Malfunctioning Magnetic Switch
If you have automatic steps, your RV contains a magnetic switch that tells the motor each time the door opens or closes. If this switch malfunctions, your steps will not work properly.
The magnetic switch is located inside the door frame. When the door aligns with it, the steps retract. Therefore, if the switch and the door are not properly aligned, your steps will begin to act irregularly.
How to Replace the Magnetic Switch
To fix this, open the RV door, and locate the magnetic switch. Part of it should be situated on the door, while the other piece should be inside the door frame. If the two are misaligned, reposition them.
This typically only requires you to tighten them back into place using a screwdriver or drill. If this doesn't work, it's probably time to replace the switch.
Removing the Switch
According to Lippert Components, new switch kits do not come with hardware such as screws. Therefore, you will need to keep the old screws and hardware for use with the new set.
Using a screwdriver or drill, you will first remove the magnet from the door. Then, you'll do the same with the magnet in the door frame.
Connecting the Wires
If you have no knowledge or prior experience with connecting wires, you may need a little help with this next step. Locate the control box. Disconnect both the ground wire and the one connected to the box.
Follow the wires to the underside of the RV. Now it's time to run the existing wires through the hole in the door frame.
You'll need to cut the brown wire, stripping it back roughly half an inch before attaching a heat-shrinking butt connector. Use wire crimpers to secure the butt connector into place.
For the ground wires, you'll strip the casing back on the shorter wire, folding it until it fits into the ring terminal. Using the wire crimper, secure it into place.
Installing the Switch
Once you have finished the wiring, peel the adhesive from the backs of the new magnet and switch, placing them properly inside the door frame and on the edge of the door. Then, screw them into place. The magnet must be placed vertically, or it will not function.
It is best to put it in the same place as the old magnet; however, you can place it anywhere that is more than six inches from the bottom of the door to the bottom of the magnet. Make sure to perfectly align the magnet on the door and the switch on the door frame.

You can find replacement magnetic switches on Amazon.
2. Override Feature
Many RVs have an override feature for the steps. This will allow them to remain extended while you are parked instead of retracting when the door is closed. Locate the override button, and make sure it is in the "auto" position.
If it's not, that could be the problem. However, if the RV is running, the steps will remain retracted for safety purposes. Turn off the ignition to see if this is the culprit.
3. Low Battery Power
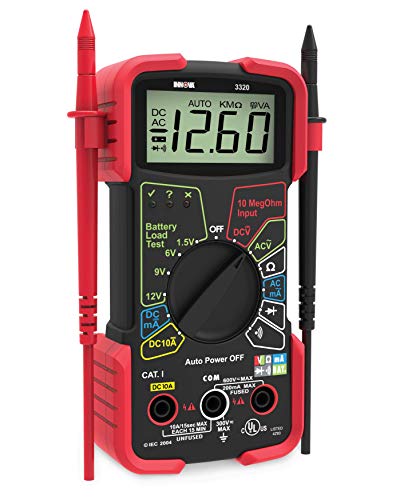
Look underneath the steps to find the battery. The next step is to test it to see if it has power. According to Lippert Components, the battery should have a voltage of about 12.6 volts. To check this, you will need to connect a voltmeter to the battery.
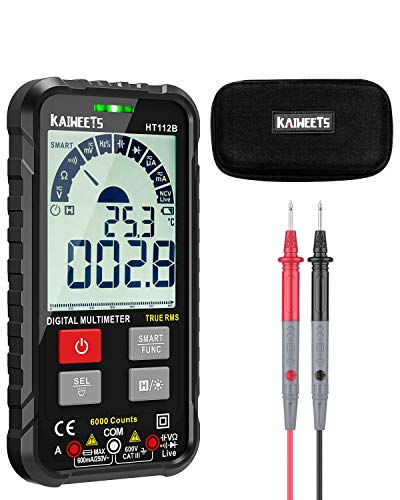
You can find a voltmeter on Amazon.
4. Malfunctioning Gears/ Step Motor
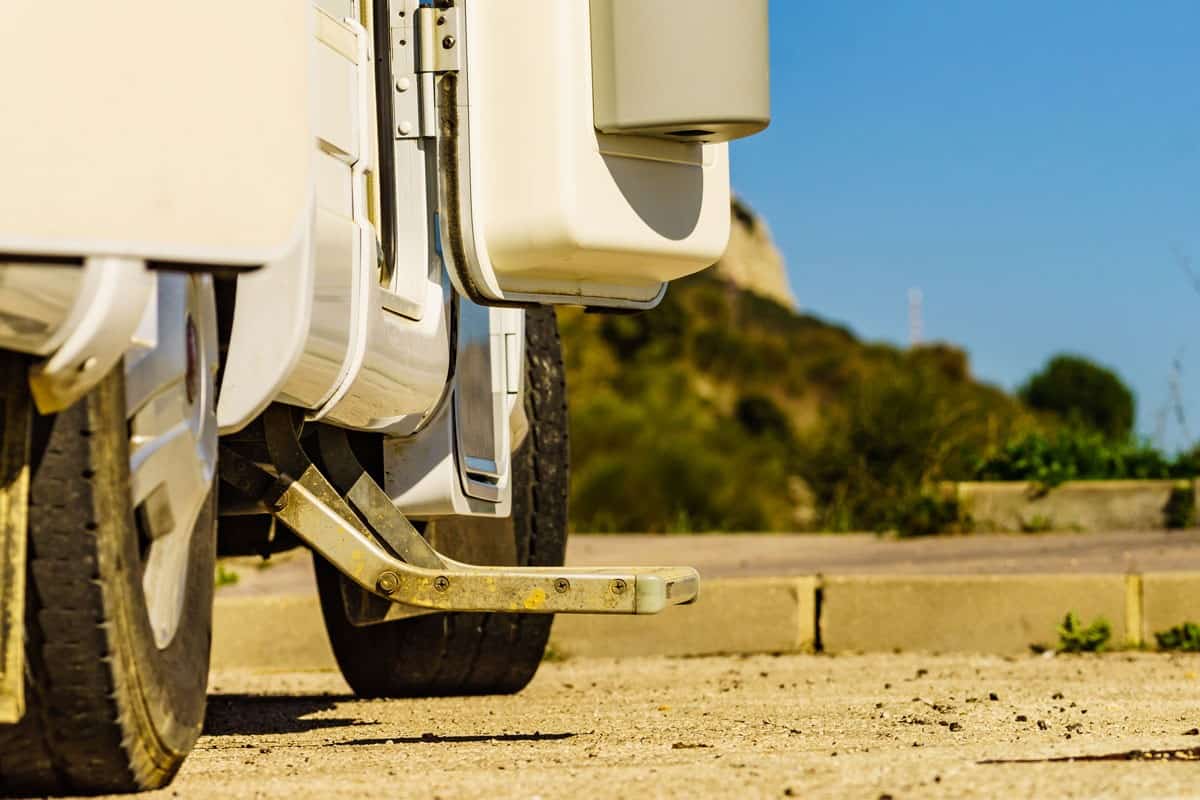
Is your step motor making a sound when you try to retract or extend the steps? If so, it is time to check underneath for dirt and debris that may be clogging the motor or wires.
Blow it out and clean it, then try the steps again. If it still isn't working, you may have an issue with the gears or the motor linkage. Before replacing the motor, use a multimeter to check the voltage. It should have 12 volts. If it doesn't, it's time to buy a new one.
Check out this multimeter on Amazon.
To get to the gearbox, you'll need to remove the motor which is a fairly simple process. Before doing so, make sure to unplug the wires to the motor, turning the power off while you work. Remove the bolts with a socket wrench and wiggle the motor until it comes loose.
Set it to the side. Before removing the facing on the gear assembly, you will notice it has four bolts and a pin holding it in place. Use your socket wrench to remove the bolts, then slide the pin out. Once you have successfully removed the old parts, use the same method to replace the new motor and gear linkage.

You can find a replacement gearbox linkage on Amazon.

You can also purchase a new motor for your steps on Amazon.
Watch this YouTube video for step-by-step guidance on how to change the gears and/or motor linkage on your RV:
5. Damaged Wires
If you suspect damaged or loose wires, look under the step. The wires should be securely in place against the step and frame. If they are loose, use some electrical tape to secure them. If the wires have any tears or other damage, you'll need to replace them.

You can find replacement wires on Amazon.
How do RV steps work?
RV steps can be either automatic or manual. Manual steps have a button that you must press forward and backward to retract and extend the steps.
Automatic steps have a magnetic sensor and switch inside the door frame and on the door which line up, causing the steps to retract when the door closes and extend when the door opens. There is also a gearbox and motor underneath the step. The gearbox has an arm that pushes and pulls the steps in and out.
How do you lubricate RV electric steps?
Before lubricating, clean all dirt and debris from the steps, motor, and gears. Using a product such as KwikLube for RVs, spray the steps and gears while retracting and extending the steps. Repeat this process every 30 days.

You can find KwikLube on Amazon.
How do you remove an RV step motor?
RV step motors are fairly simple to remove. First, locate the motor underneath the step. You will notice four bolts and a pin holding it in place. Using a socket wrench, twist the bolts until they come loose.
Next, slide the pin out of place. Lastly, work the motor back and forth with your hand to loosen it from its place. If you prefer visual instructions, check out the YouTube video earlier in this article.
How do you install a solid stance step stabilizer?
Solid stance step stabilizers are not difficult to install. Before beginning the process, make sure you have done the following:
- Support the RV
- Make sure you are parked on a level/solid foundation
- Ensure jack landing locations are free of debris, obstructions, and depressions
- Chock all tires
First, fold up the bottom step. Measure and mark the center. Place the stance stabilizer against the front lip of the folded step. Measure the width of the step stabilizer, marking the center.
Now, align the center of the solid stance stabilizer with the center of the step, clamping it into position. Lift both legs; underneath, you will notice four screw holes. Mark those holes before removing the solid stance.
Now, drill a 3/16" hole through each of the four markings. Replace the solid stance, and install the fasteners through the holes, making sure they are tight and secure. You're done!
Watch this YouTube video by Lippert Components for a visual guide to installing solid stance steps:
In Closing
Malfunctioning electric RV steps can be a pain, but don't replace them just yet. There are many culprits that could be causing your steps not to work. Following the above guidelines, you can replace or repair the smaller components of the steps, such as the motor, switches, and gears, saving you lots of money.
For more help with your RV, check out these other posts on our blog:
How Long Will An RV Battery Last?