So you're having a great time on a trip with your RV. Your cooking, cleaning, washing dishes without troubles so far. However, now you've noticed it's time to empty the grey tank! But, there's a problem. If your grey tank is not draining, let's look at what could be causing the obstacle. We researched the potential causes, as well as how to correct them.
RV grey water tanks rarely have problems. But, there's always a chance that they may show up. If your grey water tank is not draining, here's a list of what could be causing the problem:
- Organic blockage
- Broken gate valve or T-handle
- Inorganic blockage
Now that you know what might be causing the trouble, you might have more to ask. What can you do to unblock the grey water tank? How can you remedy the situations above? If you'd like to find out how to do so, keep reading ahead.
[toc]
How Do You Unclog a Grey Water Tank?
Let's get started a take a deeper look into the problems that could be causing the tank not to drain. We'll begin with a broken gate valve or t-handle.
Broken Gate Valve or T-handle
The first thing you want to do is to make sure you're opening the valve. There should be a bit of liquid pouring out when you open the valve. Though, it can depend on the severity of the blockage.
Additionally, if your t-handle can move in and out easily, it could indicate a break. It most likely means your t-bar is not attached to anything. In this situation, it means the gate valve isn't opening.
Take some pliers and open the valve. If it begins to operate normally, the issue was either the gate valve or the t-bar.
Organic and Inorganic Blockages
If you're not familiar with the purpose of a grey tank, they are where all the "grey" water in your RV gets stored. Greywater refers to all the water you use in the RV minus the toilet water. So, this includes the shower, the sink, etc.
Now, it might not be common but, there may be a build-up of inorganic material. Foreign objects, wipes, and toilet paper fall into that category. Additionally, if you cook often, you might have let a bit of food slip into the sink. Small bits shouldn't cause a problem. However, those tiny bits can collect over time and cause a blockage.
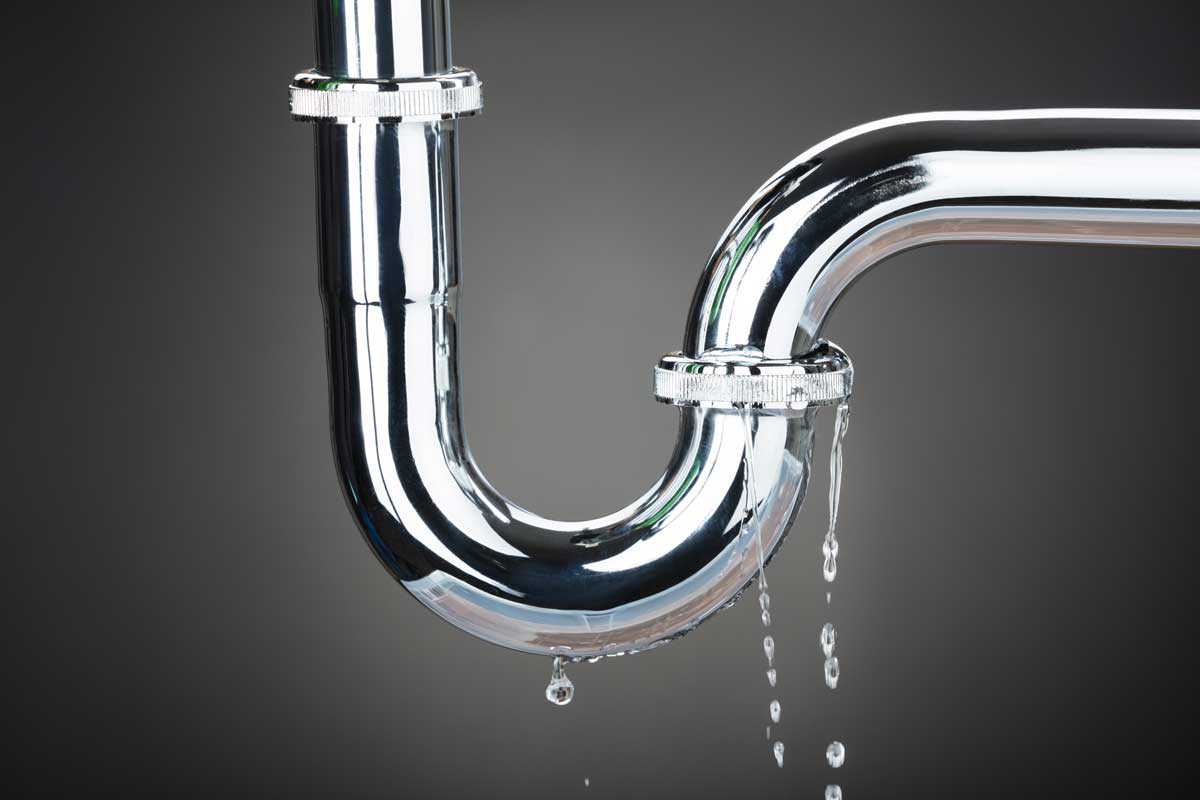
Unclogging the Pipes
Baking Soda and Vinegar
To remove the blockages, you will want to use something that can help break them down. For the first method, you will need to use vinegar and baking soda solution. You will pour down baking soda down the drain of the sink. Wash the baking soda down by pouring baking soda on it.
The baking soda should react to the vinegar and begin to bubble. Pour until all of the baking soda goes down the drain. After this process, the solution will have to sit for 30 minutes.
After 30 minutes, you will need to boil a pot of water. Pour the hot water down the drain to soften the grease/food build-up. Go outside and begin to drain the grey tank. If this solution works, water should pour out along with particles of food.
If you'd like to see a demonstration of the process, here's a YouTube video for guidance:
Using Snakes and Sink Plungers
If the solutions above didn't manage to get your drain going, there's still more you can do! In this case, you can use the baking soda and vinegar method in combination with this one. Using drain snakes offers a direct approach to unclogging the drain.
One important thing to note, you should use a manual auger instead of a mechanical one. This way, you minimize the potential of damaging the RV's plumbing.
To begin the process, you need to:
- Insert the snake carefully into the drain. If you're not careful enough, it can cause the snake to bunch up and get stuck in the pipe.
- Hook the clog by turning the handle in a clockwise manner.
- Once the connections have been made, use water to drain out the blockage.
When paired with the previous method, using a snake can help remove tough build-ups. If you need a visual demonstration, here's a YouTube video to help:
What Happens When the RV Grey Water Tank Is Full?
Draining the tanks is a crucial aspect of maintaining an RV. If you allow the grey tank to get full, you will see water back up in the shower and sink. The most common spot it will back up in is the shower. It shows up in the shower first because, as some suggest, it is the lowest point in the RV.
Once you begin to see signs of overflow, you must empty the tank. If you the job for another time, you will end up with water damage. The water will seep into carpets, floors, cabinet bottoms, etc.
Damages
In the best case, addressing the signs of overflow right away will only leave you to deal with the odor. However, in the worst case, mildew can grow on spots you might not be aware of. Additionally, you will have to deal with the smell and replacement of the carpet.
When Is the Grey Water Tank Full?
Modern RVs will have an indicator to tell you when the tank is full. Though, the indicator can light up at any point. Sometimes when there's no need to drain the tank. However, we can only assume this is a safety precaution.
If you want to be on the safe side, you should drain the tank when the full indicator appears. This way, you won't risk letting the shower overflow.
How to Drain Grey Water from a Camper?
You can use any of the methods above to drain greywater from a camper. If you want a direct approach, you can always opt to use the snaking method. However, if there are no problems with draining your camper, you can follow these steps to drain the greywater:
- Go to a dump station's disposal tank. Back your RV up near it.
- The sewer hose should be able to reach the RV's tanks.
- Locate the connection between black and grey water tanks. There should be a cap on the outlet port that connects the two. Remove the cap.
- Take the sewer hose and connect it to the grey water's relief valve.
- Connect the other side of the hose to the disposal tank.
- Let the greywater pour out as needed.
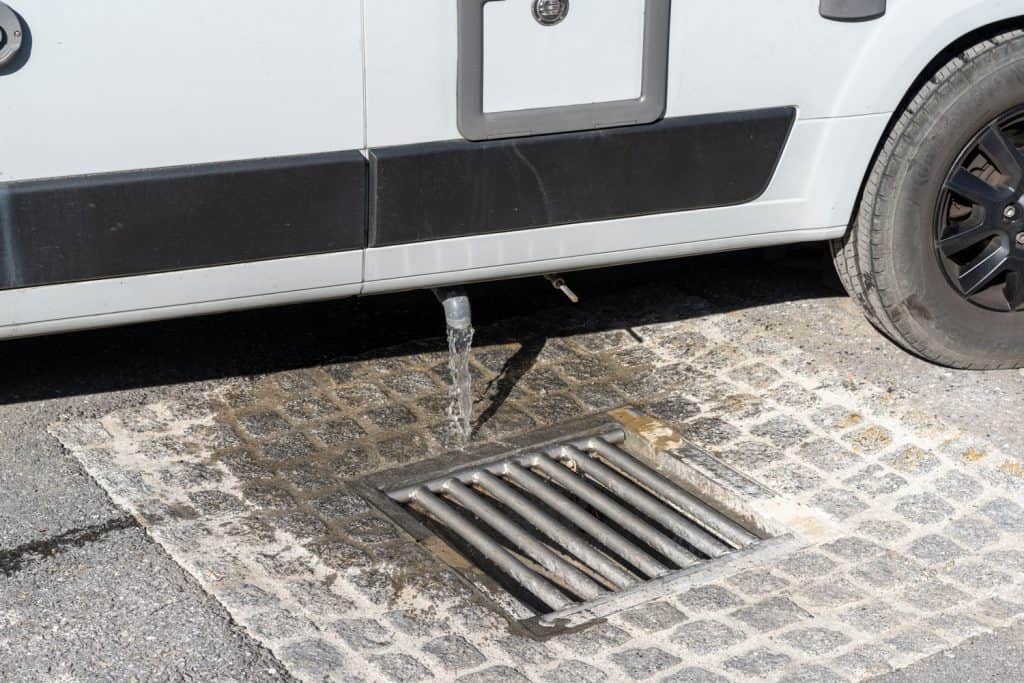
Is It Okay to Drain Grey Water on the Ground?
As mentioned, the grey water tank holds all the greywater you produce. Greywater includes water from the sink and shower. While this type of water might seem harmless, it has regulations and rules where you can dump it.
The reason being that the content present in the water can be dangerous to the environment and wildlife. For example, you might use dish soap often in the sink. When you release the grey water onto the ground, harmful chemicals from the cleaning solutions will contaminate the area. In this case, it would harm the local plants, trees, and water sources.
However, some suggest that there are some spots where you can legally drain grey water on the ground. Those are very limited exceptions. In general, if you're wondering if you can drain the water on the ground, the answer is most likely going to be no.
Final Takeaway
Finding out what is causing draining problems with the grey water tank is a difficult task. You might have to continue using trial and error methods to pinpoint what's wrong. Hopefully, you've found the solution using the information above!
Before you go, do you have other RV concerns? Are you curious to find out how long RV batteries last? To find out more, check out our post here.
Additionally, if your grey water tank has damages, it might be time to replace it. If you'd like to know the cost for a replacement, check out our post here. Until next time!