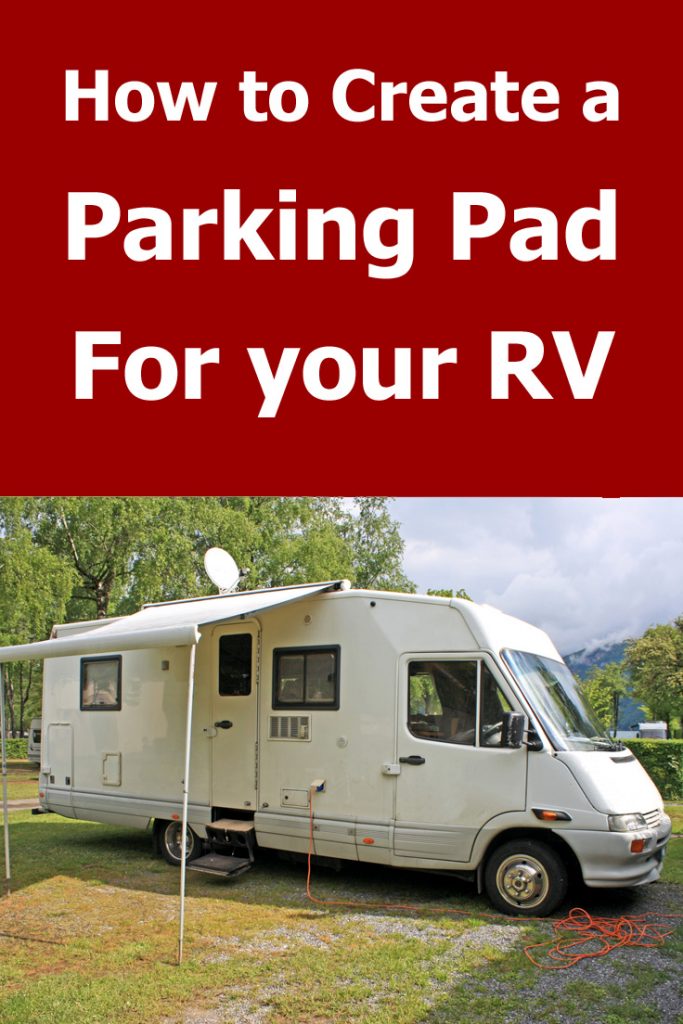
 Parking your RV at home when you're not traveling can be a great and affordable solution. Not only will you save on storage costs, you can also use the RV while it's there. The right way to go about it would be to create your own RV parking pad.
The basic five steps for creating your own RV parking pad are -
- Choose the spot
- Pave the area to build the pad
- Address trees and shrubbery
- Get hookups in place (if you're going to use them)
- Protect your new RV parking pad
This post will not only walk you through these steps, it will also help you decide whether or not an RV parking pad on your own property is the right solution for you. We'll review the considerations as well as the alternatives before getting to the building process itself, so keep reading.
What you can do with your RV when not traveling
Most people can’t travel in their RVs full-time. They have homes, jobs, and other responsibilities. What do you do when it comes time to park your RV? These are your basic three options -
- Put the RV in a storage facility
- Parking the RV in the street
- Create your own parking pad on your property (what this entire post is about!)
To fully understand the pros and cons of creating a good parking pad at home, we'll begin by reviewing the alternatives.
RV Storage
You could always put the vehicle in a storage facility. This is what many RV owners do during the winter.
Your vehicle will sit in a park or storage facility that’s indoors or outdoors. If the local climate requires it, you’d winterize your vehicle. You'll also probably cover it up, and then come back for it in the spring.
While this is a convenient option, RV storage is not always cheap. According to Storage.com, here’s how the prices break down for an average-sized trailer:
- Outdoor storage: $30 to $50 or $60 to $100+ monthly depending on the facility
- Unheated indoor storage: $50 to $125+ monthly
- Heated indoor storage: $100 to $450 monthly
Costs will go up if you opt for extras like sewage dumping, battery charging, valet parking, and other premium services. You will also spend more for any storage, be it indoors or outdoors, if you have a Class C or Class A motorhome due to their sheer size.
Parking your RV on the street
Another option you have is parking your RV on the street. This is convenient since your RV is right where you can see it, but it’s admittedly dicey.
First, there’s the issue of a permit, which you may need for street parking. Also, your city/town or neighborhood may have rules banning you from keeping your RV on the street.
The last downside to this is that you open yourself up to getting your vehicle vandalized or - worse - stolen.
Knowing all this, you might opt to make your own RV parking pad instead. This is an inexpensive and reliable parking option you can trust year in and year out. And hence, this is the topic of this post, so let's hop right into the intiricacies of it all!
Creating your own RV parking pad on your property
Things to Consider Ahead of Time
Before you begin constructing your own RV parking pad, you should keep these considerations in mind:
- Legal aspects.
- Finding the space for it.
- Adjustments to be made to the space.
- Hookups - if you want to keep using the RV when parked
- Neighbors.
Let's review each of these.
Legal Aspects
First, we have to again mention those local municipality regulations.
Your parking pad would be going on your property, yes, either in your backyard or in your driveway, but it’s still subject to certain rules.
You should first contact your homeowner’s association or municipality to ask whether you could make a parking pad on your property. You then have to look into those rules to make sure you don’t break any zoning laws. Again, you might need a specialized permit to park your RV, so you’d want to make sure you have one.
Consider the available space
Do you have enough room for your RV on your property?
View this post on Instagram
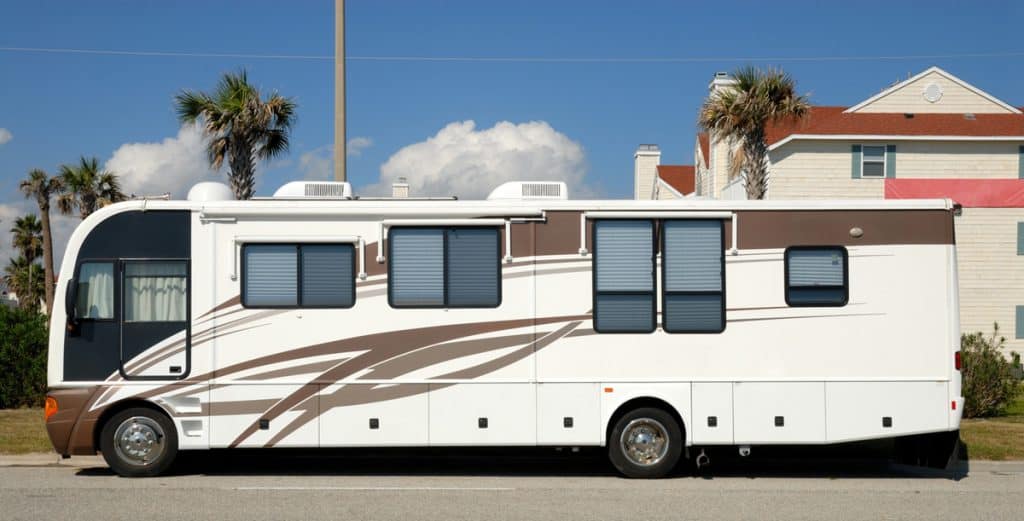
That will depend on its size. A smaller vehicle like a Class B isn’t too hard to fit in a driveway or even in a garage, but a Class A could be challenging. So maybe there's another spot you could use? Either in the front or back yard.
Do you need to make adjustments?
Even if you have the square ft to get an RV on your property, that area may need some fixes and changes. Levelling is the first thing that comes to mind but you may also need to remove shrubbery, piles of stuff or even a shed.
Also, you might have to widen your driveway to accommodate a big RV. Driveway renovations like this can be an expensive project, so you have to think carefully if it’s worth it.
Will you need hookups?
Are you going to just cover the RV and never use it while parked? Then hookups are not a problem. But if it's on your own property, why not make use of it?
Many people use their stationary RV as an additional room. Why not use it as your office? Or maybe as an additional guest room, allowing your guests privacy as they're outside your actual home.
For that, you'll need shore power at a minimum. You can hook up your RV to your own electricity to run it as an office. If you want to make use it for sleepovers, or just to be able to use the bathroom, you'll also need freshwater and sewage hookups as well. If you or any guests stay overnight in your RV, you’ll want all the creature comforts of home.
Then there’s your neighbors
What are they going to think of all this? The only way to find out is to talk to them. We recommend you ask them about installing your own RV parking pad before doing it. You don’t want to agitate your neighbors by blocking their view with your RV.
How to Create Your RV Parking Pad
After mulling over the above considerations, you’re still convinced you want your own RV parking pad. You know for sure that you won’t break any laws and/or tick off any neighbors, so you’re all ready to get started making your own parking pad.
Here are the steps you should follow.
Step #1: Choose the spot
If you can, choose a level area in which to construct your parking pad. Otherwise, you will have to level the land yourself. Sometimes this is as easy as filling in gaps and hills with dirt. In other instances, you might have to hire a contractor to use a front-end tractor or loader and level the land for you. They’ll add dirt to depressions and other dips as well as cut through areas of elevation.
Once the land is leveled, you can place chocks or jacks on all four tires of your RV.
This will keep the wheels in place. If you really want to, you can also turn on your parking brake. This isn’t mandatory, but it will certainly keep your RV from rolling away.
Step #2: Pave the area to build the pad
Time to choose the material in which the parking pad will sit. Grass is not a great choice, since it can become wet and slick. Dirt is also no good. If it gets wet, it will get muddy and your RV could sink.
Instead, you should set up your parking pad on sturdier materials. Paving stones, concrete, and gravel are all great choices. Stones can withstand weather like rain much better than grass or dirt can.
View this post on Instagram
Step #3: Address trees and shrubbery
If you have any plants, trees, or other greenery around your parking pad, you’ll probably have to trim these down. It may be worth removing some trees if they’re too close to your RV or they hang above your vehicle’s roof. It only takes one bad storm and even thick branches can break and destroy your RV. It’s better not to take any chances. You might pay $150 or sometimes even $1,500 for tree removal depending on where you live and the size of the trees.
Step #4: Get your hookups in place
These include a city water connection, sewage water connection, and electricity. We’ll now talk about each one in more detail.
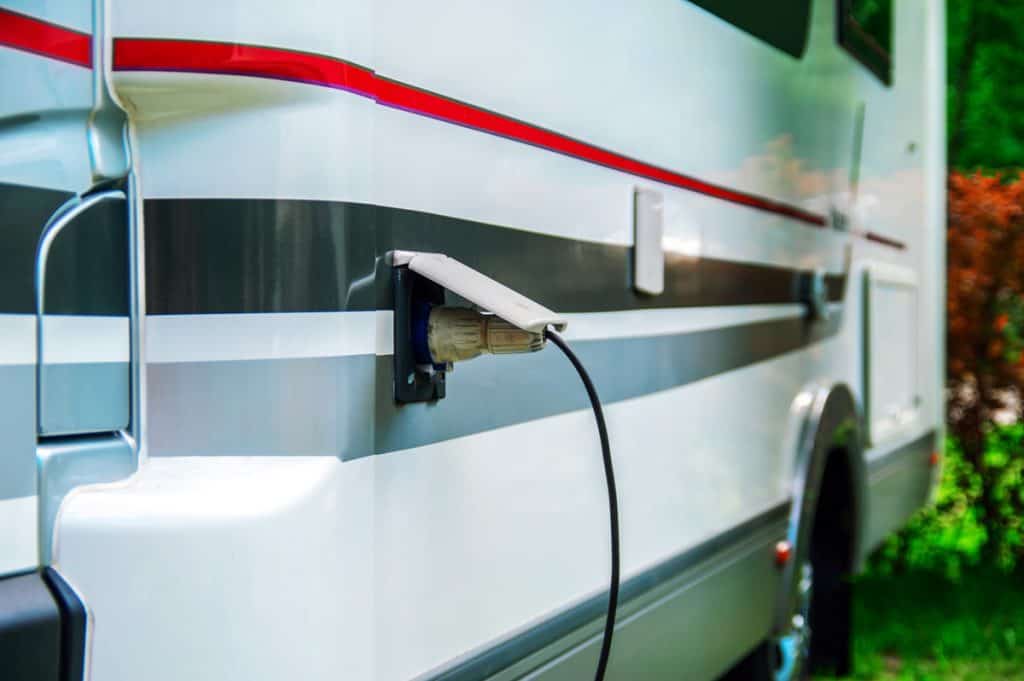
Electricity Hookups
If your RV is going to be sitting on your property, then you might as well connect it to the electrical system that powers your home. The electrical outlet for your house typically runs on 15/20 amps, while the RV’s electrical hookup uses 30/50 amps. You’ll need a 15/20-amp adaptor then, preferably one that’s weather-resistant and includes an extension cord. Shorter extension cords are your friend, as longer ones can overheat and cause shorts.
Don’t hook yourself up to your home’s power right away. First, you want to power down any and all appliances and items in your RV that are using power. You should also power down house breakers, just for the time being. Now you can plug your RV in. If all goes well, turn the house breakers back on.
Like anytime you use an electrical hookup, be careful of how many appliances and items you run in your RV. Using too many at the same time can kill the power to your house, which means your RV is also left without power.
Sewage Hookups
All the waste you accumulate in your RV has to go somewhere. From kitchen messes to bathroom waste, having an RV sewer hose will make your life a lot easier.
To set up your RV sewer hose, first ensure you close the sewer hose valves. Otherwise, all the waste in the graywater and blackwater tanks could come spraying out all over you. So yes, don’t forget this step!
Next, use the bayonet waste fitting to secure your hose. It should be sealed on nice and tight. The hose should also be able to pass through to the inlet in your dump station. Secure the station with a fitting elbow or a soft sewer gasket for easy access.
Now you can crank on the sewer hose valve for the blackwater tank. Be aware that pressure surges may occur. Using the fitting elbow should keep the dump station doing its job regardless of pressure.
Once the tank is empty, secure the valve, double-checking that it’s closed. Next, you can repeat the same thing with your graywater tank.
When you’re done, go to both RV sewer hose valves and close them. Take your sewer hose off, put the waste valve cap back on, and wash away any messes.
City Water Hookups
If you want to enjoy running water aboard your RV, you’ll need to set up your city water hookup. To start, head over to your driver’s side seat. You should see a city water connection hose near the rear outside compartment.
Make sure your home’s outdoor water spigot works. Hook the hose up to it, using the orange end to do so. The hose’s other end should go on the hand twist city water connection. That orange end is pretty useful, by the way. It has an adaptor that controls water pressure, ensuring you avoid rupturing pipes as you get water.
There’s no need to use your water pump if you have a city water connection. You’ll still get adequate water pressure for showering, cooking, and washing your hands.
Step #5: Protect your RV
Last but certainly not least, you may opt to get a gate or fence installed around your property. This decreases the chances of RV vandalism and theft. Security cameras and alarms, although expensive, can also ward off vandals and miscreants.
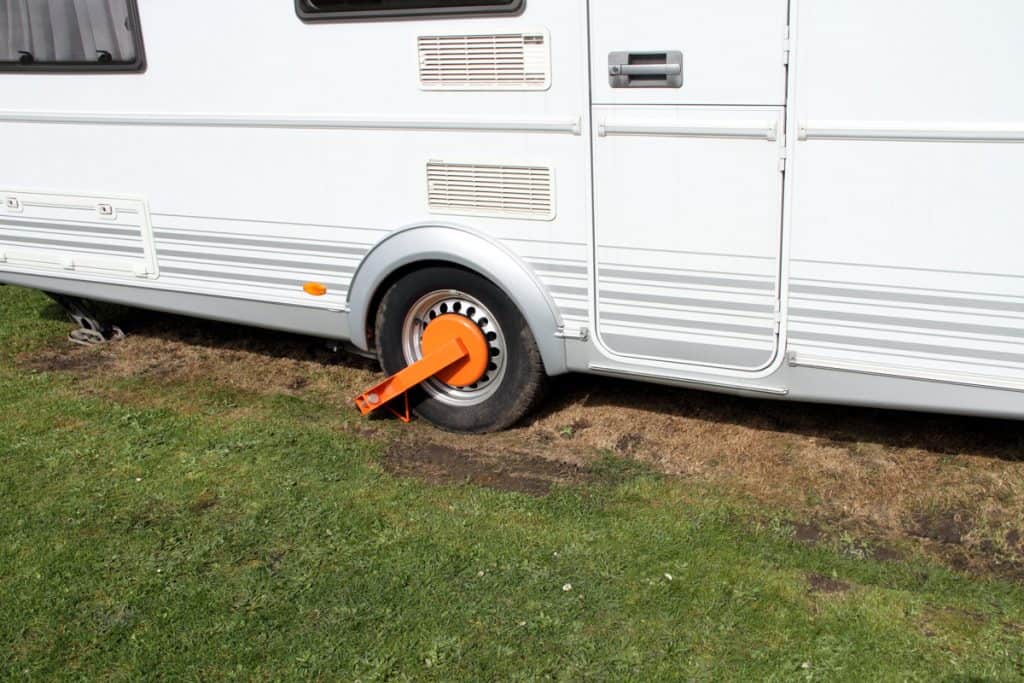
You may also want to secure your RV with tire boot locks. These will help make sure the RV stays in place as well as deter potential thieves.
That's it!
You should now have your RV parked long-term next to your home. You could use it as an additional living space. Or you could also just winterize and cover the RV until springtime - the choice is entirely yours!