Are you having problems with your signal lights not working when your headlights are on, and do you want to know what is causing this problem? You've come to the right place, for we have researched this question and have the answer for you.
This is often the result of a grounding error. The wires were likely not installed properly if you had any recent work done on the headlights or the turn signal lights.
Learn more about this problem in the succeeding sections. We also included information that you will likely be interested in. With that said, let's dive right into this post!

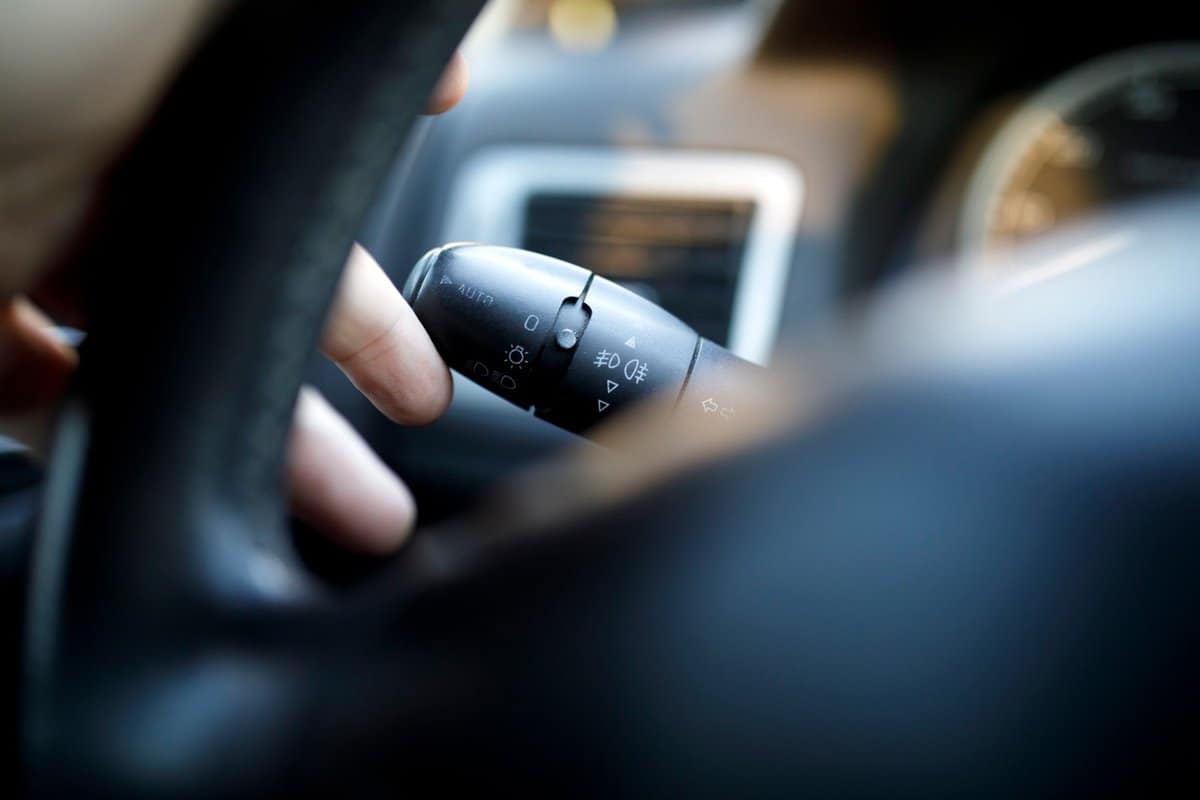
Turn Signals Not Working When Headlights Are On
There are two things that all your car's lights need for them to work—ground and a 12-volt electrical source. The bulbs of your vehicle typically get ground through the casing.
Installing a bulb will cause contact with the bulb casing.
In this situation, the bulb is getting the wrong ground. The signal lights are also getting the 12-volt supply from the opposite wire. Thus, when you open the headlights, the signal lights no longer get the ground and 12-volt supply it needs.
Bring your car to a professional mechanic to correct the wiring problem.
How Do I Switch From Incandescent Bulbs To LED?
An LED is a type of semiconductor that glows when an electrical current passes through it.
LED lights have quickly become a popular alternative for automotive lighting like headlights, turn signal lights, or stop lamps.
LED lights have a longer service life and better vibration resistance than automotive incandescent bulbs.
However, switching to an LED light for your car is not a straightforward swap. LED lights consume less power than their incandescent counterparts.
Using LEDs For Turn Signal Lights
LEDs for turn signals use a different flasher relay. Standard incandescent bulbs for turn signals use a thermal flasher relay, while an LED turn signal requires an electronic flasher relay.
Locate and replace the old thermal flasher relay before you switch your turn signals to LED.
LED lights do not produce enough heat because they use little power and do not trip a thermal flasher relay.
Wiring LED Lights For Your Car
Here is a brief guide on how to wire the different types of LED lights to your car.
LED Lights With Single Wires
Single-wire LED lights normally connect to the ground through the housing. You can only use these LED lights for a single function like brake lights, running lights, or blinkers.
Whatever the color of the LEDs' single wire, it will serve as the positive power wire.
LED Lights With Two Wires
Dual-wire LED lights can serve the same functions as single-wire LED lights.
One of the two wires will be positive, and the other will be negative. These LED lights commonly come with a black and white wire.
In this case, the white wire will always be the ground, while the black wire is always positive.
Some models might use a different color for their wires but will always have a black wire or a wire with a black line. Black will always be positive for these models, just like in the standard LED wires.
LED Light With Three Wires
Triple-wire LED lights are multifunction lights. You can set them up to serve whatever combination of functions you'd like. Common varieties are running lights and brake lights, running lights, blinkers, or brake lights and blinker lights.
The standard color configuration for the three wires is red, white, and black. White is always the ground, red is the first positive, while black is the second positive.
Thus, if you plan to use the triple-wire LED light as a brake and blinker, then you connect the black wire of the LED light to the positive terminal for the brake light and the red wire to the positive terminal of the blinker that is coming from the flasher relay.
Similar to the dual-wire LED light, the colors of the three wires could be different.
If none of the three wires are red, white, or black, use a multi-meter to identify the positive wires and the ground. Some manufacturers include a wiring diagram, but not all do.
How Do You Wire Off-Road Lights?
Not all vehicles for off-road driving have all the offroad lights you might want on the car. Thus, serious off-roaders install aftermarket offroad lights on their vehicles, including additional offroad equipment.
Here are the different installation options—and steps—that you can follow to install your offroad lights.
Wiring Installation Option One
This installation method is ideal for the installation of a few additional lights:
- Park your vehicle on a level surface with enough lights.
- Set your transmission to the "Park (P)" position and engage the parking brakes.
- Open the hood of your vehicle.
- If you need to drill a new hole for the installation, cover it with a couple of layers of a rustproofing primer, then paint it with a color that matches the rest of the engine bay.
- Pick a location inside the engine bay where you can install your relay. A relay is a type of switch that is operated electronically. They are used to switch a high current circuit using a low current circuit. Securely screw it to the chassis of your vehicle.
- Connect the wires to the battery. Ensure you connect the correct wires to the positive battery terminal and the ground terminal. Use pre-terminated wires to make it simpler for you to install the new lights.
- Arrange the wires to the sides of the vehicle so they will not get in the way of the engine's other components. Get the connectors where you plan to install the lights on your car.
- Get the switch wires to a location where you can insert them through the vehicle's firewall.
- Mount the switch where you can easily access it in the passenger area of your vehicle.
- Turn on your vehicle and test the lights.
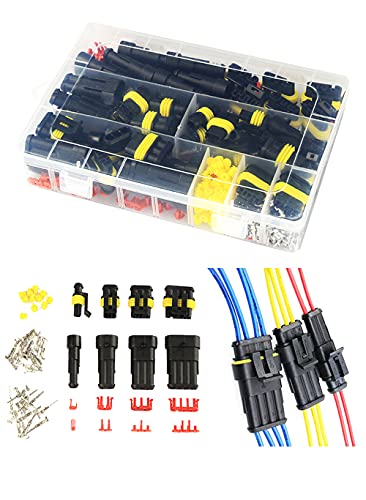
See these connector terminals on Amazon.
Wiring Installation Option Two
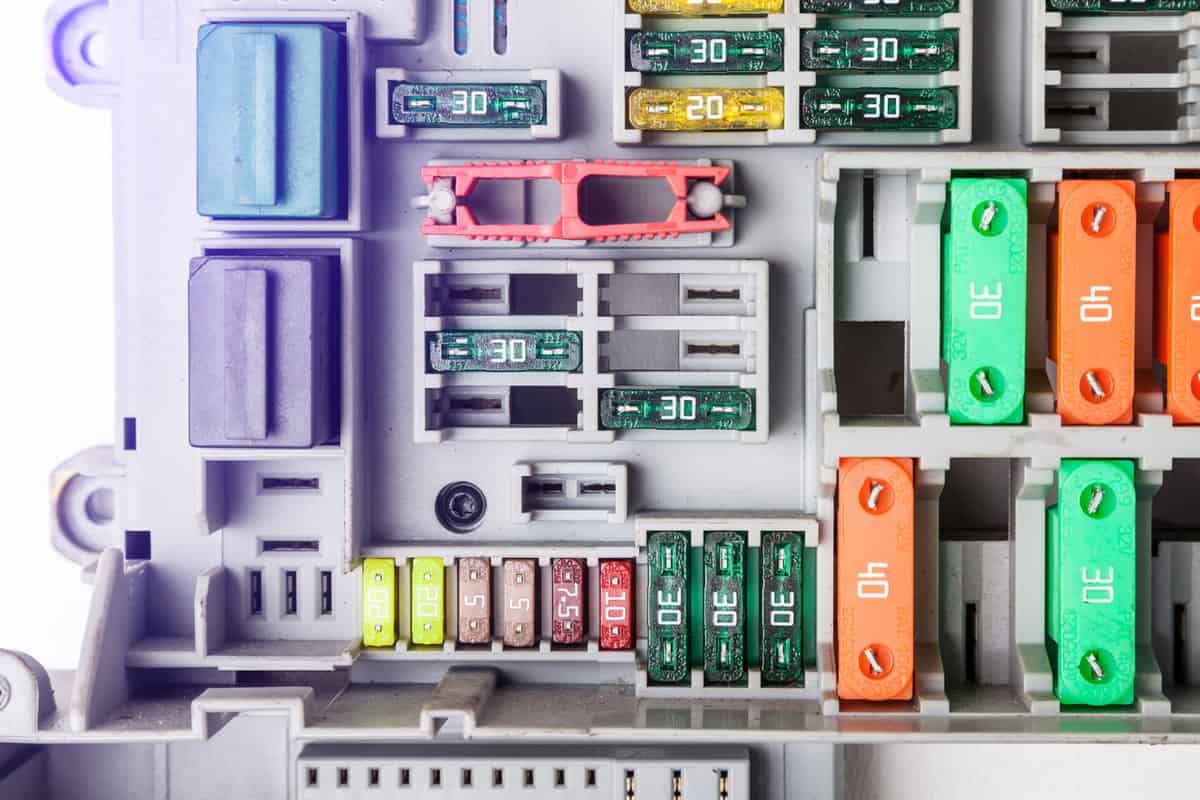
If you need to install lights and additional equipment like another compressor or a winch, you will need to install a fuse block to protect the circuit of that equipment.
A standard fuse block has seven additional fuses that you can use to protect the circuits of the equipment that you plan to install. If you need more fuses, pick up a block with more fuse ports.
You can also follow this method if you want your new lights to be protected by a fuse, mainly if you use them in a wet environment.
Read the section below for the installation steps:
- Follow the first four steps from "Wiring Installation Option One."
- Look for an area inside the engine bay where you can install the fuse block. Screw the fuse block securely to the chassis of the engine bay so that it will not fall off while you drive offroad.
- Connect the power supply wires to the battery, ensuring you connect the correct wires to the corresponding terminals.
- Connect the trigger wire from the new fuse block to the factory fuse block. Look for a 12-volt terminal that turns on when the ignition key is on.
- A fuse tap connects the trigger wires to the factory fuse block.
- Once installed, the new fuse block adds several new circuits that you can use to connect your new equipment. Connect the power wires of the new equipment to the circuit wires going to the fuse block instead of directly to the battery.
- Once you complete wiring your new equipment, turn on the ignition key and test if your equipment works.
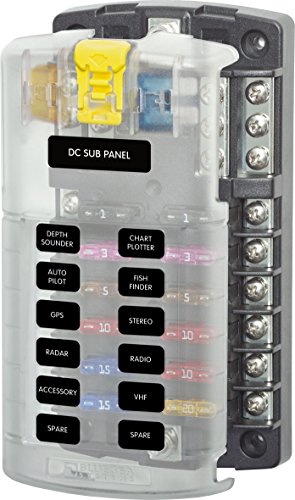
See this ST Blade ATO/ATC on Amazon.
Wiring Installation Option Three
Instead of installing a new fuse block, you can install a solid-state control module.
Each box provides a standard three new circuits with fuse protection that you can use to install new equipment to your vehicle.
These modules have their own installation method. Just follow the user manual to install. The wire feeds are all pre-terminated, which makes the installation of new equipment simple and plug and play.
The most significant advantage of a solid-state control module is that you don't need to wire it to a control switch that goes through the firewall.
These control modules can be controlled by a Bluetooth-enabled switch that you can connect anywhere near the driver area, giving you wirelessly access to the control module.
Some models even include an app you can install to your Android or iOS device and access the new equipment on the control module through that device.
This allows you to control the equipment on the control module even when you're not in the vehicle.
In Conclusion
There are several ways to modify and extend the functionality of the lights on your vehicle. However, a mistake in connecting the wires can cause your lights to behave in different and unusual ways.
Made it to the end? Check out these related vehicle posts!
Ford Truck Bed Light Won't Turn Off
How To Remove Moisture From Car Headlight [Inc. Without Opening]