Did you just notice the Vent function on your Tesla app, and are you wondering what it does? Wonder no more, for we have researched this question, and we have the answer for you.
The Vent function allows you to partially open the windows of your Tesla to let out some of the hot air inside the car. This can drop the internal temperatures to more bearable levels before you enter your Tesla.
Let’s talk more about the Vent function in the succeeding sections. Learn how to activate the Vent function in the sections below.
Read on!
Version 3.10.0 Of The Tesla App
Tesla started rolling out an app update with the new Vent feature in September 2019. Users talked about the new feature in social media communities like Reddit.
![]()
At the time of launch, some users reported having the same version of the Tesla app but do not see the option to vent. A report from Teslarati on the same date suggested that the initial rollout of the Vent feature was part of an Early Access Program. Only members of Tesla’s Early Access Program had access to the Vent feature earlier than owners of Tesla that are not on the program.
It soon became a standard feature on the Tesla app.
How does the Vent feature work?

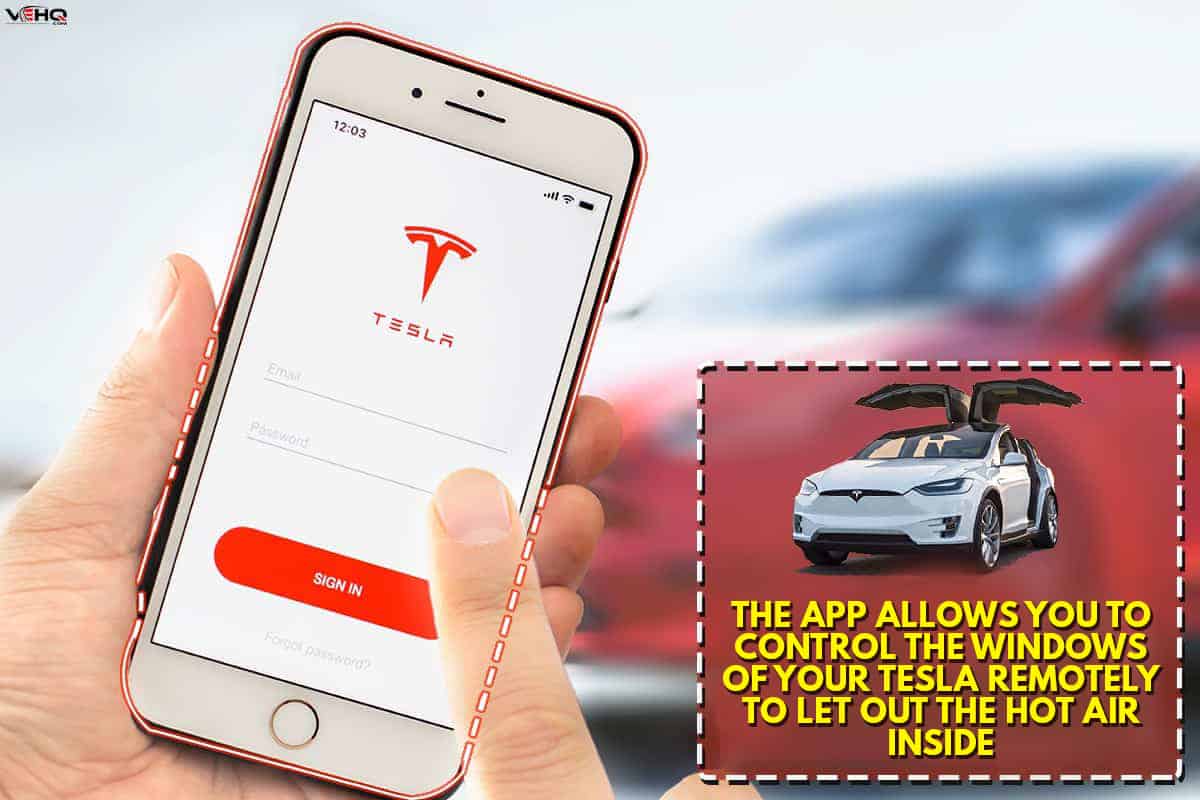
The Vent feature is activated by a button on your Tesla mobile app. The app allows you to control the windows of your Tesla remotely to let out the hot air inside. This will cool your Tesla before you need to get inside it to drive.
If all the windows on your Tesla are closed, the app will show a button on the upper left with the label Vent. However, if one or more of the windows are open or partially open, the button will have the label Close instead. This is to indicate that tapping the button will close the windows instead of opening them by 3 inches.
This is perhaps a design decision to ensure that the windows on your Tesla will not be open too much.
If a window is already open by 4 inches and you press the button, adding two to three inches to the initial 3 inches will open it by a total of 7 inches. This is an opening that could be big enough for thieves to access the Tesla from outside. Thus, from a safety standpoint, it is perhaps better to close all the windows first if at least one of the windows is open.
After pressing the Vent button, the label will change to Close.
If it is a really hot day, you can complement the Vent feature by turning the air conditioning on to to cool your Tesla more rapidly.
The Window Vent Feature And Rain

The window Vent feature works great when you park your Tesla outside. It helps prevent the accumulation of heat in the cabin area as the sun’s rays batter your Tesla from outside.
However, the open windows can be a problem when it starts to rain. This could soak the interior of your Tesla if you forget that you have the windows open for venting.
Fortunately, a new update to Tesla’s features marks the first time that Tesla integrates weather updates into the automation of car functions. This update—announced by Elon Musk last May 30, 2022—allows a Tesla vehicle to automatically react to forecasts of rain. If the windows of a Tesla vehicle are open, whether it is due to the window Vent feature, the update will automatically close it if there is a forecast of rain.
Weather prediction data also found its way into the energy usage estimates that provide driving range data to owners.
How to activate the Vent feature?
The Vent feature of Tesla is part of the Climate Control system. It draws its power from the high voltage battery, so extended use of the features of the Climate Control system can decrease the driving range of the Tesla.
Here are the brief steps to activate the Vent feature of your Tesla.
- Tap on Climate (normally second from the top in the list of options). This will open a screen with an image of your Tesla.
-
- This window will also show you the interior and exterior temperature of your Tesla. If the interior temperature is too hot, you can activate the Vent mode.
- Take note of the unit of measure that the app uses. The temperature display can be in Celsius or Fahrenheit. Make sure that it is in the unit that you prefer.
- Look for the icon of a car door in the lower right corner of your app. Tap the icon to activate the Vent feature.
-
- You can monitor the internal temperature through the same window.
- If the temperature is cool enough, you can close the windows through the same area of the app.
How to set automatic climate control in Tesla?

Tesla’s Climate Control system is set to automatic by default.
The automatic setting allows the system to adjust the heating, air conditioning, fan speed, and air distribution to meet the cabin temperature that you want.
However, if you previously disabled automatic climate control, you can follow the steps below to set it back to automatic through your phone app.
- Tap the large temperature display at the bottom of the phone app display.
- Select Auto to revert climate control to automatically adjust the temperature of your Tesla.
-
- The Auto button will light up to indicate that automatic climate control is active.
- If climate control is off, you can also turn it on from this window. You will know that climate control is off if the power button icon is not highlighted in blue.
How do I warm up my Tesla remotely?

Batteries become less efficient when cold. This is true whether you’re talking about standard car batteries inside internal combustion vehicles or in electric cars like Tesla. Luckily, Tesla has a way to warm up the battery during cold days.
This is the Preconditioning feature.
Activating the Preconditioning feature will allow your Tesla to warm up the battery and improve efficiency.
You can activate Preconditioning through the Tesla app by Selecting either Defrost or Preconditioning. Either of these will warm up the battery and prepare them for use. The Defrost feature will warm the cabin and the battery at the same time.
You can access both features from inside the Climate section. Look for the icons of either of these two, select them, and they will activate.
What is the Scheduled Departure feature?
The Scheduled Departure feature allows you to set a schedule of departure. Your Tesla will automatically precondition itself to ensure that the temperature of both the cabin and the batteries will be at their optimum when it comes to your scheduled time of departure.
Your Tesla will estimate the time it needs to reach optimum temperatures and activate the Preconditioning feature or the Defrost feature at the right time. This allows the car to reach the right temperature when you are about to leave.
This is ideal during months of extreme weather. Whether it is too hot or too cold, activating the Scheduled Departure feature will raise or drop the temperature to within the ideal range before you leave. It is best if you leave your Tesla plugged in and charging when you have this feature active.
Activating Scheduled Departure
Activating the Scheduled Departure feature can be done within the Tesla app or within the car. Here are the steps to activate it from inside your Tesla car.
- Go into the charging section of the menu of the app by tapping the battery icon at the top of the screen.
- You will see an image of your car on the right side with a visual of the battery and how much charge it has left.
- Tap the “Schedule” button.
-
- If you don’t see the Schedule button, look for the label “Scheduled Charge Start.” Under that is a grayed-out button with a time. Under this button is a line that says, “Switch to Scheduled Departure.” Tap this line to switch the button to “Schedule.”
- A small window will appear that allows you to set the time. Set the time to your desired time of departure.
- Click on “Settings” in the upper right corner.
- Select whether you want your scheduled departure to apply to all days of the week or only during weekdays.
-
- You also have off-peak charging options here that you might want to set before you leave the window.
- Tap on the back arrow.
- Once everything is set, tap on the “Set” button, and it will change to “Scheduled.”
How to activate Scheduled Departure through the Tesla app
- Activate your Tesla app.
- Scroll down the list of settings and look for “Schedule.”
- Tap “Schedule.”
- Select “Departure” on top if it is not yet active.
- Tap the time on the right of the “Departure” label.
- Set the time of your departure.
- Toggle the “Precondition” selector.
- Select whether you want the schedule to apply only during weekdays or during all days of the week.
- Double-check the time before you exit the app.
Conclusion
The Vent feature on the Tesla app allows you to open all the windows partially to help cool your car to a comfortable level before you get into it.
If you enjoyed reading this article, you might find the articles below equally enjoyable to read:
How Long Does It Take To Charge A Tesla At A Public Charging Station?
