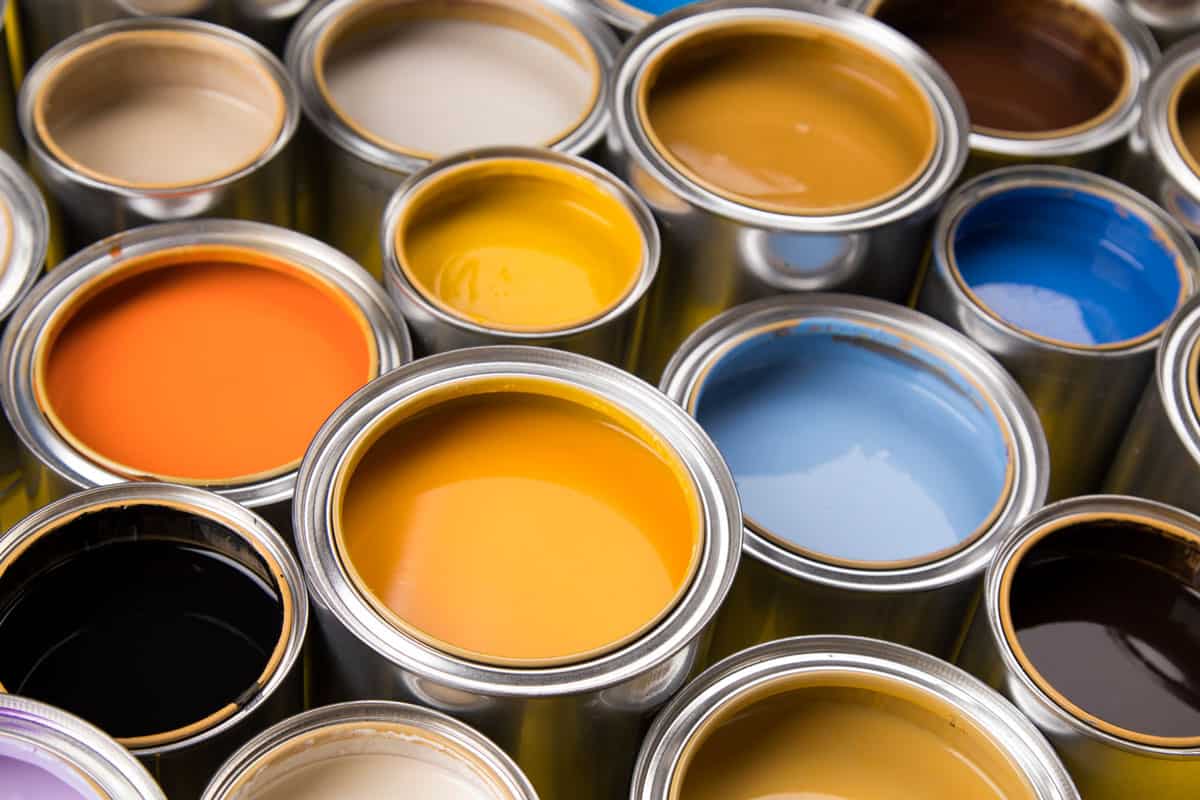
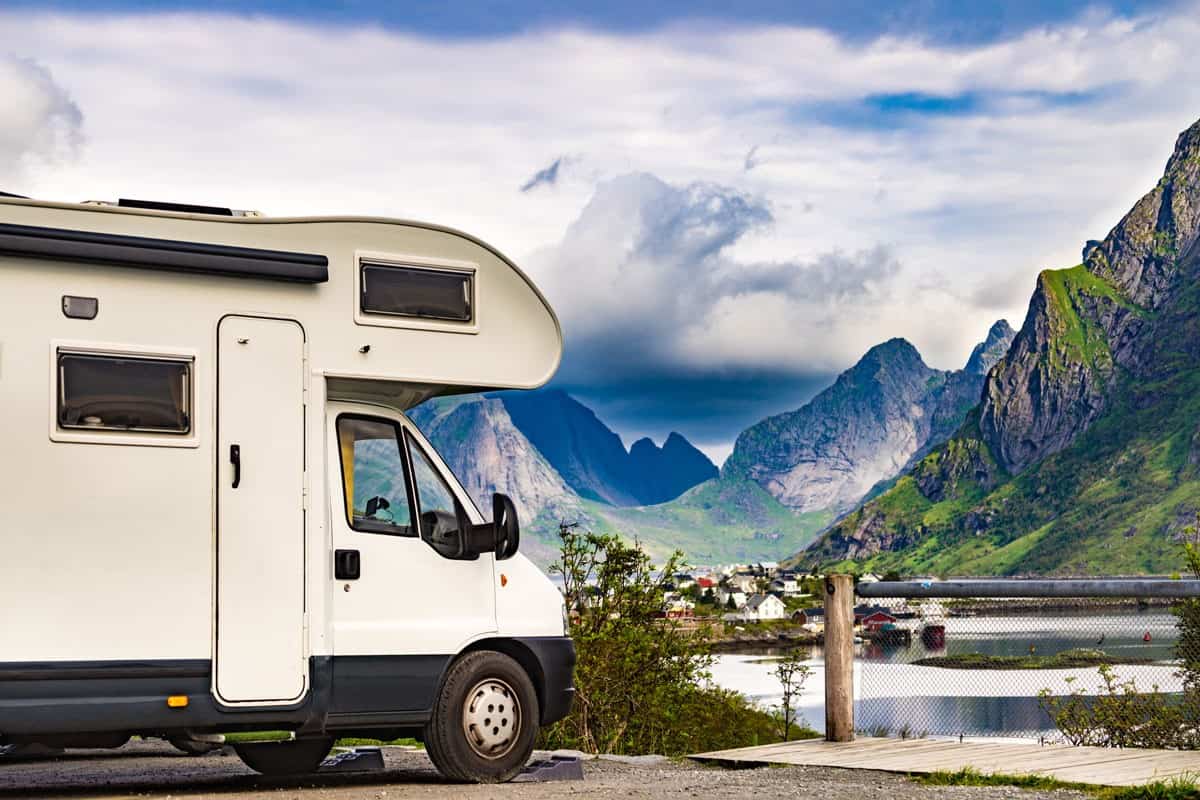
It’s important to keep in mind that different types of paint work with particular materials and surfaces, particularly for camper siding. So what’s the best paint to use for a camper’s exterior? We researched for your convenience regarding this concern, and here’s what we found.
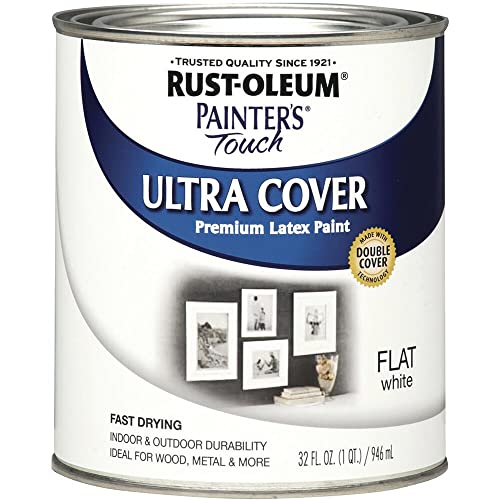
Acrylic and latex paints typically work well on camper exteriors made of aluminum. Otherwise, use acrylic latex paint on fiberglass camper siding.
Proper paint application is also vital in ensuring the product adheres well to the camper’s exterior surface. Continue reading as we tackle the correct procedure for painting a camper exterior. We'll also discuss the precautions in applying paint on a camper in greater detail.
What Type Of Paint Should I Use Outside Of My Camper?
The type of paint to use on a camper exterior often depends on the materials used. Generally, campers use two kinds of materials for their siding: aluminum and fiberglass. Aluminum camper exteriors often do well with acrylic- or latex-based paints. On the other hand, fiberglass siding typically works with acrylic latex paint.
Take note that using the wrong paint can result in the product failing to bond well with the surface. Sometimes using an incompatible paint may also cause portions of the camper’s exterior to dissolve.
You might still be at the planning stage of designing your camping vehicle. If so, check out our post on RV exterior paint ideas to help finalize your camper’s exterior aesthetic.

Check out this product on Amazon.
How To Paint A Camper Exterior?
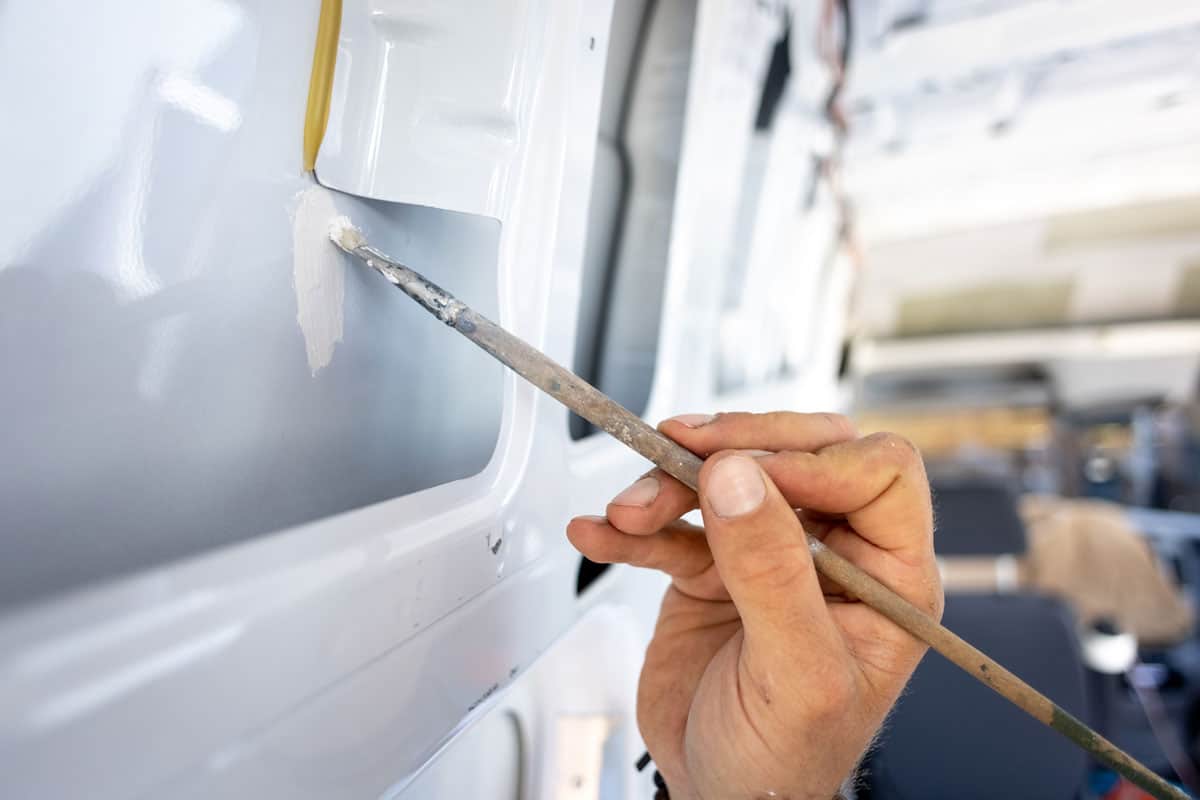
Before proceeding with this task, ensure that you do the necessary preparations so the paint job results turn out according to plan. For instance, make sure that the camper’s siding is clean. Wipe and wash any dirt, gunk, and other filth on it before applying paint.
Also, cover the areas of the camper’s exterior that you don’t want to paint. Otherwise, the paint may drip on these locations, making you do more work than intended.
You may also need to remove the decals on your camping vehicle if it has any. These graphics may cause the paint to not adhere well to the surface. You may still paint over the decals, but it may result in an uneven coating.
Perhaps the last step of laying the groundwork for your camper exterior paint project is to secure your safety. One way to be safe while painting your vehicle’s siding is to have an assistant nearby. The aide can help you with different parts of the process, such as holding a stepladder to ensure you don’t fall while you’re on it.
After making the appropriate preparations, continue this operation by following these steps:
What You’ll Need
- Painter’s tape
- Paint bins
- Paint rollers
- Automotive topcoat
Step-by-Step Guide
- Apply painter’s tape to mask the areas that you don’t want to paint on your camper’s exterior.
- Pour primer into a bin and dip the paint roller in it.
- Use the roller and apply primer onto the camper’s siding.
- Wait 30 minutes to an hour (or more) to let the primer dry before moving to the next step.
- Pour your preferred paint into a new bin.
- Use a fresh roller to apply your chosen color to your camper’s exterior.
- Let the paint dry before applying an extra coat if needed.
- Pour automotive topcoat into a clean painter’s bin.
- Apply the topcoat to the camper’s exterior using another clean paint roller.
- Remove the painter’s tape and other items used (if any) to cover some areas previously.
Check out this product on Amazon.
Take note that it roughly takes a few days to about a couple of weeks to complete a camper exterior paint project. So make sure to plan your painting sessions. Otherwise, weather and other undesirables may hinder this job's progress.
Don’t forget to watch the video below to gain additional insight on how to do this process. This video also shows you a method on how to remove decals from an RV safely. Also, it’s best not to follow the person in the video as he painted a section of his camper with his finger, resulting in an uneven finish.
You may also want to paint your RV’s roof. Read our guide on how to paint a rubber RV roof so you can gain insight into this project.
What Are Some Common Mistakes To Avoid When Painting A Camper Exterior?
Aside from making the essential preparations, it’s also important to know the potential mishaps that can happen while painting a camper exterior. That way, you can prevent these incidents from happening.
Some of the relatively common mistakes that can happen during this project are:
Parking Under Direct Sunlight
Long-term exposure to harsh UV rays may lead to cracking and/or peeling of paint. If you parked your camper in a relatively sunny locale, it can be ideal to look for a shaded area while painting your camper’s exterior.
Placing The Camper Underneath Low-Hanging Branches
Low-hanging branches from a tree might make leaves, twigs, and other objects fall onto the exterior surface of your camper. These items can also fall as your vehicle’s paint is drying, which can become troublesome to remove.
Failing To Wait For The Paint To Dry And Cure
As mentioned previously, it’s important to wait for each layer of paint to dry before applying another coat. Take note that it takes about an hour for the paint to dry on a particularly good day. But it can be ideal to allow the paint to sit and cure for extended periods before applying the next coat.
Also, allow ample time for the paint to cure before applying graphics on it, such as decals. Curing time is often different based on the type of paint. For example, oil-based paints generally only take about seven days to cure. On the other hand, latex paints can take about 30 days.
Painting Without Cleaning
Dirt and other debris latched onto the camper’s surface could prevent the paint from adhering properly. Oftentimes the paint may not dry properly or at all, particularly when applied over grease, oil, or wax.
Using Low-Quality Painting Equipment
It might look like a good idea to use inexpensive painting equipment like a cheap brush. But opting to use low-quality items to paint a camper exterior may give you more trouble than intended.
For example, low-quality paintbrushes might be prone to streaking. Also, substandard paint may not adhere well to your camper’s exterior despite applying the product properly.
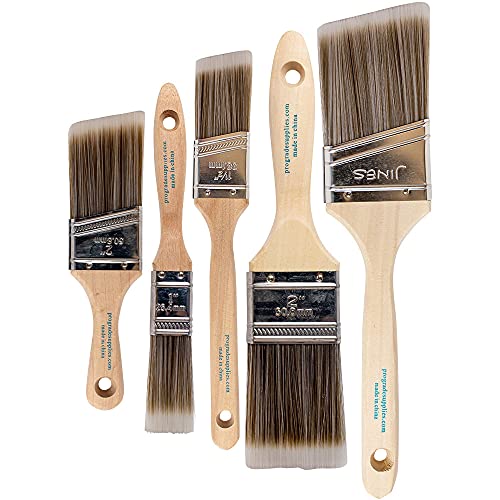
Check out this paintbrush set on Amazon.
Is It Better To Paint A Camper By Rolling, Brushing, Or Spraying?

Keep in mind that using paintbrushes, rollers, or spray-painting kits have its unique advantages and shortcomings. In this section, you’ll learn the pros and cons of using each piece of painting equipment, particularly for coating a camper exterior.
Paint Rollers
Paint rollers often provide excellent coverage when painting over large surfaces like camper siding. Oftentimes, rollers are also usually less expensive than paintbrushes or spray paint kits. However, it can be quite challenging to cover small areas and tight corners with a paint roller.
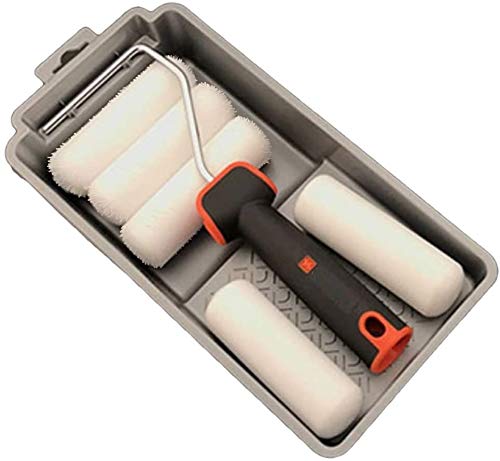
Check out this paint roller kit on Amazon.
Paintbrushes
Paintbrushes are typically ideal for users with fairly steady hands. If so, you can paint fine details on your camper’s exterior without the high risk of creating issues like streaks and unevenness. But it can take a longer time than using a roller or spray system to cover the vehicle’s exterior by brushing it with paint.
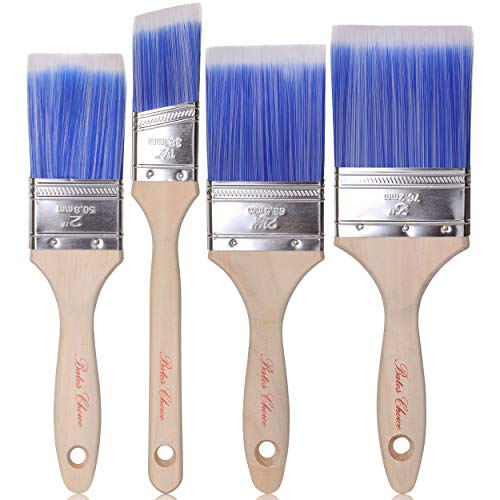
Check out this paintbrush set on Amazon.
Spray Paint Kit
Using a spray painting system can generate even more coverage than using a paint roller or paintbrush. It’s also faster to spray paint a camper exterior than using other painting equipment. But purchasing a spray paint kit can be quite expensive, which might not be ideal for RV users on tight budgets.

Check out this spray gun kit on Amazon.
How Much Does It Cost To Paint A Camper?
It can cost anywhere from $12,000 to $30,000 to have a camper painted by professionals. However, the overhead can either increase or decrease based on certain factors, such as damage to fix before painting and the vehicle's size.
Polishing an RV can be a less expensive alternative to taking advantage of professional paint jobs. But you should still expect to pay roughly $1,500 to $3,500 for this service.
Final Words
Remember to use the correct type of paint on a camper’s exterior to avoid issues like unevenness and adherence failure. Also, complete the necessary preparations before proceeding with the paint job to reduce the risks of costly mistakes. If done correctly, your camping vehicle should have a clean finish with fresh paint.