Raptor Liner is a well-known brand for protective coatings on surfaces, such as paint sealants and truck bed liners. But what should you do if it refuses to stick on the surface that you are applying it on? Don't worry, as we have the answer for you right here. In this post, we have researched the reason behind this and how to solve it.
There could be multiple reasons why your Raptor Liner is not sticking. One reason is that it has not yet thoroughly dried enough to harden on the surface. It could also be because of the type of paint mixed with the liner or improper application. All of this could explain why your Raptor liner paint is not sticking.
Raptor Liner paint is one of the most durable and adhesive paints on the market, but if not correctly applied, you will have problems with it sticking. Continue reading as we unpack more related additional questions about your Raptor Liner that won't stick and give the solution on how to solve this. Finish reading the post, and you will also find other related helpful articles just like this to help you out.
Why is my Raptor Liner not sticking?
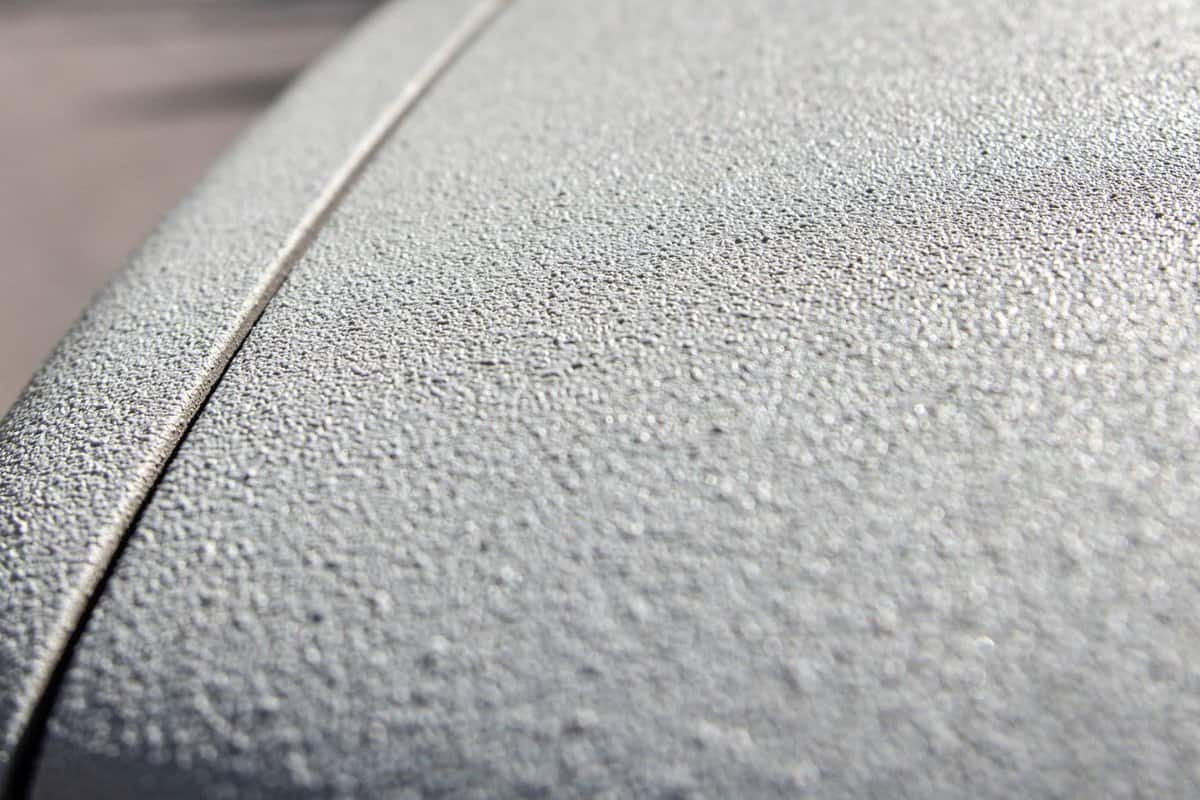
Raptor Liner is not the typical paint that you use to paint over walls. It is a potent mixture of urethane coating paint purposely designed to be a robust protective seal and could withstand harsh weathering conditions. This makes it the perfect paint to be used as a bed liner to protect your truck's bed from scratches.
Here are the following reasons why a Raptor Liner is not sticking.
Not yet fully dried
Your Raptor Liner will not stick if it has not yet fully cured or settled in. Typically the drying time of a Raptor Liner will depend on the type of application that you did. If it's a touch-dry application, it could dry as quickly as over or under a minute after being applied.
For Light application or duty, expect 2-3 days of curing time or 48-73 hours for the paint to fully settle. Likewise, regular coating will typically require you to wait for 5-7 days. All of these estimates are based on a temperature of 68° F. Any fluctuations in temperature, especially big ones, will affect its drying time.
That's why it is recommended to let the curing time be finished indoors, where the temperature will be better regulated. This will also protect your paint from the elements until it fully cures.
Incompatibility with the paint mixed with
Since Raptor Liner is urethane-based, it will work best with other urethane-based paint. Using other paint, such as water-based, polyester-based, acrylic, oil, and enamel, will all result in incompatibility with the Raptor Liner. This could cause it to not properly stick or cause flaking, which could be very annoying.
This will also compromise the integrity of the paint. Even fully dried, the paint could easily be peeled off, especially with scratches from heavy cargo or cargo with sharp edges.
Improper application
Another culprit for Raptor Liner not sticking is improper application. This could also cause multiple problems, such as the integrity of the liner not being at its full capacity.
Like any task, there is a proper method of applying a Raptor Liner (which we will discuss in the following sections). Making the proper preparations for applying the liner will ensure it sticks to the surface that you will be using it.
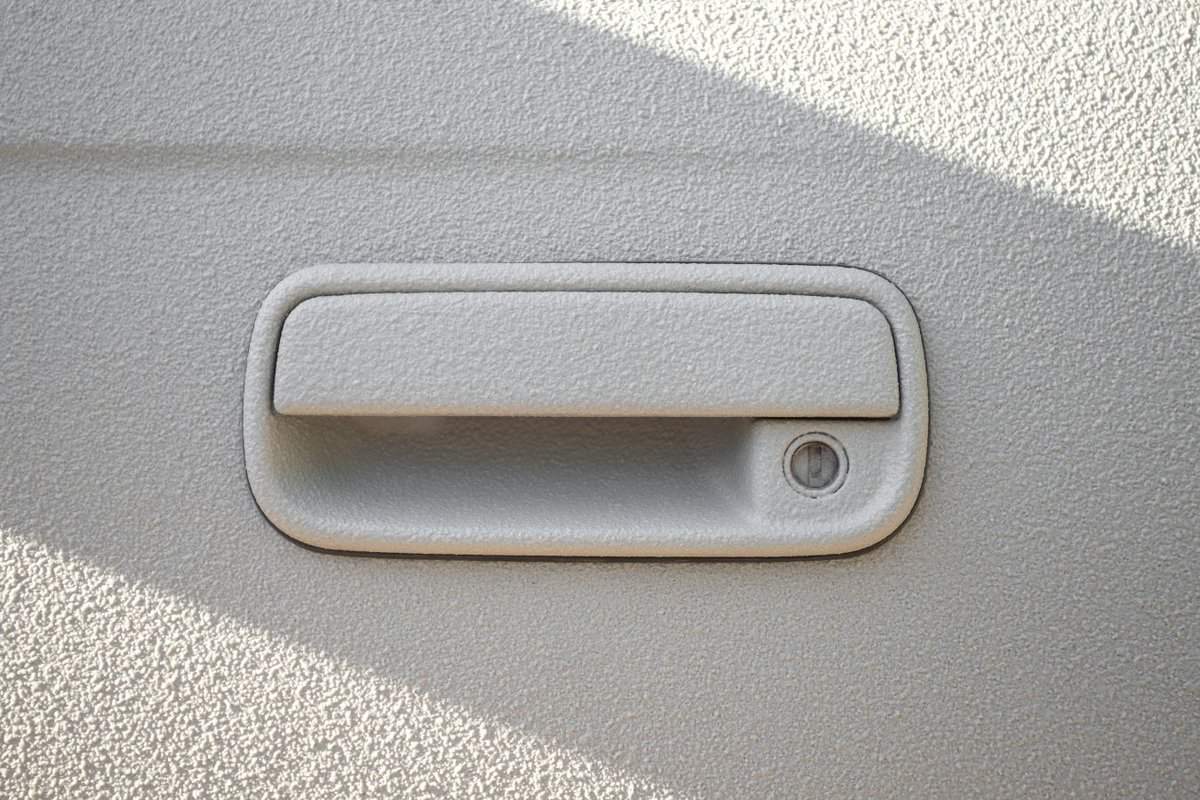
Raptor Liner paint is not only for truck bed uses. They can also be used in other parts of the vehicle that usually gets the most abuse and exposure to the elements.
These are particularly useful in off-road vehicles as you will see Raptor Liner coatings on other parts like the lower side of the vehicle, the step boards, and the lower portion of the doors, etc., all of which are susceptible to exposure to different debris.
That is why it is imperative to make sure that it sticks, as this protects not just the cosmetics of the vehicle but also its integrity, as the Liner can serve as an extra coat of protection against body rust or damage from debris.
How to properly apply Raptor Liner?
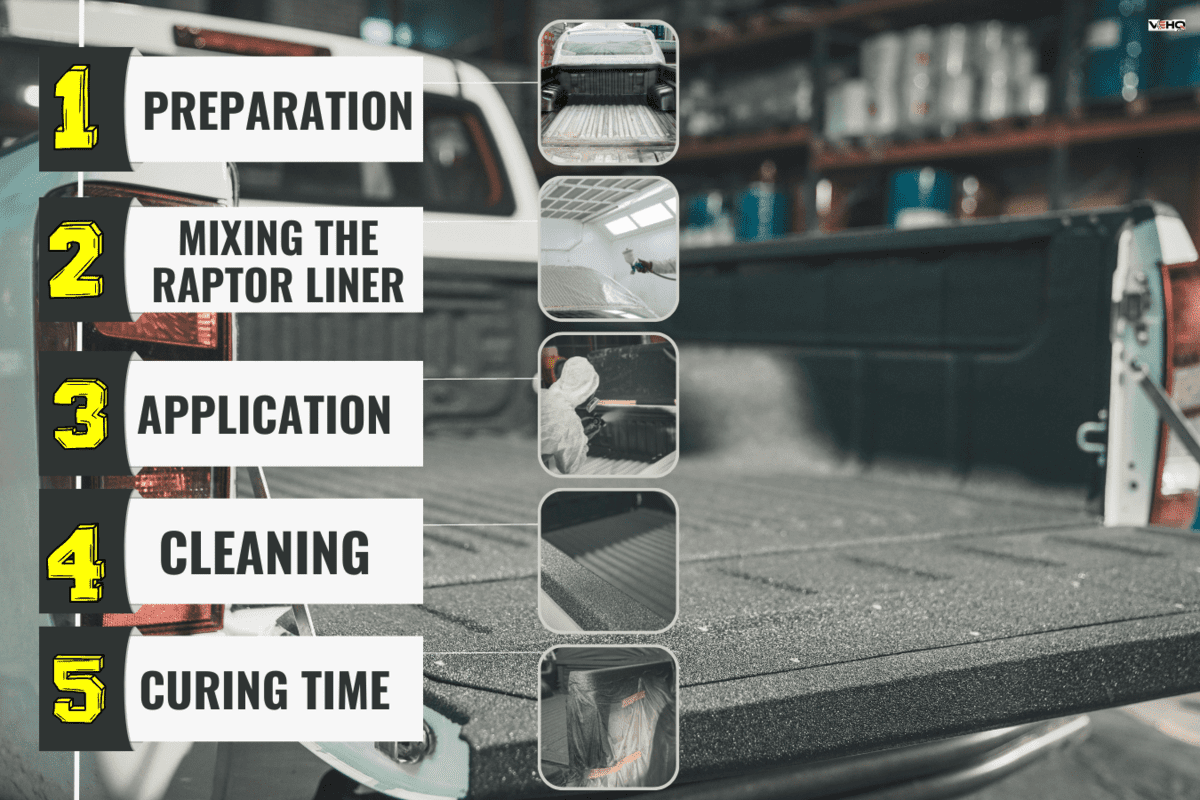
In this section, we will guide you to a simple step-by-step guide on properly applying a Raptor Liner coat on any surface. For this instance, we will teach you how to do it on your truck bed, but these steps may also be applied to other surfaces.
Step 1: Preparation
The first step will be preparation. Make sure to prepare the needed materials, like the paint, the truck, and the tools you will use to apply the liner. The following are the usual things that you should be preparing.
- Raptor liner kit
- U-POL Grip #4 Adhesion Promoter
- U-POL panel wipe water-based degreaser
- U-pol Acid 8 Etch Primer
- U-pol Acid 8 Etch Primer
- 80-grit dry sandpaper
- Paint tape
- paint gun or paint roller (depending on your need)
- Painter's Mask
- PPE (for extreme use)
- Gloves
- Googles
Protective gears are important as you do not want to inhale the liner or let it contact your skin due to its toxicity. If you are painting indoors, make sure to have the garage covered in plastic to prevent the paint from spreading.
Prepare the truck bed. Remove the tailgate for ease of access, as you will also be painting it. Cover other parts of the truck, like the rear cab window, to avoid any paint splatter. Sand the truck bed surface using 80-grit dry sandpaper. You may also use a sander if you have one.
Apply the degreaser on the surface and then spray the U-POL Acid 8 Etch Primer. You may also use the U-POL grip #4 Adhesion promoter to ensure added adhesiveness of the Raptor Liner, particularly on the hard-to-sand areas.
Step 2: Mixing The Raptor Liner
Mix the hardener with the Raptor Liner. Make sure to mix them well.
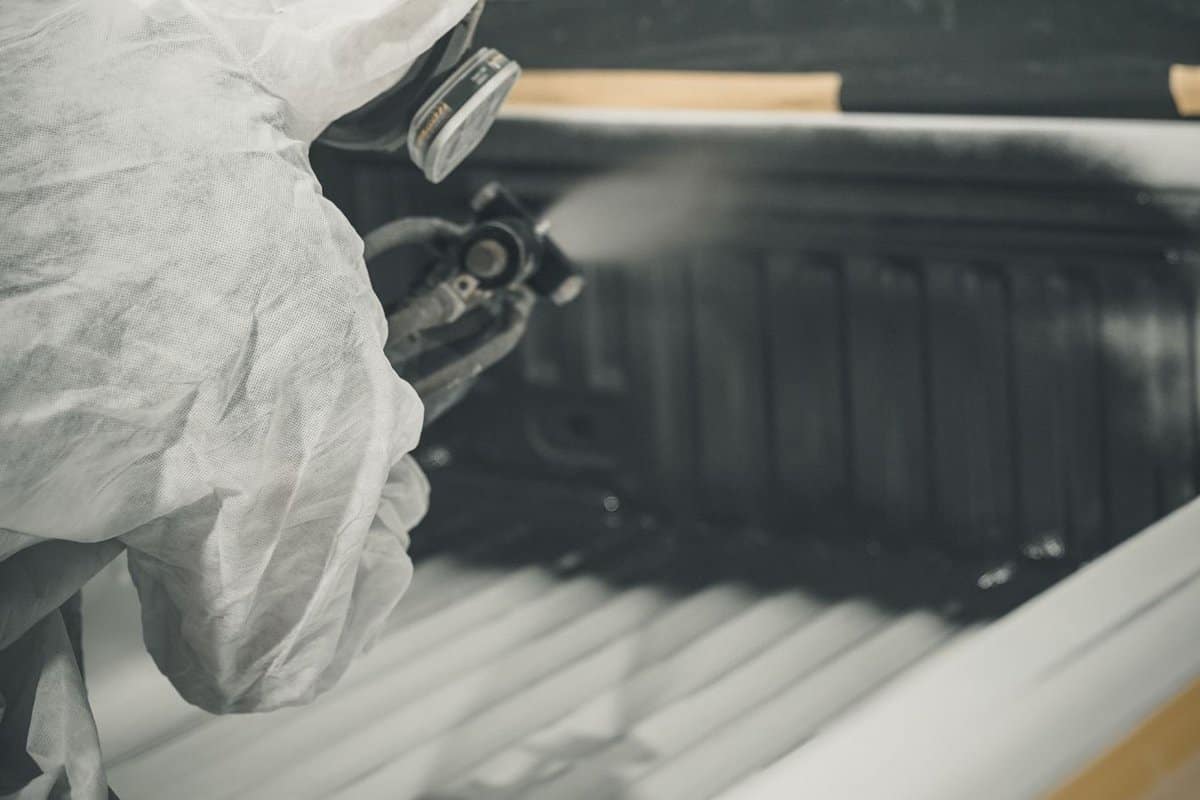
Step 2: Application
You can use a paint gun or a paint roller when applying the paint. For the Shutz gun, replace the lid with a U-POL UP0726 gun. Set the PSI between 45 to 60. The gun will have different modes on the manner it will be spraying. Choose which works best for you.
If you opt to use the simpler paint roller, you will need a base or paint tray to pour the Raptor Liner into. You will also need smaller paint brushes for those hard-to-reach spots for the paint roller.
This option is best applied when painting in medium thickness and pressure. For the best finish, use a coarse 0-textured paint roller. Have an interval of at least an hour per layer.

Check out this paint gun on Amazon.
Step 3: Cleaning
After at least an hour of painting, you can now remove the covering on the parts of the vehicle that you did not paint. Oversprays can be cleaned using 2k thinners.
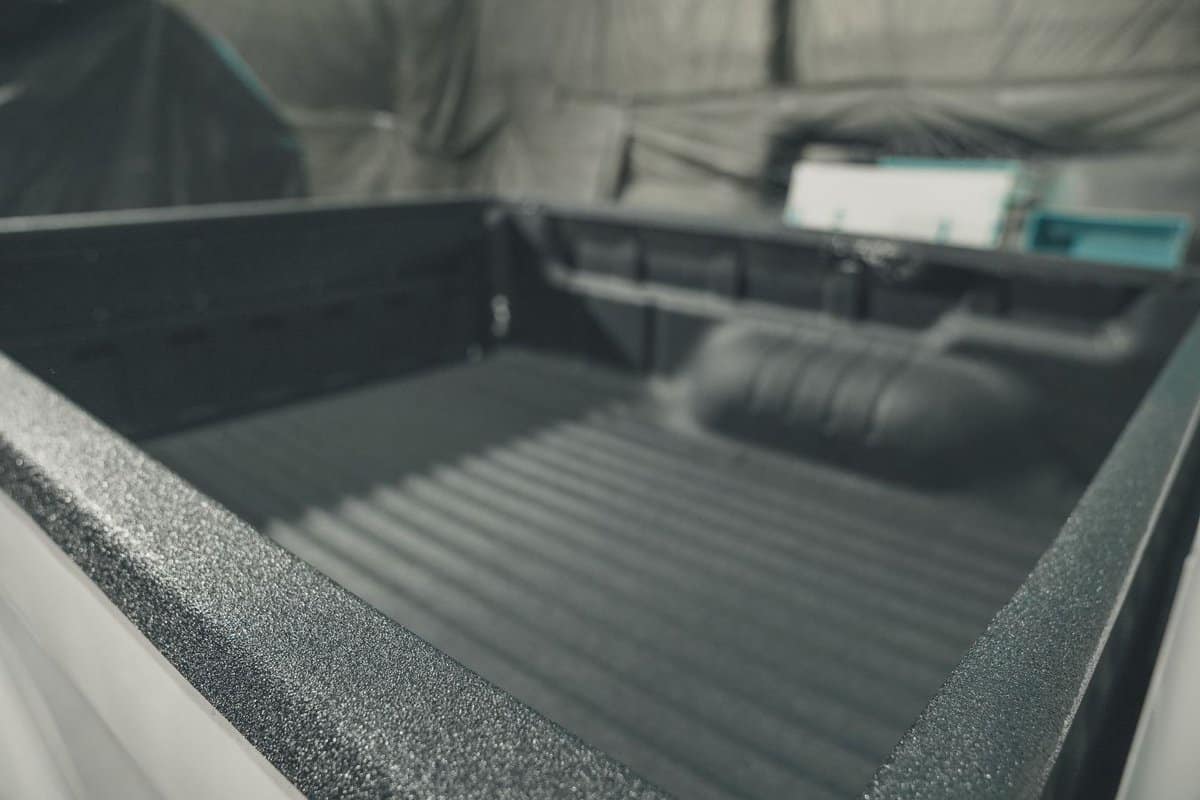
Step 4: Curing Time
Curing time will depend on the coating, as we discussed above. Just ensure the surface is covered to avoid any interruption in curing. It would also be best to have signage warnings for other people that it is wet paint to avoid accidentally touching or leaning on the wet surface.
The steps will generally be the same for other surfaces when applying the Raptor paint. But for Raptor coating on the vehicle body, there is no need to sand, as the liner can be applied on existing paint.
Here's a quick video of what we just discussed.
Does Raptor liner need two coats?
This will depend on where you will be using one, but Raptor recommends a good 2-3 layers of coating should be enough for the most part.
Here's A Quick Recap Of What We Have Discussed
There could be multiple reasons why your Raptor Liner refuses to stick. It could either be because it has not yet dried, incompatibility with the paint mix, or it was improperly applied. Raptor Liner will stick to most surfaces. If you are having trouble with its adhesiveness, you probably have committed the three main reasons mentioned in this post.
We hope we have answered your question about your Raptor Liner coating not sticking. Do you have more Raptor Liner-related queries that you want to be answered? You're in luck! Check out some of our previously written articles below to learn more!