Did one of your wheel studs break off, or perhaps you stripped the thread? Do you want to know how to use a wheel stud installer to replace the wheel stud in your car? You’ve come to the right place, for we have researched this question, and we have the answer for you.
Remove the old stud and insert the new one from the back. Insert the wheel stud installer through the front and insert a lug nut. Tighten the lug nut until you complete the installation of the wheel stud.
Read about the complete steps in the succeeding sections. Learn more about how to take care of your wheel stud in the sections below so that you will need to replace it less often.
Read on!
When to replace wheel studs?
Wheel studs are made of metal, but they are not indestructible. They wear out as normal just like the other components of your car.
However, improper installation of lug nuts can accelerate the wearing of your car’s wheel studs. Incorrect torque on your lug nuts will strip the threads of your wheel studs.
Always tighten your lug nuts up to the manufacturer’s recommended torque.
Check the thread life of your wheel studs each time you remove your wheels. If you see any signs of wearing on the thread, schedule your car for wheel stud replacement.
Wheel studs with signs of thread stripping have less capacity to keep your wheels in place. Don’t wait for your wheel to loosen or fly off before deciding to replace your wheel studs.
Some wheel studs will have an uneven thread that makes it difficult to install the lug nuts. This is also a result of incorrect torque. Although in this case, the wheel stud’s thread did not wear completely.
If you experience difficulty in installing lug nuts in your car, you might consider replacing the wheel studs to solve the problem. If it is difficult to reinstall the lug nuts, you might end up with an incorrect or loose installation of lug nuts that also presents a risk—especially when driving at high speeds.
You can also prevent this problem by torquing your lug nuts up to the manufacturer’s recommendation.
One more reason for replacing wheel studs is when they break off. Your wheel studs can break if they have a manufacturing defect. Additionally, too much torque can also weaken the wheel studs and cause them to eventually break.
How to replace a wheel stud?
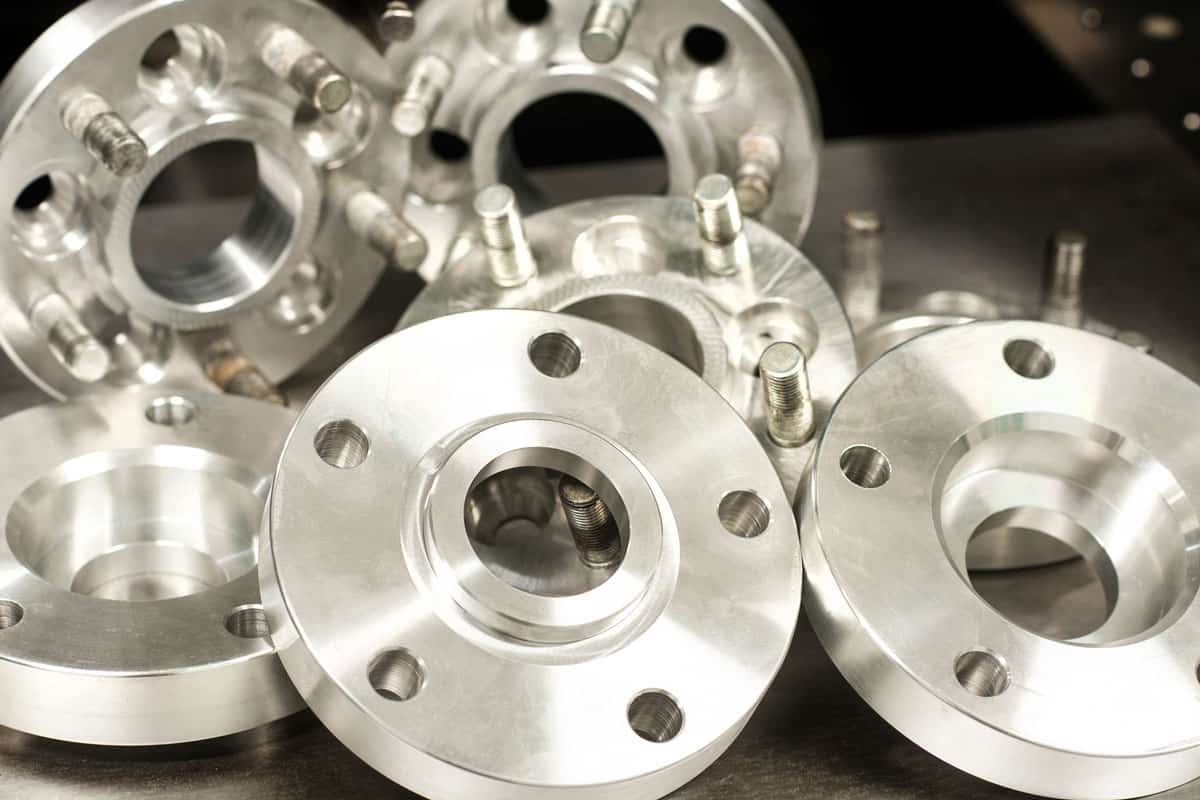
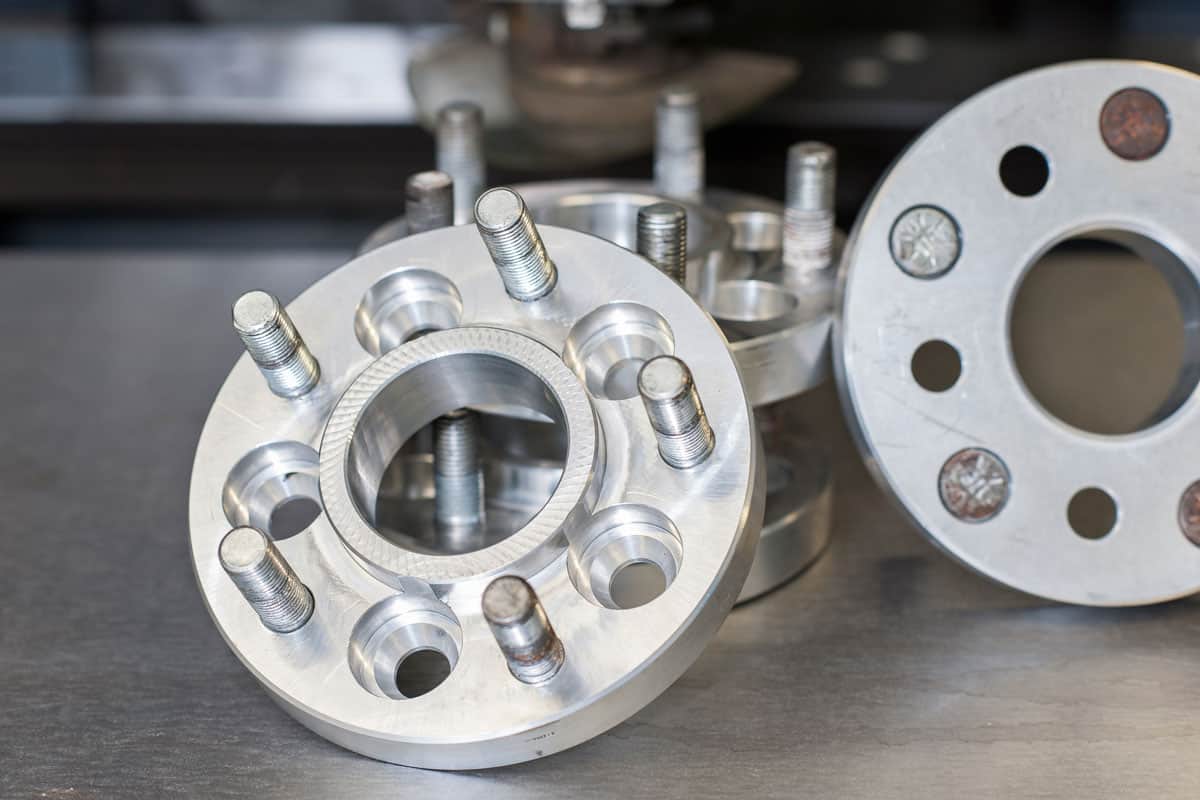
![New metal mold of wheel spacers with bolts, How To Use A Wheel Stud Installer [Step By Step Guide]?](https://vehq.com/wp-content/uploads/2022/10/How-To-Use-A-Wheel-Stud-Installer-Step-By-Step-Guide.png)
Let’s talk about the complete steps of replacing a wheel stud. This will give you a better idea of how and when to use a wheel stud installer.
Preparing Your Vehicle
- Park your vehicle on a level and stable surface.
- Activate the parking brakes.
- Set your transmission to Park(P).
Jacking Up Your Vehicle
- Place a wheel chock on the diagonal opposite of the wheel that you need to remove.
-
- If you need to remove the front left wheel, place the wheel chock on the rear right wheel.
- If you need to replace the wheel studs on two or more wheels, work on them one at a time. This will help keep your vehicle more stable as you work.
- Turn the steering wheel in the opposite direction of the wheel that you will work on. If you’ll be working on the right wheel, turn the steering wheel to the left. Do this only if you’re working on a front wheel.
- Loosen the lug nuts of the wheel that you need to work on. Do not remove the lug nuts yet. Just loosen them.
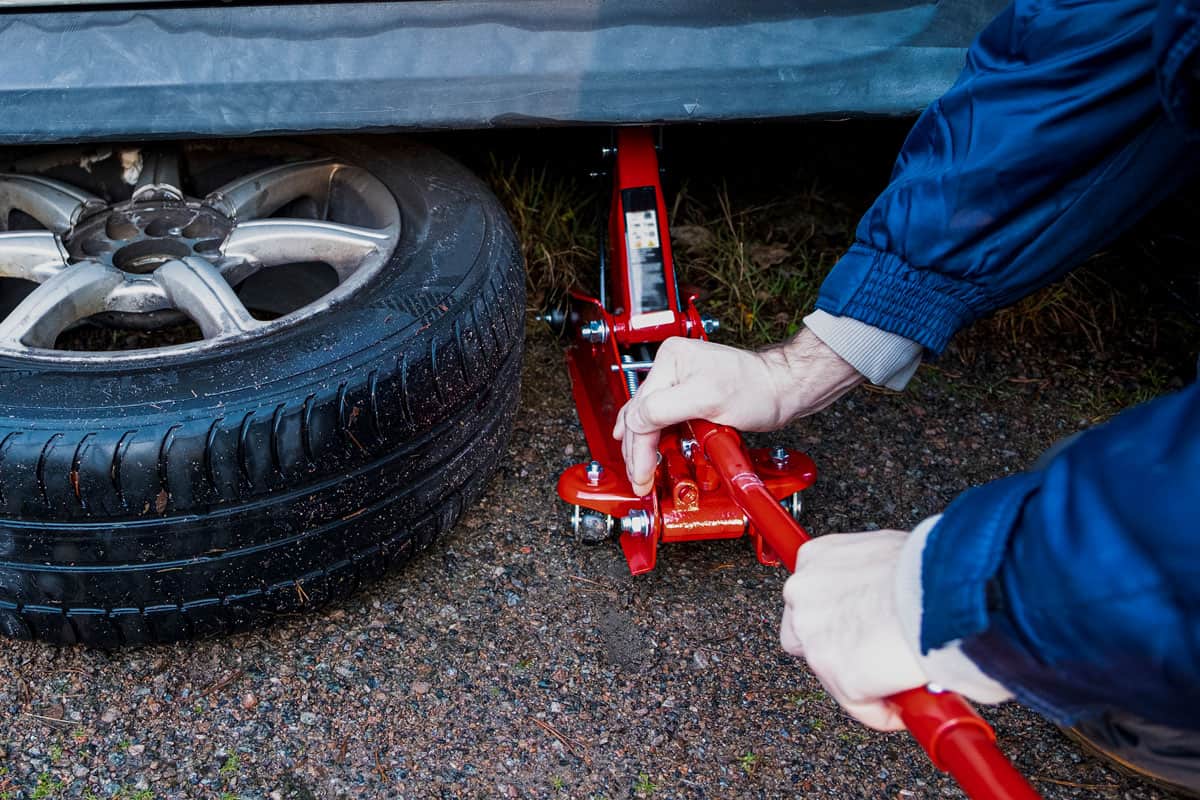
- Position the jack under the jacking point of your vehicle close to the wheel that you need to work on.
- Pump the jack to raise the wheel. You don’t need to raise it too high. If your hand can fit under the wheel, then the height should be enough.
- Place a jack stand under your vehicle at the jacking points. Lock the jack stand in place.
- Release the jack, then raise it once more until it is barely touching the jacking spot. This will turn your jack into a backup in case the jack stand malfunctions.
- Give your car a brief shake to check its stability.

Camco Wheel Chock is available on Amazon through this link.

BIG RED Torin Steel Jack Stands are available on Amazon through this link.
Removing The Wheel And Brakes
- Remove the lug nuts from your wheel and set them aside.
- Pull your wheel off and set it aside.
- Locate the two caliper mounting bolts behind the brake mounts. Turning your steering wheel makes them easier to locate and access.
- Uninstall the two caliper mounting bolts.
-
- Use a breaker bar if the bolts are too hard to remove.
- Carefully lift the brake caliper out and set it aside. Be careful not to loosen or remove the brake line.
- Carefully peel off the brake pads from the brake assembly.
- Two more bolts keep the brake mounting bracket in place. Locate those two bolts at the back of the wheel and remove them.
-
- Similar to the caliper mounting bolts, if the brake mounting bracket bolt is too tight, use a breaker bar.
- Remove the brake mounting bracket and set it aside.
- Pull the brake rotor out of the assembly.

DEWALT Socket Set is available on Amazon through this link.
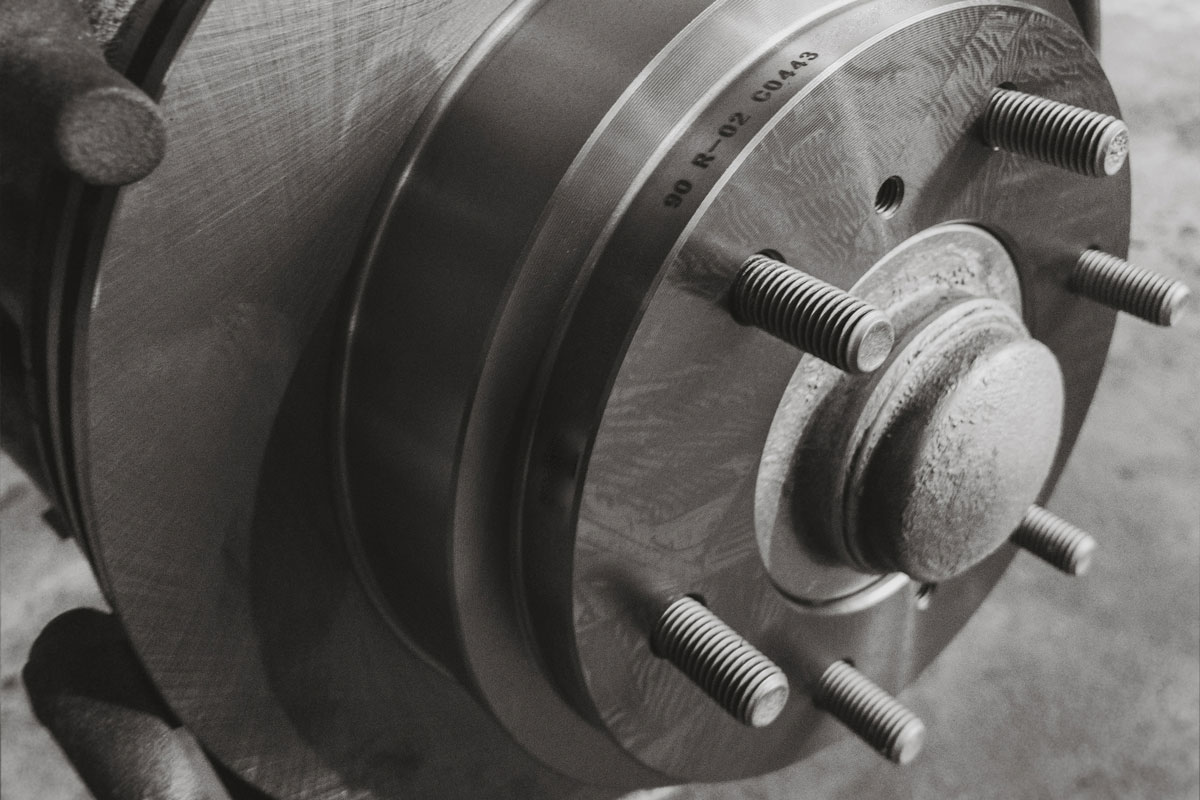
Removing The Bad Wheel Stud
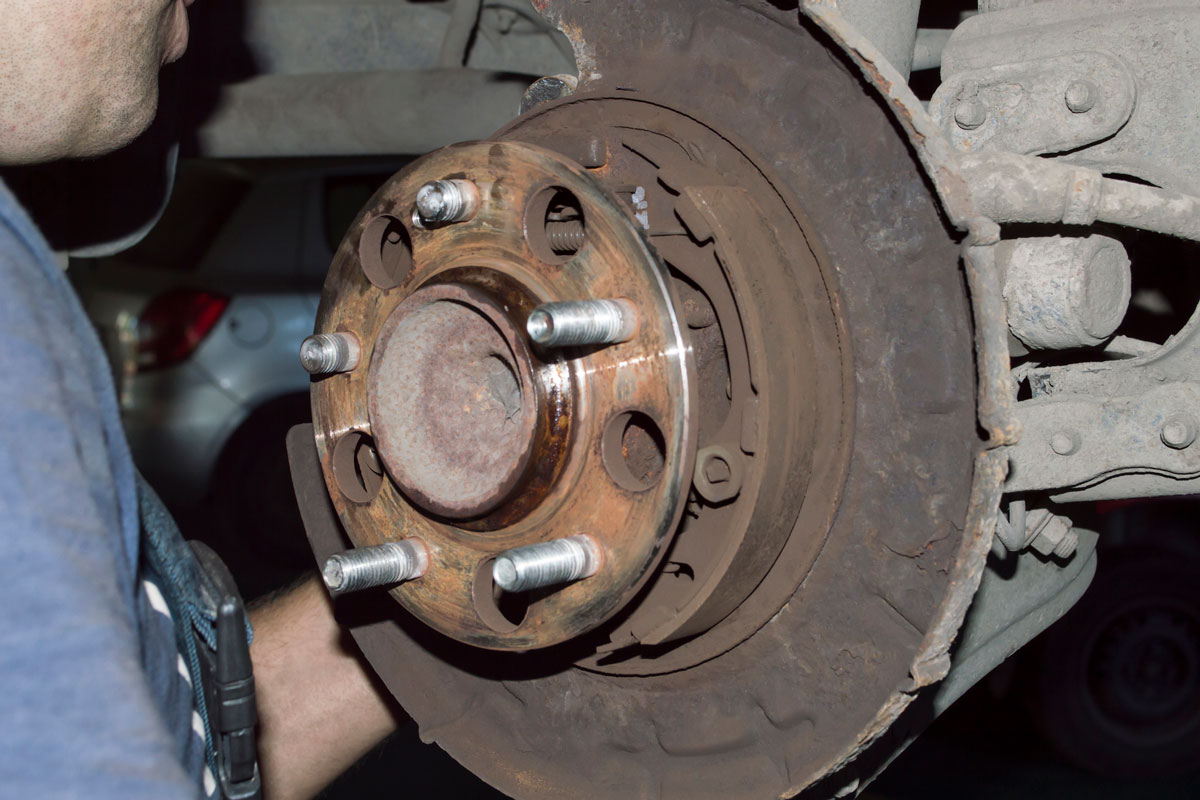
- Identify the type of wheel stud that you have.
-
- There are two types of wheel studs, a screw-in wheel stud, and a press-in wheel stud.
- If you have a screw-in wheel stud, install two nuts on the stud. If you have a press-in wheel stud, insert the wheel stud remover at the back of the wheel stud. The circular end of the wheel stud should go inside the hole of the wheel stud remover.
-
- Wheel stud removers look like C-clamps with a hole on one end. You can also use this tool to separate U-joints and brake anchor pins.
- If you have a screw-in wheel stud, rotate the outer nut to remove the stud. If you have a press-in wheel stud, use a ratchet socket wrench to rotate the screw end of the wheel stud remover until it pushes the wheel stud out the back.

OTC C-Frame Press for Wheel Studs is available on Amazon through this link.
Installing The Replacement Wheel Stud
Wheels studs do not have a universal size. You need to get the exact replacement for your wheel stud before you proceed.
If you plan to install spacers to push the wheels out of the wheel well, you will need to get a slightly longer wheel stud.
Moreover, do not use an old lug nut on a new wheel stud. If the lug nut was responsible for the problem with your wheel stud, using the same lug nut will cause you to replace the wheel stud again soon. Grab one or two replacement lug nuts for your new wheel stud.
- Insert the replacement wheel stud from the back of the spindle.
- If you have a screw-in wheel stud, screw in two nuts at the tip. If you have a press-in stud, insert the wheel stud installer from the front of the spindle.
- If you have a screw-in wheel stud, spin the inner nut to rotate the screw-in wheel stub into place. If you have a press-in wheel stud, insert a lug nut, and tighten it with a ratchet. The rotation pulls the press-in wheel stud into place. One end of the wheel stud installer rotates easily with the lug nut.
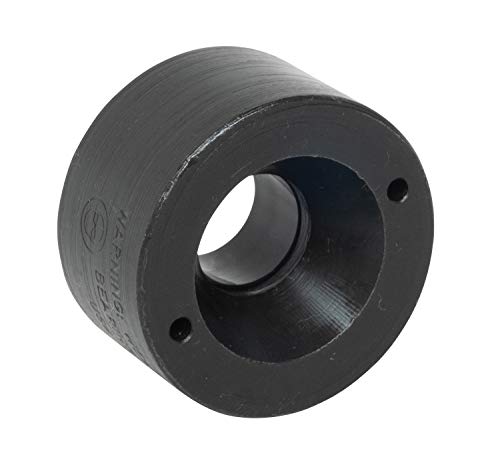
Lisle Wheel Stud Installer is available on Amazon through this link.
Finishing Up
Reinstall the parts that you uninstalled in reverse order. Release the jack to lower your vehicle.
Can you install a wheel stud without a wheel stud installer? How?
The wheel stud installer is useful only if you have a press-in wheel stud. You cannot use it for a screw-in wheel stud. And you don’t need a special tool to install and uninstall a screw-in wheel stud.
Yes, it is possible to install a press-in wheel stud without a wheel stud installer. You will need engine grease and three washers that are big enough to go into the wheel stud.
- Insert the press-in wheel stud from the back of the spindle.
- Get one of the washers and apply a liberal amount of grease on both sides. Insert it into the wheel stud.
- Do the same thing for the other two washers before inserting them into the wheel stud.
- Insert a lug nut into the wheel stud.
- Tighten the lug nut with a wrench. The washers will rotate with the lug nut.
-
- The rotation of the lug nut along the threads of the wheel stud will pull the wheel stud into position.
- The grease ensures that the washers will rotate freely as you tighten the lug nut. If the washers do not rotate freely, they can deeply scratch the spindle and weaken it.
- Remove the lug nut and the washers once you’re done.
- Use a degreasing spray to remove the grease from the wheel stud. Leaving the grease on the wheel stud can weaken the grip of the lug nut once you install your tire.
Conclusion
Using a wheel stud installer makes the installation of wheel studs easier. However, you can install wheel studs even without a wheel stud installer.
If you enjoyed reading this article, you might find the articles below equally enjoyable to read:
can you tell me what would cause the threads in the installing tool to strip out while installing new studs in semi?
thank you