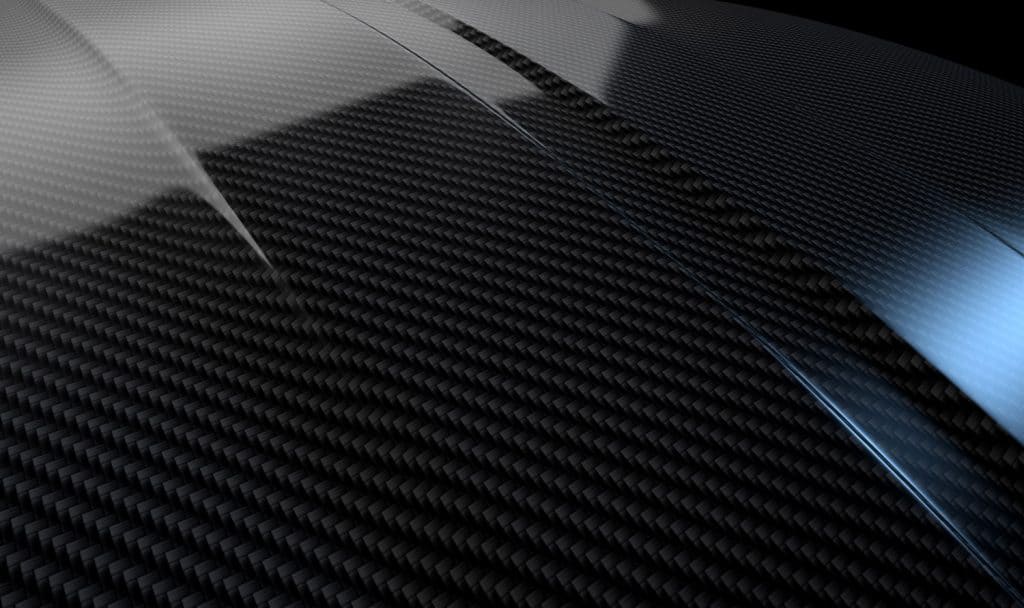
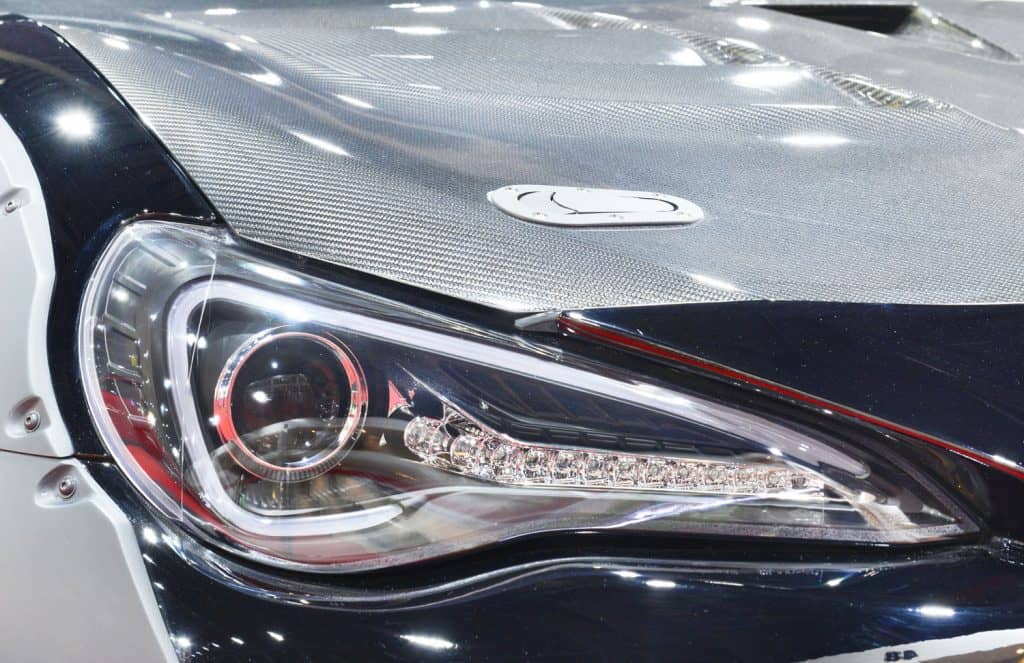
Painting a carbon fiber car hood will generally have a different procedure than coloring a typical aluminum, steel, or fiberglass automobile bodyshell. It’s because carbon fiber is woven, which means it absorbs paint faster than usual. So how can you paint a carbon fiber hood properly? We researched the following steps for this project for your convenience.
Keep in mind that painting a carbon fiber hood isn’t usually a DIY-friendly job. But if you have the tools, knowledge, and experience to proceed with this task, take note of the following steps:
- Sand the surface with 500- and 800-grit sandpaper.
- Remove dust and grease residue from the carbon fiber hood.
- Spray two coats of primer.
- Mask areas that you don’t want to paint.
- Spray the base color. Then, wait about 10 minutes before applying each additional coat.
- Spray clear coat to help protect the paint job.
- Use a polishing machine and apply car wax to give the hood a shiny look.
- Remove the tape from the masked areas.
Remember that painting an automobile is a delicate task. One mistake can lead to expensive fixes. Keep reading as we talk about the steps to paint a carbon fiber hood in greater detail. That way, you can reduce the risks of making costly errors.
What Kind Of Paint Do You Use On Carbon Fiber?
Members of the vehicle community suggest using automotive-grade aerosol or spray paints for painting carbon fiber surfaces. Additionally, a high-build primer or surfacer is a requirement for the paint to adhere properly. Otherwise, issues like bubbling and dripping will appear.
A high-performance clear coat is also advisable to use after painting the carbon fiber surface with the desired color. This finishing layer helps protect the color from deterioration and weather damage.
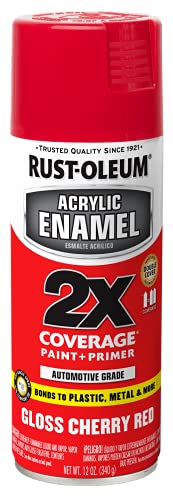
Check out this product on Amazon.
How Do You Paint Carbon Fiber Hood?
Before proceeding with the painting operation, make sure that you have the confidence and expertise to proceed. Going through this task without sufficient knowledge or experience about painting automobile surfaces can put the job at risk of ending with disastrous results. Remember, there’s no shame in letting professionals handle the painting of your carbon fiber car hood.
If you plan to continue with this project, also ensure that you prioritize your health and safety above everything else. Wear a respirator and long-sleeved clothing to protect your well-being from potential health hazards. For instance, breathing paint for extended periods may increase the risk of respiratory concerns.
Also, confirm that the paint you’re going to use on your carbon fiber hood matches the rest of the vehicle. Otherwise, this surface’s appearance may clash with other areas of the car.
After thinking about those points, you can proceed with painting the hood:
What You’ll Need
- Primer or adhesion promoter
- Clean cloth or rag
- Preferred automotive color
- Clear coat
- Wax and grease remover
- Masking and fine line tape
- 500- and 800-grit sandpaper or power sander
Step-by-Step Guide
- Sand the surface of the carbon fiber hood with 500-grit sandpaper or power sander.
- Follow up with wet-sanding the surface with 800-grit sandpaper.
- Spray the hood with a wax and grease remover to remove residue from the sanding process. Then, wipe the surface with a clean cloth or rag.
- Spray primer or adhesion promoter onto the dry carbon fiber hood. Apply two coats of this product and let it dry for about 30 minutes before proceeding to the next step.
- Mask the hood’s vents with masking tape. Use fine line tape for the small details.
- Spray the carbon fiber hood with your preferred color.
- Wait about 10 minutes before spraying each coat for multiple applications.
- Spray clear coat to seal the paint job. If you need to do multiple applications, wait approximately 15 minutes before applying each clear coat layer.
- Use a polishing machine with a wool pad to give the carbon fiber hood a shiny finish.
- Apply your preferred car wax onto the surface to give the hood extra protection.
- Remove the tape used to mask the areas.
Watch the video below to see the steps mentioned above in action and to learn more information about this operation:
Additionally, here are some points to think about when doing this process:
- Use a high-quality knife or razor blade when cutting the masking or fine line tape. Also, only apply sufficient pressure to the cutting tool to avoid scratching the carbon fiber hood.
- Wet paint can be highly susceptible to dust. Ensure that the area is spotless during the drying process to prevent undergoing extra steps to clean the paint job.
- Don’t paint outside. Wind can blow dust and other particulates onto the painted hood.
- Use a finishing polish to remove light swell marks that might appear from buffing the hood.
Last, don’t use other painting techniques used on other vehicles like RVs. Different automobiles often use varying materials that require dissimilar painting tools and materials. You can read our post on how to paint an RV roof to learn more about the difference between painting a camper and a typical automobile.
How Much Would It Cost To Respray A Car Hood?
Having professionals paint a car hood will cost about $300 to $500. Additional expenses may exist if the hood also requires additional touch-ups and repairs. If so, expect to pay an extra $30 to $60 for these supplementary services.
Another factor that may affect the overhead of professional car painting services is the type and model of the vehicle. For instance, you can read our post on the costs of painting a Chevrolet Suburban to give you an idea of the expenses.
How Do You Decant A Spray Can?
Decanting a spray can allows you to use the paint in the container for other painting tools like a spray gun. This technique can be useful because using the built-in nozzle from a spray can usually doesn’t promote optimal flexibility during use.
Also, you can mix the colors from different spray cans before painting to create the color you need. Only do the decanting process in a well-ventilated area to prevent respiratory issues.
Once you take note of those points, you can proceed with decanting spray cans:
What You’ll Need
- Airtight bottles
- Cloth or rags
- Popsicle sticks
- Utility knife
- Bucket with warm water
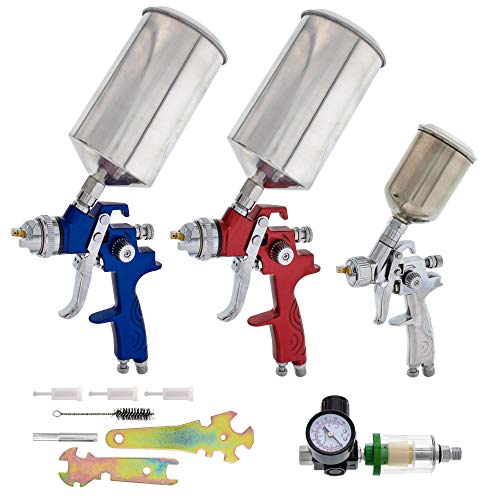
Check out this spray gun set on Amazon.
Step-by-Step Guide
- Puncture a hole at the side of the can. Ensure that the spray can is unshaken, or else the paint will gather around the container’s inner walls, causing unwanted leakage.
- Put the spray can in a bucket of warm water. Make sure not to submerge the hole.
- Use a utility knife to cut the can open from the hole.
- Pour the paint into a separate bottle.
- Stir the paint with a popsicle stick until the bubbling stops.
- Leave the bottle open for about 30 minutes to remove any air in the liquid.
- If decanting the spray left a mess, clean the area with a cloth or rag.
You can also watch the video below to look at another method of decanting a spray can:
Final Words
It can take a significant amount of time, effort, and money to prepare for a carbon fiber hood paint job. Furthermore, the painting operation demands the delicate handling of different tools and materials. Think about employing certified professionals for this project if you think it's too much for you to handle.