Removing a camshaft from an engine can be a daunting task, especially if you're not familiar with the process.
But don't worry. It is possible to remove a camshaft without taking out the entire engine.
With the right tools and some careful maneuvering, you can successfully replace your camshaft and have your car running like new in no time.
One of the main reasons to remove a camshaft is to replace it with a new one.
This could be due to wear and tear, damage, or simply to upgrade to a higher-performance camshaft.
Whatever the reason, removing a camshaft without taking out the engine can save you a lot of time and money.
It's also a great way to learn more about your engine and gain valuable experience working on it.
Without further ado, we'll talk more about removing a camshaft without removing the engine.
Understanding the Camshaft and Engine
If you're planning to remove a camshaft without removing an engine, it's essential to understand the relationship between the two important components.
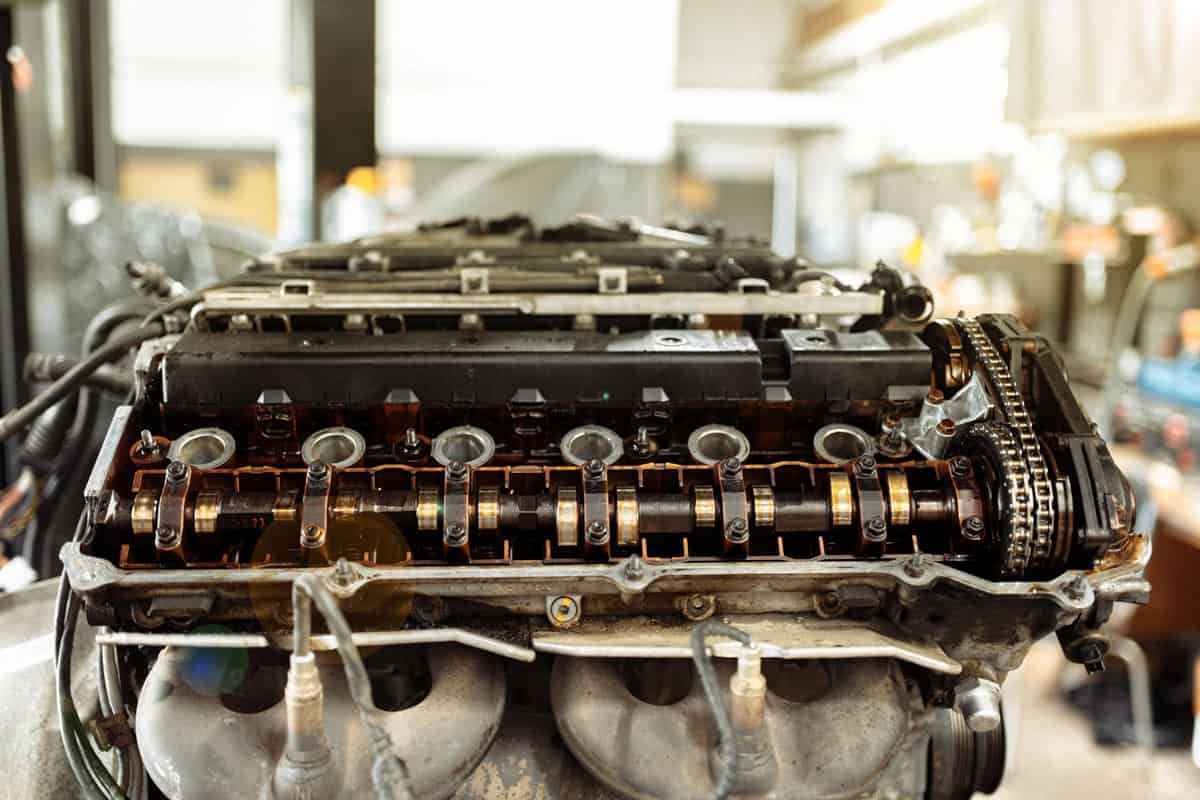
The camshaft is a critical component of the engine that controls the opening and closing of the engine's valves.
It's responsible for the timing and duration of the valve openings, which in turn affects the engine's performance.
The camshaft is typically located in the engine block and is driven by the crankshaft through a timing belt or chain.
It has lobes or cams that push against the valve lifters, which in turn open and close the engine's valves.
The shape of the cam lobe determines the valve lift and duration, which affects the engine's power and torque output.
Removing a camshaft without removing the engine can be a challenging task, as it requires careful planning and execution.
It's essential to disconnect the battery and remove any electrical components that may be in the way before proceeding.
This will include removing the spark plugs, the distributor cap, and the ignition wires.
Next, remove the air cleaner and any hoses or brackets that may be attached to the intake manifold.
Remove the valve covers and then proceed with the camshaft removal.
It's essential to follow the proper procedures and take all necessary precautions to ensure successful removal.
Related Post: Camshaft Not Turning? Here's What You Need to Know
How Long Does it Take to Remove a Camshaft?
Removing a camshaft can be a time-consuming process that requires patience and attention to detail.
The amount of time it takes to remove a camshaft will depend on various factors, including the make and model of your vehicle, the complexity of the engine, and your level of experience with automotive repairs.
Usually, removing a camshaft can take anywhere from several hours to a full day or more.
This is because the process involves disassembling a significant portion of the engine, including the valve covers, timing chain or belt, and other components.
If you are an experienced mechanic with access to the proper tools and equipment, you may be able to remove a camshaft more quickly than someone less experienced.
However, even experienced mechanics should take their time and follow proper procedures to ensure that the camshaft is removed safely and without causing damage to other engine components.
It is important to note that removing a camshaft is not a job that should be rushed.
Taking the time to carefully remove the camshaft and inspect other engine components can help prevent future problems and ensure that your vehicle runs smoothly for years to come.
So, be patient and take your time to ensure that the job is done right.
You might also like: Can A Camshaft Sensor Cause A Misfire?
Preparation Before Removal
Before you start removing the camshaft, it is important to ensure that you have all the necessary tools and have taken the necessary safety precautions.
Here are the steps to follow:
Gathering Necessary Tools
To successfully remove the camshaft without removing the engine, having the right tools is essential.
Each tool serves a specific purpose and helps make the process smoother and more efficient.
Here's a detailed explanation of each tool and its role in the camshaft removal:
Socket Set
A socket set is a collection of various sockets that fit onto a ratchet handle.
These sockets come in different sizes and are crucial for loosening and tightening bolts of different sizes during the camshaft removal process.
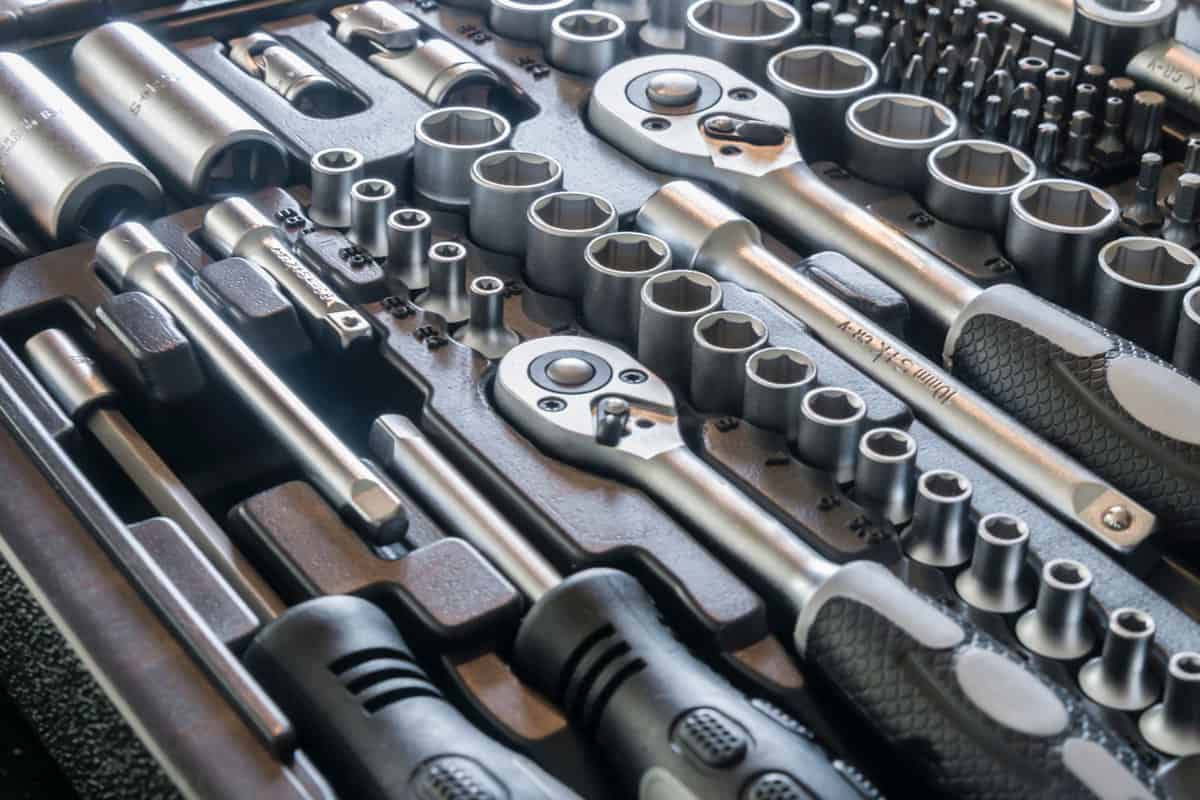
The set typically includes standard and metric sizes to accommodate various fasteners on your vehicle.
Ratchet
The ratchet is used in conjunction with the socket set.
It allows you to turn the socket in one direction while holding it in place in the opposite direction, making it easier to remove or install bolts.
Extension Bar
An extension bar is a long, slender metal rod that attaches to the ratchet handle and socket.
It provides extra reach and helps access bolts that may be challenging to reach with a regular ratchet alone.
Wrench
A wrench is a hand tool used for turning nuts and bolts.
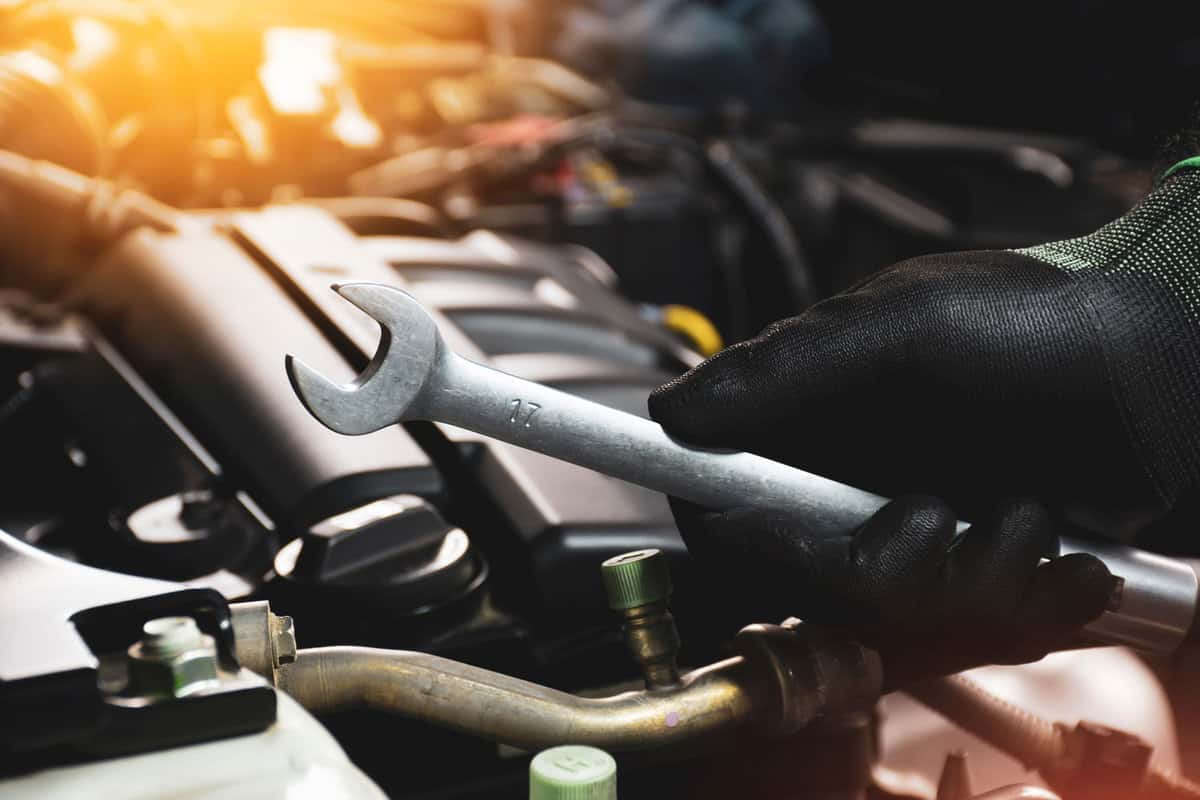
While the socket set is helpful for most bolt removals, some areas in the engine may require a wrench due to limited space or specific designs.
Camshaft Locking Tool
The camshaft locking tool is a specialized tool designed to hold the camshaft in a fixed position during removal.
It prevents the camshaft from rotating as you loosen and remove the camshaft bearing caps and other components. This tool is crucial to maintain precise timing during reassembly.
Timing Belt or Chain Tensioner Tool
The timing belt or chain tensioner tool releases tension from the timing belt or chain. This step is necessary before removing the camshaft to avoid sudden movements that could lead to damage.

Read more: Timing is Everything: How Long Does it Really Take to Replace a Timing Belt?
Torque Wrench
A torque wrench tightens bolts to the manufacturer's specified torque settings during reassembly.
It ensures that the bolts are appropriately tightened without over-torquing, which can cause damage or lead to failure.
Screwdriver
A screwdriver may be needed to remove specific components or fasteners that are held in place with screws.
It's essential to have various screwdriver types and sizes to suit different applications.
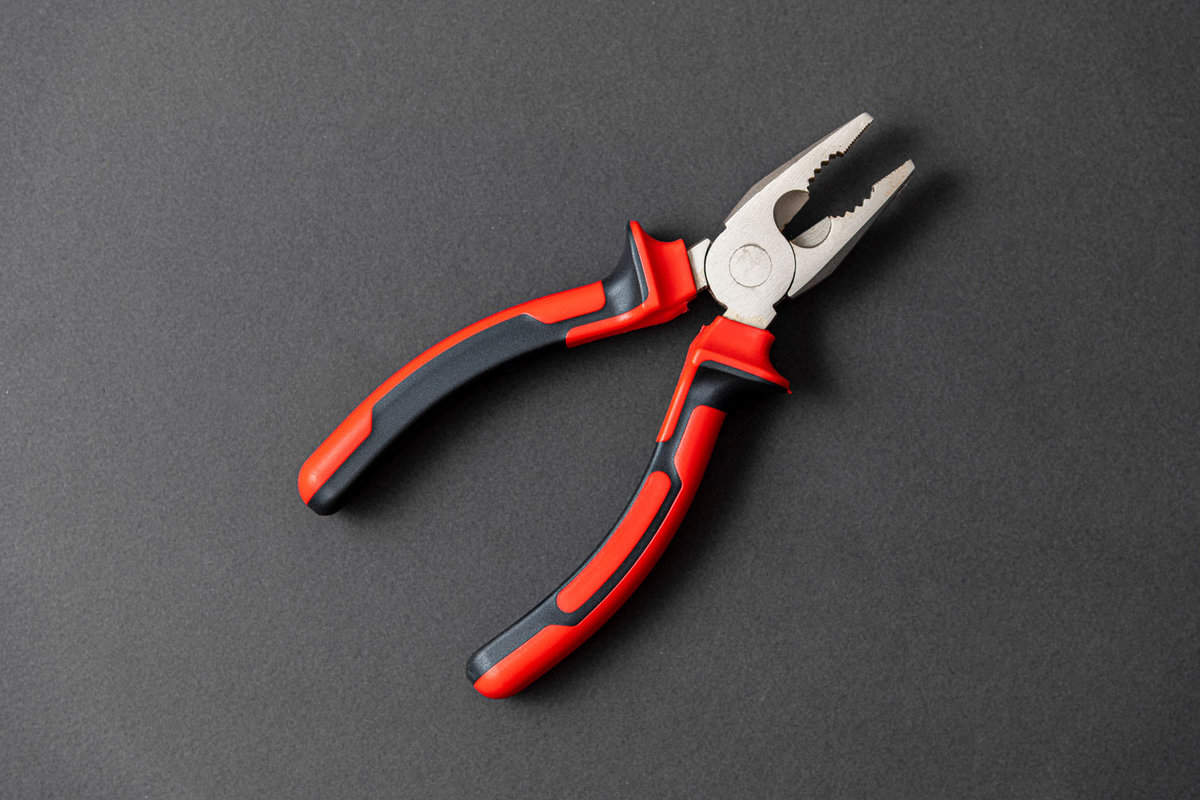
Pliers
Pliers are versatile hand tools that come in various types, such as regular pliers, needle-nose pliers, and locking pliers (Vise-Grips).
They can be useful for gripping, holding, or manipulating small parts and components during the removal process.
Having all these tools on hand before starting the camshaft removal process will save you time and frustration.
Also ensure that the tools are in good condition, as damaged or worn tools can lead to inaccurate work or even cause further problems.
Car Safety Precautions
Before you start removing the camshaft, it is important to take some safety precautions to ensure that you don't get injured or damage your car.
Here are some safety tips to follow:
- Ensure the car is parked on a flat surface and the handbrake is engaged.
- Disconnect the battery to prevent any electrical shocks.
- Wear protective gloves and goggles to protect your hands and eyes from any debris or dust.
- Make sure that the car is in neutral and the wheels are chocked to prevent any movement.
- Follow the manufacturer's instructions and recommendations for removing the camshaft.
- Use a camshaft locking tool to prevent the camshaft from rotating while you are removing it.
- Use a timing belt or chain tensioner tool to release the tension on the timing belt or chain before removing the camshaft.
Steps to Remove Camshaft Without Removing Engine
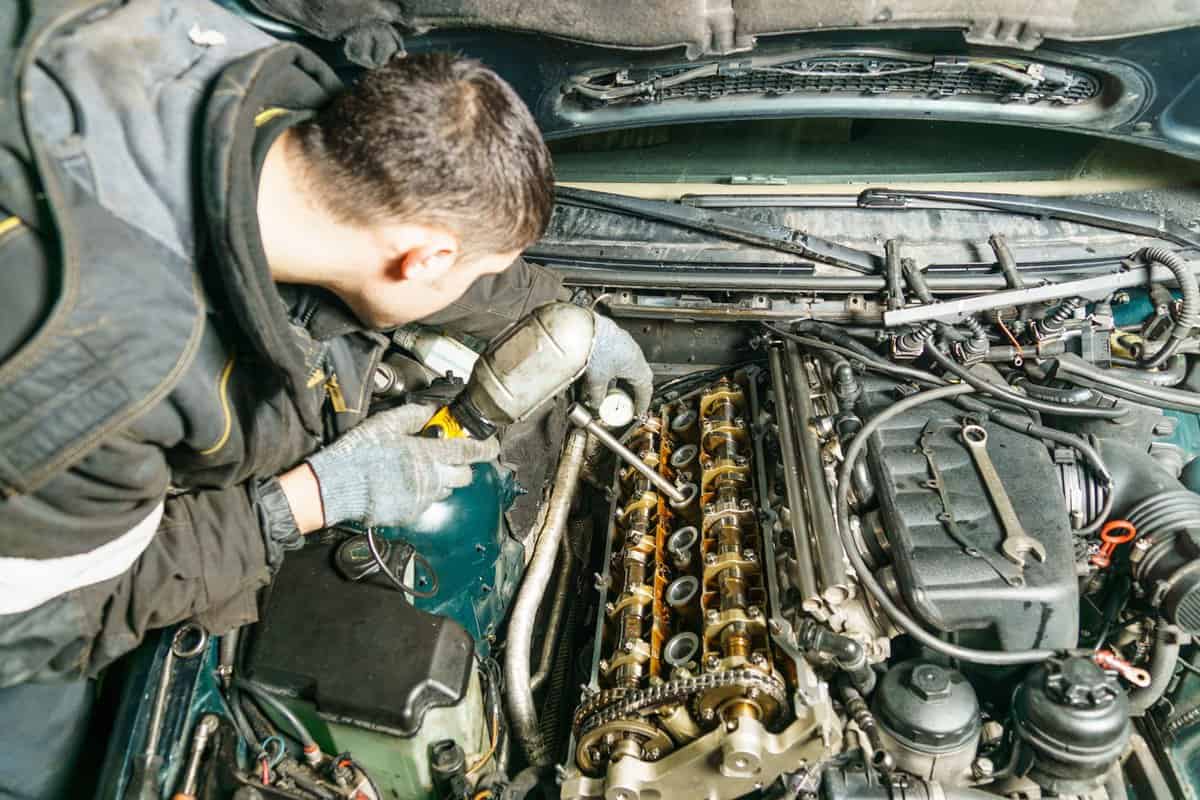
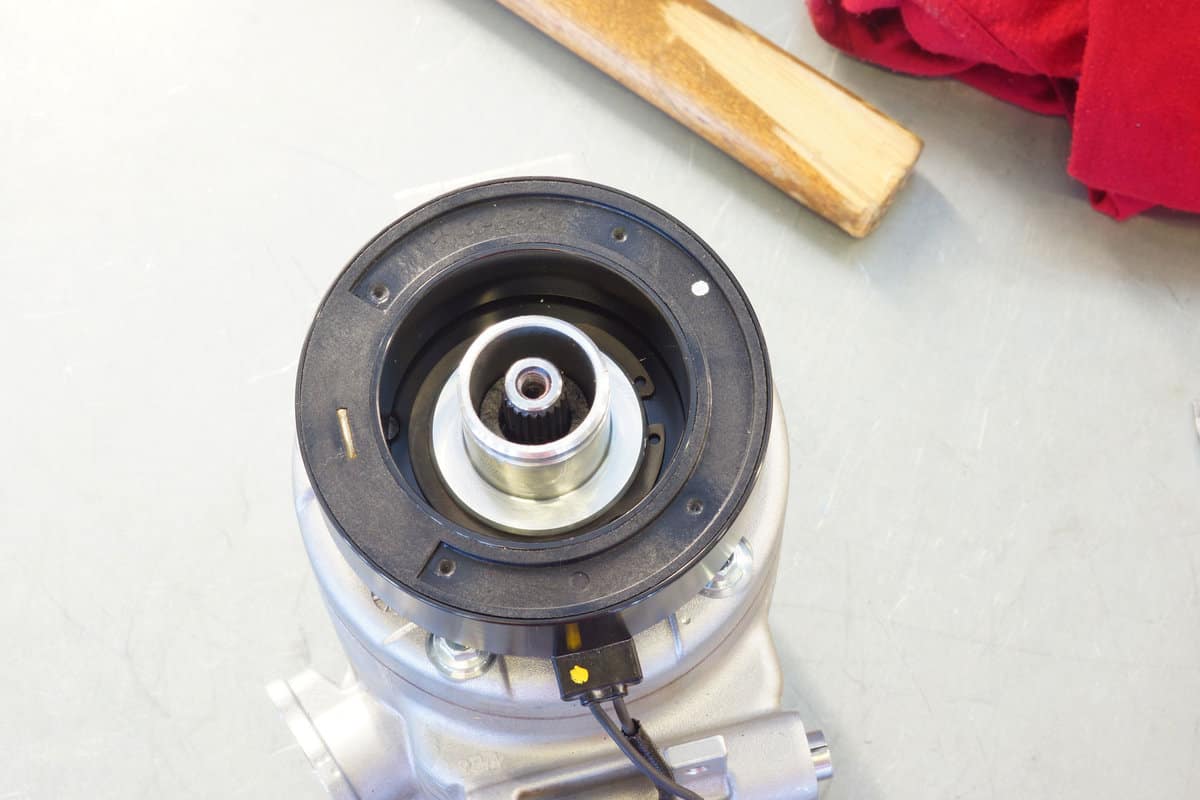
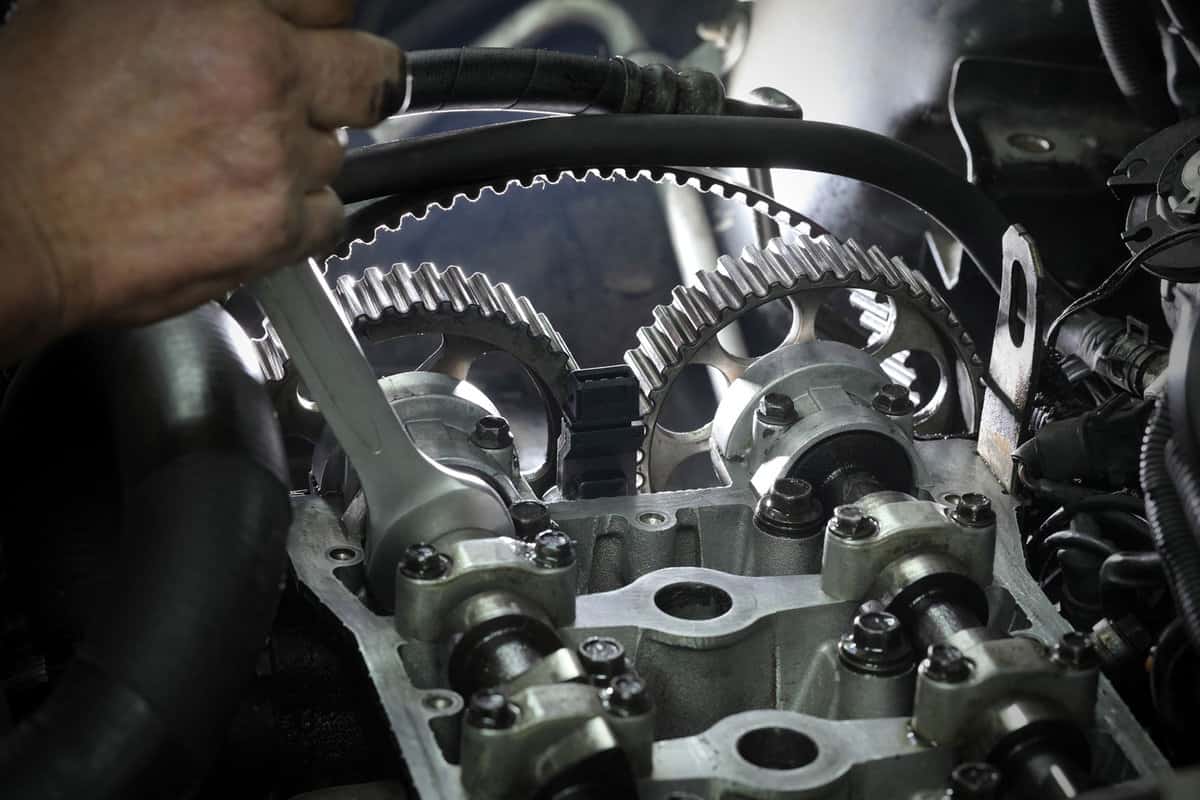
1. Locating the Camshaft
Before you begin, refer to your vehicle's service manual to locate the camshaft in the engine block.
It's typically positioned at the top of the engine and can be accessed by removing the valve covers.
Take note of the camshaft's orientation and the position of any timing marks that will help with reinstallation.
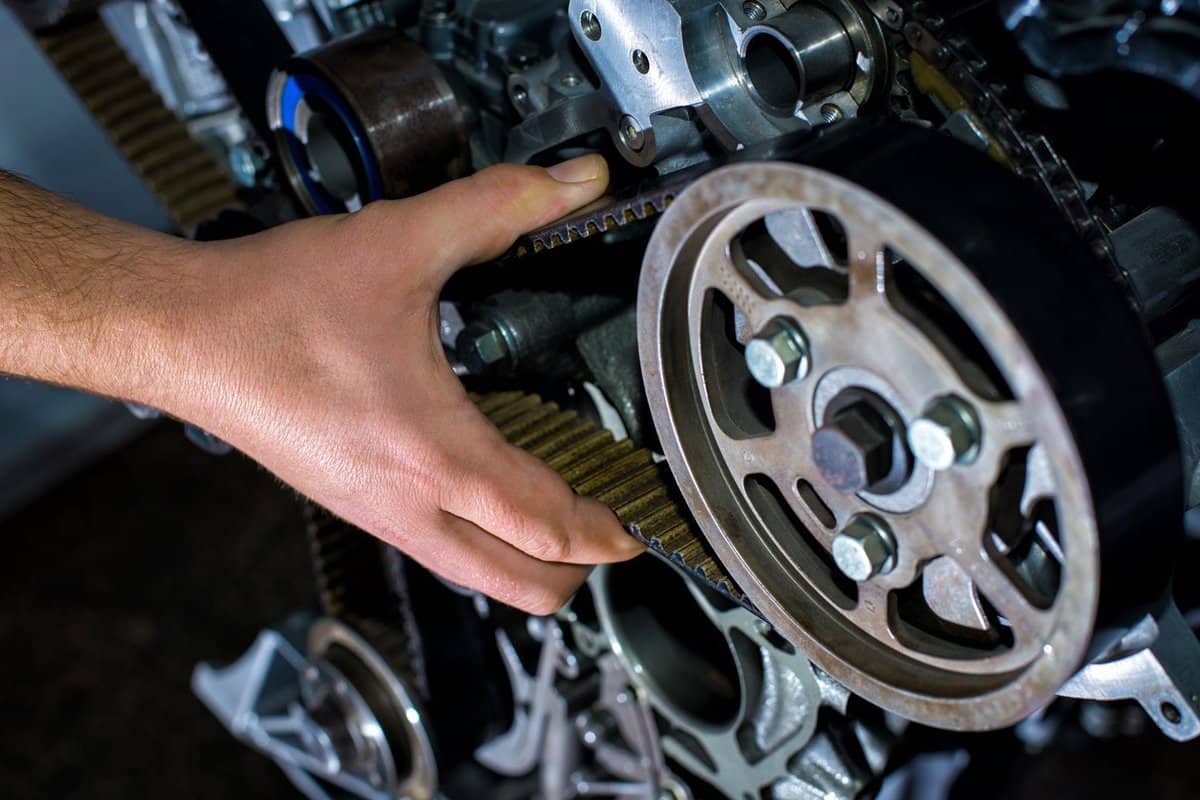
2. Disconnecting the Timing Chain
Using the appropriate tools, release the tension on the timing chain or belt.
This is crucial to prevent any sudden movements that could cause damage to the engine or the camshaft during removal.
Once the tension is released, carefully disengage the timing chain or belt from the camshaft sprocket.
You might also like: What Causes Engine Timing To Be Off? [And What Happens When The Engine Timing Is Off?]
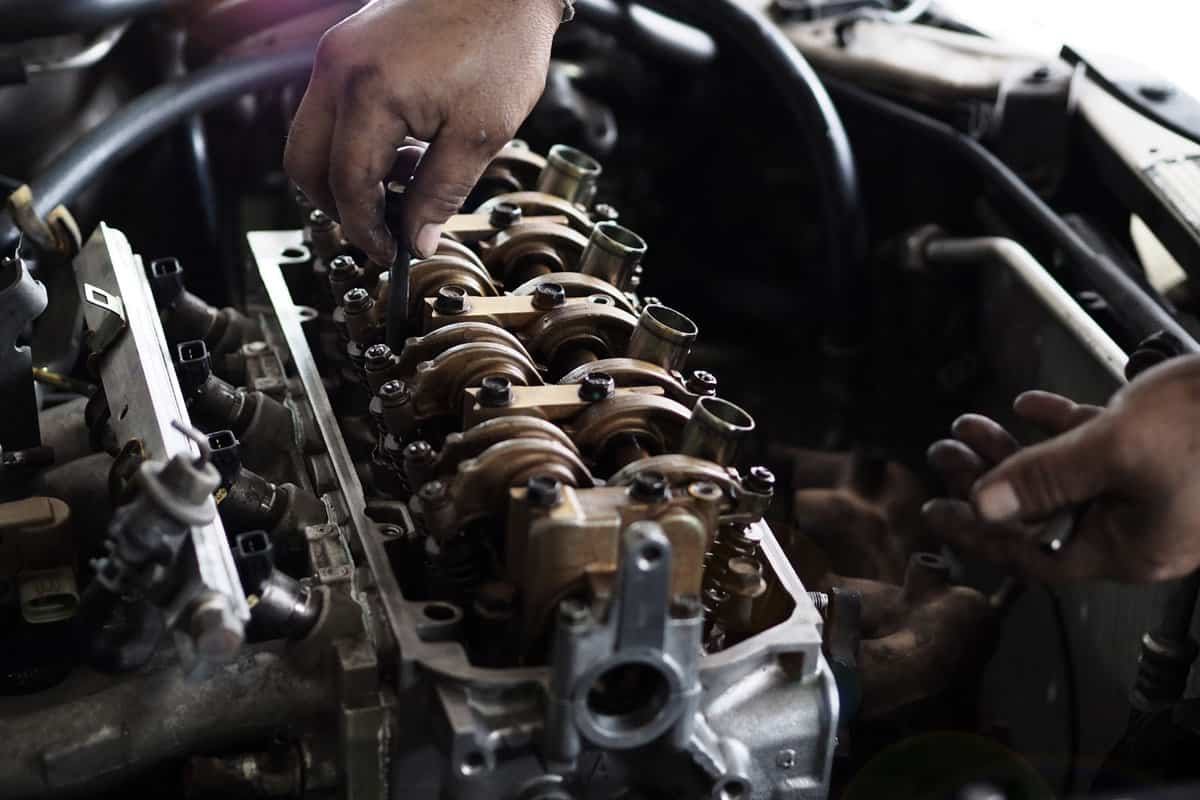
3. Removing the Camshaft
Carefully unbolt and remove any brackets or components that are attached to the camshaft.
Loosen and remove the camshaft bearing caps in the specified order to ensure an even pressure distribution.
Gently lift the camshaft out of the engine block, being cautious not to damage any surrounding parts.
Removal Steps
4. Inspecting the Camshaft
Thoroughly examine the camshaft for signs of wear, damage, or excessive wear on the cam lobes. If you notice any issues, the camshaft may need to be replaced or reconditioned.
Check the bearing surfaces for any signs of abnormal wear or damage.
If necessary, have the camshaft bearings inspected and replaced if they show signs of wear.
5. Cleaning the Camshaft Area
Before reinstalling the camshaft, clean the surrounding area to ensure no debris or contaminants enter the engine during reassembly.
Clean the camshaft itself using a suitable cleaner to remove any dirt, oil, or residue.
Final Thoughts
Removing a camshaft without removing the engine can be a complex task, and it's essential to approach it with care and attention to detail.
If you're not confident in your mechanical skills or lack experience in engine repairs, seeking help from a qualified mechanic or professional automotive service is recommended.
The camshaft plays a vital role in the engine's performance, so any mishandling during removal or reinstallation could lead to severe consequences for your vehicle's performance and longevity.
Take your time, follow the manufacturer's guidelines, and prioritize safety throughout the process.