It's obvious that a dead battery means a vehicle can't start, but sometimes your car may fail to start even with a fully charged battery. Why does this happen, and how can you resolve the issue? We extensively researched this topic to find you ans
Your car can fail to start even with a fully charged battery if the battery is dying, the connection cables are loose or corroded, the starter is defective, or the fuel filter is clogged.
To resolve the problem, tighten loose connections and clean corroded terminals. You may also need to replace a dying battery or tow the vehicle to a reliable garage to have the fuel filter changed and the defective starter replaced.
Please keep reading to learn more about how you can diagnose a car that won't start, even with a fully charged battery.
Diagnosing A Car That Won't Start Even With A Fully Charged Battery

Often, a flat battery is the first suspect for a car that won't start since the battery provides power to ignite the vehicle. So, it can be somewhat perplexing if your car's battery is fully charged, but it still won't start.
These are some reasons why the car may fail to start. We also share tips on how to address the issues.
Loose Or Corroded Battery Cables
The cables work with the battery to create a closed loop that enables continuous power flow from the battery to the battery's computer, ignition, and other electrical components.
A loose connection reduces the amount of power that flows through the electrical system. It can also cause a disconnect in the flow of current.
On the other hand, corrosion increases resistance within the car's electrical circuit. As a result, the current flow becomes unsteady. Hence the vehicle fails to start.
How To Identify Loose Or Corroded Battery Cables
Battered cables may be to blame if you hear a click when you turn the key in the ignition, but the engine fails to crank up.
Visual examination can also help to assess whether the cables are to blame. Check the battery for any loose connections and green, white, or bluish coatings on the battery terminals and cables.
The initial signs of wear on the battery cables include the vehicle losing electricity. This can show as radio and dashboard lights going off and headlights dimming while driving.
Resolving The Problem
If there is visible corrosion, clean it up. Then, tighten the loose connections to ensure enough power flows to your car's electrical system. Ensure that you check the cable connection to the battery and the chassis.
You may need to replace the cables if the damage done by corrosion is extensive or there are visible signs of wear, such as tears and cracking or melting of the insulation.
The cracks on the insulation are weak points through which acid can enter and corrode the wires. Also, with these weak points, the wires within the casing are no longer protected from the elements, which can cause short circuits.
Ideally, if the cables are to blame, your car should be able to start as soon as you clean the corrosion, change the cables, or tighten any loose connections.
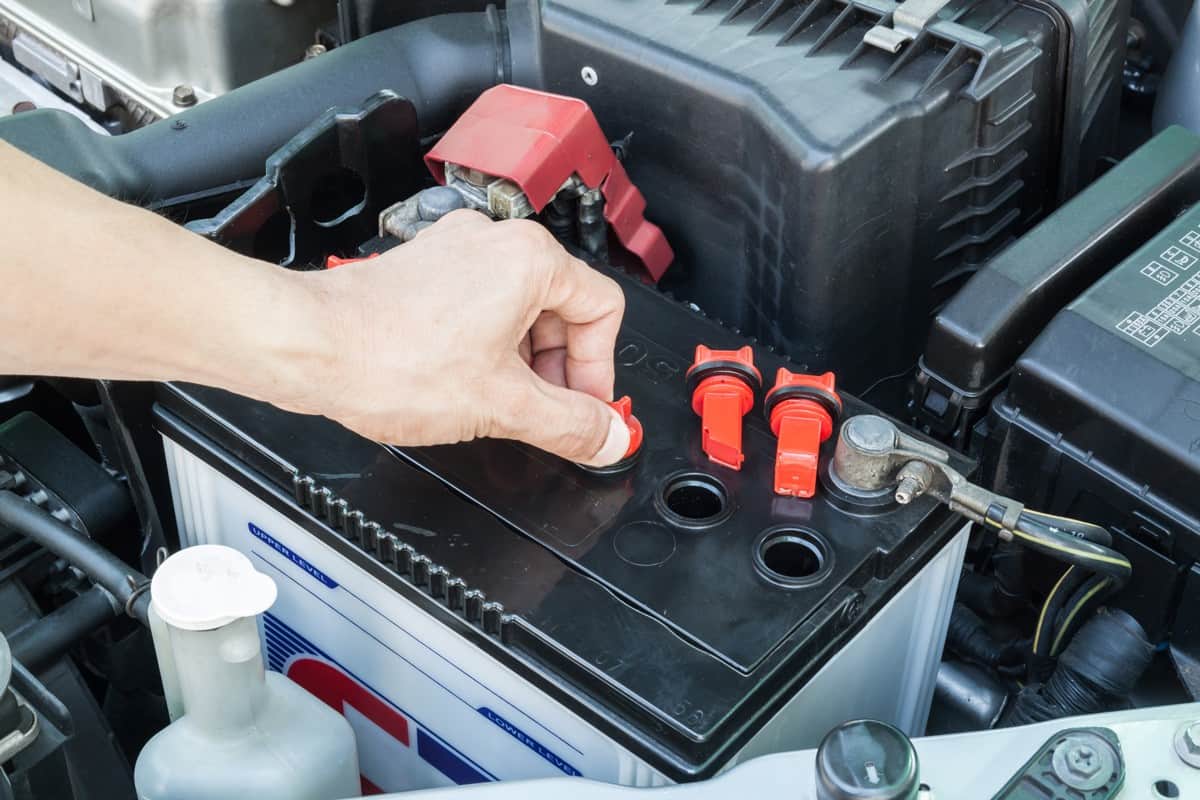
How To Clean Corroded Battery Cables
Before you clean, check where the corrosion is prevalent to help assess the battery's health. If the corrosion is mainly on the negative terminal, this implies that the battery is undercharging. But if it's on the positive terminal, the battery is overcharging.
Gather the necessary supplies. You will need a battery cleaner. You can also use baking soda and an old toothbrush, but it is better to use the battery cleaner since it has an acid-neutralizing agent that can prevent further corrosion.

See this battery cleaner on Amazon.
Remember to wear protective gear such as goggles and gloves when conducting the exercise, as the battery chemicals can be corrosive. Also, thoroughly wash your hands afterward.
Removing metallic jewelry on your fingers, hands, and wrists is prudent to minimize the risk of electrocution. If the jewelry is made of conductive metals, it can pull a charge, resulting in shock.

Check out these heavy-duty gloves on Amazon.
Step-by-step Guide
Follow these steps to clean the cables and the battery terminals:
- Detach the negative cable. Typically, the negative cable is black and is connected to the battery's negative terminal, marked by a '-' sign. Ensure you begin by detaching the negative cable to avoid shorting the battery or electrocuting yourself.
- Remove the positive cable. Generally, the positive cable is red and connects to the battery's positive terminal marked by a '+.' Work carefully and secure the cables, so they don't touch any metal while disconnected.
- Spray the battery cleaner on the cable tips and the battery terminals and let it sit for a little while. Next, use a microfiber cloth to clean the tips and terminals. You can use a toothbrush to scrub any residual corrosion.
- If you are using baking soda, dip the toothbrush in it, then thoroughly scrub the battery terminals and cable tips. You may need to keep adding baking soda until you remove all the corrosion.
- Mount battery terminal protectors for additional protection against corrosion.
- Reconnect the cables to the terminals. Begin with the positive cable, followed by the negative cable. You can give the cables a good shake to ascertain that they are snug around the terminals.
- Apply a generous coating of battery corrosion preventative on the cable tips and battery terminals.

These oil-based battery terminal protectors have corrosion inhibitors that do not dry or evaporate. Find them on Amazon.
Defective Starter
The starter gives the engine the initial spin to start the combustion cycle, enabling it to run on its own power. Therefore, a faulty starter can cause the car to fail to start. Often, the lights will come on, but the engine won't crank.
Common signs of a failing starter include unusual noises such as grinding, clinking, or whirling. You may also notice smoke coming from under the hood - the starter can overheat as too much power is drawn via the electrical supply.
Jump-start the car to alleviate starter problems temporarily, but you must take the vehicle to the garage as soon as possible to get a permanent solution.
Please read this post to learn: How Long Does It Take To Replace A Starter?
How To Jump-Start A Car

You will need another car with a good battery and a pair of jumper cables to jump-start your car. Alternatively, you can contact a garage that offers this service.
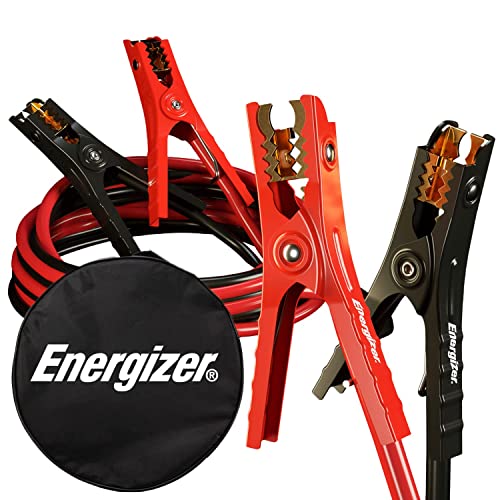
See these jumper cables on Amazon.
Once you have the required supplies, proceed as follows:
- Park both vehicles facing each other, close enough to stretch the cables from one battery to the other. For safety, ensure that you engage the parking brake and that both engines are off.
- Locate the batteries and identify the positive and negative terminals. Ensure that there is no corrosion on the terminals.
- Connect one side of the red jumper cable clasp to the dead battery's positive terminal. Then connect its other end to the positive terminal of the healthy battery.
- Connect one black jumper cable clasp to the negative terminal of the healthy battery. Then, attach the other end of the jumper cable to a metal ground, preferably an unpainted metal surface or engine bay, on the car with the dead battery.
- Crank the car's engine with a healthy battery and let it run for about two minutes. Next, crank the engine of the vehicle you want to jump-start.
- If the car starts, wait for a few minutes. Then remove the black jumper cable clamp from the metal ground before removing it from the vehicle aiding in the jump-starting.
- Remove the red jumper cable clamp from the car with a healthy battery, and then remove the other terminal of the cable from the car you've jump-started.
Clogged Fuel Filter
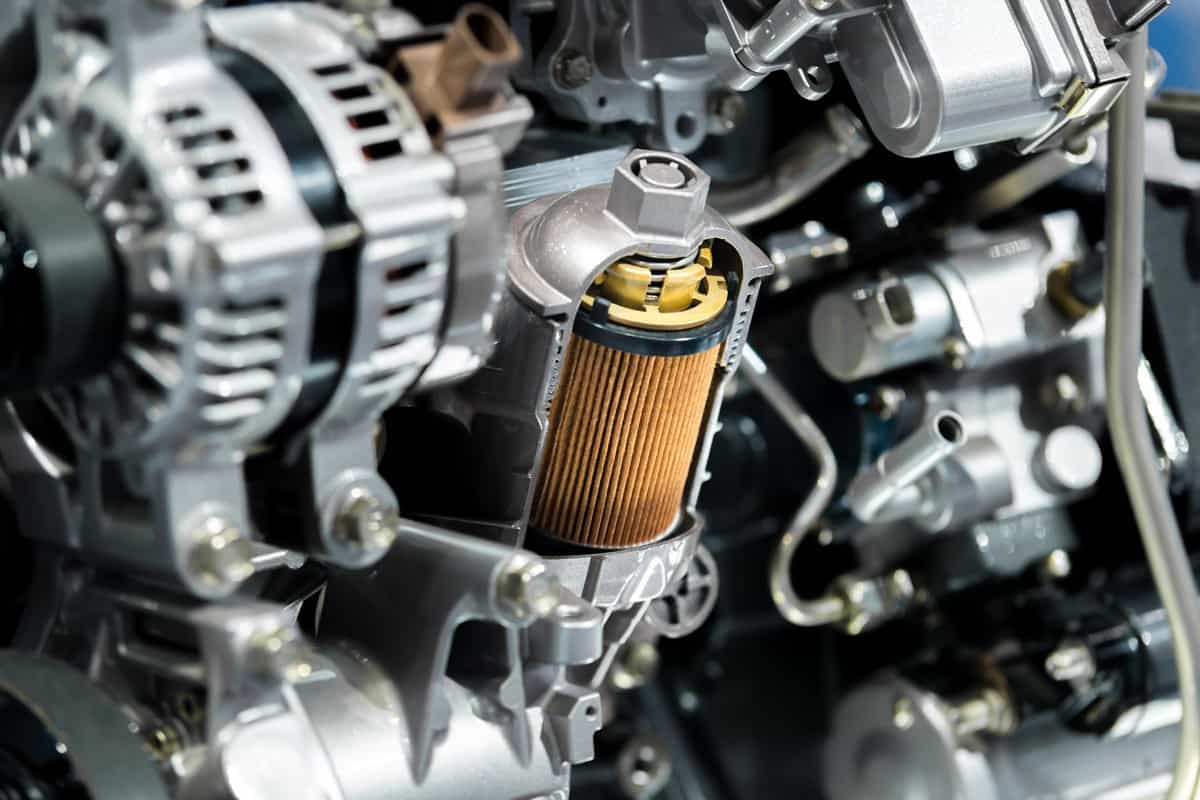
A clogged filter hinders fuel supply to the engine. And without combustion, the engine fails to crank up.
Signs preceding complete failure of the fuel filter include the engine idling when you try to stop or sputtering if you drive at a low speed. You may also notice decreased power when driving uphill.

Changing the fuel filter per the manufacturer's instructions is best to avoid this problem. Typically you may need to change the filters in older vehicles every 20,000 to 30,000 miles. But if you have a newer car, you can drive your car for up to 60,000 miles without needing to change the fuel filter.
If a clogged fuel filter is to blame for your vehicle's failure to start, you may need to have the vehicle towed to a reliable garage to change the filter.
Dying Battery
Starting the car requires a lot of energy. And while the battery may be fully charged, it may lack sufficient power to crank the engine.
If the battery is fully charged, its voltage reading should be between 12.7 and 13.2. However, sulfation may have occurred if the reading is at most 12.4.
Sulfation is whereby lead-sulfate crystals form on the surface and in the lead plates of the battery, thus reducing its capacity. Also, the battery self-discharges faster than normal. It eventually causes premature battery failure.
You can check the voltage readings on your vehicle's dashboard to check whether they are within the expected ranges for a healthy battery.
Changing a dying battery is the only way to restore your vehicle's functionality.
Final Thoughts
If your vehicle won't start, but the battery is fully charged, examine for loose connections or corroded terminals. And since starting the vehicle is quite energy-intensive, you may also need to check whether the battery has enough power to start the vehicle by checking its voltage reading.
A defective starter and a clogged fuel filter can also be to blame for the starting problems. We hope this article has equipped you sufficiently to know what to do in each of these circumstances.
Before you go, consider reading this post: My Auto Start/Stop Makes A Clicking Noise – Why? What To Do?