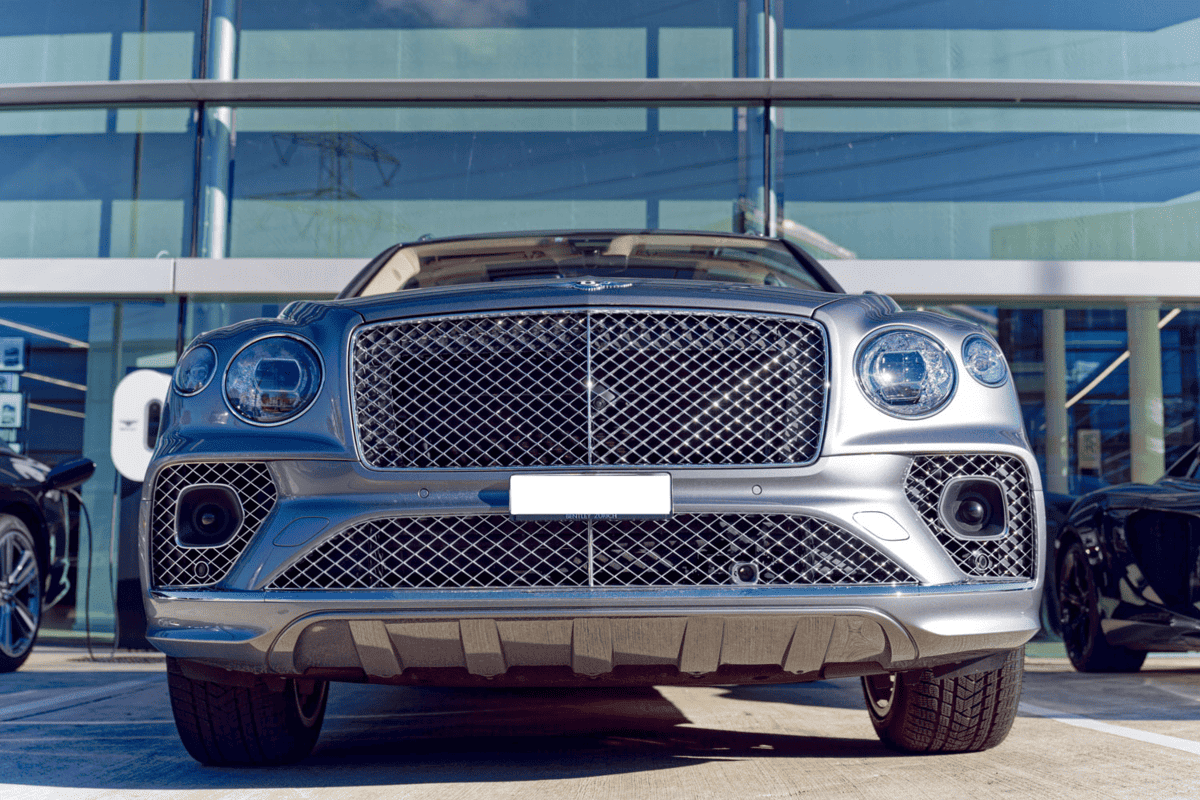
A Bentley Continental is not only a luxury automobile, but also a masterpiece of automotive engineering.
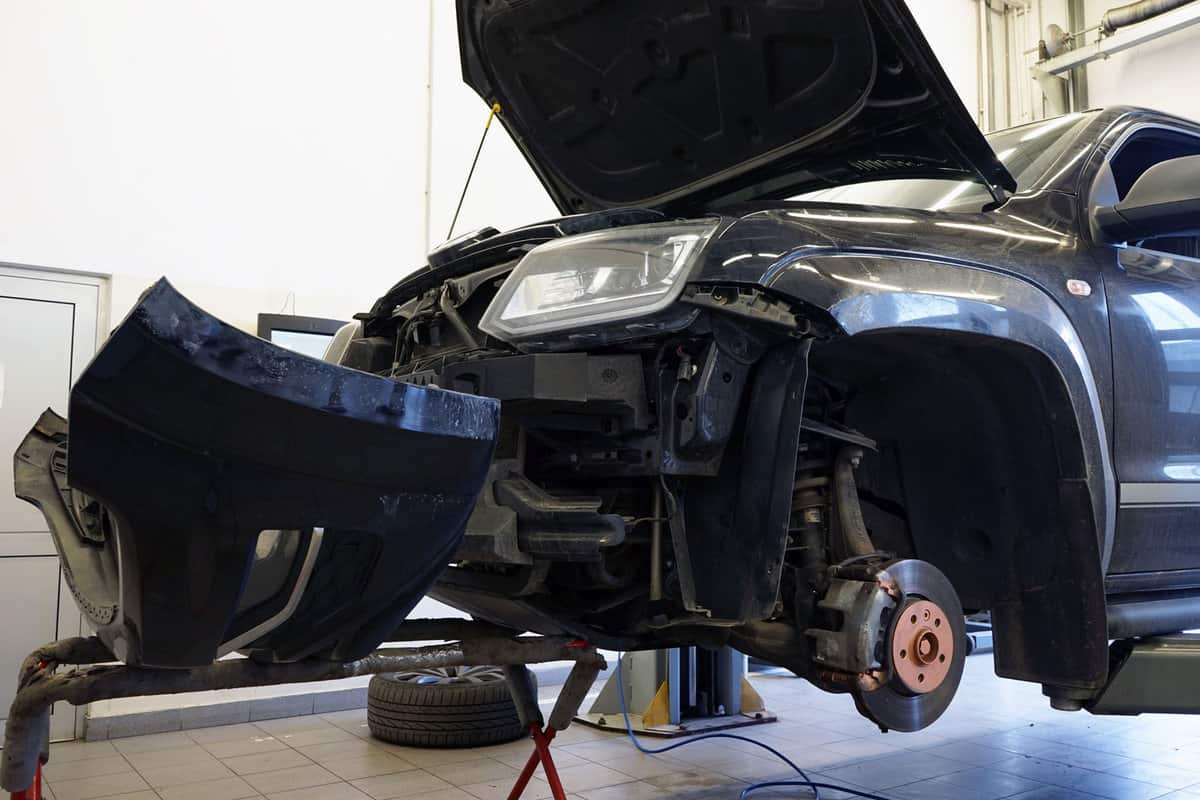
As an owner, you may sometimes need to remove the front bumper for a variety of reasons, such as to repair damage or to access other components beneath it.
Understanding how to remove your Bentley's front bumper correctly can save you time, reduce the risk of further damage, and even save money by doing it yourself.
Before attempting to remove the front bumper, it's essential to gather all the necessary tools and be familiar with the various components that make up the front end of your Bentley.
Ensure your vehicle is parked on a flat surface, and consider wearing gloves and safety goggles for added protection.
It is also crucial to be cautious while working around your vehicle and to follow each step methodically to avoid unnecessary complications.
Identify The Model And Year Of Your Bentley
Before removing Bentley's front bumper, you need to know its model and year. Different models require different removal techniques.

Find this information in your owner's manual or registration. If they're missing, check for a label inside the driver's door frame or engine compartment.
Once you have identified the model and year, it's important to research the specific steps to remove the front bumper for your Bentley.
Consult a Bentley repair manual or a video tutorial tailored to your vehicle's make and model.
Familiarize yourself with the required tools, such as different wrench sizes and fasteners.
Additionally, be prepared to handle any potential challenges, such as corrosion on bolts or access to hard-to-reach areas.
You might also like to read: Bentley Vs. Genesis: Pros, Cons, & Differences
Safety Measures Before Starting

Before removing Bentley's front bumper, prioritize safety. Start by parking the car on a flat surface and using the brake.
To mitigate any electrical hazards, disconnect the car battery. Always use high-quality, appropriate tools for the task to prevent any potential damage to the Bentley.
Having all the necessary tools and materials ready beforehand will make the process smoother. Remember to wear gloves and safety glasses for protection.
Take your time during the removal, avoiding any rush or excessive force which could cause damage or injury.
Lastly, be cautious of any sensors and wiring near the bumper area. Consult the user manual for guidance on their locations to prevent any unintentional damage.
Required Tools
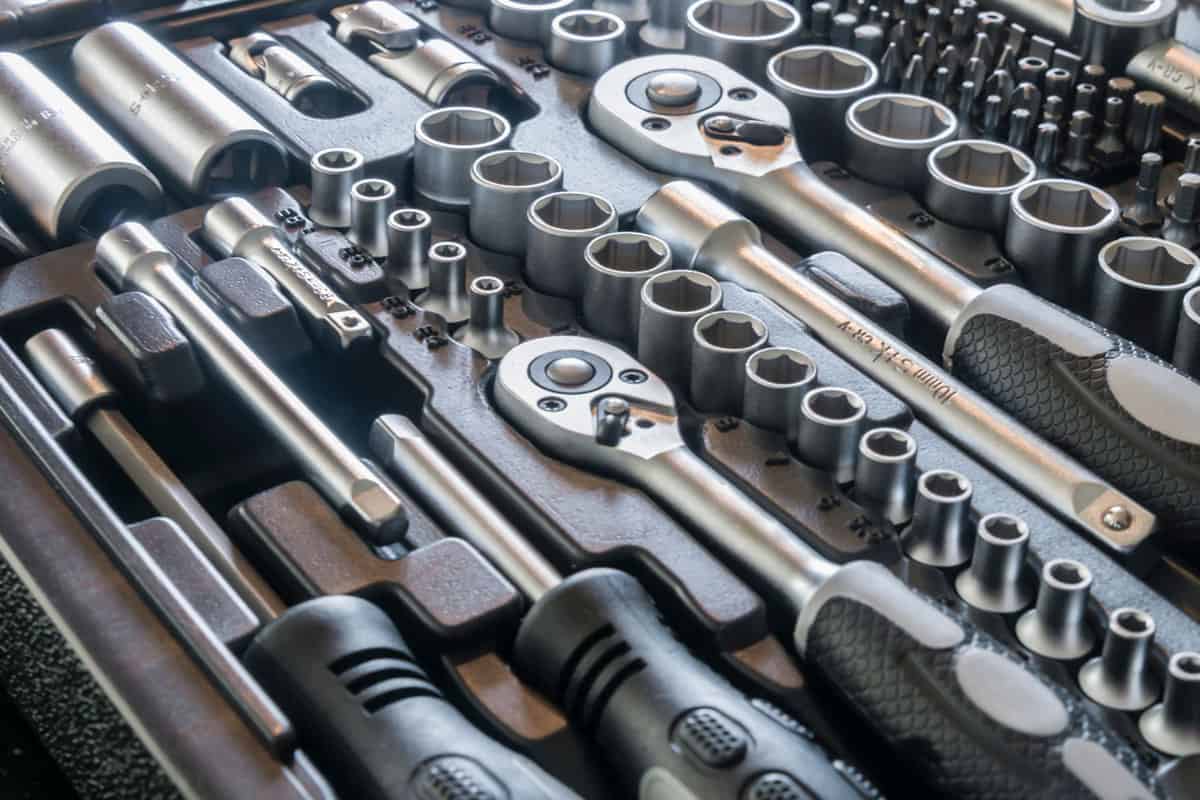
Begin with a complete socket wrench set. The exact socket size might differ based on Bentley's model and year.
Additionally, you'll need an assortment of screwdrivers, both flathead, and Phillips, to handle any screws securing the bumper.
In some instances, a gentle pry tool or flat scraper may be necessary to detach the bumper without harming the vehicle's paint.
Lastly, to ensure you can clearly see all attachment points and mounting brackets, have a flashlight or portable work light on hand.
Locating the Bumper Screws
When removing Bentley's front bumper, identify the bumper screws first. Typically, you'll find three screws at the bumper's bottom, anchoring it to the chassis.
On the top, near the grille or below the hood, there are usually four screws.
The wheel wells might have screws; expect to find one on each side and possibly two more at the bottom corner junction between the bumper and wheel well.
Unscrewing the Bumper
With the right tools, like a socket wrench, flathead, and Philips-head screwdriver, begin the removal process.

It's best to work on a level surface for space and safety. Start by opening the car's hood and targeting the screws or bolts on the bumper's top edge.
Then, attend to the screws on the bottom and the sides. Plastic clips might also secure the bumper, so gently release these with a flathead screwdriver.
When all fasteners are loosened, carefully slide the bumper off. Keep in mind the paint and any attached components, such as wiring. Having another set of hands can be invaluable during this step.
Removing the Bumper Carefully

Safety should always be a priority. Ensure you're wearing protective gear, such as gloves and glasses. In some Bentley models, to access bumper bolts, you might need to remove parts like the wheel arch trim or the front grill.
Carefully loosen and take out these bolts. Then, disconnect any wiring or cables attached to the bumper, like those for headlights or sensors. With the bolts removed and cables detached, carefully lift the bumper away.
Having someone assist during this stage is advised. Once the bumper is off, store it safely. When you've finished your intended work, always remember to securely reattach everything.
Inspecting for Damage
Before removing Bentley's front bumper, conduct a thorough damage assessment. Begin with a visual inspection, looking for scratches, dents, or cracks.
Surface-level damage might be remedied with a simple DIY fix, whereas deeper or larger defects could necessitate a bumper replacement.
Ensure the bumper's mounting points are secure and align well with the car's body; any misalignment might hint at unseen internal damage.
Lastly, check behind the bumper for issues with the absorber or other components, prioritizing the safety and aesthetic of your Bentley.
You might also like to read: Car Bumper Paint Peeling – What To Do?
How To Remove The Front Bumper On A 2005 - 2013 Bentley Continental
The video demonstrates how to remove the front bumper cover of a Bentley Flying Spur, focusing on a model that had auction damage.
Required Tools:
- Plastic pry tool
- Flathead screwdriver
- Phillips head screwdriver
- T25 torx bit
- T30 torx bit
- Extension for torx bits
- 8mm closed-end and open-end wrench
- Specialty tool (modified 8mm wrench)
Steps:
- Start by removing the headlight squirter cover using the pry tool. Gently pull it out and slide off the cover.
- Locate the 8mm fastener behind the removed cover. Using an 8mm straight wrench, loosen it. Repeat for the other side.
- Remove the 8mm fasteners near the headlights using the specialty tool (or the original Bentley tool if available).
- Remove the end grills on the bottom side of the bumper. Use a Phillips head screwdriver to remove the screws and gently pull out the grill.
- (Optional) If the engine splash shield is damaged, it might be removed. The attachment to the bumper cover involves T25 torx bit screws.
- To access the inner fender screws, turn the wheels opposite to the side you're working on. Remove three T25 screws from each side.
- Pull back the inner fender, revealing another T25 bolt attaching the bumper to the fender. Remove it.
- Behind the earlier removed grills, locate and remove a T30 bolt on each side.
- Remove the seven T30 bolts across the top of the front bumper cover.
- Start from the corners and gently pull the bumper out.
- Place the removed bumper on a soft surface to avoid scratches.
- Detach the electrical connection to separate the bumper from the car.
With the front bumper removed, it's now ready for repairs or replacements. Always ensure safety and avoid damaging any components during the removal process.
In Closing

Removing the front bumper of a Bentley vehicle may seem like a daunting task, but with the right tools and knowledge, it can be accomplished.
The process involves accessing various bolts and fasteners that secure the bumper to the car, as well as disconnecting any electrical connections that might be present.
Remembering to be careful while handling the bumper is essential, as it might be quite expensive to replace or fix in case of damage.
Once you've successfully removed the front bumper, it opens up a gateway for various maintenance or repair tasks that might be needed.
Remember to follow all safety precautions, work patiently and systematically, and be gentle with your Bentley during the entire process.
If at any point you feel unsure or overwhelmed by the task, do not hesitate to seek professional help.
Bumper removal can be complex, and it's crucial to get it right to ensure your vehicle's safety and aesthetics.
An experienced technician or mechanic can provide expert guidance and ensure that the bumper is removed and reattached correctly.