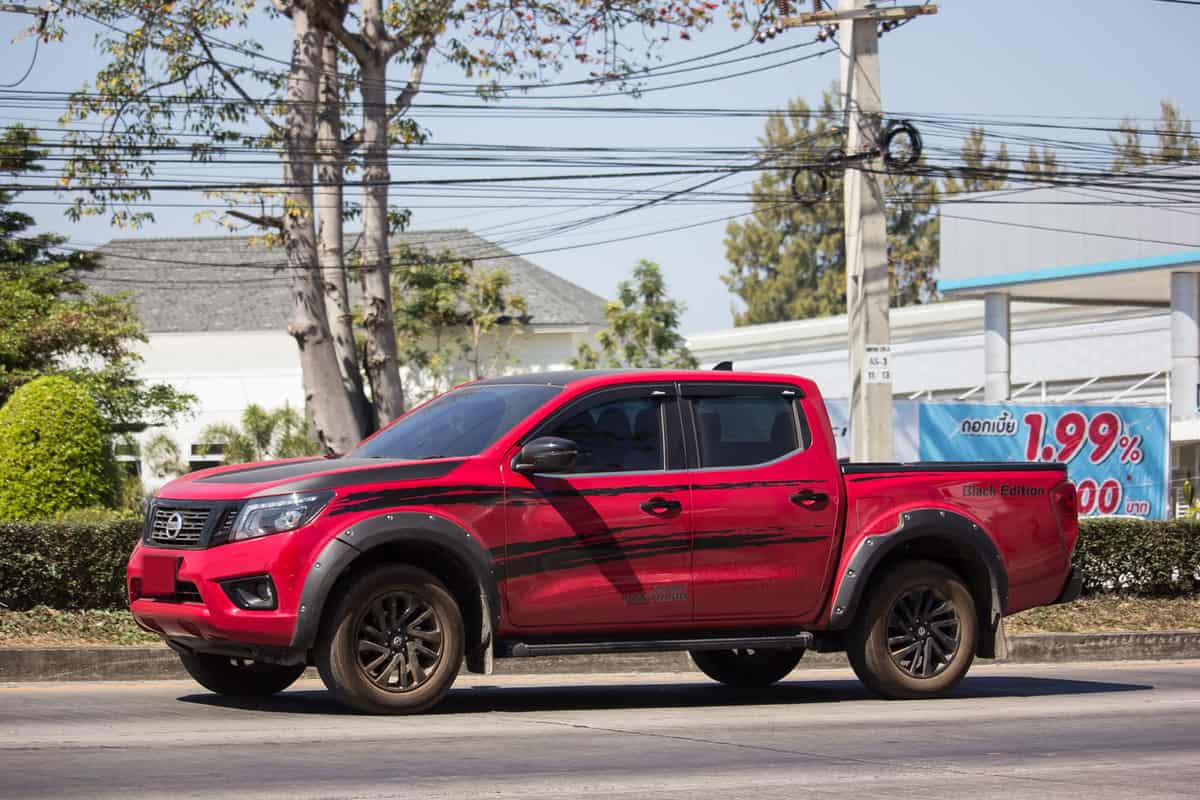
The bumper is an important part of a vehicle both aesthetically and from a safety standpoint. Perhaps you got in a minor fender bender and need to replace the front bumper on your Nissan Frontier. For your convenience, we did the research to tell you exactly how to do it.
To replace the front bumper on a Nissan Frontier, follow these steps:
- Park on level ground.
- Disconnect the battery.
- Disconnect all electrical plugs to the fog and axillary lights.
- Have two helpers hold up the weight of the front bumper cover while you unscrew the bolts that hold it in place. Tell them to walk it away from the vehicle and set it down.
- Have two helpers hold up the weight of the inner bumper beam while you unscrew the bolts that hold it in place. Tell them to walk it away from the vehicle and set it down.
- Replace the inner bumper beam with the new beam. Have helpers hold the weight while you secure the bolts.
- Replace the bumper cover with the new cover. Have helpers hold the weight while you secure the bolts.
- Reconnect all electrical plugs.
- Reconnect the battery.
In this article, we will cover whether you can replace a front bumper yourself and if you can fix it without replacing it. We will also look into if you should repair minor bumper damage. From there, we will cover a how-to on repairing minor bumper damage. Then we will learn how much it costs to replace a Nissan bumper and if it is cheaper to repair or replace a bumper. Keep reading to find out more.
![Nissan Frontier on the road, How To Replace The Front Bumper On A Nissan Frontier [A Complete Guide]](https://vehq.com/wp-content/uploads/2021/09/How-To-Replace-The-Front-Bumper-On-A-Nissan-Frontier-A-Complete-Guide-683x1024.png)
[toc]
How To Replace The Front Bumper On A Nissan Frontier
To replace the front bumper on a Nissan Frontier you need to follow 9 basic steps.
1. Park On Level Ground
Before you begin work on your Nissan Frontier, it is important to make sure your vehicle is on solid level ground. This will reduce the chance of your vehicle slipping and injuring you or anyone else.
2. Disconnect The Battery
Now you will want to disconnect the battery. To remove a battery terminal cord you will need to loosen its clamp with a flat head screwdriver.
Start by removing the negative terminal first. This will prevent any sparking from occurring. After that remove the positive terminal from the battery. Your battery will now be disconnected.
3. Disconnect Electrical Plugs
Next, you will want to get on the ground and look under your bumper. You will see various wires connecting at different points. These wires connect to the auxiliary lights and fog lights.
Start to disconnect each of the wires where they plug in. Once you have disconnected all of these wires this step is complete.
4. Removing The Front Bumper Cover
To remove the front bumper cover you need to unscrew the bolts that hold it in place. These bolts are 12mm. We recommend using a 12mm socket wrench to remove and later install them.
Before removing the bolts holding on the bumper cover there is something you will need to know. The bumper cover will want to fall once the bolts are removed. You can remedy this by having two helpers hold the weight of the bumper cover while you unscrew it.
Once completely detached you can have your helpers walk the bumper cover away from the vehicle and set it down gently.
5. Removing The Inner Bumper Beam
Now that you have the bumper cover off you can work on the inner bumper beam. Just like the bumper cover, it is held in place by a few 12mm bolts. Also, like the bumper cover, it will want to fall as you remove those bolts.
Once again have your helpers hold the weight of the beam up while you unscrew the beam. Once the beam is completely free have your helpers walk the beam away from the vehicle and gently set it down.
6. Replacing The Inner Bumper Beam With The New Beam
Now that the old inner bumper beam has been removed you can get started installing the new bumper. Start by having your two workers hold the new inner bumper beam in place while you secure the bolts in place. Once fully secured you can move onto the new bumper cover.
7. Replacing The Bumper Cover With The New Cover
To install the new bumper cover have your workers hold the bumper cover up while you secure the bolts that hold it in place. Once the cover is secured you can move on to reconnecting the electrical plugs.
8. Reconnecting The Electrical Plugs
To reconnect the electrical plugs simply slide under the bumper and locate each of the connection points for the wires. Be sure to plug the wires back into their original positions. Once complete you only need to reconnect the battery.
9. Reconnect the battery
To reconnect the battery start by connecting the positive terminal first then the negative terminal. Doing this in the wrong order could cause sparking or even a fire.
If you followed these steps correctly then your new bumper should be properly secured and your lights should work correctly. If one or more of your lights isn't working, disconnect the battery before reconnecting the electrical cords.
Can You Replace A Front Bumper Yourself?

So while you can replace the front bumper yourself, it would be a lot easier if you had a couple of people to help hold the weight of the bumper while you unscrew and re-screw the bumper bolts. Other than when the bumper needs to be held up, the rest is relatively straightforward.
Disconnecting the battery and electrical plugs and reconnecting them after could be done by yourself. If you need to do it alone, try to find something to hold up the bumper while you unscrew the bolts. Make sure whatever you use to hold up the weight is secure and won't slip.
Can You Fix A Bumper Without Replacing It?
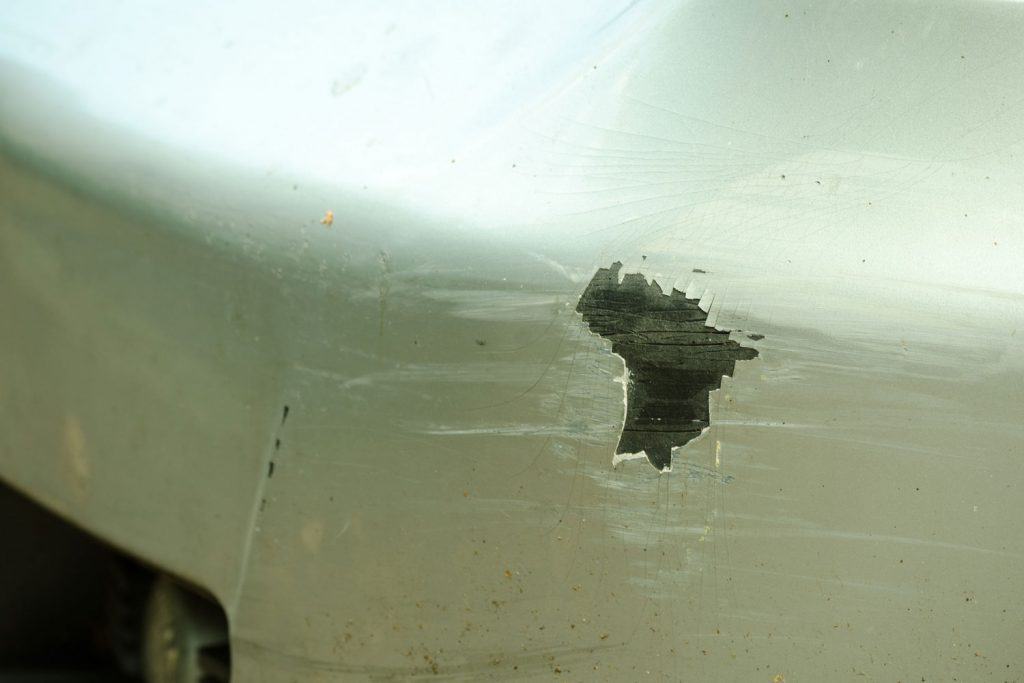
If the bumper is cracked, you typically need to replace it. If the damage is minor enough, epoxy and fiberglass repair kits can help hide the damage.
While it is possible to use one of these kits to hide damage effectively, you should keep in mind that many people who use these repair kits tend to be dissatisfied with the final results as the repairs will likely be very visible.
It's not that the kits don't work. It's that it can take a lot of experience to make them look good, so your first time using one may leave you with a less than desirable repair.
Should I Repair Minor Bumper Damage?
Minor bumper damage is purely cosmetic and in no way affects the vehicle's ability to drive. If you are planning to sell the vehicle, you may consider getting it repaired or replaced.
When you sell a vehicle, visible bumper damage can drastically affect its value. Some dealerships will offer you significantly less for the vehicle, and some private buyers may not buy the vehicle at all.
Since people get worried about what kind of accident a vehicle was involved in when they see bumper damage, it is probably in your best interest to repair it before you sell.
A How-To On Repairing Minor Bumper Damage
If you decide you want to repair your minor bumper damage, we have a step-by-step guide on how to do it yourself. In this how-to, we will be using Bondo Bumper Repair Kit.
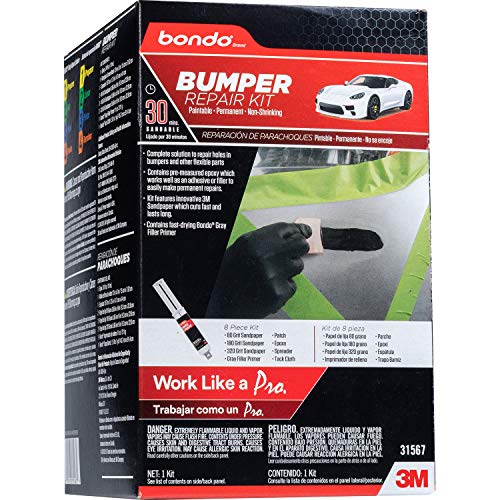
Click here to find this on Amazon.
The Tools
Before we begin, first identify your tools.
The kit comes with one Bondo Bumper Repair Epoxy with a mini spreader and a fiberglass screen mesh, and one grey filler primer spray can, two sheets of 80 grit sandpaper, two sheets of 180 grit sandpaper, two sheets of 320 grit sandpaper, and one Bondo Tack Cloth.
Make sure before you begin to wear all appropriate PPE.
Prep
First, you want to deep clean the surface of the damaged part of the bumper with soap and water. Also, clean it with a wax a grease remover to ensure no contaminants might get sanded into the bumper.
Next, use masking tape to seal off the area you will be sanding from the rest of the bumper. This helps to keep sanding in the desired location and prevents sanding scratches from spreading too far.
Now you will want to sand the area with the 80 grit sandpaper. Sand the paint down to the bare substrate. When you are finished sanding, wipe off the site with the Bondo tack cloth.
Applying the Epoxy
Next, we will be applying the Bondo Bumper Repair Epoxy. Before we do, you should assess if the damaged part of the bumper has a hole or crack.
If it does, you will need to apply the fiberglass screen mesh over the hole or crack and secure it with the Bondo Bumper Repair Epoxy.
To prepare the Bondo Bumper Repair Epoxy, spread the epoxy material onto a non-absorbent mixing board and thoroughly mix it. Then spread it over the damaged area on the bumper using the included mini spreader.
Be sure to apply thin and even layers. Built-up layers slightly higher than the bumper to allow for sanding them back down.
Sanding
Allow the layers to dry, and then get your 80 grit sandpaper ready. Begin sanding down the epoxy and shaping it to the contours of the bumper.
Keep checking the surface often by feeling it with your hand. You want to try and make it as seamless as a transition as possible. If you get a low spot, you may need to apply more epoxy and re-sand.
Now you can take the 180 grit sandpaper and begin refining the scratches from the 80 grit sandpaper. Be sure to wipe off dust with the Bondo Tack Cloth and often inspect your work's quality. You can always add more epoxy if a low spot starts to develop.
Next, you will finish the sanding with the 320 grit sandpaper. The 320 grit sandpaper is smooth enough to refine all the sanding marks and prep the area for primer. Be sure to finish sanding by cleaning the area with the Bondo Tack Cloth.
Applying The Primer
Before you apply the primer, clean the area one more time with a wax and grease remover. This will ensure a good bond with the primer.
Now take your grey primer and apply an even medium coat across the area. Allow the primer to dry for 5 minutes before applying the next coat. You will want to apply between 3-4 coats.
After you apply all the primer coats, allow them to dry for 45 minutes. After that, you may remove the masking tape. The bumper is now ready to be painted. If you did the previous step correctly, you might not be able to see the damage at all.
If you would like a video tutorial using the Bondo Bumper Repair kit, 3M Auto has a great Youtube tutorial.
How Much Does It Cost To Replace A Nissan Bumper?
Replacing a Nissan bumper can cost between $300-$500 for parts and $500-$1000 in labor. So between $800-$1,500 total.
You can replace the bumper yourself and save the price of labor but will have to take care not to damage your vehicle. Doing it yourself can cost as little as $300-$500, which is just the price of parts.
Is It Cheaper To Repair Or Replace A Bumper?
Replacing a bumper can cost a few hundred dollars to over one thousand dollars. On the other hand, a repair kit costs between 10-50 dollars, depending on the kit. This may make it seem like the choice is obvious, but there is something to think about.
While replacing the bumper can be up to one thousand dollars more, using a repair kit on a car may not hide the damage well.
The car could be between two to three thousand dollars less valuable with the damaged bumper than with a new bumper. This means replacing the bumper could have a net gain of one to two thousand dollars.
So if you are planning on selling the vehicle, it may be well worth the money to replace the bumper. If you plan on holding onto the vehicle and want to cover up the scratch, then a repair kit may be the least expensive option.
In Closing
We hope this guide has equipped you to tackle your bumper replacement project. If you follow the steps outlined here, the process is a breeze. And remember—minor cosmetic bumper damage might be worth repairing if you're looking to sell the vehicle.
Before you go, be sure to take a look at these other related posts:
What Is A Car Fender? And How Is That Different From A Bumper?
Such an informative article! All the information provided by you is really very helpful. By using tack cloth you can easily remove small dust particles from the surface and it also gives you smooth paint finishing. Thank you for sharing! Keep posting!