As you've heard before, cleaning out the black tank on an RV is no one's favorite job, but one of the most important. What happens when your tank flush isn't working though? What aspects of the tank do you need to troubleshoot? We've done the dirty work for you to find out.
Most of your issues can be solved with the addition of more water with an RV-approved enzyme cleaner. If you don't need to flush often, things can get a bit built up down there. Take a look at the following to see which could fit your situation:
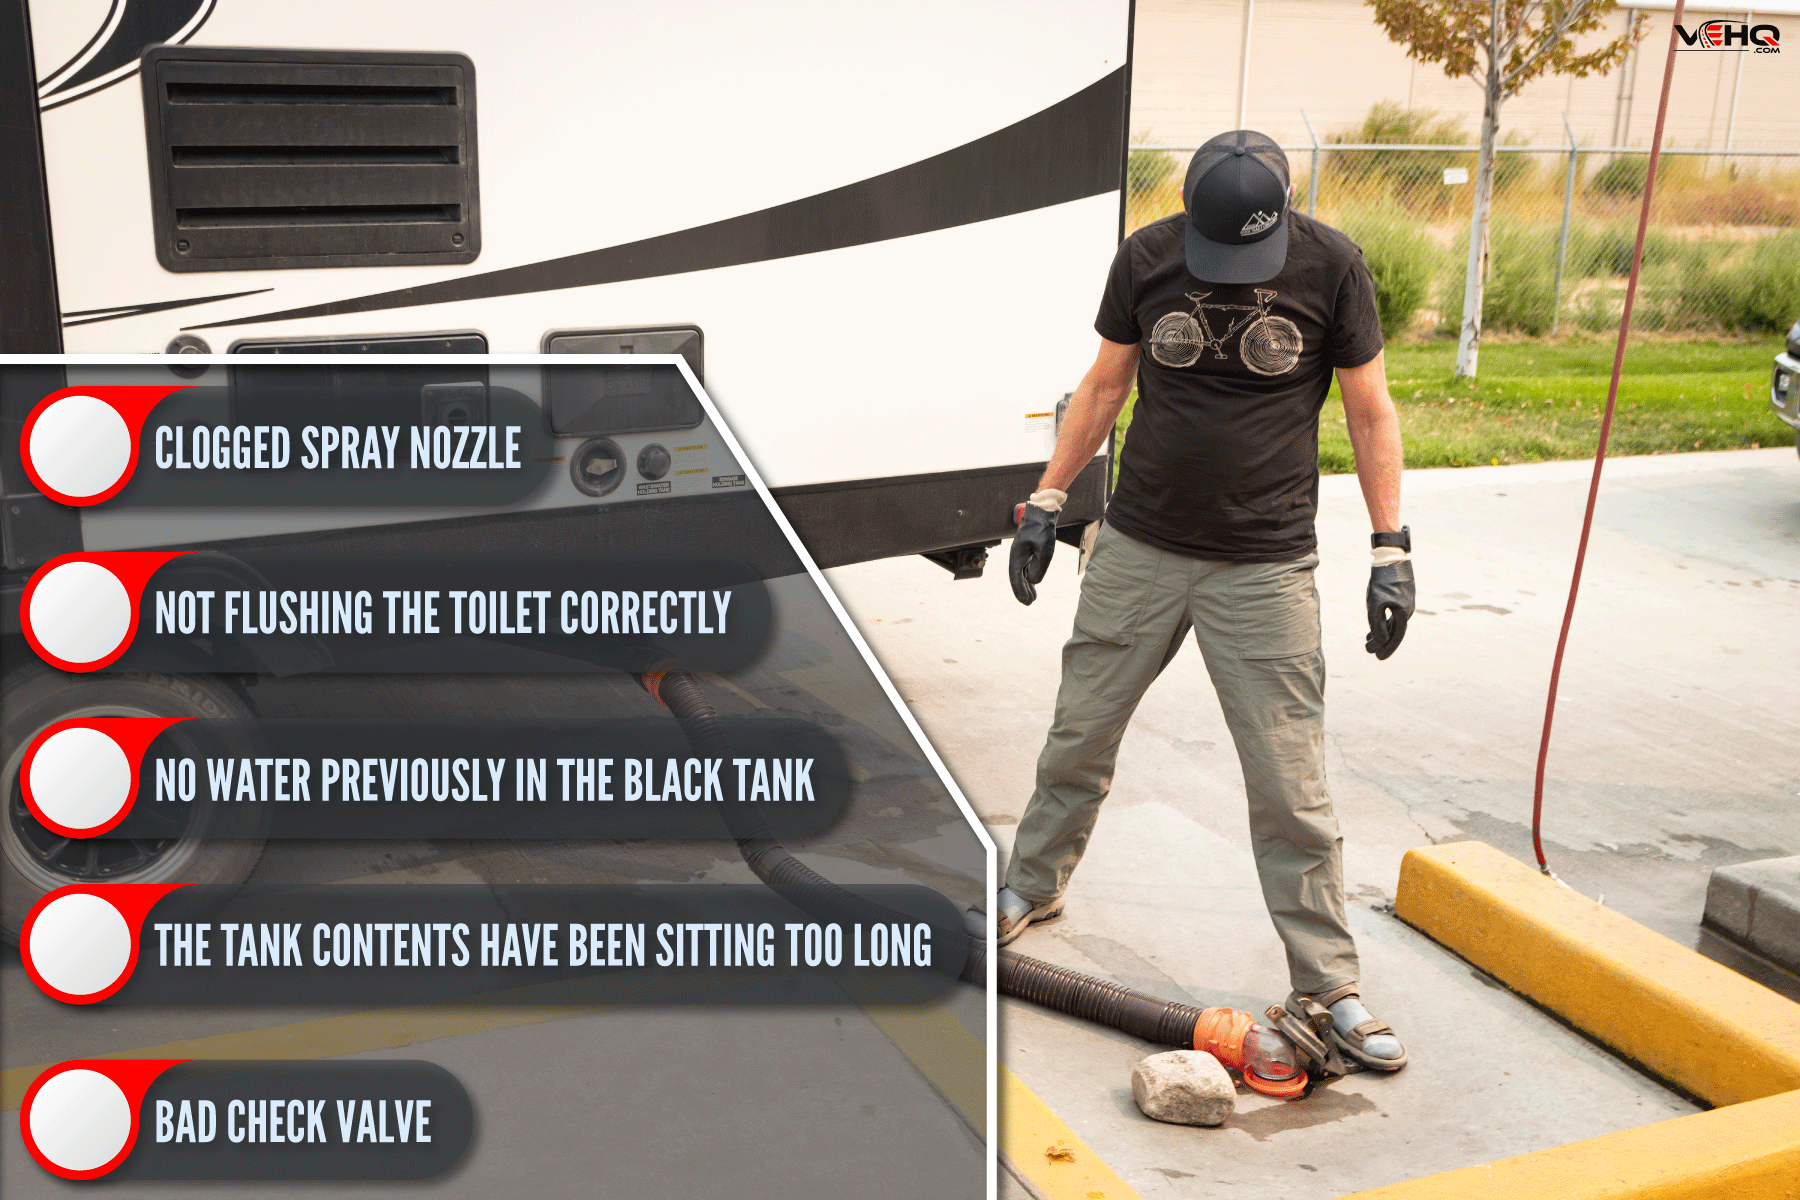
- Clogged spray nozzle
- Not flushing the toilet correctly
- No water previously in the black tank
- The tank contents have been sitting too long
- Bad check valve
Flushing out your black tank is a must to keep the system working properly and preventing odors from becoming a big problem. Take the time to learn your system and don't cut corners. Below, we'll take you through how to troubleshoot issues, as well as other maintenance recommendations.
[toc]
Troubleshooting Your RV Black Tank Flush
Except for the last option, all of these can be checked by you at home or at the RV site. The current weather of your campsite could be a factor too, especially if it's cold and the tank water has been sitting long. Try not to rush the process of figuring out what's wrong. You don't want to end up with the contents of the tank on the ground, outside, or inside.
Clogged spray nozzle
A clogged spray nozzle is one of the biggest culprits to a faulty tank flush. You should be flushing your tank only when it is 2/3rds or nearly full. However, if a piece of tissue paper got caught on the nozzle, you'll notice weak or no flush at all happening. Without a clean nozzle, you'd have to manually flush it, turning it into a group project.
To untangle this situation, start by adding clean water directly into your toilet. Then add in your choice of tank cleaner or even a small amount of dish soap. Both of these products will help break down the solids in the tank and loosen any debris. Flush your toilet like normal and allow it to sit. If you just emptied out your tank, add enough water to the tank size to fill it at least halfway.
The tank should sit for 24 hours for best results, if you can, or at least 12 hours. Now you'll go through the normal procedure of emptying and flushing the tank. You should notice water flowing out.
Trick: Use a tank flush wand if your nozzle still won't unclog.
Click here to view this flush wand on Amazon.
Not flushing the toilet correctly
How you flush the toilet inside the motor vehicle plays a big role too. The toilets should be flushed in a two-step process. First, add water to the bowl by pressing down the handle or pedal halfway. Then when you're ready to flush, hold it down all the way. Adding water will help prevent you from having a clogged spray nozzle.
Tip: Only flush RV-certified toilet paper to reduce the likelihood of build-up.
No water previously in the black tank
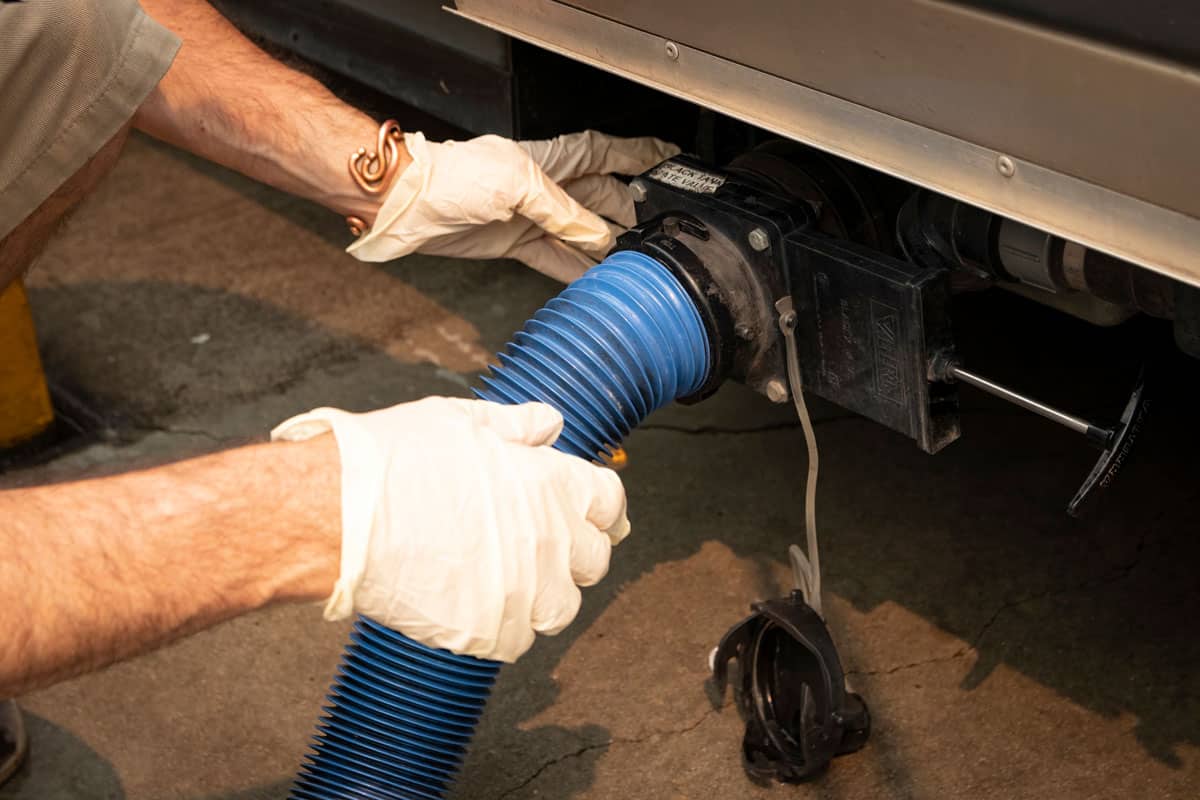
As discussed in an RV forum, it is absolutely essential to add water to your black tank before usage. After you flush the tank, always add at least two gallons of water or enough to cover the floor of your tank. By having water in your tank from the start, you reduce the chance of solids drying out and blocking the dumping exit site. Add water to the tank by holding open your toilet drain cover and pouring water directly into it.
The tank contents have been sitting too long
If you travel solo, or maybe with only one other person, you might not feel the need to do a flush as often. However, if there isn't enough water inside it, or if the weather is too cold, parts of the tank can end up congested or even dry. It's a good idea to do a flush when you get to a campsite for a fresh start, this way you can enjoy your time there from the beginning.
Solo travelers that have a large tank and not enough waste can manually add warm water to the tank to hit the 2/3rd line. It's a good idea to add in some tank cleaning products during this stage and allow them to do their magic. While you may not need to flush as often as a family camper, this will help keep odors down and your tank in working shape.
Click here to view this tank treatment on Amazon.
Bad check valve
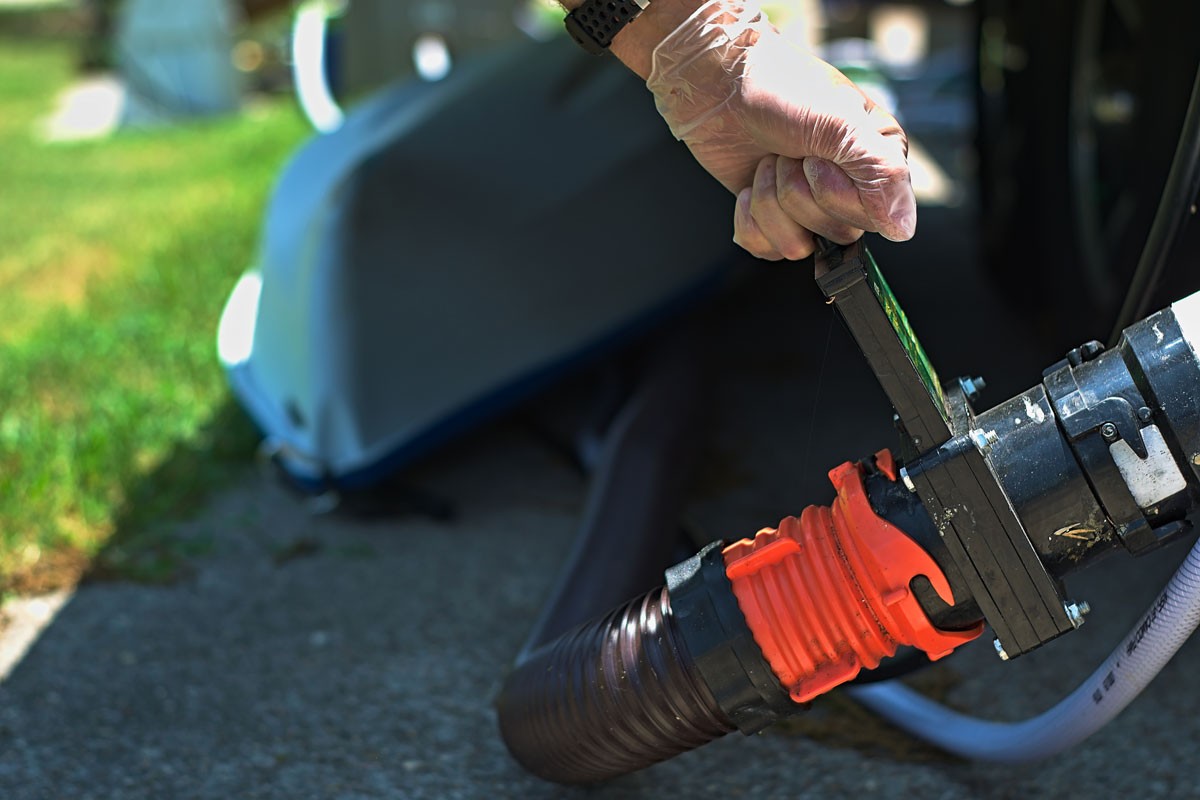
Bad check valves are not a common problem seen but have definitely happened before. The check valve is a water pump mechanism that stops the backward flow of pressurized water. This means when you've hooked up the RV water hose, you won't have to worry about water coming out of the tank when it's not connected to the hose.
When RVs are being manufactured, the black tank system isn't going to get tested so there is no way to know when it comes off the line. This issue is meant for the dealership to fix unless you are very familiar with your RV. Most often it is covered by warranty and won't cost you a few hundred dollars to have it replaced.
How does a black tank flush work on an RV?
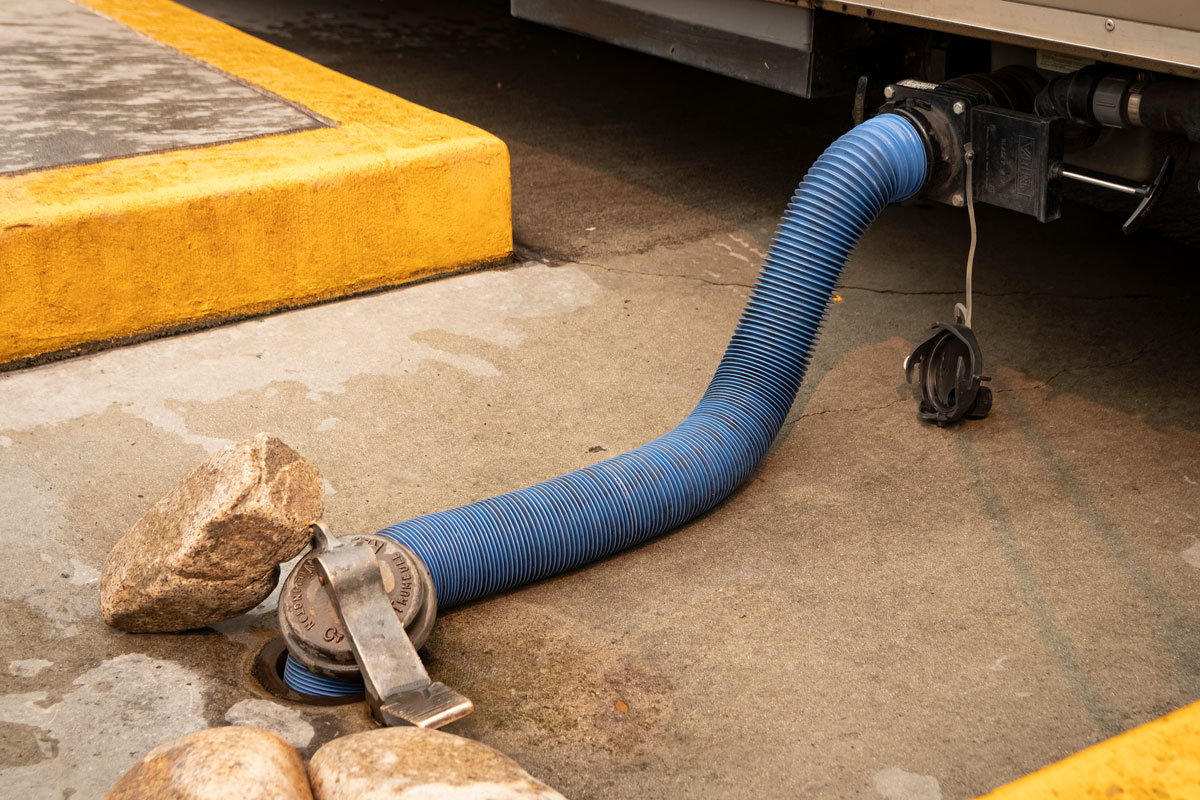
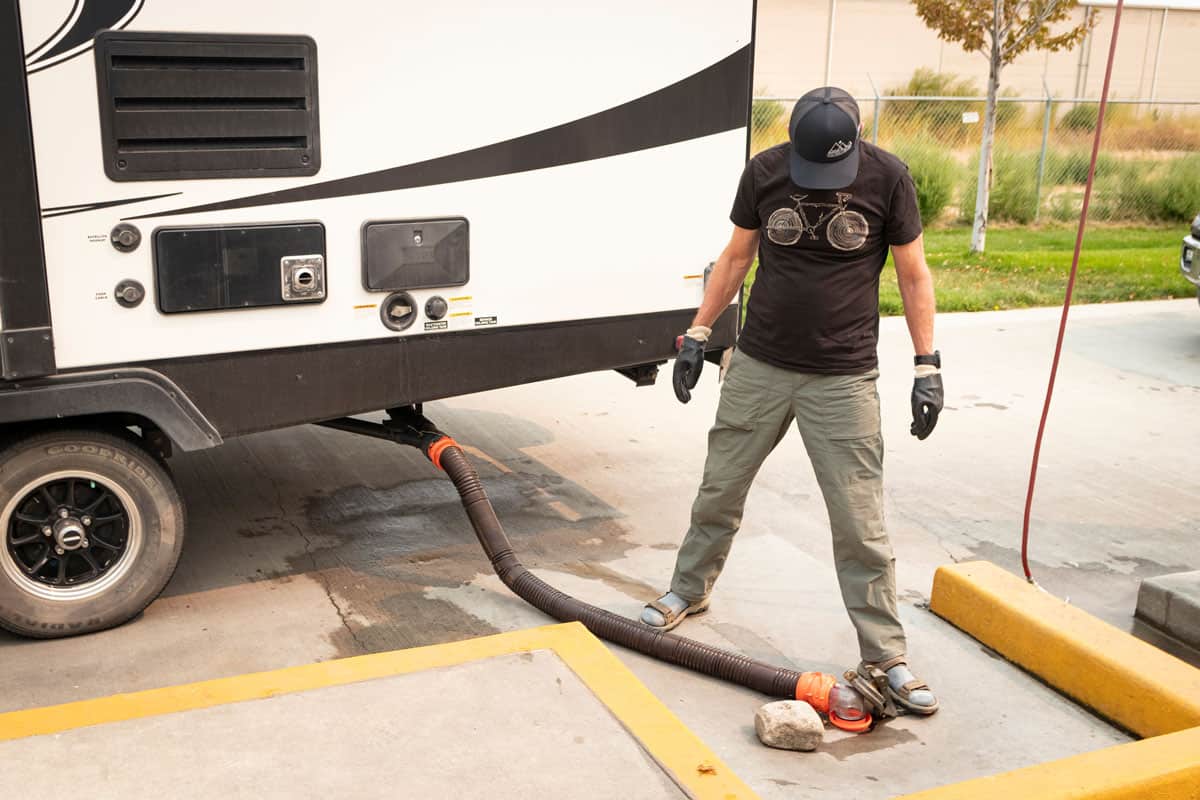
The secret workings of a black tank really aren't that secret. You have your toilet connected to the black tank, the tank itself, and then exit shoot outside. The flush happens inside the RV from the spray nozzle located on the side of the tank. When you dump the contents of the tank and attach your water hose, the water is sent to the nozzle that sprays down the now empty tank.
As you go to dump, it is important to keep your interior black tank valve closed! This will prevent odors and liquid backflow into the RV. There will be enough pressure for the gravitational pull from the fullness of the tank. Black tank flushes are meant to save you the headache of troubleshooting the areas previously listed. Check out these tips:
How long should you flush your black tank?
To avoid the guessing game, buy yourself a clear elbow attachment for the hose. Since no one really wants to see what's being dumped, the larger dumping hoses are not see-through and you may not know when everything is out. The length of time depends on how often the toilet is used.
Highly used plumbing systems might need to run a little longer to make sure everything has been broken down and pushed out of the tank. Allow yourself at least 2 minutes for this option. Other RVs might not want to use their portable restrooms for everything and wait until they're at a campsite or store. In this case, the flush will be quick, closer to just 1 minute.
Click here to view this clear elbow on Amazon.
How often should you flush your black tank?
When you initially dump your tank, it will be clean in a sense. However, you'll want to do a flush when the option is available to give it the final rinse. Based on how often the tank is used, you can flush every 3-5 days. The rule of thumb is to flush whenever the tank is almost full.
More used tanks can be flushed every 3-5 days, while casually used tanks may last up to a week. Of course, if the smell is becoming a problem, you're more than welcome to do a flush. You'll just want to manually add water to the tank from pouring it into the toilet for it to reach 2/3rds.
How often should you dump your RV black tank?
Your RV is equipped with a number of sensors. One of the sensors is there to indicate the levels of your black tank and seeing when it is full. Check the sensors reading once every day or two to keep an eye on the level. It's a good routine to dump before leaving your campsite too if the next location is some distance away.
Should I leave my black tank open or closed?
Leave it closed! Even when you're parked at a campsite, you should leave your tank closed to prevent anything from exiting or entering. Keep in mind when you go to empty the grey tank after the black, you'll want the black tank closed tight.
All in all
Your black tank is one of the most used RV features and therefore the dirtiest. When you go to flush and it doesn't work, you more than likely have some sort of build-up and will need to add a cleanser to break down the contents. Flushes are needed to keep your spray nozzle clean and unwanted odors down. Happy travels!
Check out these other related posts before you go:
RV Water Pump Runs But No Water – What To Do?
Sewage Smell In RV – What To Do?


