If your RV toilet foot pedal isn't working, then it can make it difficult to flush. Is doing the repair something difficult, or is it a DIY project? In this article, we have researched this question and what you need to know.
When your RV toilet foot pedal breaks, it is essential not to try and use the toilet. If you try and flush the toilet with a damaged pedal, leakage could happen. If you have a broken RV toilet foot pedal, your only option is to repair it right away so you can use it again. When repairing, be sure to read the instructions for the new foot pedal and have the recommended tools ready.
Suppose your RV toilet foot pedal breaks while on a camping trip. It can be an issue. However, if you are close enough to a hardware store, you might be able to save the day. In this article, we will take a closer look at what you need to know about repairing an RV toilet foot pedal. In addition, we will discuss how to maintain an RV toilet, so read on!

RV Toilet Foot Pedal Repair—What Owners Need To Know
When installing an RV toilet foot pedal, you need to read the manual after getting it out of the box and ready all the materials. Preparation will be essential for this project since you need to complete specific steps in order. Also, keep in mind that not all RV toilet foot pedals are repaired the same way. In this article, we will give a general outline on how to install a new foot pedal.
You need to know about RV toilet foot pedals because they are relatively easy to install, and a new foot pedal will come with an instruction manual on how to do the installation. In addition, before you begin, make sure that you turn off your water supply in your RV. Lastly, make sure there isn't any water in the toilet bowl before starting the repair process.
The Toilet Foot Pedal Repair Process
Place a towel nearby in case of leakage, and then unscrew the nuts attached to the tank. When you have removed the nuts, detach the toilet from the floor. In addition, remove any remaining water in the tank and then set everything on a nearby table or workbench.
Now that you have moved all your supplies to a safe place, insert your new pedal onto your RV's foot pedal arm. After this is complete, attach the foot pedal arm to the top of your toilet bowl.
Next, you need to line up the holes in the toilet and insert the screws that came with your new foot pedal into place. You should ensure that it is sturdy and won't break again. In addition, tighten this part securely before moving on to the next step. After doing this, you should screw the nuts back onto the bowl and close up your tank.
Once you have finished these steps, you should turn on the water supply to test your new foot pedal. If it is working correctly, then great! If not, then it is worth contacting an RV dealer for help. For a visual reference, check out the video below:
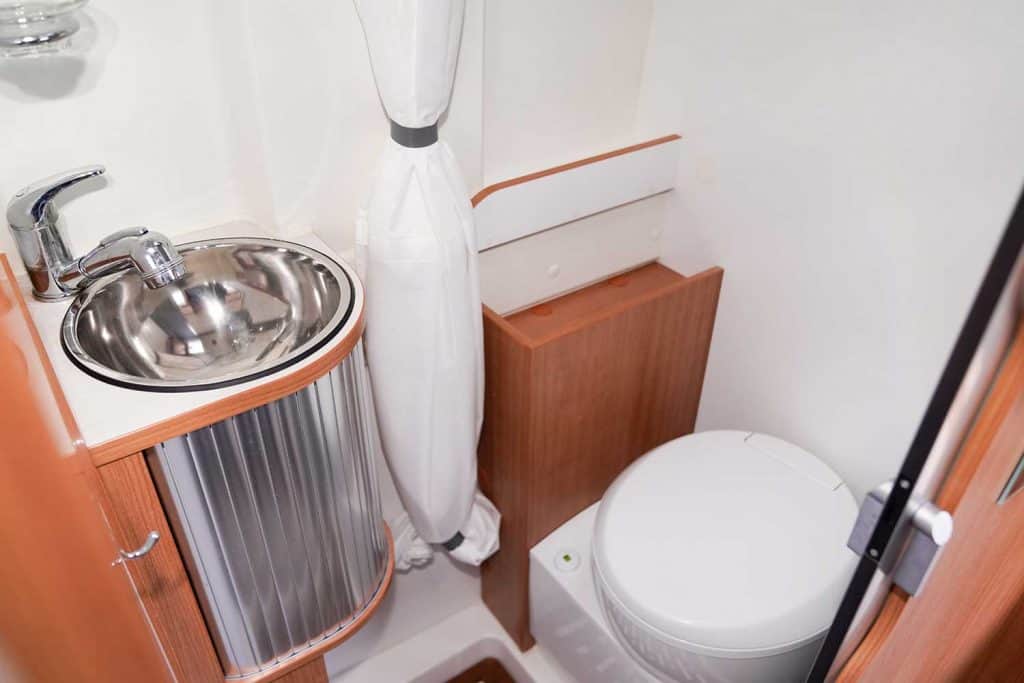
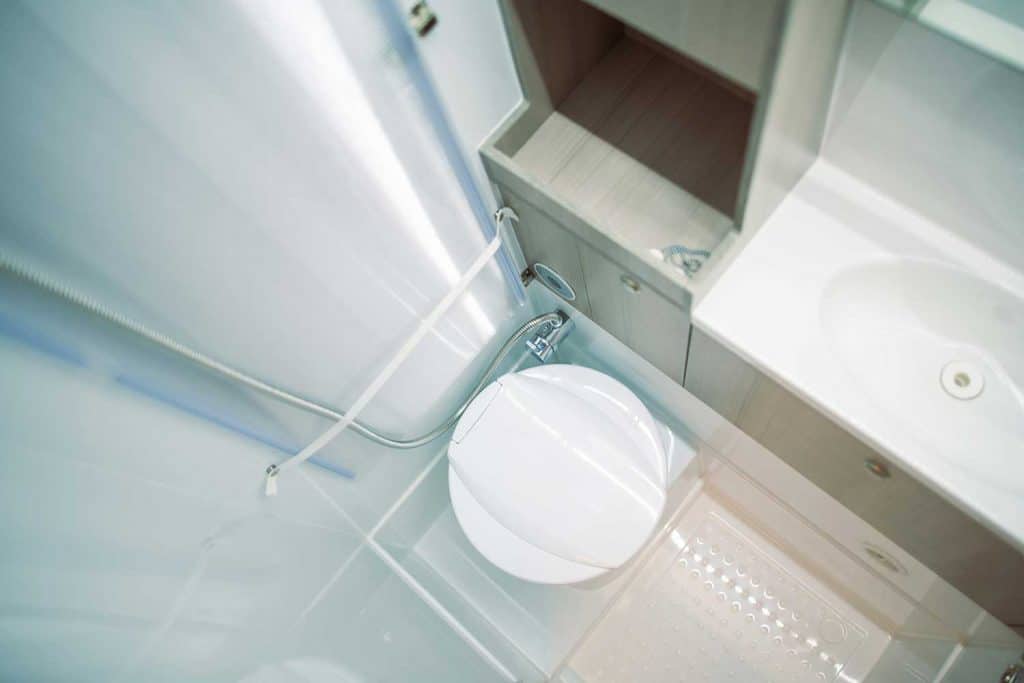
How does a foot flush RV toilet work?
Foot flush RV toilets use a pedal located on the floor of your toilet. You have two different options to activate this: Step down on the pedal with your foot or press a button near it to activate it. When doing so, water will go into the bowl and start to fill with water until there is enough weight in the bowl.
When there is enough weight in the bowl, this activates a switch that stops the water from filling up. Once you are done with your business, step down on the pedal again to flush out all the waste inside. Gravity will then flush the waste into a wastewater tank or black tank. After doing so, be sure to step back onto the pedal or press another button to stop more water from coming into the bowl.
How do you maintain an RV toilet?
If you own an RV, you should be well-versed in the proper way of maintaining one. Some of the items you need to be aware of include:
- Flush your RV toilet anywhere from two to five times to get rid of waste and anything else inside. This reduces staining in the bowl and prevents any blockages from forming.
- To keep the water in your tank fresh, add one gallon of water before you head off to bed so it can flush everything out.
- Clean your tank periodically by adding one-quarter of a cup of baking soda into the bowl and then filling the rest with water. Let it sit for 15 minutes before flushing. This will eliminate odors inside your bathroom, as well as any mold that may be growing near the walls.
- If you do not flush your RV toilet every time after using it, add a little more water into the tank to prevent waste from sticking to the sides.
- Don't let your RV get too dirty since you don't want any bacteria or germs hanging around. To do so, be sure to clean it every month with a mixture of water and one cup of bleach. This will help eliminate any harmful contaminants that may have gathered in the bathroom.
RV toilets make it easy to keep all of your waste materials inside without making a mess outside. However, these toilets do need to be maintained to last as long as possible. By simply following the steps outlined above, you can ensure that your RV toilet will work appropriately for many years before needing any replacement parts or repairs!

Why would my RV toilet not flush?
The most common reason why your RV toilet would not flush is a blockage of some kind. The blockage is usually related to a build-up of toilet paper or clogging in the filter. Since water must move back and forth to get rid of waste, any object inside the bowl can prevent it from doing so. Some of the most common objects found include:
- Waste materials such as tissue or feces
- Toilet paper that was not wholly flushed
- Objects that were wet and then dried (this can cause them to stick together)
You may also notice that your toilet has trouble flushing if the tank doesn't have enough water. If this occurs, add more water to ensure everything gets pushed around to get rid of waste. Flushing should work as intended if any of these issues happen to be the case.
The other reason why your RV toilet would not flush is if it leaks. If water is constantly leaking from inside the tank or somewhere else, you will need to replace parts as soon as possible so everything does not get too wet and damaged. If this has happened, you can replace the tank with a brand new one.
How long should you flush an RV toilet?
When you flush an RV toilet, you should let it flush for at least 10 seconds. This way, all of the waste gets out of the toilet bowl, draining correctly. If you do not do this, the water will be cloudy and thus could cause stains to form.
Once the stains begin to build up, you will need to clean your toilet even more. However, a simple 10-second flush is all you need to maintain your toilet and keep it clean.
How do you cure RV toilet smells?
To help eliminate any foul odors that may be inside your bathroom, add some water and bleach into the tank. Also, sprinkle a little baking soda into the bowl to absorb anything causing foul odors. Once you see how well both of these steps work, you will never complain about the smell inside your RV again.
What are the signs of a healthy RV toilet?
You can tell whether or not your RV toilet is working properly by a few different signs. Some of these include:
- The water inside the tank remains clean and clear.
- The water from the bowl drains out quickly and efficiently.
- No waste material is sitting in the bottom of the bowl to clog it up.
In other words, if your RV toilet is working correctly, you should not have to worry about any of the items mentioned above.
Another sign that your RV toilet is in working order is if it flushes immediately after using it. Since there are no moving parts involved, the only thing stopping water from flowing through the bowl and out of the tank is a lack of pressure. If you notice that your toilet takes a little while to begin flushing, there may be air trapped inside the bowl. Just push down on the handle (or pedal) several times until it begins working correctly.
In Closing
As you can see, there are many ways to maintain your RV toilet and keep it in top-notch condition. Nonetheless, things like the toilet foot pedal can break, and when they do, it is essential to get them fixed as soon as possible. If you feel overwhelmed by the issue, then contact a professional.
If you like this article, then you should also check out:
RV AC Fan Not Working – What To Do?