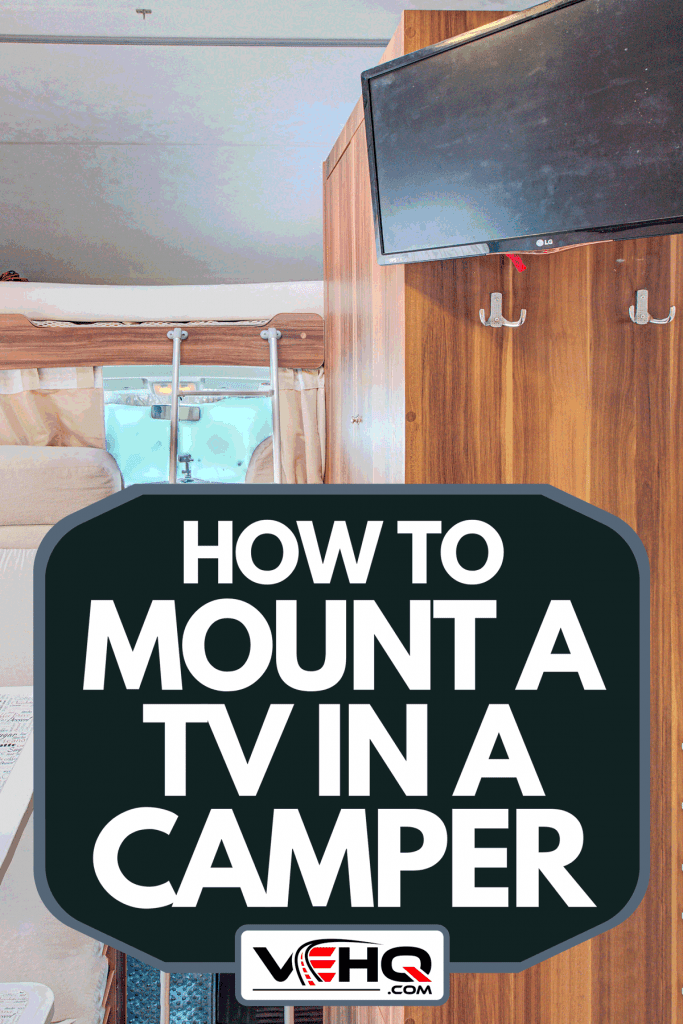
Mounting a TV in a camper can provide additional entertainment during outdoor trips. By now, you’re wondering about the steps to mount this electronic device in your RV. We researched for you and consulted with different members of the RV community to give you the following answer.
Despite the different types of TV mounts, they usually follow the same setup procedures. The general steps to mount a TV in a camper are:
1. Find wall studs using a stud finder and mark their locations. 2. Pre-drill holes in the wall. 3. Assemble your TV mount. Then, place and secure it on the wall. 4. Attach the TV to the mount.
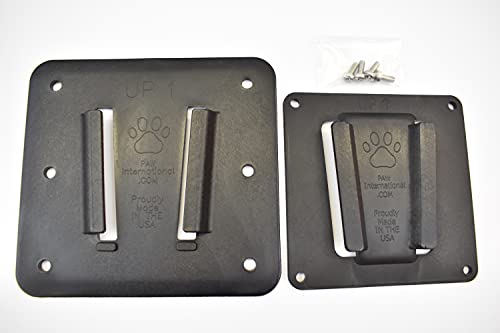
Keep in mind that different TV mounts usually have different instructions to put their pieces together. For example, a quick-release mount has a separate bracket that goes into the back of a TV. Keep reading to know more about how to install these mounts and set your TV in a camper.
How Do You Find A Stud In A Camper?
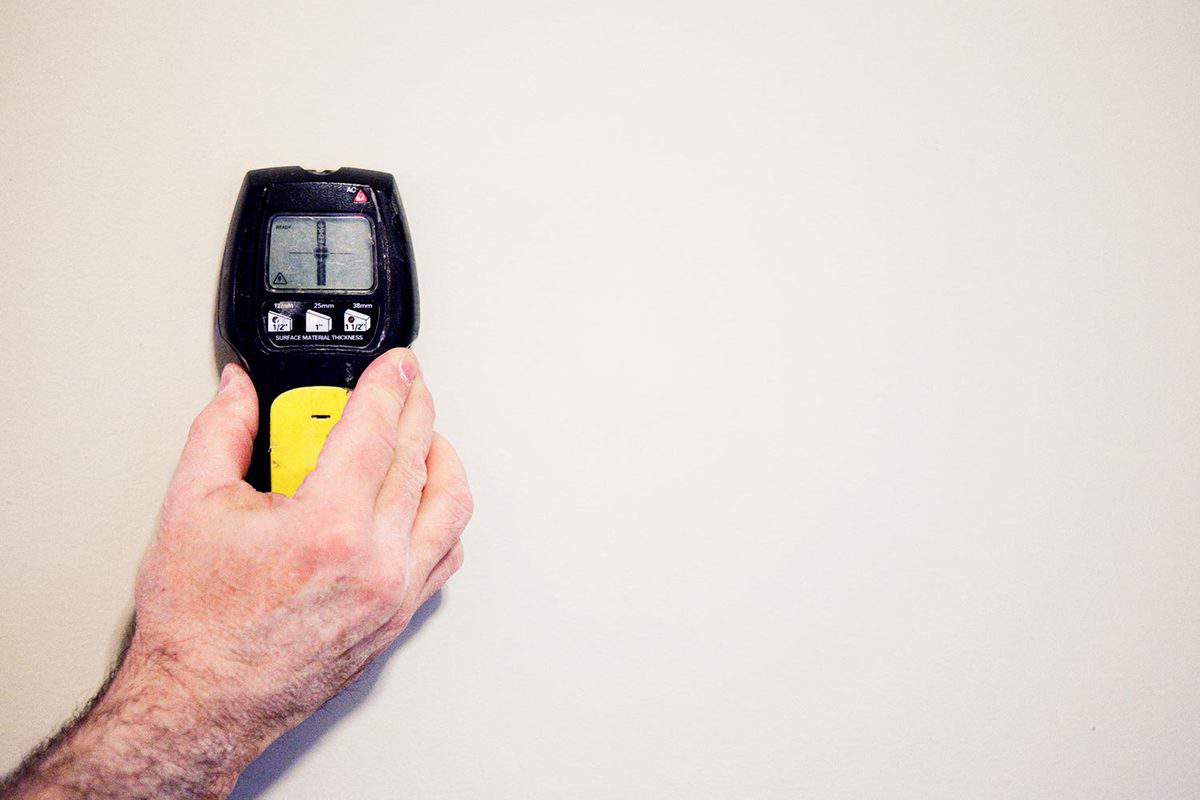
You can use a stud finder to search for a stud in a camper. This operation can also be the first step to mounting a TV in a motorhome. But take note that drilling through a wall stud can weaken its structural integrity, leading to increased risks of constructional hazards.

Check out this stud finder on Amazon.
With your stud finder nearby, start this operation by knocking on the wall of your mobile home where you want to drill or cut open. Stud locations will often have a thicker sound as compared to knocking on hollow surfaces.
Then, grab your stud finder and proceed with the next step:
- Move across the wall and pay attention to how your stud finder reacts.
- Mark the areas with a marker or pencil where the stud finder’s LED stays stable. Some stud finders may also beep or show a notification on a built-in screen.
- Drill or cut between the marked areas to ensure not to hit the studs.
You can also watch the video below to see how to do those steps:
What Size Screws To Mount TV In A Camper?
Members of the RV community suggest using screws that coincide with the thickness of the vehicle's walls. Still, 1-1/2- to 1-3/4-inch screws should suffice. Also, some TV brackets and mounting kits come with the correct screws.

Check out this quick-release TV mount kit on Amazon.
If you need additional screws, you can remove one of the screws in the camper’s wall to examine it. Make sure that the screw you remove won’t weaken nearby fixtures or structures. Return the screw to its original location after identifying its size.

Check out this set of 1-1/2-inch Philips head screws on Amazon.
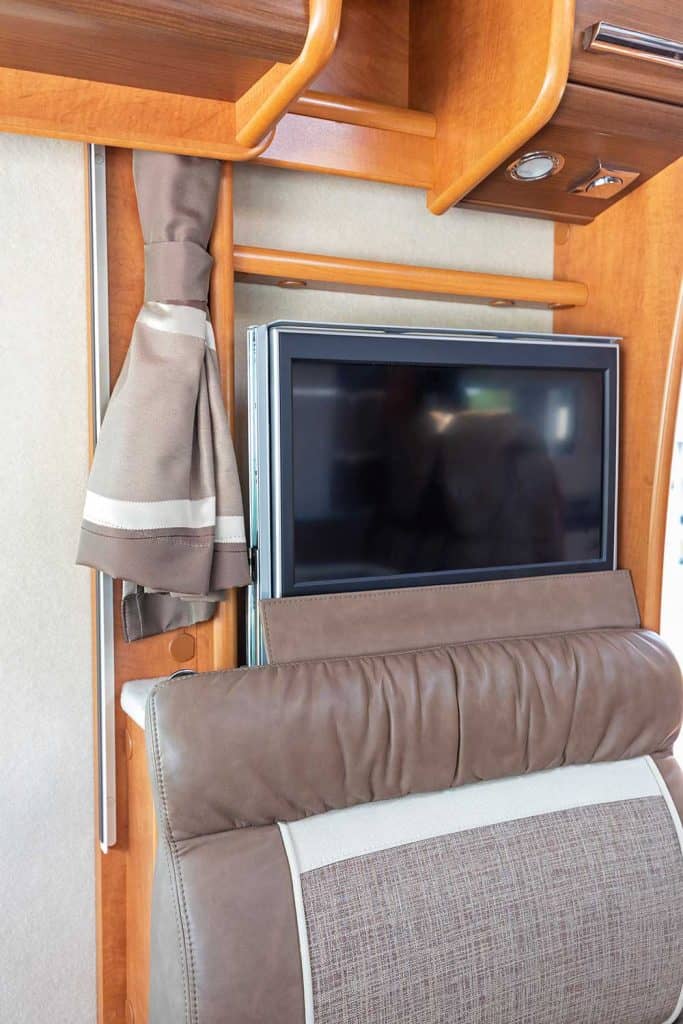
How Do You Mount A TV In An RV Bedroom?
Before proceeding with any TV mounting job in an RV or camper, make sure you know the location of the wall studs. Then, pre-drill the holes in your RV bedroom’s wall with the help of the mounting bracket.
You can also assemble the mount on a flat surface like a table before putting it on the wall. It’s easier that way since you won’t have to worry about gravity making the job more challenging than intended.
Keep in mind that different mounting types usually have dissimilar assembly instructions. Consult your owner’s manual to help guide you with the specific steps on how to construct the mount you bought. Once the initial setup is complete, you can proceed with the next step:
- Install and secure the mount onto the pre-drilled holes.
- If you have a quick-release mount, install the quick-release bracket to the back of the TV. Otherwise, have an assistant to hold the TV while you screw the bracket to its back.
- Plug the TV into a nearby socket and check if it's functioning well.
Watch the video below to learn more about the details of installing a quick-release mount to a camper's bedroom wall.
You can also read our guide on how to remove a TV from an RV. The post will help you take the TV away from its mount for reasons like changing the electronic device’s location.
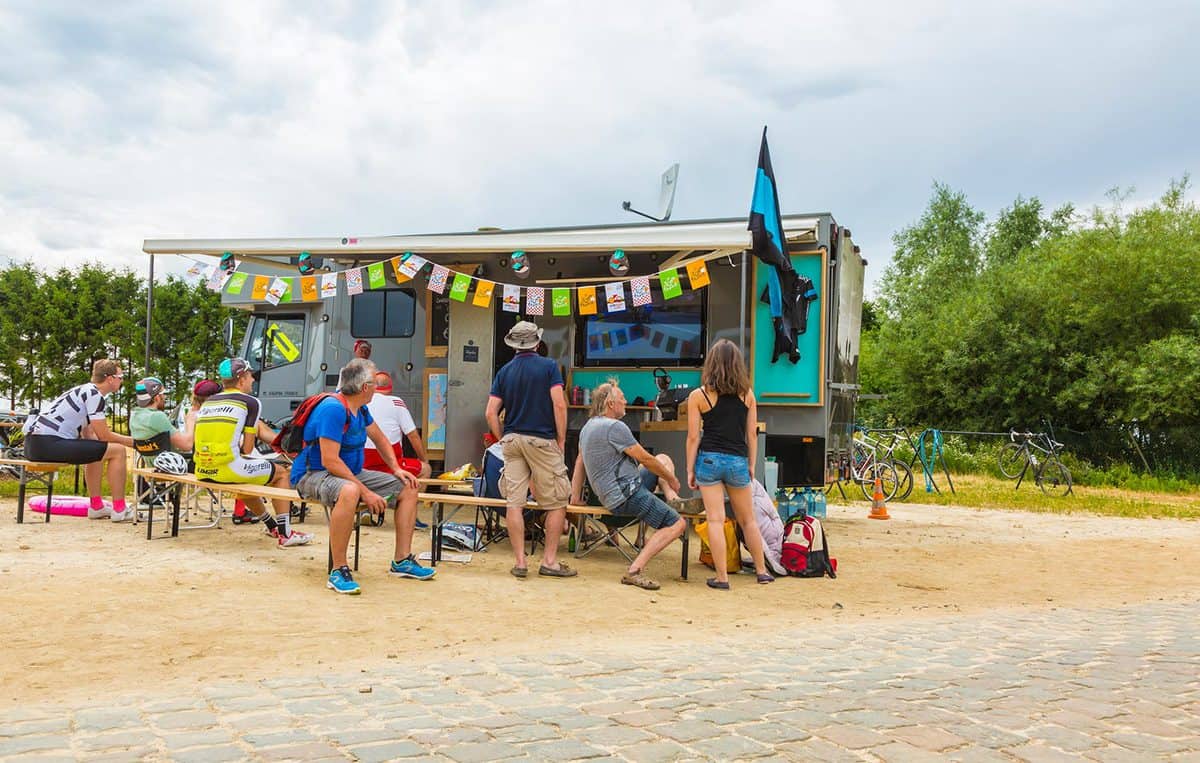
How To Mount TV On The Outside Of A Camper?
The first step to this project is to search for the exterior TV mounting bracket on your RV. Check your vehicle’s owner’s guide if your camper has this feature. If not, you may need to purchase a bracket for your outside TV.
Check out this RV TV bracket on Amazon.
Additionally, take note of the bracket's material that's outside of the camper. It's because steel brackets aren't compatible with polymer mounts and the other way around. Use a magnet to test the bracket's material. If it's steel, it should stick onto the magnet.
You can proceed with the next step after completing the precautionary measures for this task:
- Lay the TV on a clean and flat surface with the screen facing down.
- Set the bracket over the mounting holes at the back of the TV.
- Attach a washer to a 3-inch screw. Then, install a spacer to the screw.
- Repeat step 3 for the rest of the screw holes on the bracket.
- Tighten the screws but avoid overtightening to prevent threading.
- Mount the TV by sliding the bracket onto the appropriate slot on your RV’s exterior wall.
Watch the video below to learn more details about this operation:
If the outside TV doesn’t work after following proper installation guidelines, the vehicle’s inverter may have issues. Read our post on what to do if the RV inverter isn’t working to help you solve this matter.
How To Secure TV In RV While Traveling?
Securing an RV TV while driving can be dangerous when you’re using power tools. Therefore, securing the electronic device by using drills and screws isn’t advisable.
Some members of the camper community advise installing the TV to the RV by using Velcro hooks and loop tape. Also, have another person handle this task, particularly when you’re in charge of driving the vehicle to avoid accidents.

Check out this adhesive hook tape on Amazon.
What Are Camper Walls Made Of?
Camper manufacturers generally use three fairly common materials for their vehicles’ walls. These things are:
Plywood
Plywood is a highly recognized engineered timber with multiple purposes. Made from creating several layers or plies of wooden laminate, this type of wood helps create structures, such as roof sheathing and exterior camper walls.
This timber can also provide some insulation to RV interiors. However, it’s also susceptible to water damage, especially if you fail to give it the proper protection.
Medium Density Fiberboard (MDF)
MDF usually has a flat and smooth surface, which makes it ideal for painting. It is a manufactured product made from composite wood combined with resin and wax. The result is a material that can be a good choice for painted camper walls.
This material is also fairly inexpensive, allowing rig manufacturers to minimize production costs. On the other hand, it’s not the most durable material to use for camper walls. RV owners should take note of this fragility so they can pay extra attention while caring for their MDF walls.
Vinyl
Vinyl is a material with many uses, which include (but aren't limited to) flooring, gloves, and records. This synthetic material comes from the combination of ethylene and chlorine. The outcome is a type of plastic with humidity- and moisture-resistant properties.
This material is quite rugged, despite its think-like construction. However, camper owners should take heed while caring for their vinyl walls. If left unchecked, the material can weaken and split, particularly after it passes a certain age.
Final Words
Before installing a TV mount in or outside your camper, make sure to check the locations of the wall studs. The mount should be in between the studs to prevent structural damage. If done correctly, the mount and TV should be stable.