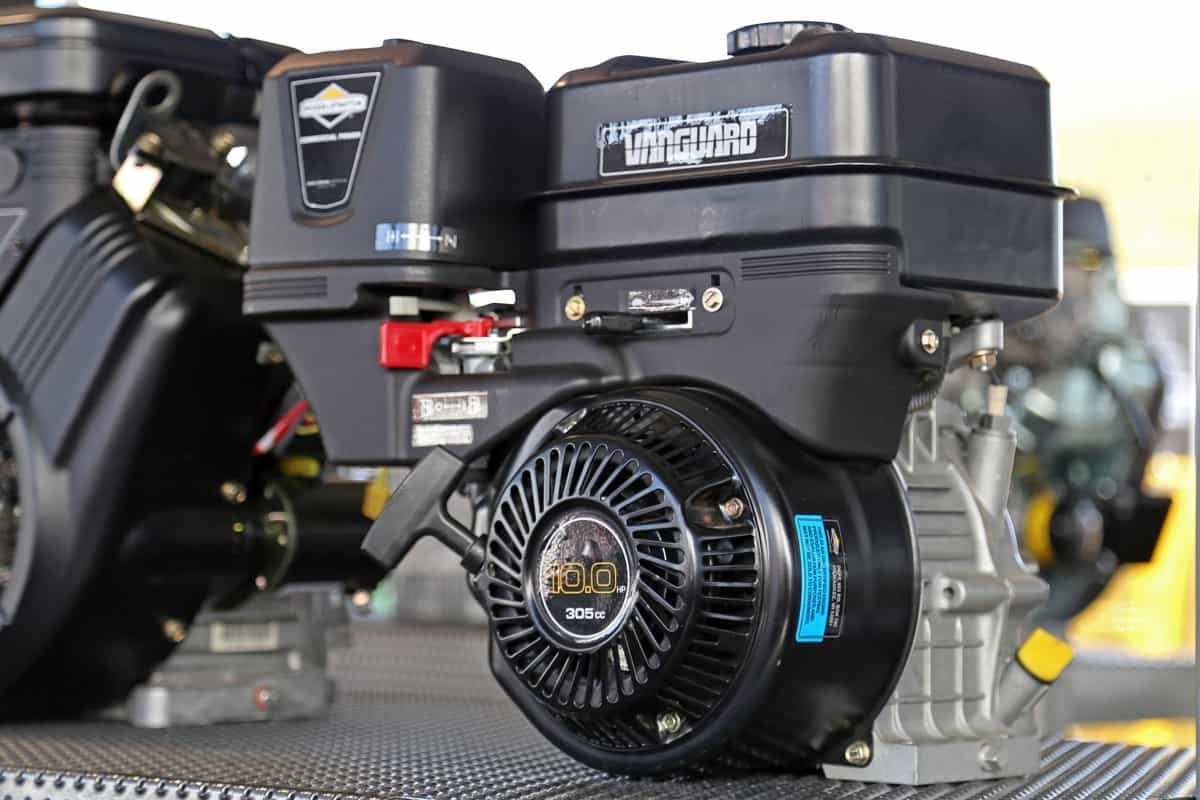
If you have problems with your Briggs & Stratton engine, it may be because of poorly adjusted valves. Although the adjustment process of different models may vary, here are some general steps you can follow based on what we've researched.
Here is a brief guide on how to adjust the valve clearance of your Briggs & Stratton engine:
- Pull out the spark plug.
- Remove the valve cover.
- Measure the valve clearance.
- Adjust the valves to their correct clearance.
- Place back the covers and tighten down the locking nut.
- Return all removed parts to their proper places and clean up.
In the following sections, we'll elaborate on each step mentioned above. We'll also discuss maintenance procedures to check and maintain your Briggs & Stratton engine valves and share the proper clearance for some Briggs & Stratton engine models.
How to adjust the valve clearance of your Briggs & Stratton engine?
Here is a more detailed guide on how to adjust the clearance of your Briggs and Stratton engine.
1. Pull Out The Spark Plug
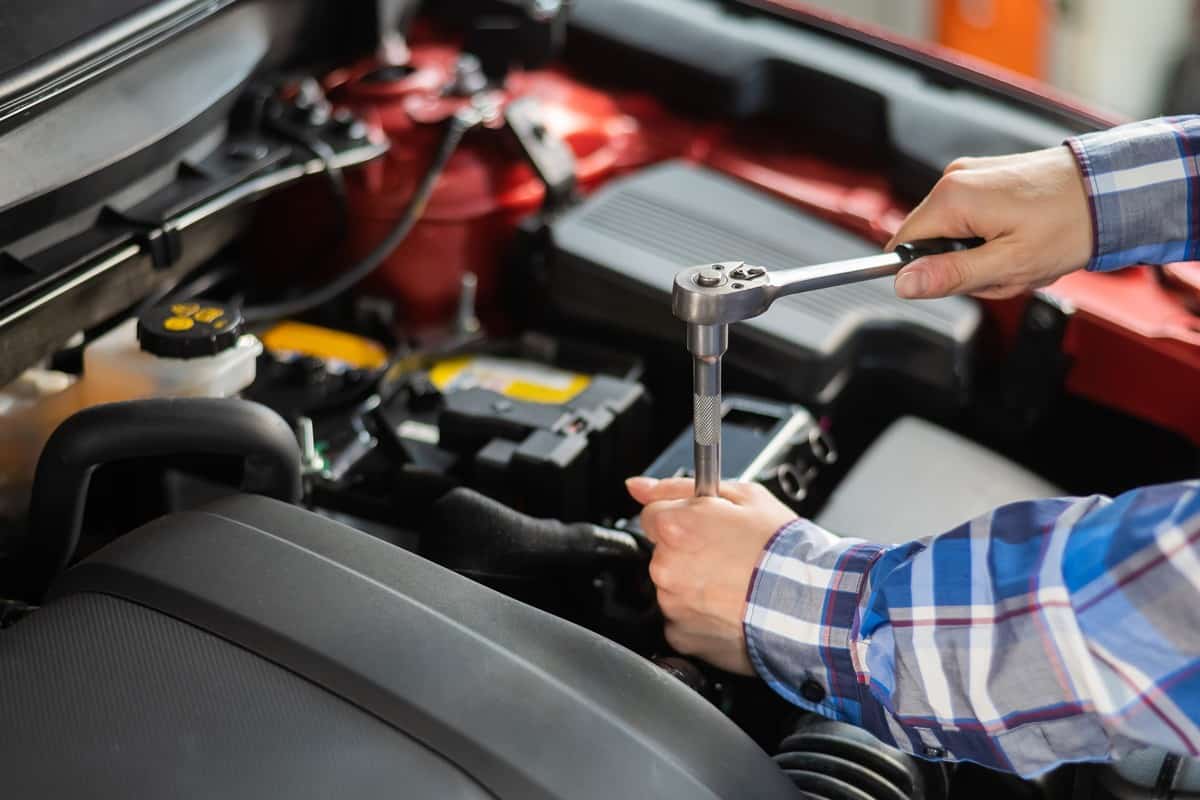
Take it out using a socket wrench. Unscrew it from the engine cylinder to remove it after you've removed the rubber boot holding it together with the magneto.

Click here for this product on Amazon!
While removing the spark plug isn't necessary, it makes it a little easier to maneuver the engine to each adjustment point if the plug isn't there since there will be no compression to resist the movement.
2. Remove The Valve Cover
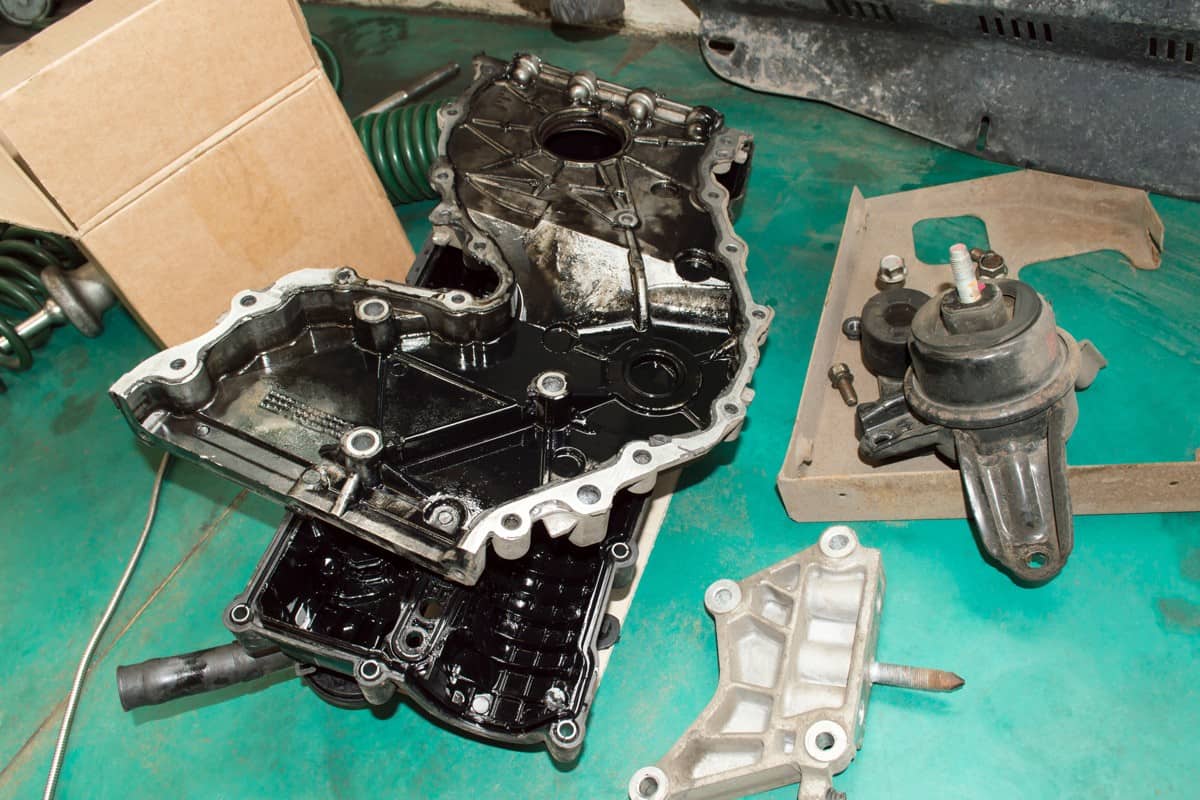
Unfasten the screws supporting the plastic cover atop your engine. Avoid kinking or breaking the fuel lines when you raise and turn the cowling to the side.
To access the valve chamber, unscrew the cylinder head bolts and a few more bolts from the engine parts. Since they could be different lengths, label the bolts if you think they will help with reinstallation later. After detaching the rock-cover screws and removing the cover, you can see the valves.
Click here for this removable label on Amazon!
3. Measure The Valve Clearance
Now that the valves are visible, you must check the valve clearance first. You can start by unwinding the brake spring. Crank the flywheel so the valves will shut off.
Touch the engine's piston with a screwdriver pushed through the spark plug hole. Use it to measure how far the piston can slide down before stopping the flywheel's clockwise rotation past the TDC when the piston has descended 0.25 inches.
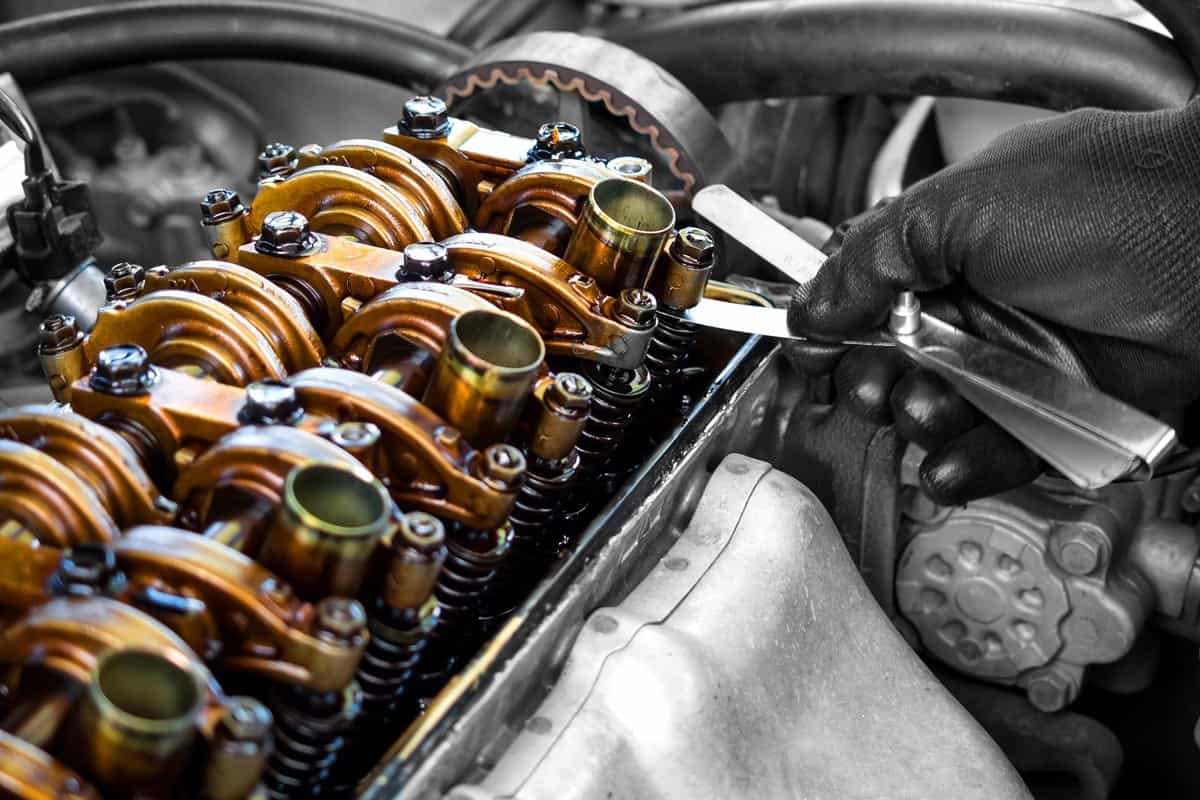
Then, measure the valve clearance by sandwiching a feeler gauge between the valve cap and the adjustment screw of the lever arm. Check the clearance; the operator manuals for specific engine models offer information on valve clearances.

Click here for this feeler gauge set on Amazon!
4. Adjust The Valves To Their Correct Clearance
If there is not enough room, remove the valve and square off the end of the valve stem using a grinder or file. It is simple to remove too much metal, so check the length periodically. After adjusting the valve to its proper clearance, tighten the adjustment screw and lock it in place.
5. Return All Removed Parts To Their Proper Places And Clean Up
It's time to replace the parts you've removed from the previous steps. Make sure that you've returned them to their proper places. Attach the valve cover to the cylinder head after positioning it there. Install any parts removed to get to the cylinder head.
After each valve component has been cleaned thoroughly, use valve guide lubricant to lubricate the valve stems and guides. Then, check to see if the valve stems don't have lubrication on their ends.
You can watch the whole adjustment process in the video below:
How Do You Know Your Engine Valves Need An Adjustment?
There are several signs that your valves need adjusting. One sign is your engine losing power. This is because a misfire may be brought on by valves that need adjustment. And when this happens, the power generated may not be enough.
You'll also know you need to adjust your valve clearance when you hear loud tapping or clicking sound when starting your engine. Another sign is the hard starting of your engine. When this happens, a valve adjustment may be needed.
Another indication is a difficult idling time, especially when the engine is still cold. The fuel is clogged, resulting in rough idling due to the valves opening late.
What Happens When You Continue Using Your Engine Without Adjusting The Clearance?
Aside from the abovementioned issues, the most detrimental effect of incorrect valve clearance is the damage to the valves and other associated parts.
If there is too much room, the valves may clang and eventually harm the rocker arms, camshaft lobes, or valves. On the other hand, insufficient valve clearance will result in incomplete valve closure, generating too much heat and reducing engine output.
Can You Do The Valve Clearance Adjustment Yourself?
Although it can be a DIY task, it is not advisable to do so. This is because valve adjustments are simply one of several things. It covers tasks like these that a skilled individual should efficiently complete.
If you decide to take on the duty, you must have the necessary experience to handle the challenges the position presents.
The Importance Of Valve Clearance Adjustment In Your Engine
Valve clearance is crucial, especially when it comes to emissions and performance. With this adjustment, it will be possible to ensure that the valves operate following the piston's location in the cylinder and at the proper times.
This promotes engine performance optimization and delays the premature wear and tear of the valves and other engine parts. Additionally, it may allow combustion events to backfire into the intake, which is exceedingly dangerous and destructive.
Valve clearance that is insufficient or inadequate is far worse. This can cause the valve to remain slightly open for an extended period. This is extremely risky since the heat from the explosions leaked out through this slit, scorching the valve and head far more than they should.
At some point, a crust will form, your valve won't close properly, and things will worsen. Eventually, the valve will melt, fail, strike the cylinder, and be knocked around, and you'll lose the piston.
How Often Should You Check Your Engine's Valve Clearance?

Checking the valve clearance frequency depends on the age, make, and model. To determine precisely when your engine's valves need to be inspected by a mechanic, consult your owner's handbook.
Some makers advise performing a valve check every 60,000 miles, while others advise doing so every 100,000. A qualified mechanic can evaluate your vehicle to see whether the engine's valves need to be adjusted. However, some manufacturers don't mention valve clearance checking in their manuals.
How Much Does It Cost To Have Your Valve Clearance Adjusted?
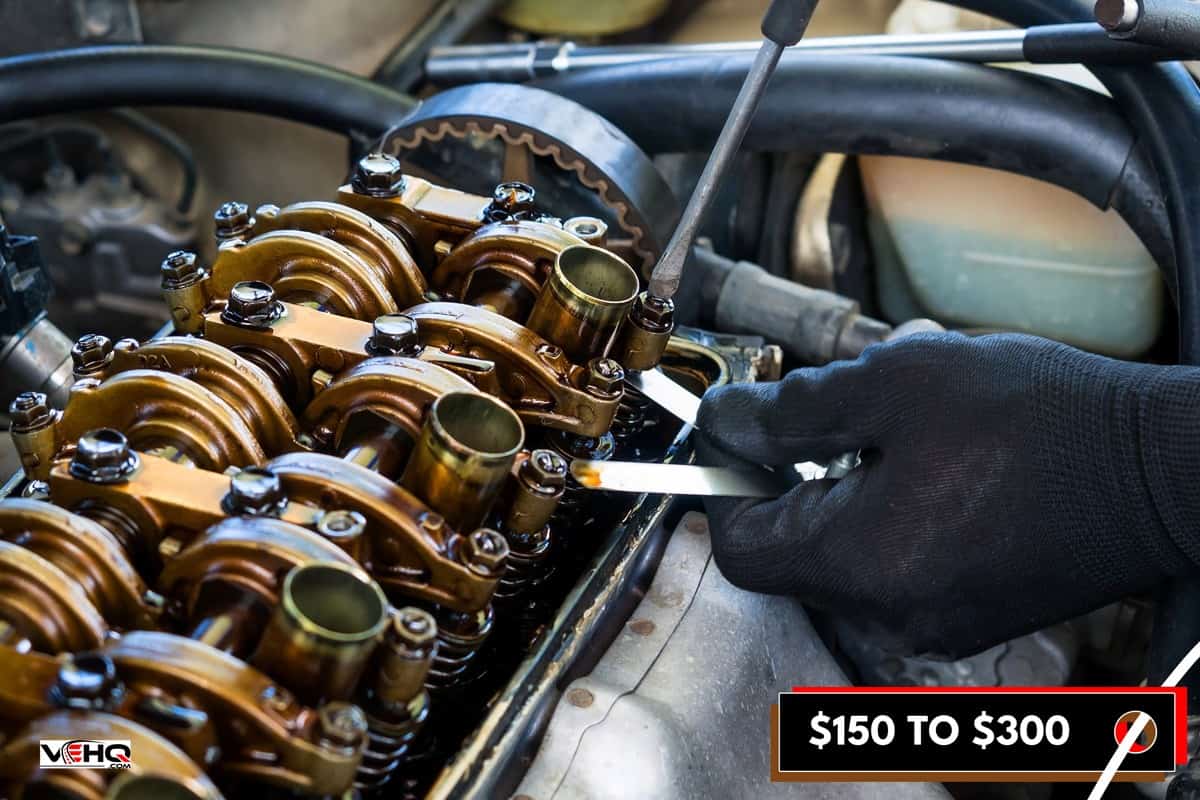
Some repair shops charge $150 to $300 to adjust your valve clearance. However, some might cost between $246 and $336 on average. The price varies depending on your vehicle's make and model, the number of cylinders required, the parts' manufacturer, and many other considerations.
Tips To Maintain Your Briggs & Stratton Engine
1. Regularly Schedule An Engine Check
If you maintain your engine regularly, you can avoid many issues and save costs on components and repairs. For specific instructions for your make and model, always make sure to reference your operator's manual. Heavy use and unclean or dusty environments more frequently call for service.
2. Don't Use Stale Fuel
An engine needs clean, fresh fuel to start promptly and run well. After 30 days, gasoline starts to degrade, which can negatively impact starting and engine performance.
3. Regularly Change The Oil
Ensure to follow the manufacturer's instructions while regularly changing the oil in your machine. By doing this, you'll be able to keep your engine clear of dirt and other particles that could collect on the valves and hasten their premature wear.
4. Have Your Valves Checked Regularly
Have a trained mechanic frequently check the valves in your engine. This will assist in identifying any issues before they seriously harm your engine. Always maintain the manufacturer's recommended engine valve adjustment.
Final Thoughts
Adjusting the valve clearance of your Briggs and Stratton engine requires you to remove your spark plug and valve cover. After that, you should measure the valve clearance and adjust the valves to their correct clearance.
Don't let your engine run with poorly adjusted valves because the extent of the damage it might cause will cost you more money. Finally, let an experienced mechanic handle the adjustment to ensure the quality of the job.
You can check out this related article about Briggs & Stratton engines if you enjoyed this post
What Year Is My Briggs And Stratton Engine?