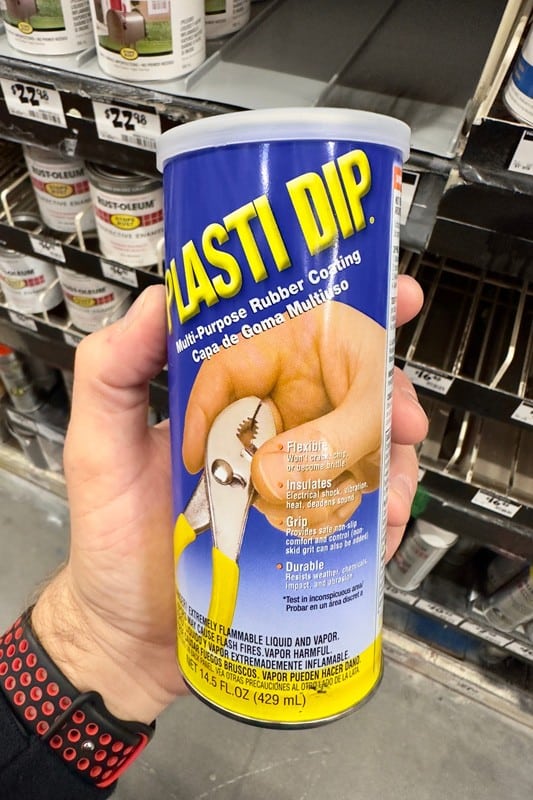
Plasti Dip has been a big hit since it came out. For car owners, Plasti Dip is primarily used on the rims or hood of their vehicles. This provides extra protection on the paint but primarily allows owners to customize their cars to their liking. So, exactly how much Plasti Dip do you need? We looked it up, and this is what we found out.
It all depends on what rim size your car is sporting. You'll need about three cans for 12-15" rims, four for 16-18" rims, and five for 19-22" rims. If you're going to Plasti Dip your hood, you will need about eight cans to cover the hood with multiple coating. This amount of Plasti Dip should be enough for any vehicle.
Plasti Dip is a great way to customize your car. It is comparatively cheaper than a full-on paint job and has its own benefits. If you want to learn more about the benefits of Plasti Dip and the car dipping scene, continue reading the rest of the article.
How To Plasti Dip Rims
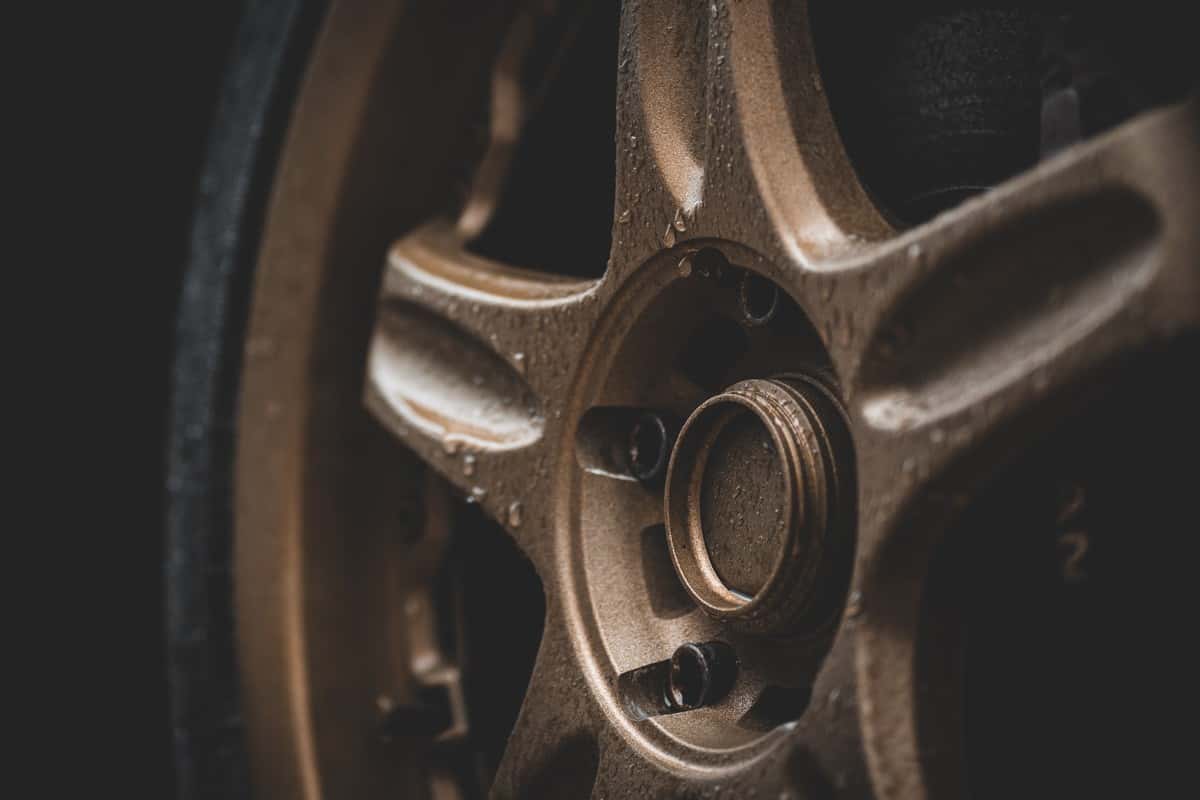
Rims are susceptible to chipping and scratches. Plasti dipping your rims can add another layer of protection to them. Depending on the color, it adds swagger and oftentimes, a colorful look.
Here are the steps on how to apply Plasti Drip correctly on your rims.
First Step: Remove The Wheels
Remove the wheels of your car to protect other parts from overspray. You don't want the edges of your fenders to have traces of Plasti Dip, as this could look messy. This step will also make the other steps easier and faster, so the process will take less time to accomplish compared to not removing the wheels.
Second Step: Clean
Clean the rims thoroughly. When we say thoroughly, we mean everything. Even the backs of the spokes need to be cleaned. This is to ensure that the Plasti Dip won't be in contact with any dirt or debris that could potentially complicate the application process.
Third Step: Prepare The Rims For Spraying
After cleaning and drying the rims, the next step is preparing for the spraying. Spraying Plasti Dip can lead to over spraying. To avoid overspray on the rubber, slip playing cards or use painter's tape between the rim and the rubber. You can also cut a large piece of cardboard box underneath the tire to protect your pavement from overspray.
Fourth Step: Apply Plasti Dip
Before you spray your first coat of Plasti Dip, submerge the cans in a bucket of warm water for at least 10 minutes. This will help soften the mixture inside the can and provide an even spray. Submerging the can in hot water will also ensure that every last ounce of Plasti Dip will be extracted.
The first coat should be light, ensuring every nook and cranny will be covered with the product. About 50-60 percent should be covered during the first coat, especially the hard-to-reach areas.
The second coat needs to be thick and wet. Cover the entire surface of the rim generously. If there are any drips, dab them off gently with a clean rag. The next two to three coats should be similar to the second coat. Keep it thick and even to ensure the best results.
Take note that the thicker the Plasti Dip, the easier it is to take off. So, don't be afraid to smother the entire surface of the rims. Allow at least 20 minutes of drying before each coat to achieve the best results. The number of coats will depend on your needs, but four to five coats is the recommended number.
Fifth Step: Remove The Excess
Once you've sprayed all four rims with about four to five coats of Plasti Dip, it's time to remove the overspray. Firstly, use a razor to score the overspray to avoid peeling off the actual Plasti Dip on the rim. Secondly, remove the painter's tape or playing cards used to protect the rubber.

Check out this REXBETI Utility Knife on Amazon.
Lastly, put the wheel back on the car and allow the product to dry completely for at least 24 hours before subjecting it to any driving.
How To Plasti Dip Hood
Plasti dipping your car's hood takes more patience compared to plasti dipping the rims. Even though there is only one panel to spray over, it takes more time to finish it and patience to keep an even spray throughout.
Here are the steps to follow to get your car's hood plasti dipped.
First Step: Cleaning The Hood
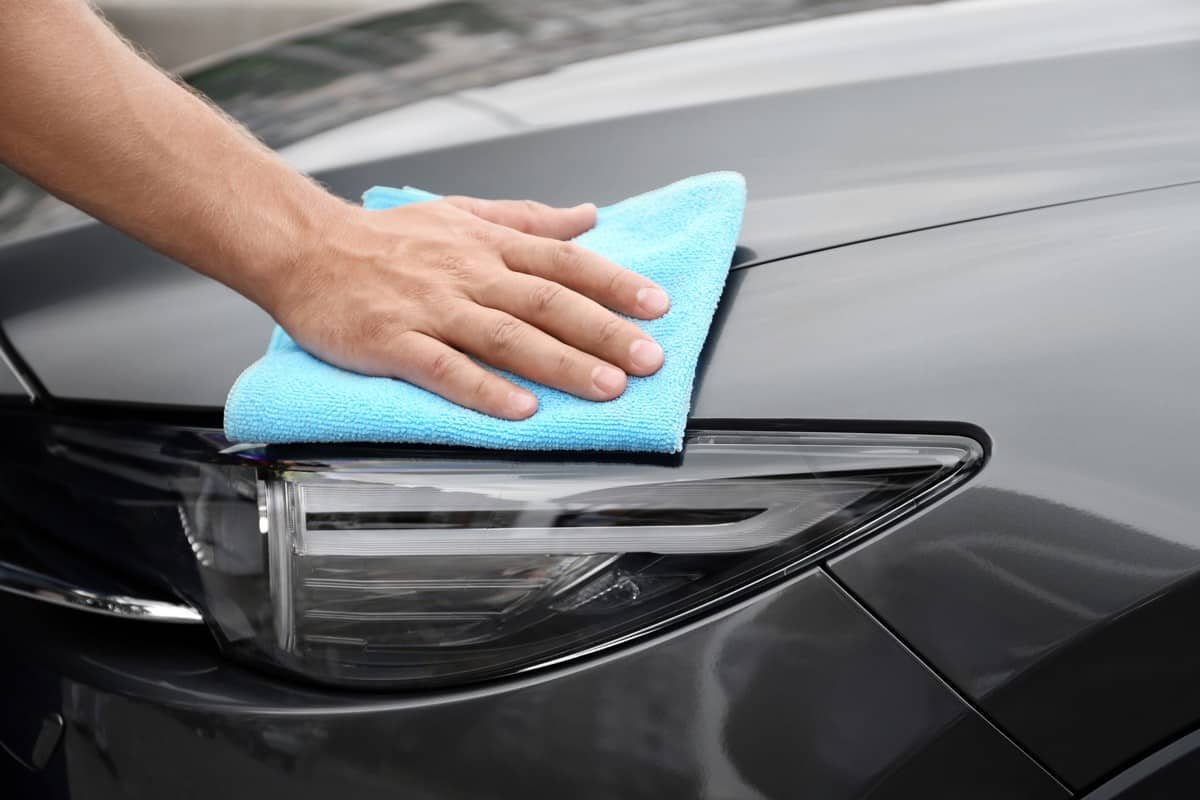
Like with the rims, you have to ensure the entire surface of the hood is free from any debris that could prevent Plasti Dip from sticking to your car. Clean it with soap and dry it thoroughly with a microfiber cloth.
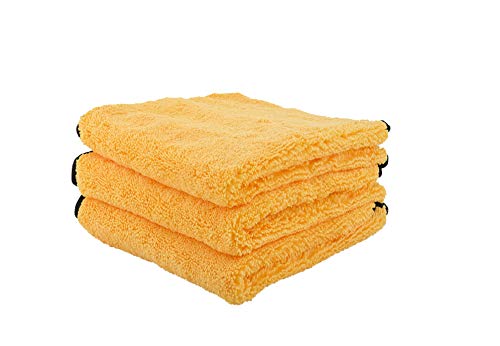
Click here to check out Chemical Guys' Premium Microfiber Towel on Amazon.
Second Step: Prepare The Hood For Spraying

You will need plastic bags and painter's tape for this process. First, pop open the hood and insert the plastic bags on the corners, ensuring they cover the fenders and the bumper from overspray.
Secondly, use painter's tape to keep the plastic in its proper place and prevent them from slipping. You can also use painter's tape to cover off some small areas that need to be covered during the spraying process.

Check out this ScotchBlue Multi-Surface Painter's Tape on Amazon.
Close the hood to cover the engine bay from any overspray.
Third Step: Spray The Hood
After submerging the Plasti Dip cans in a warm water bucket, apply the product's first coat. Ensure not to hold the can completely horizontally while spraying, as this can clog up the nozzle.
Keep the first coat as light as possible. Other users recommend not going back to spots that look like it is too light. Instead, cover them with your next coat. It would also help to spray from side to side instead of front to back for a better finish.
After the two light coats, apply thick and heavy coats at least seven times to achieve a uniform look. Keep in mind the minimum of 20 minutes of drying time for each coat to avoid bubbles and pooling.
Fourth Step: Remove Excess Plasti Dip And Let Dry
To remove the excess Plasti Dip, run a razor along the edges and peel off gently. It might take a few attempts to remove the excess cleanly. Remember to give it at least an hour of drying time before removing the excess to ensure the product has settled into the hood. After removing the excess, let the product cure for at least 24 hours before removing the plastic bags and using the car for driving.
How Long Does Plasti Dip Last?

Plasti Dip, if properly applied, could last for as long as three years. You won't need to retouch during this time period, given the application was executed correctly.
The amount of coats also helps in determining the longevity of the product. If the Plasti Dip was applied too thin, the bonds wouldn't be too strong enough to keep it sticking for a long period. This could lead to premature peel-offs.
Plasti Dip is known to be extremely resistant to extreme elements like winter and summer seasons. The manufacturer states that the Plasti Dip can be used in temperatures ranging from -30 to 200 degrees Fahrenheit, assuming it was applied properly.
Pros And Cons Plasti Dip
In most cases, dipping your car is a cheaper alternative to either wrapping or a complete paint job. But the benefits of Plasti Dip don't just start and end with its price. Let's take a closer look at what are the pros and cons of Plasti Dip.
Pros
- Plasti dipping is an inexpensive method to change the color of your car.
- It also protects the original paint from rock chips and scratches your car encounters daily.
- The application process is extremely straightforward and does not require prior training.
- When applied correctly, it could also last for at least three years until a retouch is needed.
- The chemical makeup of Plasti Dip makes it resistant to extreme weather, be it cold or hot conditions.
- The removal process can be done in a day, saving you time and money.
Cons
- If applied incorrectly, the finished product will not have a smooth and even finish.
- There is a possibility of original paint damage during the removal process of the Plasti Dip.
- Be careful of gasoline contact as it can damage the structure of the Plasti Dip and cause it to peel sooner.
On A Final Note
Plasti Dip is an inexpensive way to customize your car. You can dip out every part of your vehicle to your liking. However, much like with every DIY-related product, the result will vary depending on your skill level. Before committing to plasti dipping your car, get all the facts straight to avoid any regrets. Drive safe!
If you found this post insightful, be sure to check out other car DIY-related posts on the site:
How To Make Snow Foam Car Wash DIY [Step By Step With Ingredient List]
How To Cover Car Windows For Privacy Or Sleeping – DIY
How To Get A Dent Out Of A Truck – 6 DIY Methods for Truck Body and Bed!