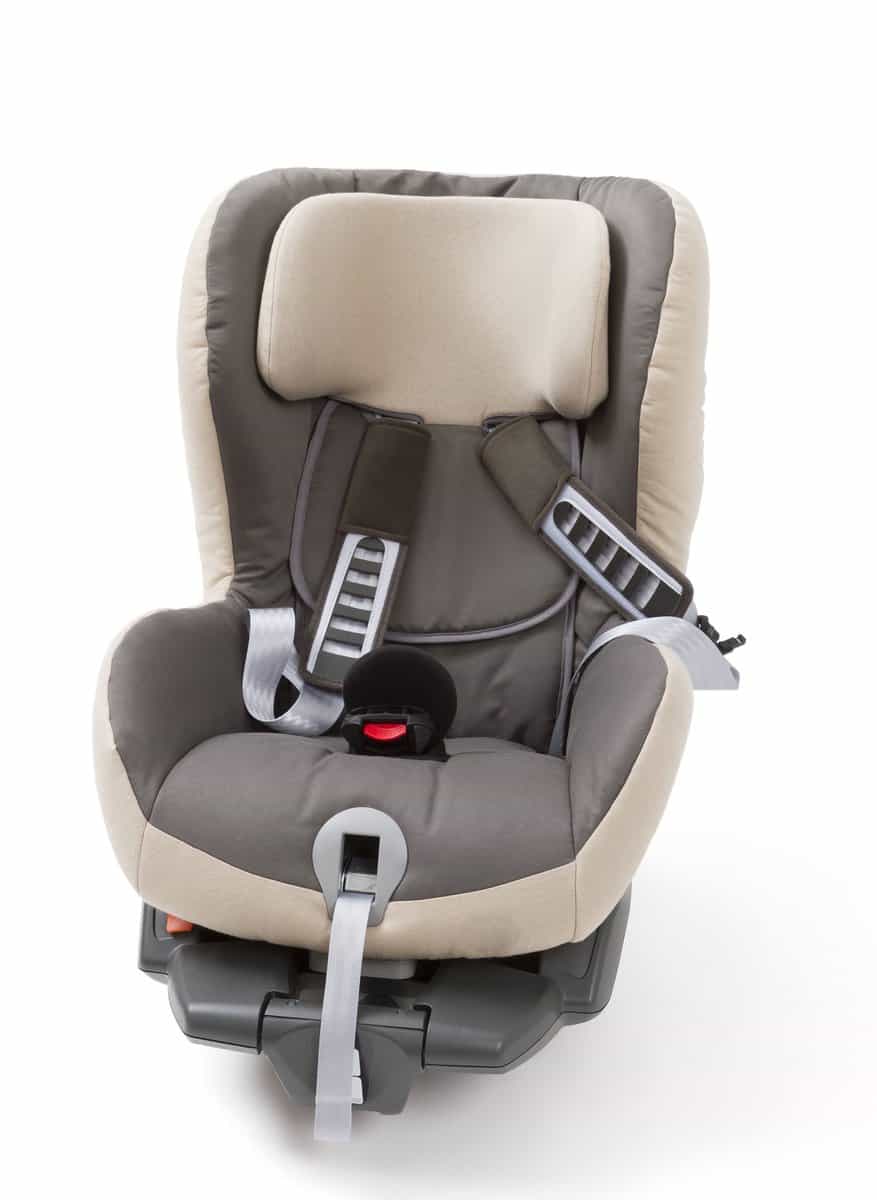
Did you just finish washing your child's Graco car seat and want to know how to put it all back together? You’ve come to the right place, for we have researched this question, and we have the answer for you.
Here is a summary of the steps that you can follow to put together your child’s Graco car seat.
- Insert the shoulder straps through the back padding and into the holes in the back of the car seat.
- Secure the shoulder straps to the tightening straps at the back of the car seat.
- Secure the back padding to the frame.
- Place the bottom padding back on the frame.
- Secure the bottom padding by hooking the rubber straps into place.
- Install the headrest cover.
- Secure the headrest cover by hooking the rubber straps into place.
- Reposition the shoulder straps over the headrest cover.
- Install the secondary seat padding if you have an infant kid.
- Secure by hooking the rubber straps into place.
- Install the two shoulder strap paddings.
- Install the buckle strap padding near the lock area.
Learn about the complete steps to put the Graco car seat back together in the succeeding sections.
Read on!
Legislation On Child Seats
Car seat laws in the US can be different from one state to another, and these laws get amended from time to time. Thus, car seat laws in your state could be different now from when you had your last child.
It is always a good idea to check the local laws on child seats as part of your trip planning.
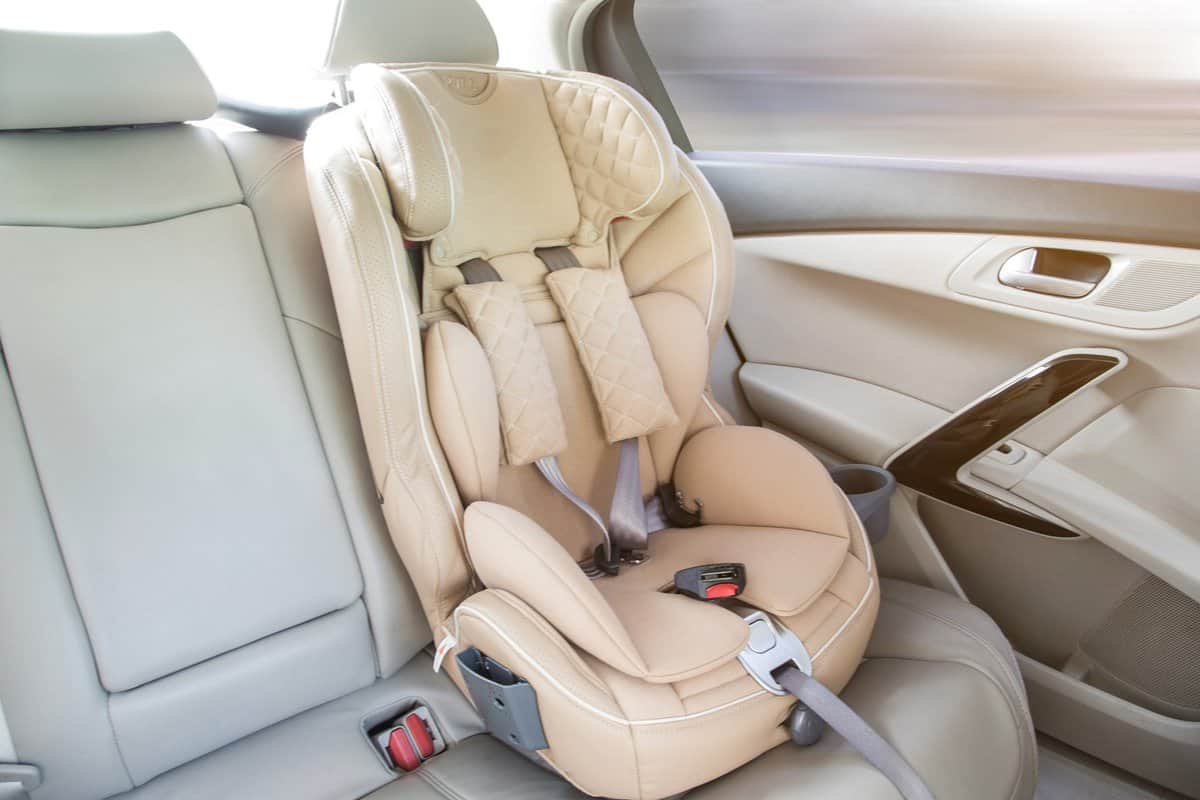
Whatever the specifics of seat laws in your area, your child will be using child seats for several years. Thus, keeping the seats clean will be a regular chore. Putting them back together afterwards will be a common hurdle. The guides below should help make it easier for you.
How to put a Graco 4Ever seat back together after washing?
Before following the steps below, check the user manual for the care and cleaning guide. This is to make sure that you have everything washed and cleaned properly before you reassemble the seat.
Putting The Side Support Covers Together
- Start with the side covers. Place them over the seat’s headrest from the back.
- Once you have them in position, insert the side covers into the sides of the frame.
- Lower the headrest to its lowest position.
- Insert the upper elastic strap of the side covers into the hole in the frame and secure them on the hooks at the back of the seat.
Replacing The Seat Pad
- Place the seat pad over the seating area.
- Insert the center front adjustment strap through the hole of the seat pad.
- The seat pad has holes for the cupholders. Insert the cupholders into the holes of the seat pad.
- Stretch the seat pad into position after you insert the cupholders.
- Insert the crotch buckle into the appropriate slot in the seat pad. This depends on the weight and age of your child. Pick the slot that will make the crotch buckle comfortable and snug.
- Under the seat pad are two elastic bands. Attach them on the hooks near the recline adjuster close to the bottom of the seat. You can turn the seat over if you’re having a hard time getting the elastic straps into the hooks.
- At the side of the cup holder is an elastic strap. Replace the elastic strap on the hook on that side of the seat pad.
- Repeat the previous step for the other side of the seat pad.
- Fold the rigid white plastic retainer into the side of the armrest on both sides.
- Insert the harness straps into the slits of the seat pad. The straps should be over the seat pad instead of under it.
-
- Make sure that the straps are flat on the seat pad and not twisted.
- Twisted straps reduce the effectiveness and comfort of the straps when your child uses them.
- Check that the buckle and chest clip is in front of the seat pad for both harness straps.
- Place the bottom part of the side covers over the seat pad.
- Locate the snaps under the side covers and replace them on the snaps of the seat pad.
Putting Back The Headrest Cover
- Fit the headrest cover over the headrest of the seat. The Graco logo should be facing forward. Insert the position adjustment button on top of the headrest into the hole of the headrest cover.
- Insert the sides of the headrest into the cover one side at a time.
- Hook the elastic straps over the booster belt guides under the sides of the headrest.
- Position the harness straps in front of the backrest pad of the headrest cover. There are slits on the backrest pad where you can slide the straps so that it will be over the backrest pad instead of under it.
- Once the straps are in position, secure the snaps of the headrest pad and the backrest pad to lock the straps in position.
- Locate the snaps on the seat shell. Snap the headrest pad on the seat shell. Confirm that all snaps are secure before you move forward with the next step.
- Insert the two elastic straps on top of the headrest pad into the hole on the headrest.
- Secure the elastic straps on the hooks at the back of the headrest.
- Reinstall any of the additional infant pads if your child needs them.
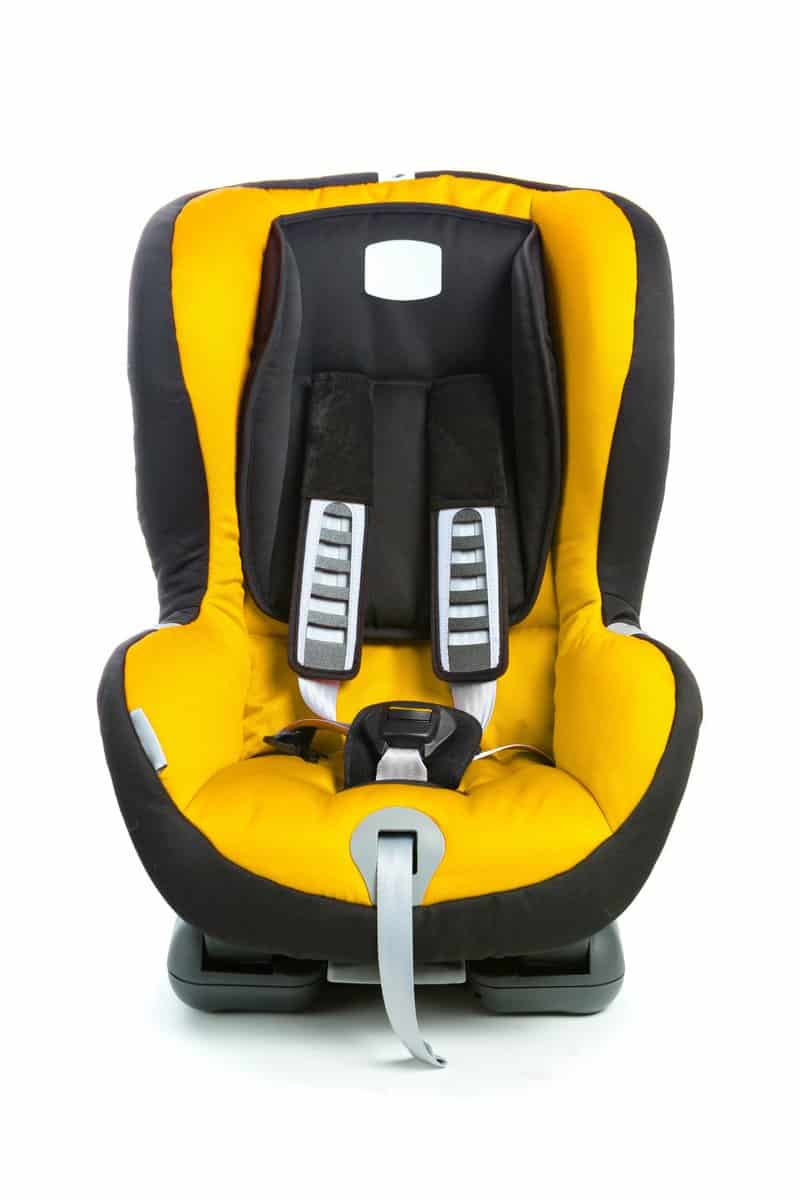
Adjusting The Straps
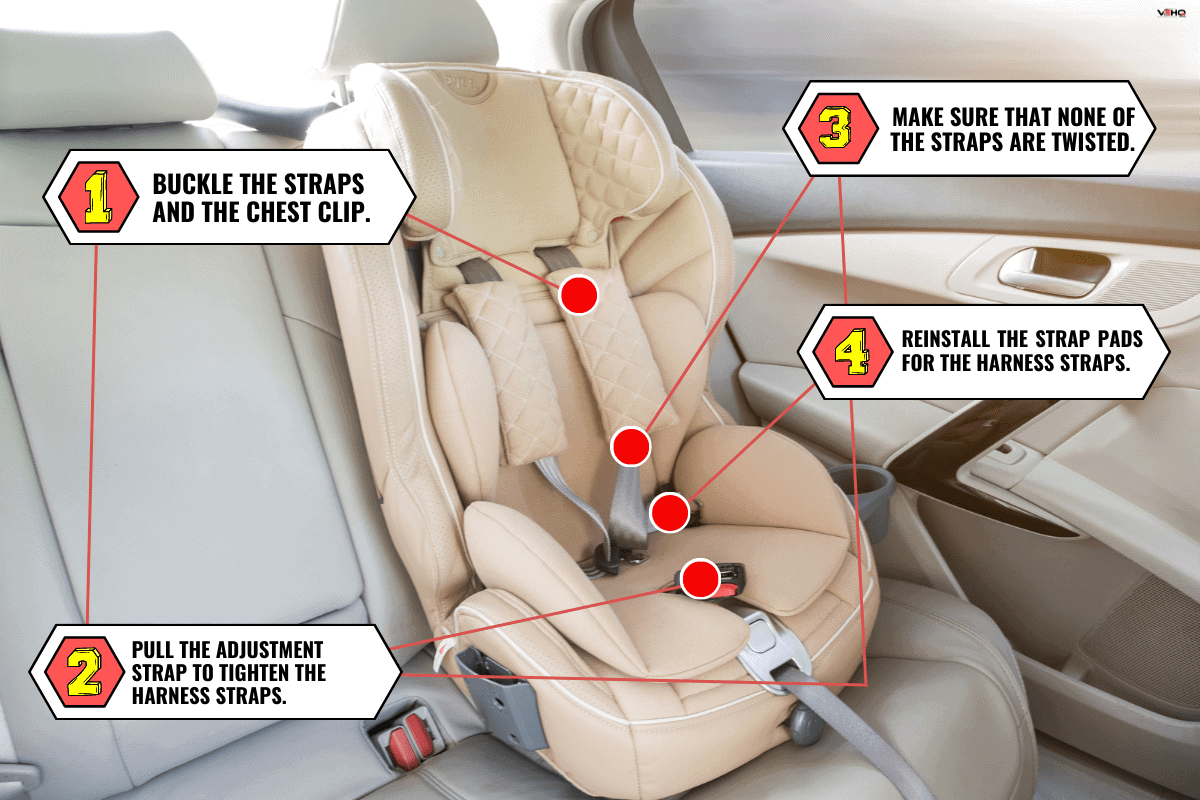
- Buckle the straps and the chest clip.
- Pull the adjustment strap to tighten the harness straps.
- Make sure that none of the straps are twisted.
- Reinstall the strap pads for the harness straps.
How to put a Graco Nautilus 3-in-1 car seat back together?
The Nautilus 3-in-1 has no snaps, unlike the 4Ever seats. Another difference is that it has more elastic straps than the 4Ever seats from Graco.
Here are the steps that you can follow to put your Nautilus back together.
Replacing The Back Pad
- Place the shoulder strap face down and flat on the floor in front of the seat, eliminating any twists.
- Position the back pad over the seat and insert the side supports into the cover.
- Insert the left strap into the hole on the back pad.
- Continue inserting the same strap into the hole on the seat shell.
- Repeat Steps 3 and 4 to insert the right strap.
-
- Keep in mind that the straps should not twist as you insert both straps into the holes.
- Pull both straps from the back of the seat shell.
- Turn the seat around to give you a better view of the back.
- Pull out the strap and buckle from under the seat. Make sure it is flush.
- Take one of the straps and insert the loop at the tip into the hook of the buckle.
- Push the entire loop into the long side of the hook, then spread it into the short side until the entire loop is inside the hook.
- Do the same thing to the other loop, inserting it into the other hook.
-
- Make sure that the straps remain flush throughout this process.
Installing The Bottom Straps
- Extend the backrest to the highest position possible.
- Insert the rigid plastic strip into the space between the headrest and the back of the seat.
- There are two notches at the back of the seat shell. Insert the rigid plastic strip between the two notches and the frame of the shell.
- Slide the side covers over the side support, then connect the Velcro from the top of the back pad to the side support.
- Slide the bottom cup of the side cover at the bottom of the side support.
- Insert the four bottom elastic straps through the bottom of the back of the seat shell.
- Replace the elastic straps on the two hooks.
- Locate the elastic strap on the side of the pad. Slide it into the hook at the back of the pad.
- Do the same thing on the other side.
Reinstall The Seat Pad
- Place the seat pad over the shell.
- Insert the crotch buckle into the hole of the pad. The hole to use depends on the weight and height of your child.
- Slide the shoulder harness into the two grooves of the seat pad.
- Insert the two elastic straps into the back and hook them to the seat of the shell.
- Release the recline.
- Hook the bottom front elastic straps at the bottom of the seat.
- Pull the recline back.
- Stretch the cover over the front bottom of the seat.
- Pull the elastic strap from the side of the seat cover and hook it to the tip of the cover.
- Pull the bottom elastic strap and hook it under the seat.
- Repeat Steps 8 to 10 on the other side.
Securing The Headrest Cover

- Slide the headrest cover over the side support.
- Insert the two elastic straps through the holes on top of the head support.
- Secure the strap from the hole on the topmost hook on the headrest.
- Secure another strap from above the headrest to the same hook.
- Repeat the same steps to hook the two straps to the same hook.
- Secure the two straps from under the headrest cover to the two hooks at the bottom of the headrest.
- Install the harness pads and the crotch strap pad.
Conclusion
Cleaning the child seat is important, especially if your child uses them regularly.
If you found this article interesting, why not check the two articles below too: