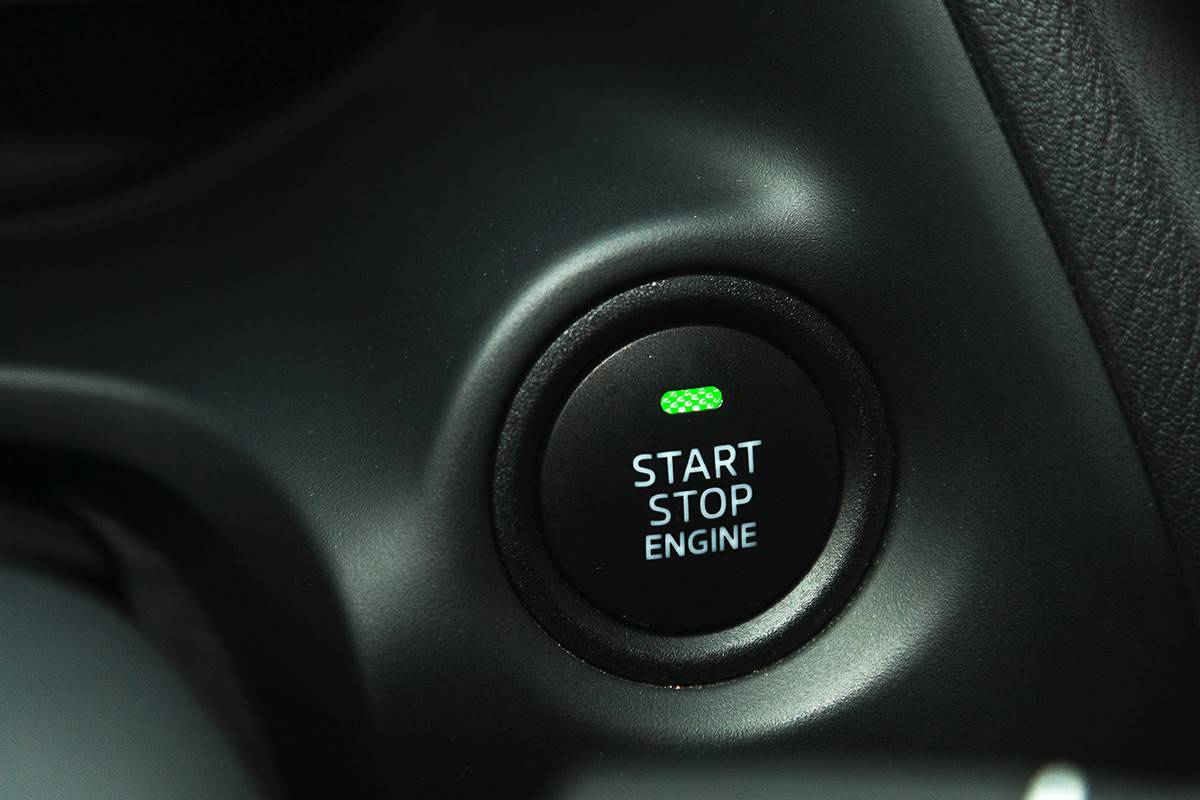
You notice your car's start/stop light flashing while you're behind the wheel. What could be the cause of this concern? We researched and consulted with different industry professionals for you, and here's what we found.
A flashing Start/Stop light can indicate different things, depending on factors like the car’s specific brand and model. For example, a Nissan Juke may flash to signify that the alternator might have a problem. On the other hand, a Ford vehicle’s Start/Stop light may flash green to notify the driver its engine stopped.
So continue reading as we talk about this concern in greater detail. We'll tackle some instances wherein the Start/Stop light flashes based on certain vehicle models.
What Does It Mean The Start/Stop Light Flashes On My Nissan Juke?
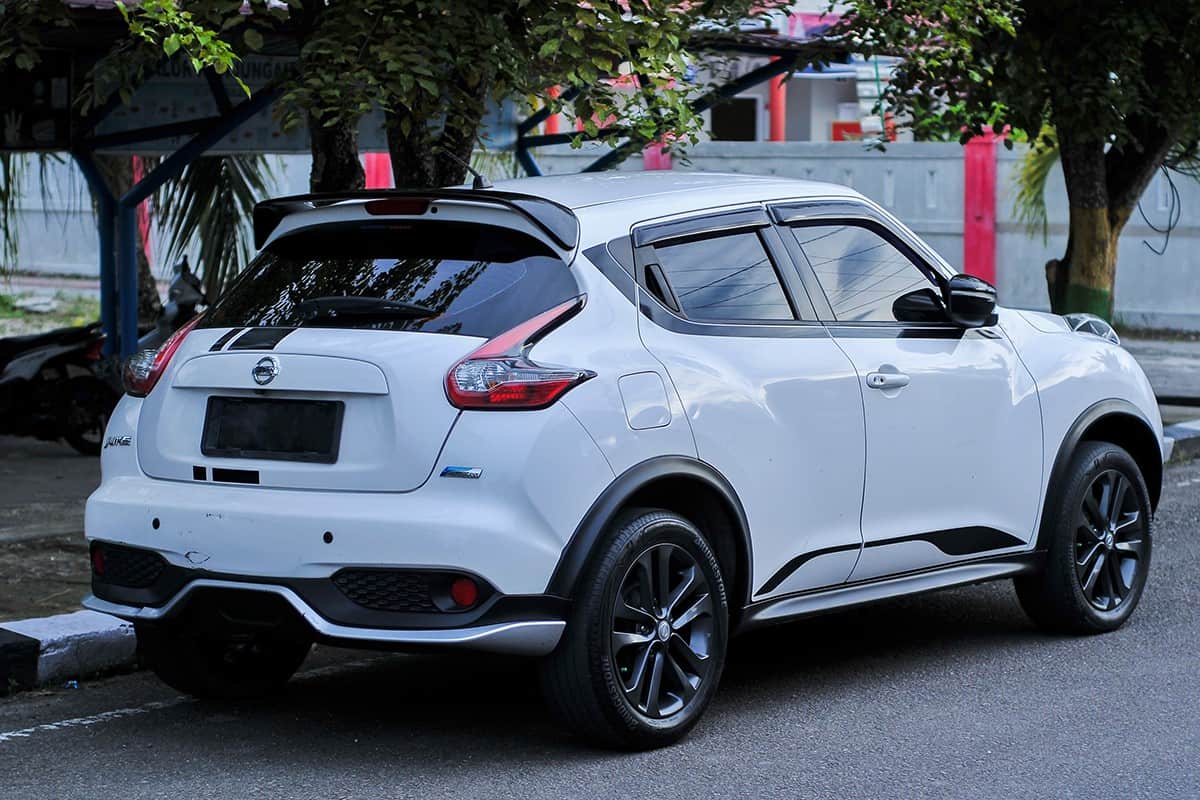
The alternator is an assembly that works with the battery to bring sufficient power to the vehicle’s electrical components. Found in different vehicles, including various Nissan Juke models, alternators can become exposed to different hazards, causing them to fail.
Once an alternator in a Nissan Juke goes bad, the Start/Stop light on the dashboard may continuously. Some possible reasons for this problem occurring are:
- Age
- Blown fuse
- Wiring issues
- Software problems
- Persistent use with broken or worn components
How To Fix
Replacing a bad Nissan Juke alternator is often the best option to get rid of the flashing on the subcompact crossover SUV. Take note that this procedure generally requires sufficient automotive knowledge to complete with minimal risks of errors.
So, if you believe you don’t have the confidence or the know-how to proceed, allow certified and reliable automotive technicians to handle the alternator replacement job for you.
Nonetheless, here are the steps to help you gain insight into how to complete this task:
What You’ll Need
- Ratchet and socket set
- Lug nut wrench
- Flathead screwdriver
- Panel remover
- Standard wrench set
- Replacement alternator
Step-By-Step Guide
Step #1: Prepare The Vehicle
Assuming that your Nissan Juke is still in your garage or driveway, chock its wheels to prevent it from moving while you’re working on it. Then, raise the vehicle with the floor jack to a reasonable height. Install jack stands underneath the vehicle and open the hood afterward.
Don’t forget to disconnect the Juke’s negative battery cable from its terminal. That way, electricity won’t be coursing through the vehicle even with the engine turned off.
Step #2: Remove The Driver’s Side Wheel
Loosen the lug nuts on the driver’s side wheel. Ensure that you’re loosening those lug nuts in a star pattern to prevent the wheel assembly from crashing to the floor or ground. Pull out the wheel and set it aside afterward.
Step #3: Remove The Belt
Use a flathead screwdriver or panel remover to pry open the panel behind the wheel. Be wary as you may break the fasteners securing the panel in place. If so, you may need to replace those clips before you can reinstall the panel later.
Next, insert a 14-millimeter wrench into the newly exposed opening. Feel around with the wrench until you can touch the tensioner with that tool. You’ll know if you succeeded if the wrench slips onto the tensioner properly.
With the wrench in place, loosen the tensioner by turning that tool to the right. Then, put your free hand into the opening and slide the belt from its mount.
Step #4: Remove The Front Bumper
Remove the screws on the front fender flares. Loosen those parts afterward and pull out the front bumper carefully.
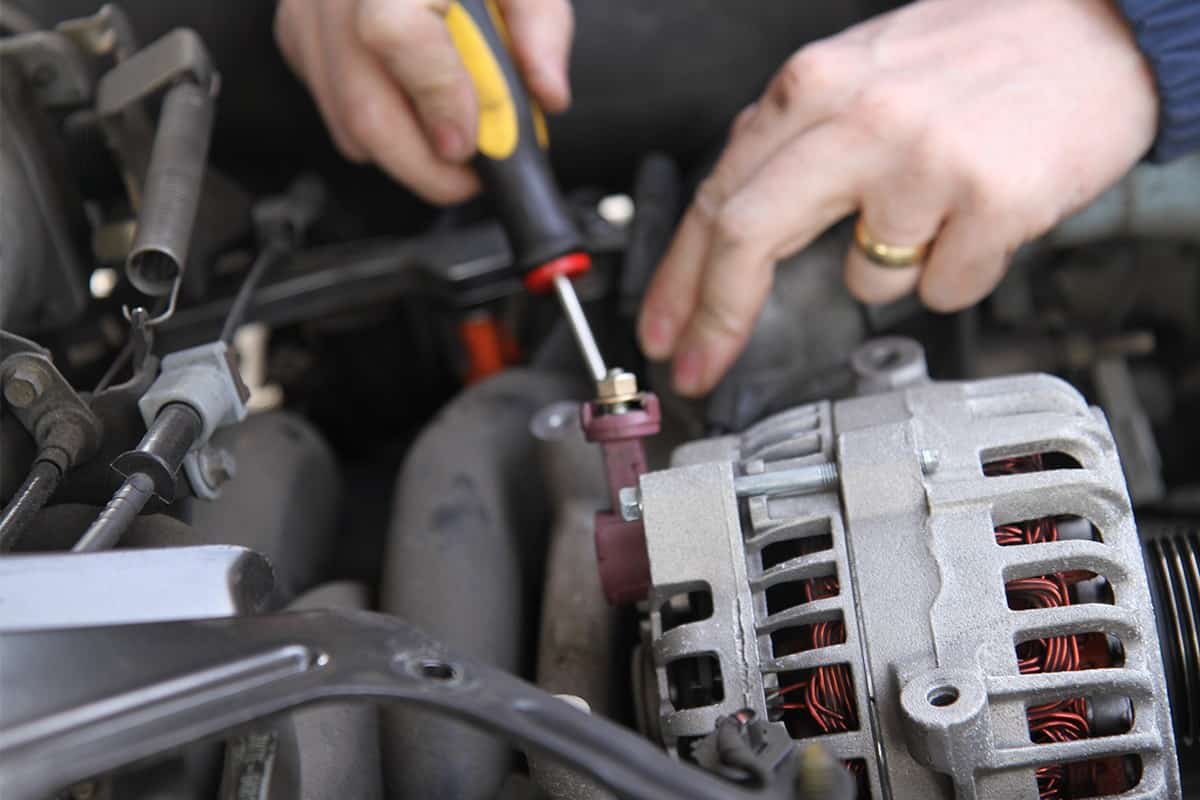
Step #5: Take Out The Old Alternator
Squeeze the power wire’s tab on the alternator and disconnect it from the rest of the assembly. Detach the other wire connected to the alternator. Remove the alternator’s bolts and remove the assembly from its mounting bracket.
Tip: You may need a breaker bar with an extension to pry the alternator off of its mounting bracket.
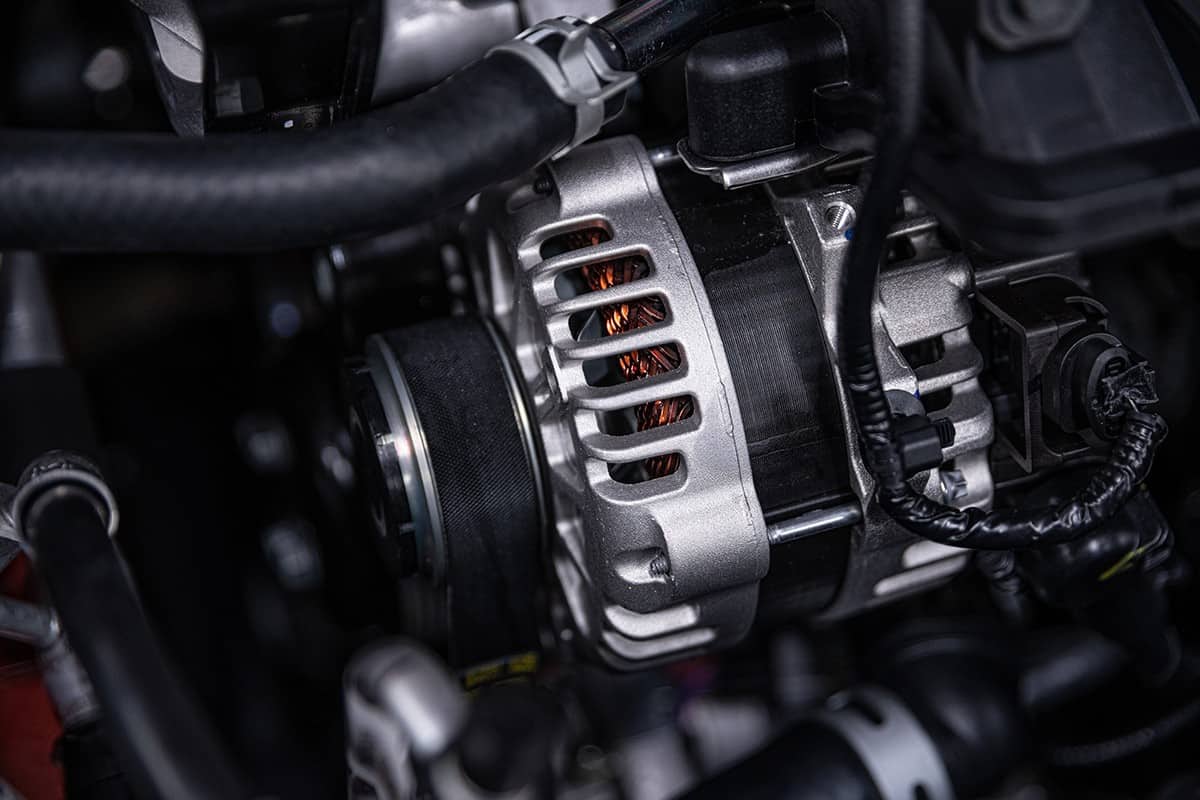
Step #6: Install The New Alternator
Install the new alternator in the same location as the old assembly. Make sure you're following the correct orientation to avoid fitting issues.
Then, go through the steps mentioned in this section in reverse order to reassemble the parts of your Nissan Juke. After you reconnect the components, turn on the Juke’s engine and check if the Start/Stop light is still flashing.

Check out this replacement alternator on Amazon.
Watch the video below if you need a visual guide for this procedure:
How Much Does It Cost To Replace An Alternator In A Nissan Juke?
Prepare to spend about $802 to $878 to replace a Nissan Juke’s alternator. You might be able to save money from the professional replacement procedure if you purchase the alternator instead of relying on the automotive repair service in this regard. Still, preapare to pay this cost or higher, since this estimate doesn’t cover taxes and other fees.
Why Is My Ford Start/Stop Ignition Button Flashing Green?
The light on a Ford vehicle’s Start/Stop ignition button may flash green if the vehicle’s engine stops. Normally, this concern won’t bring about worry. But it can be concerning if the engine suddenly stops in the middle of a drive.
Some possible reasons why a Ford’s engine could stop abruptly are:
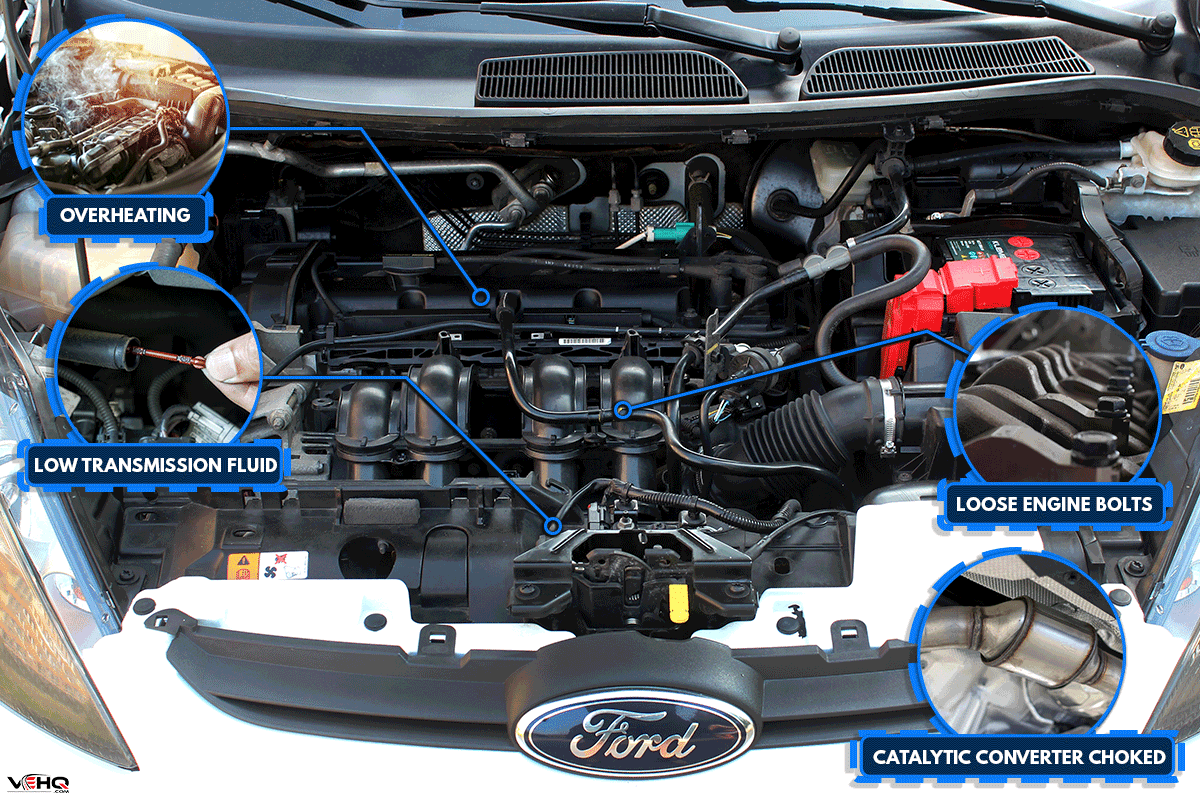
- Overheating
- Low transmission fluid
- Loose engine bolts
- Catalytic converter choked
How To Fix
Troubleshooting the cause of the abrupt engine stop should be your first order of business in fixing this issue, since your next steps depend on the source of the problem.
For example, replacing a bad catalytic converter might be the best option if this assembly causes the Ford vehicle’s engine to stop frequently. Here are the steps to complete this task on a Ford F-150 to help give you an insight into how to go through and complete this operation:
What You’ll Need
- Wheel chocks
- Floor jack
- Jack stands
- Socket and ratchet set
- Open-end wrench set
- Penetrating oil
- Replacement downpipe assembly
- Replacement catalytic converter
Step-By-Step Guide
Step #1: Prepare The Vehicle
Chock the F-150’s wheels so it doesn’t move while you’re going through the replacement procedure. Next, raise the vehicle with the floor jack and install jack stands. Also, ensure that the engine is off and allow it to cool before proceeding to the next step.
Step #2: Lubricate The Old Catalytic Converter
In particular, spray penetrating oil on the bolts securing the old catalytic converter. That way, you can make the removal process easier than taking the assembly out without the lubricant.
Step #3: Expose The Old Catalytic Converter
Remove the shield covering the catalytic converter by unscrewing its bolts. Remember to support the shield as you loosen it. Otherwise, it’ll fall to the ground, which may cause an injury because of its material and weight.
Next, remove the passenger-side heat shield by unscrewing its bolt attached to the cross-member. Then, remove the bolts securing the transmission mount to the cross-member.
Use an appropriately sized ratchet, socket, and wrench to remove the cross-member from the transmission assembly. Lower the cross-member carefully and set it aside afterward.
The next component to remove is the mount for the F-150's exhaust. You can remove that part by unscrewing its bolts using the correct-sized ratchet and socket. Then, detach the wires connected to the O2 sensors to expose the old catalytic converter.
Remove the pipes connected to the turbocharger afterward. You can remove those lines by unscrewing the nuts holding those components in place. Finally, remove the bolts on the downpipe assembly connecting it to the exhaust.
Step #4: Replace The Downpipe And Catalytic Converter
Pull the downpipe assembly from the truck and set it on a flat surface. Remove the O2 sensors from the assembly and swap them with the new unit containing the replacement catalytic converter.
After completing the new assembly, go through the steps mentioned in this section in reverse order for the reassembly. Once done, remove the jack stands and lower the F-150 to the ground. Then, turn on the engine and check if the Start/Stop light flashing problem persists.

Check out this replacement catalytic converter on Amazon.
Watch this video if you want to look at a visual representation of the steps mentioned above:
Final Thoughts
Check your owner’s manual to find out the reason why your vehicle’s Start/Stop light is flashing. Remember, this light may flash different colors, and each color has a distinct meaning. If you have difficulty figuring out the cause of this event, you may contact your vehicle manufacturer or retailer’s customer service hotline for additional assistance.
If you’re looking for answers to other Start/Stop button concerns, check out these great reads:
How To Disable Auto Start/Stop In A Toyota Highlander
Chrysler Pacifica Service Stop/Start System Warning Light Is On – Why? What Could Be Causing It?