Cleaning the caulk and sealant, particularly on the roof of a recreational vehicle (RV), is an essential maintenance task that most people can carry out. Do you want to learn how to do it? Well, we looked into this matter to get an answer for you.
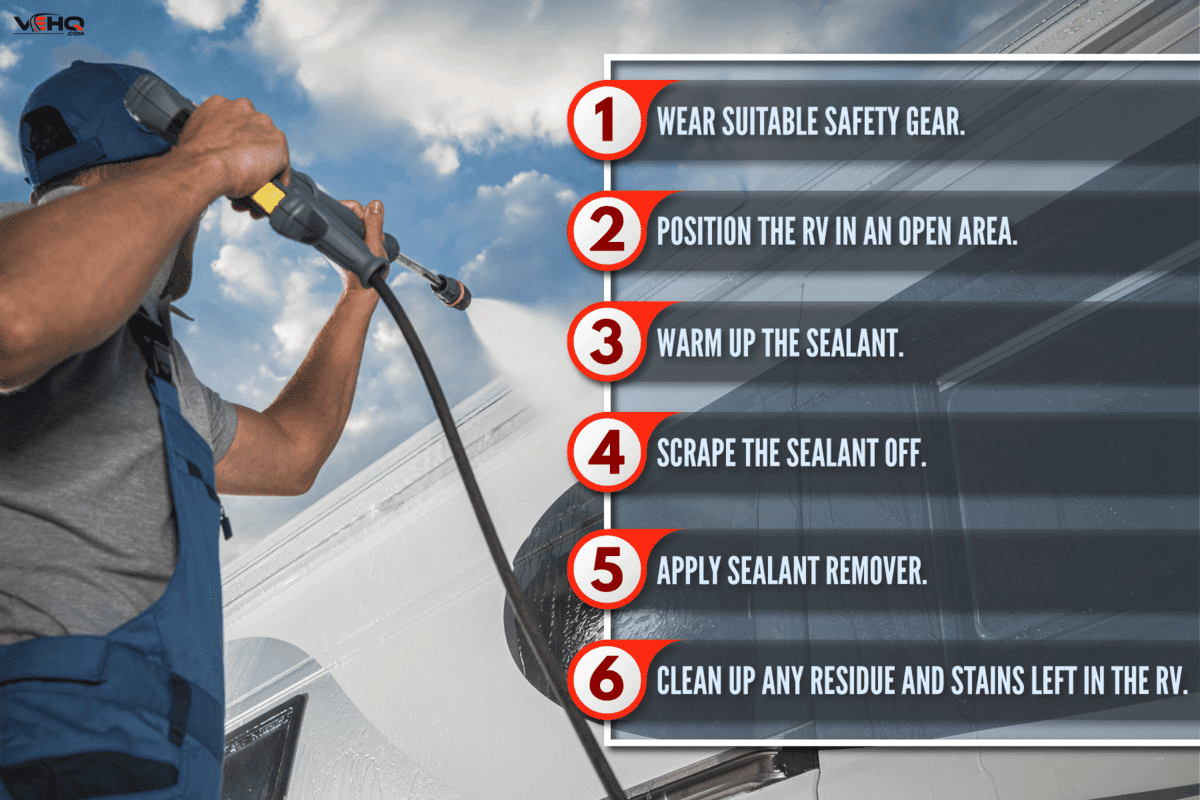
Following are the steps for cleaning the RV caulking and sealant:
- Wear suitable safety gear.
- Position the RV in an open area.
- Warm up the sealant.
- Scrape the sealant off.
- Apply sealant remover.
- Clean up any residue and stains left in the RV.
We'll go through each of the processes mentioned above in detail in this article. Additionally, we'll talk about how often an RV has to be checked and cleaned. There's more information to come, so keep reading.
How To Clean RV Caulking And Sealant?
Before anything else, the terms "caulk" and "sealant" are frequently used interchangeably, but both are commonly used as sealants. The only main distinction between them is their elasticity. When dried, caulk is stiffer than sealant.
One way of cleaning these sealants is removing their excess or thoroughly removing it all when you plan to re-seal the RV. Remove the old sealant as much as possible before adding a new one to guarantee a good seal, as explained in more detail below.
1. Wear Suitable Safety Gear
When working with a product like a sealant, safety must always come first. You must first put on safety gear before applying or removing it. Gloves and safety glasses are strongly advised. You can further protect yourself by donning a long-sleeved shirt.

Click here to see this pair of gloves on Amazon.

Click here to see this pair of safety glasses on Amazon.
2. Position The RV In An Open Area
When taking off the caulk or sealant, you should also be aware of your working environment. Park the RV somewhere open instead of keeping it in your enclosed garage. This way, you won't run the risk of inhaling the pollutants.
3. Warm Up The Sealant
It's important to remove the sealant while it's still warm. It is messier to remove if you try to scrape it off when it is the same temperature outside. You can do one of the three things to warm the sealant up.
First, think about delaying your attempts to remove the sealant until a day that is especially warm. The self-leveling sealant ought to become extremely malleable with time in the sun.
The next option is using a hair dryer, which you can still use even if the outdoor temperature is insufficient to remove the sealant. Keep rotating the hairdryer over the sealant while it is on low heat until it begins to soften.

Click here to see this hair dryer on Amazon.
You can alternatively use a heat gun to soften the sealant. Be sure to rotate the heat gun about like you would a hairdryer so that the sealant can soften evenly.

Click here to see this heat gun on Amazon.
Watch the video on YouTube below to learn how to remove caulk with a hair dryer:
4. Scrape The Sealant Off
You can start working on removing the sealant now that it is softer and more malleable. It's essential to evaluate the tool you plan to use before you begin scraping, though.
Using a razor scraper or utility knife to remove home sealant is not problematic. Without any concern, you can scrape the sealant away. But there is some sealant (such as lap sealant) where this method isn't recommended, as it might harm your RV with its sharp edges.

Click here to see this razor scraper on Amazon.

Click here to see this utility knife on Amazon.
Instead, use a tool like a putty knife to keep the roof of your RV protected. If you don't have a putty knife, a bank card, old ID, or index card will also do the trick. You shouldn't need a sharp edge to remove the sealant because the object you're using should be stiff enough to do it after the sealant warms up.

Click here to see this putty knife on Amazon.
Start around the edge of the self-leveling sealant so you may go even more cautiously. Gently lift the sealant by using the tool to carefully reach underneath it. Work on the sealant in this way until it has been entirely removed.
Another option to scrape it away faster, especially for hard sealant, is by using an oscillating tool. In order to safeguard the sensitive membrane of your rubber roof, try to choose an oscillating tool with a flexible blade.
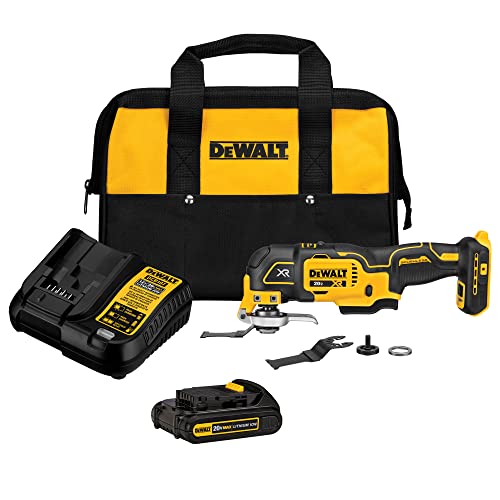
Click here to see this oscillating tool kit on Amazon.
Start the device by turning on the power slowly. Use the blade to cut through the RV roof vent sealant while angling the instrument. Until the sealant is removed, accelerate the machine and keep it going.
5. Apply Sealant Remover
If the coating is really hard, use a silicone sealant remover to soften it. Alternatively, if you don't have a specific silicone sealant remover, you can use WD-40, rubbing alcohol, or vinegar. Then, go back to scraping and brushing.

Click here to see this silicone sealant remover on Amazon.
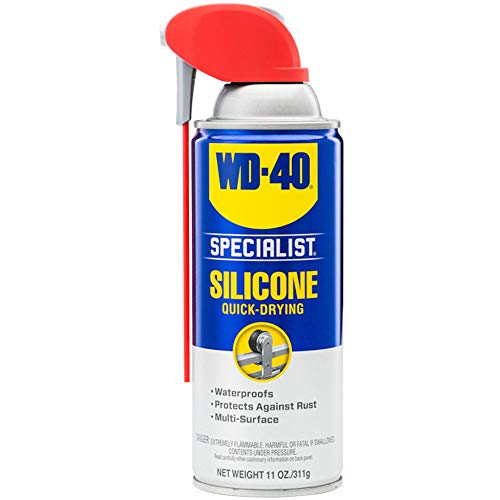
Click here to see this WD-40 on Amazon.
The process is frequently a lot quicker if your roof sealant isn't silicone. Make sure the weather is ideal before beginning, just like you would with the silicone removal process.
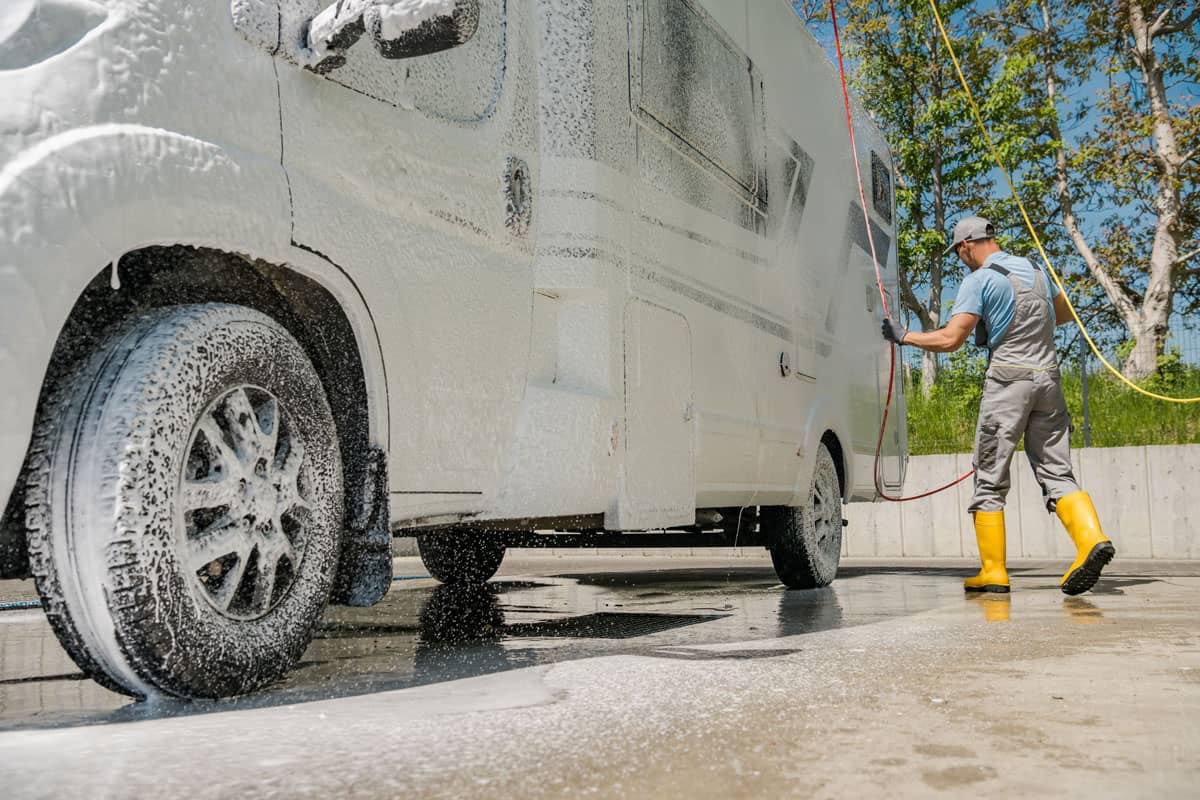
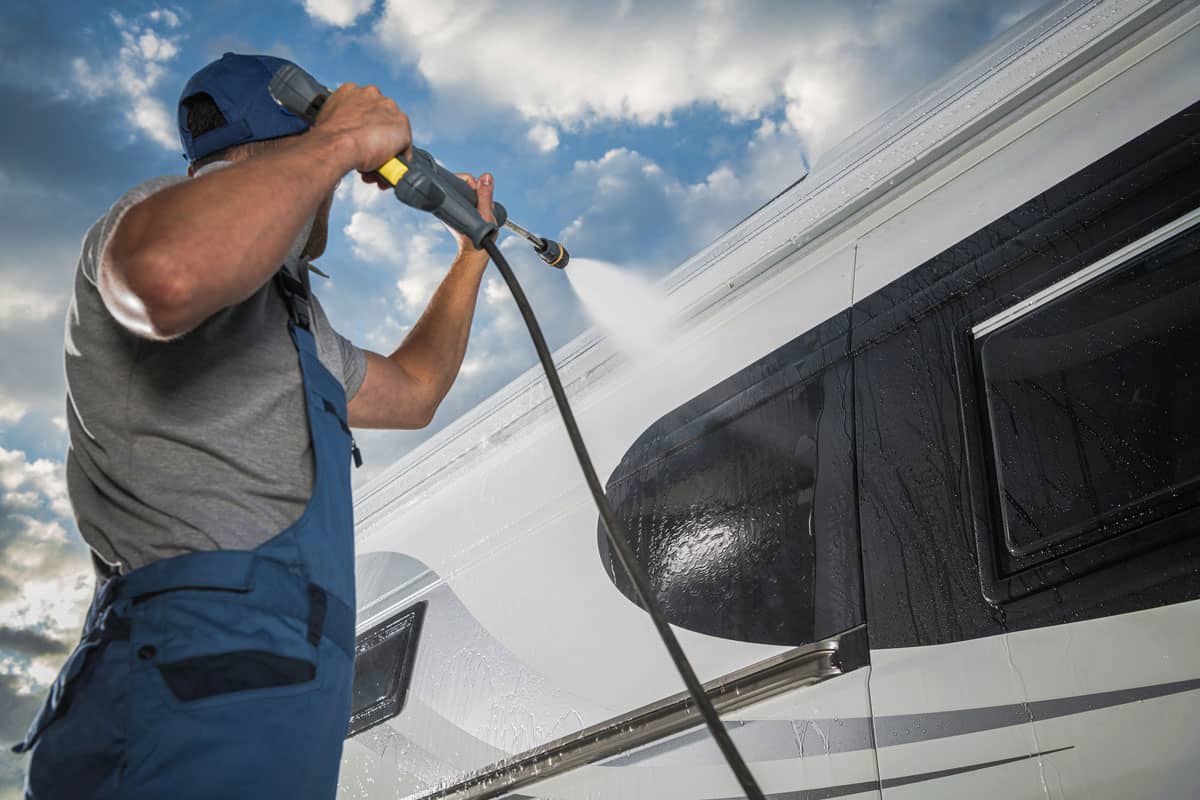
Start by lightly misting the roof's surface with your garden hose or pressure washer. After that, you can remove the previous coating by using the Liquid Rubber RV Smart Cleaner. For 5 to 10 minutes, let the Smart Cleaner remain on the surface without drying.
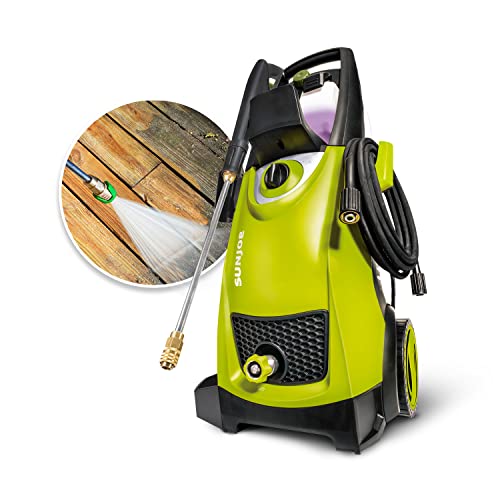
Click here to see this pressure wash on Amazon.

Click here to see this Liquid Rubber RV Smart Cleaner on Amazon.
Then, using your stiff bristle brush, massage the cleanser into the surface. Check the cleanliness of the place in a small area first. If not, give the solution a little more time to permeate.

Click here to see this stiff bristle brush on Amazon.
6. Clean Up Any Residue And Stains Left In The RV
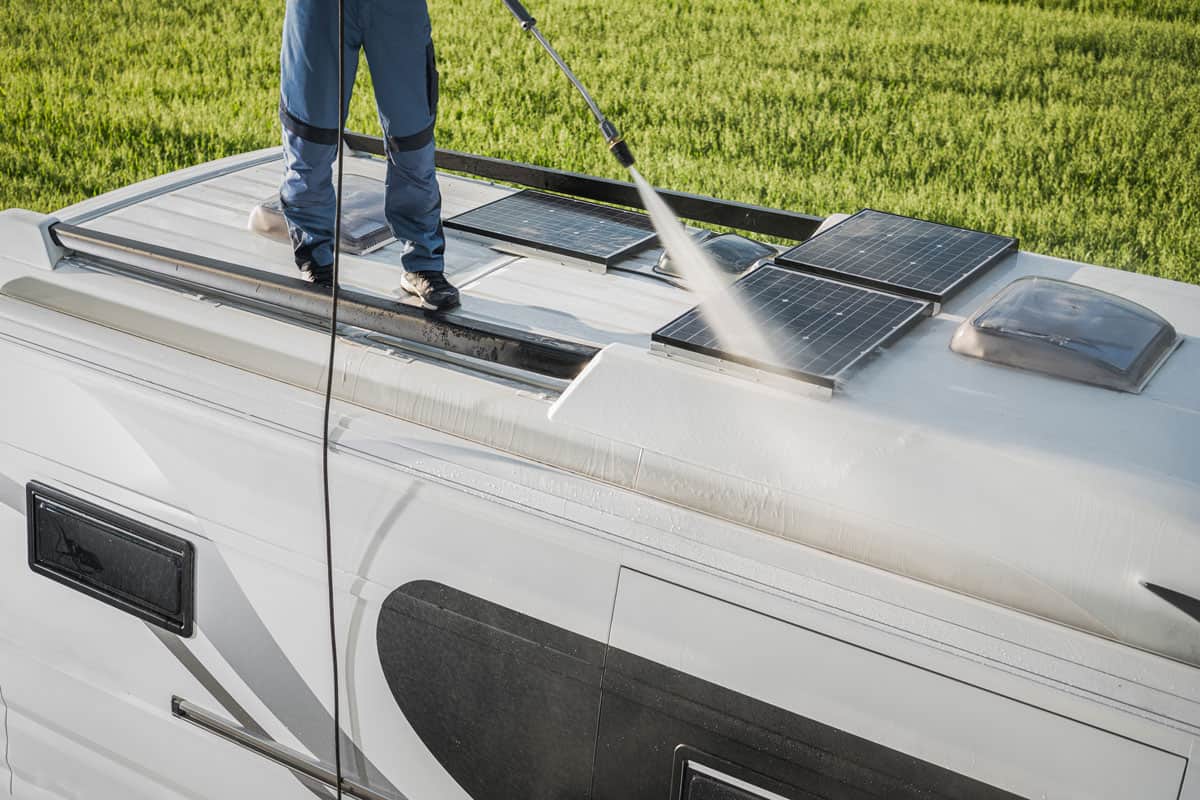
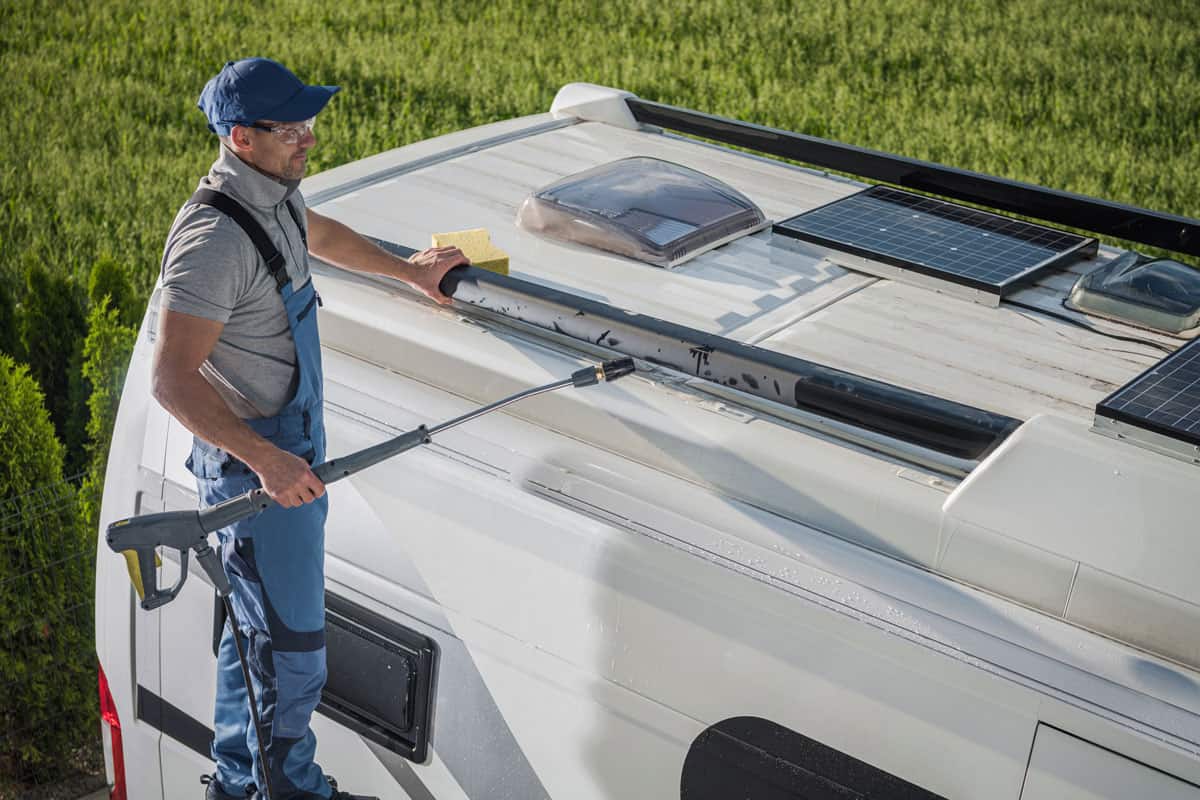
You can tidy up the area it occupied now that the sealant is out of the way. Once you've taken out as much of the silicone covering or sealant as you can, pressure wash the RV roof and look for any leftover pieces.
Also, you'll need some rags and denatured alcohol to clean some remaining stains. Soak a rag with denatured alcohol. Use caution and abstain from using excessive amounts of denatured alcohol to prevent roof damage to your RV. Grab a new rag, and use it to wipe the spot dry after wiping it with alcohol.

Click here to see this denatured alcohol on Amazon.
But it is definitely ideal to utilize particular RV roof cleaners. Make sure you utilize roof cleaning products designed exclusively for rubber roofs if your RV has a rubber roof. For stains that have set in hard, you might also need to apply a spot cleaner.

Click here to see this RV roof cleaner on Amazon.
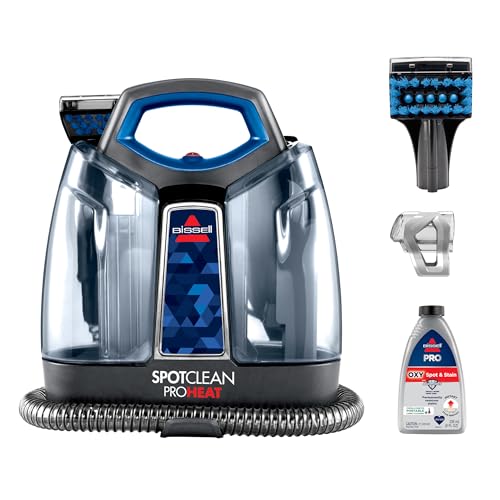
Click here to see this spot cleaner on Amazon.
To remove the mold, stains, and grime, use a wash mitt and telescoping soft brush. Never use steel wool or scrubbers that could damage or scratch the surface of the roof. After washing your roof, give it a good rinse and let it dry fully before caulking or resealing.
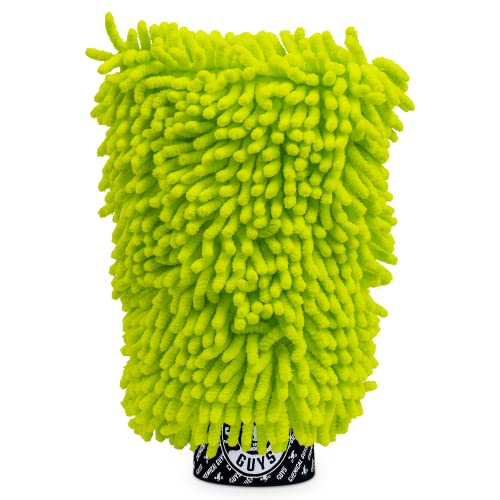
Click here to see this wash mitt on Amazon.

Click here to see this telescoping soft brush on Amazon.
How Frequently Should You Check And Clean The Roof Of Your RV?
Regularly check your RV's roof to make sure it is in good condition. The location where you camp with your RV or where you park it, the frequency you use it, and how it is stored have a big impact on the frequency of inspections.
Florida or Arizona call for more frequent inspections. RVs that are frequently parked under trees or those that are stored outside also require several inspections every year. Additionally, after experiencing severe weather, especially after hail or snowstorms, you should check the roof of your RV.
At least twice or three times per year, you should clean the roof of your RV. You should probably wash your RV's roof more frequently if it is exposed to the outdoors or is parked under trees that drop debris or sap.
Just keep in mind that any cleaner you use on the roof of your camper or RV must not contain any harsh abrasives, citric compounds, or petroleum distillates.
When To Replace The Caulk Or Sealant On RV roof?
The state of the sealant or caulk on your RV's roof will decide if it needs to be replaced or patched. Your RV's sealant or caulk will dry out and crack over time and with repeated exposure to the sun.
The inspection makes this evident without much difficulty. You can tell if the sealant or caulk has dried out and gotten brittle just by touching it.
Some RVs can survive longer than others without replacing their caulk and sealant because they have been kept inside. The sealant or caulk may also dry out too soon if owners apply the incorrect cleaning agents.
Last but not least, owners who fail to properly clean the roofs of their RVs will undoubtedly reduce the lifespan of the roof caulk and sealant.
In Closing
It requires extra effort to clean the sealants on your RV. However, if you are unable to complete this RV maintenance on your own, contact a professional RV technician. The important thing is to take care not to harm the RV and to keep it spotless for the upcoming sealant.
Check out some interesting topics we have below: