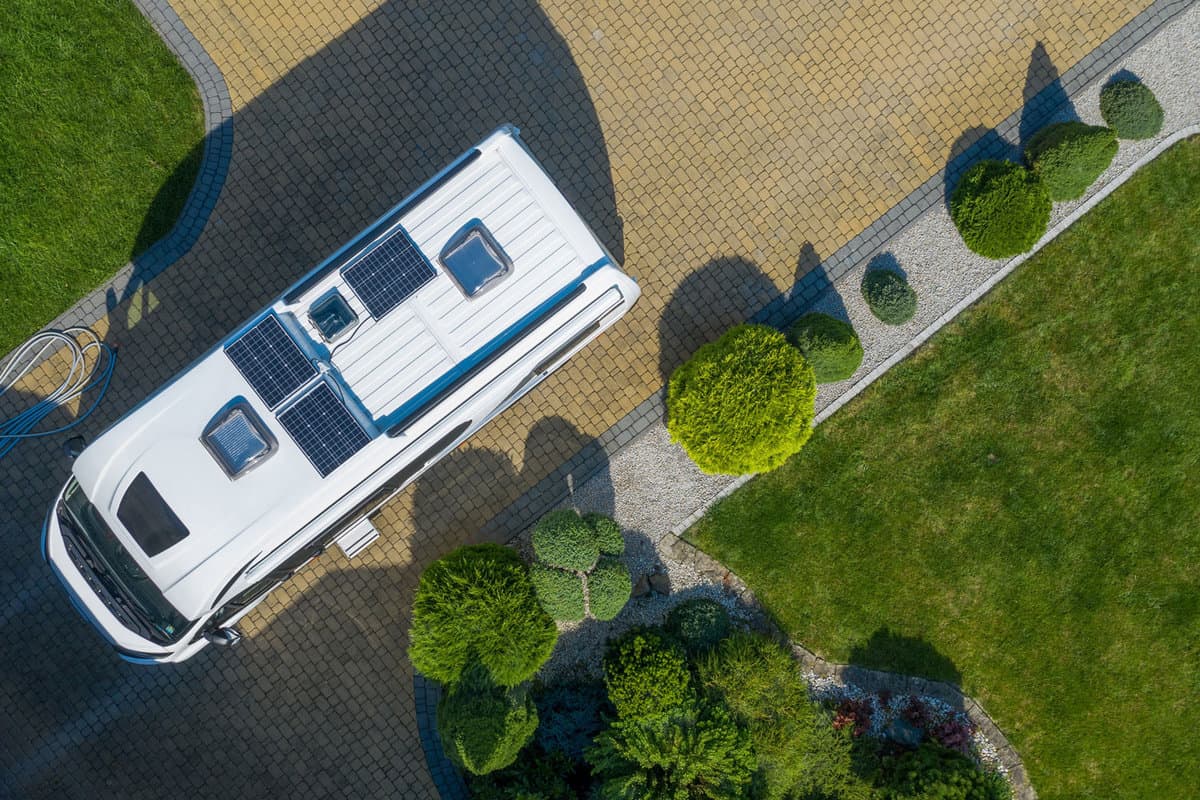
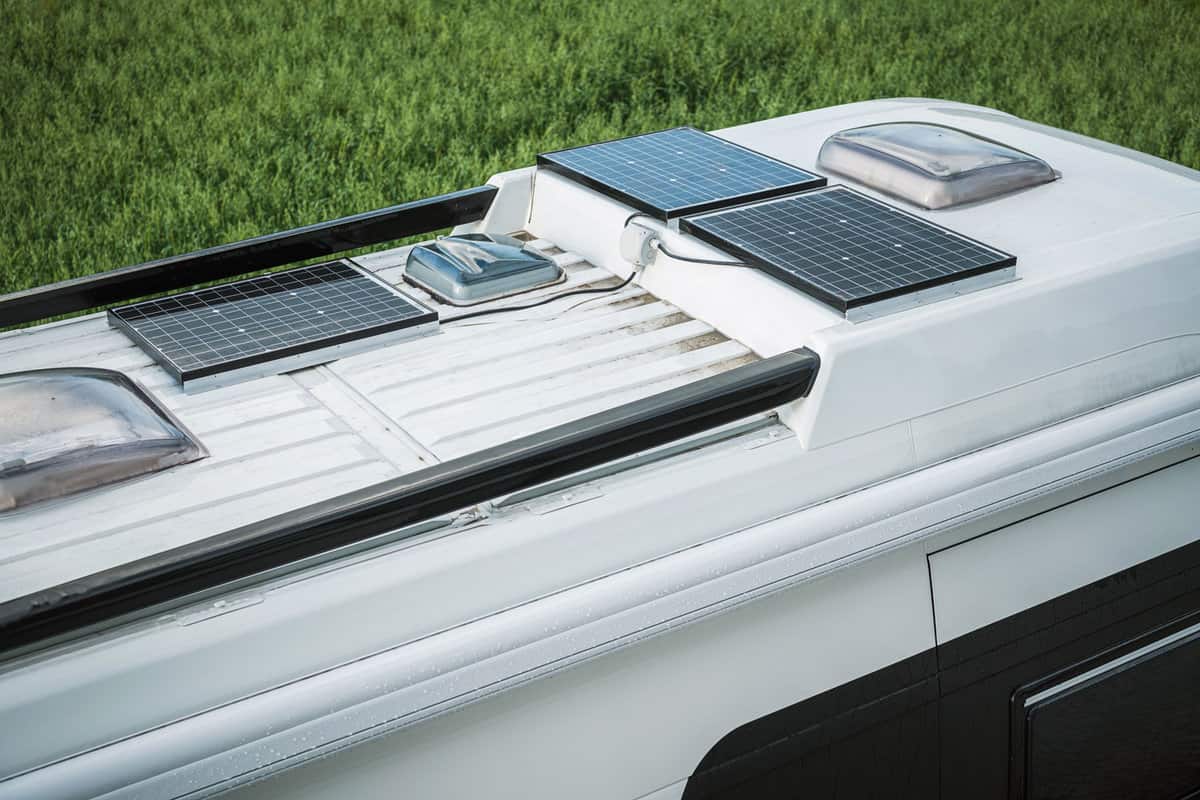
Are you ready to hit the open road in your RV?
Before you do, make sure you know how to properly seal your aluminum roof to prevent leaks and damage.
In this article, we'll walk you through the steps to seal your RV's roof, including choosing the right sealant, cleaning the surface, and more.
Don't let leaks and damage ruin your travels - keep reading to learn how to keep your RV in top shape!
Does Applying Aluminum Roof Coating Stop Leaks?
The answer is yes, but only to a certain extent. Aluminum roof coatings can stop minor leaks and prevent future ones.
However, if you're dealing with major leaks, it's essential to repair them before applying any coating.
Applying an aluminum roof coating provides a protective layer that creates a waterproof seal.
The seal helps prevent water from leaking into your RV and has the added benefit of being energy-efficient.
Coatings with reflective qualities can save energy by reflecting heat away from your RV.
How to Seal an RV Aluminum Roof [Step-by-Step]
Follow the steps below to successfully seal your RV aluminum roof to protect it from water damage and extend its lifespan.
Step 1: Remove Any Loose Flaps of Old Sealant
Start by inspecting your aluminum RV roof for any loose or damaged sealant.
Carefully remove the loose flaps of old sealant or caulk using a hand scraper.
It's essential to clear off all the damaged sealant to ensure the new sealant adheres properly to the aluminum surface.
Related article: How To Clean RV Caulking And Sealant?
Step 2: Clean the Roof Thoroughly
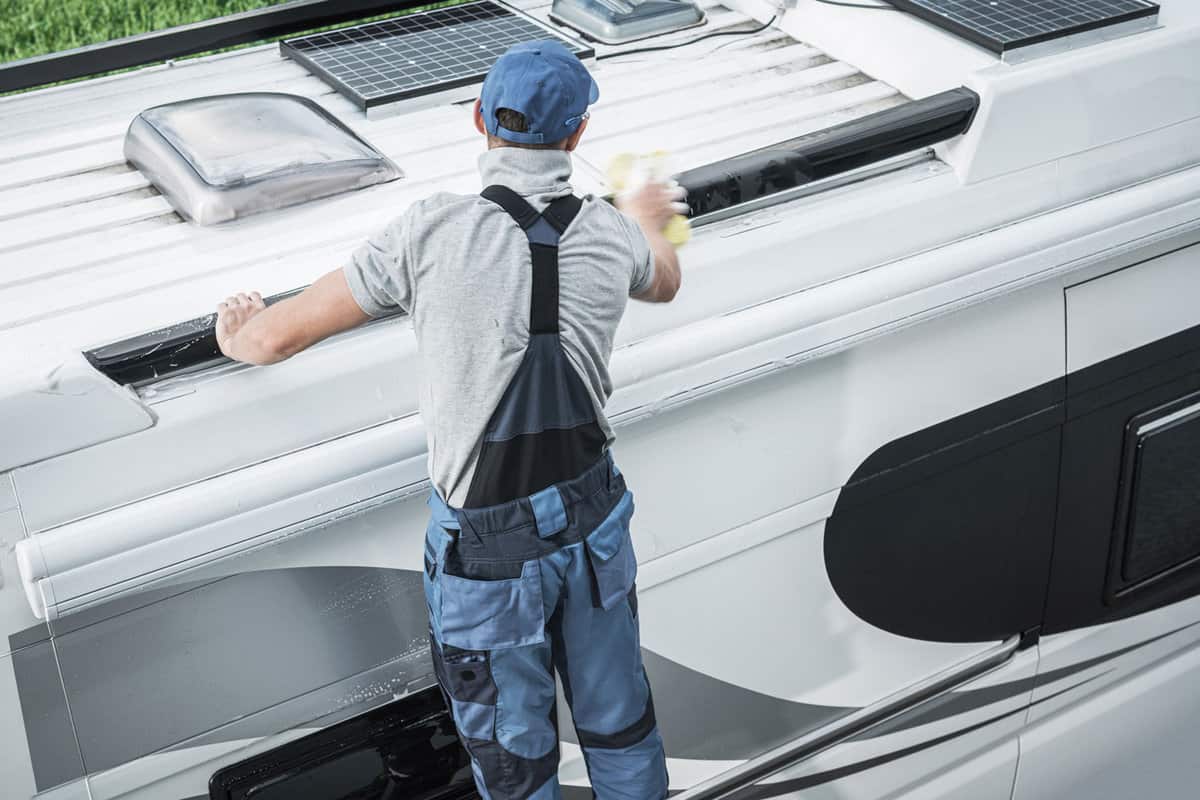
After removing the old sealant, cleaning the roof thoroughly is vital.
Use a pressure washer with medium pressure or a soft brush with soap and water to scrub the roof.
Ensure to cover every inch of the surface to remove dirt, debris, and residual sealant.
Allow the roof to dry completely before moving on to the next step.
Step 3: Apply the Primer
Before applying the sealant, use a primer designed for aluminum surfaces to ensure proper adhesion of the sealant.
Apply the primer according to the manufacturer's instructions, usually using a paintbrush or roller.
Cover the entire roof, focusing on any seams or areas where the old sealant was removed.
Allow the primer to dry according to the suggested dry time.
Step 4: Apply the Sealant
Once the primer is dry, apply an aluminum-compatible sealant to the roof seams.
With a brush, roller, or caulking gun, apply the sealant evenly over the seams, covering screws, vents, and any potential water entry points.
Be sure to follow the manufacturer's guidance on the thickness and application technique to achieve the best results.
Continue reading: How To Put Rubber Coating On RV Roof?
Step 5: Let it Dry
After applying the sealant, give it ample time to dry and cure properly.
The drying time may vary depending on the product and weather conditions, but normally, it takes a day or two.
What Are the Best Aluminum RV Roof Sealant Options?
When looking to keep your RV in tip-top condition, choosing a reliable aluminum RV roof sealant is crucial.
Here are four highly recommended sealants to help protect your RV roof.
Liquid Rubber RV Roof Coating
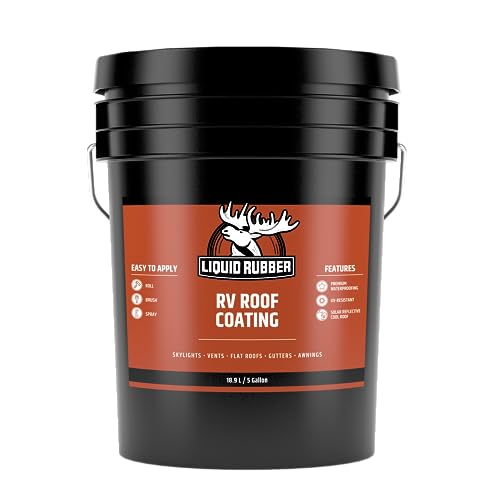
See Liquid Rubber RV Roof Coating on Amazon.
The Liquid Rubber RV Roof Coating is a versatile and durable liquid sealant that forms a waterproof and UV-resistant membrane.
With a smooth application using a brush, roller, or spray, you can have a flawless finish that keeps your RV well-insulated and UV-resistant.
Ziollo RV Flex Repair

See the Ziollo RV Flex Repair on Amazon.
The Ziollo RV Flex Repair is a silicone-based EPDM Rubber Coating that works wonders for metal and other roofing materials.
With a 5-gallon capacity, it creates a really strong watertight seal you can rely on.
The best part is, it's safe and easy to apply. The formula is non-hazardous, so you can handle it with peace of mind.
Not only does it keep water out, but it also does a great job of keeping dirt and dust away, and it handles excess moisture caused by humidity and such.
One thing to note is that you might need to apply two coats for complete sealing, especially if you have a large roof area to cover.
But once it's all set, you can rest assured your roof will be well-protected.
Quick Roof Pro Aluminum Tape

See the Cofair WQR325 Quick Roof Pro on Amazon.
Quick Roof Pro Aluminum Tape is an excellent choice for fast, fuss-free repairs.
The adhesive tape is specifically made for sealing aluminum roofs on RVs, providing a watertight seal to keep the elements out.
It's incredibly easy to use too - simply cut the tape to size and apply it to the damaged area or joint, requiring no additional tools or drying time.
You'll love the peace of mind that comes with its 10-year warranty.
And it's versatile too - it works great around vents, AC units, and all other roof installations.
Dicor 501LSW-1 Self-Leveling Lap Sealant

See the Dicor Lap Sealant on Amazon.
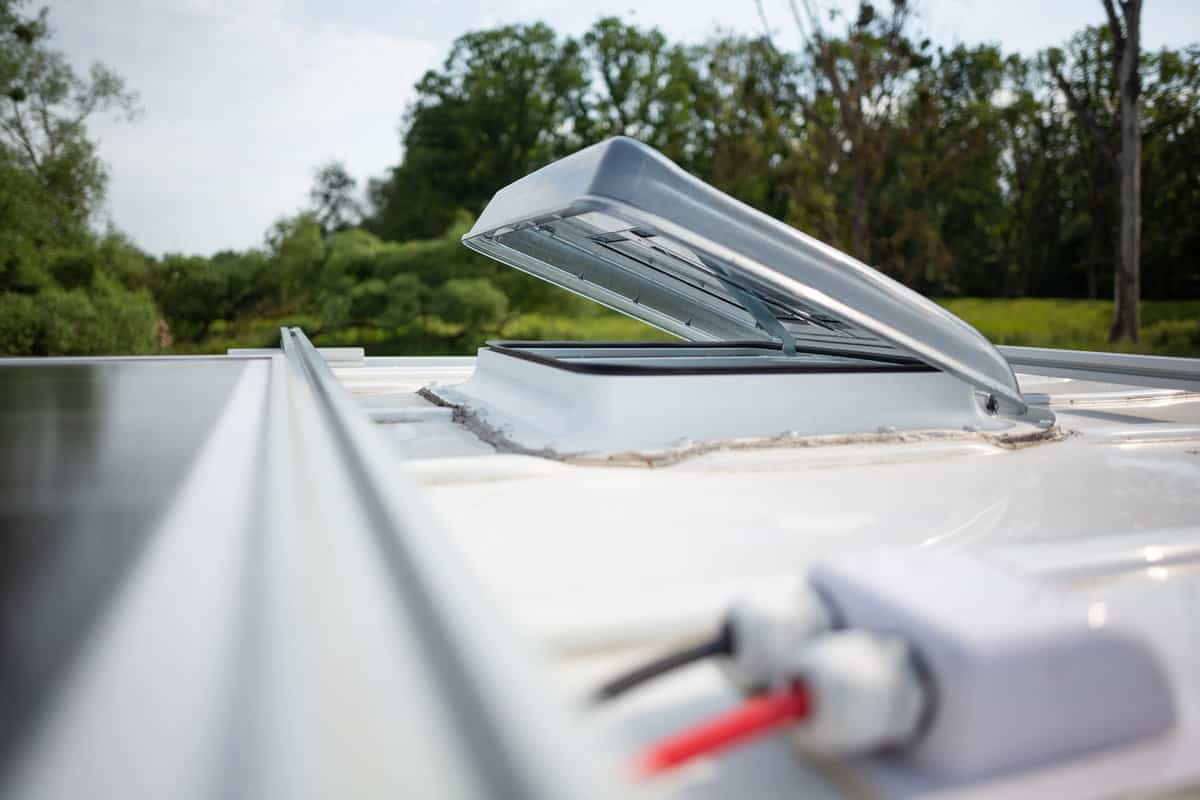
For smaller jobs, the Dicor 501LSW-1 Self-Leveling Lap Sealant is perfect for sealing around vents, AC units, and screw heads.
The lap sealing is flexible and UV-formulated sealant works well around roof edges and screw heads to prevent deterioration and discoloration.
Benefits of Sealing an RV Aluminum Roof
Sealing your RV's aluminum roof offers numerous advantages that enhance its protection, longevity, and performance.
In this section, we'll discuss some key benefits, including better protection, energy efficiency, prevention of wear and tear, and long-term cost savings.
Provides Better Protection
Sealing an RV aluminum roof significantly improves its protection against the elements.
Water leaks and moisture damage can lead to costly repairs in the long run.
Applying a sealant will help to prevent water penetration and maintain your roof's integrity, keeping your RV safe and secure.
Energy Efficiency and Temperature Regulation
A sealed RV aluminum roof promotes better energy efficiency through its ability to regulate temperature.
Sealants insulate your roof, resulting in reduced heat transfer and maintaining a comfortable temperature within the RV.
With this, there is less strain on your RV's heating and cooling systems, ultimately leading to lower energy consumption.
Prevents Wear and Tear
As your RV's roof is constantly exposed to sunlight, rain, and debris, it's important to keep it well-maintained to prolong its lifespan.
Sealing your roof strengthens its overall structure and provides a barrier that protects against daily wear and tear.
With this, you can preserve your RV's roof and allow you to enjoy your travels without concerns about roof damage.
You might also like: RV Water Leak? Here’s What To Do
Long-Term Cost Savings
Investing in sealing your RV aluminum roof can help you save money over time, thanks to its protective benefits and energy-efficient properties.
By preventing damage and reducing energy consumption, you'll reduce the need for costly maintenance and repairs in the future.
Sealing your roof also potentially increases your RV's resale value, as buyers are drawn to a well-maintained and energy-efficient RV.
How Often Should I Reseal My RV Aluminum Roof?
Generally, it's a good idea to reseal your RV roof yearly or at least once every 18 months.
However, the frequency of resealing may differ depending on certain factors.
If your RV is parked outdoors for long periods or you travel through areas with harsh weather conditions, you might need to reseal more frequently.
Inspecting your RV roof for any visible damage and other signs of wear will help you determine the best time to reseal.
Since prevention is always better than cure, a proactive approach to roof maintenance will save you both time and money in the long run.
Learn more here: How Often To Reseal And Recoat An RV Roof
How Much Does it Cost to Reseal an RV Aluminum Roof?
One major factor affecting the cost of resealing an RV aluminum roof is whether you choose to do it yourself or hire a professional.
If you're a DIY enthusiast with experience in this area, you can expect to spend between $200 to $500 on materials and tools for the job.
With this range, you can cover the cost of sealants, cleaning products, and other necessary items.
On the other hand, hiring a professional to reseal your RV roof can cost you around $1,000 to $2,000.
The cost is determined by factors such as your location, your RV's size, and the resealing process's complexity.
However, hiring an expert ensures a quality and long-lasting seal.
Final Thoughts
Maintaining your RV's aluminum roof is crucial in keeping it in top-notch condition.
As you now know, sealing an RV aluminum roof demands cleaning, removing old sealants, and applying a primer specifically for aluminum.
Remember to take your time when preparing the roof and pay close attention to any existing damage.
Lastly, don't forget that your choice of sealant affects the quality of your repair job.
It's important to use products specifically designed for aluminum roofs to ensure durability and longevity for your RV.
With these steps in mind, you'll be well on your way to extending your RV roof's lifespan and enjoying worry-free travels.
Safe travels, and happy camping!