Do you have a Honda Odyssey with a sliding door that sometimes closes and sometimes doesn’t? Do you want to know how to fix it? You’ve come to the right place, for we have researched this question, and we have the answer for you.
Here is a summary of the steps that you need to follow to fix the sliding door on your Honda Odyssey:
- Remove the fastening screws to the panel cover.
- Open the sliding door halfway.
- Remove the panel.
- Remove the back seats.
- Uninstall the wall panel to access the cable.
- Loosen the cable.
- Remove the cable from the roller assembly.
- Order a replacement roller assembly.
- Once you get the replacement, transfer the hinge to the new roller assembly.
- Install the new roller assembly by locking the cables into it.
- Tighten the cable.
- Reinstall the door.
- Reinstall the panels.
- Reinstall the seats.
Learn the complete steps in the sections below.
Read on!
![mataram indonesia Honda ODYSSEY Crystal Black, How To Fix Honda Odyssey Sliding Door [Step By Step Guide]?](https://vehq.com/wp-content/uploads/2022/11/1How-To-Fix-Honda-Odyssey-Sliding-Door-Step-By-Step-Guide.png)
Common Problems With The Sliding Door Of Honda Odyssey
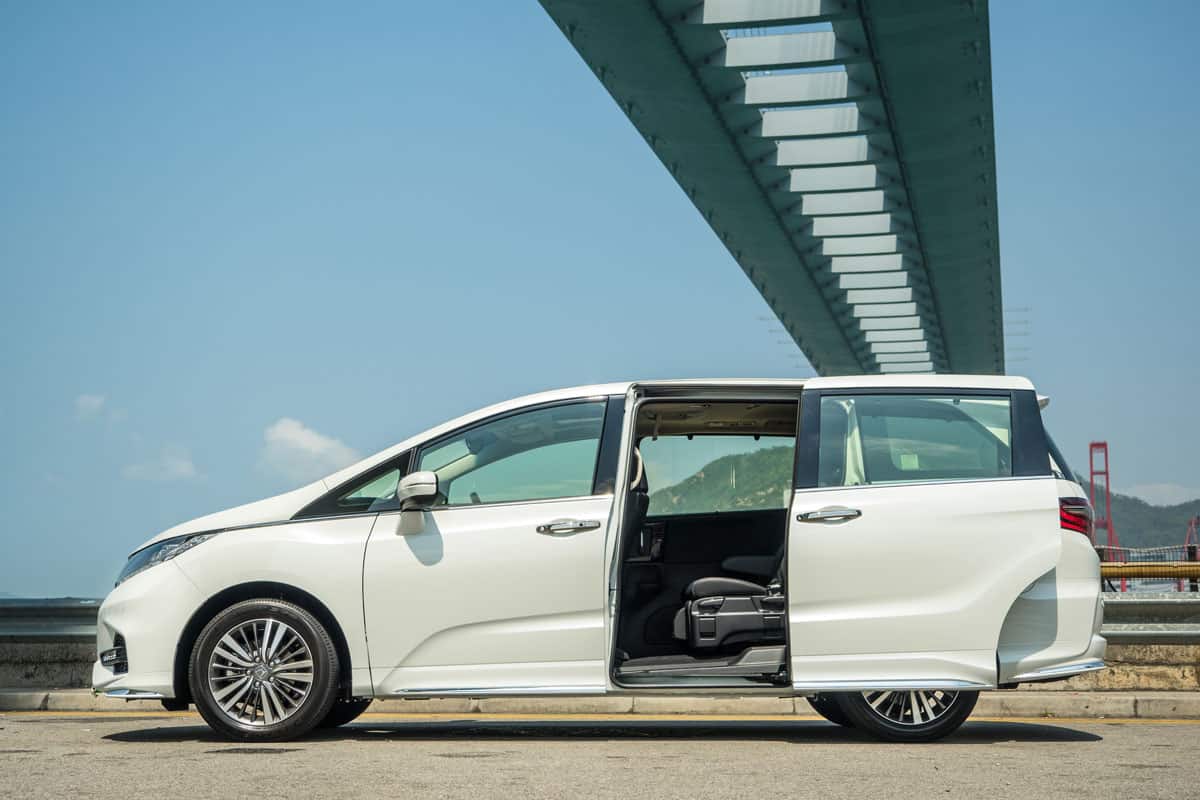
The Honda Odyssey is a minivan. Starting with the second generation in 1999, the rear doors were replaced with electronic sliding doors. This became a distinguishing characteristic of the Honda Odyssey.
The sliding door comes with manual and electric models. Unfortunately, the problems that plague the electric models are present in the manual models too.
Door Is Beeping
There is an alarm that goes off when you do not close the door properly. In some cases, the alarm will go off because the power lock is not engaging.
- Switch the door temporarily to manual.
- Turn off the door’s power supply to turn off the beeping.
- Look for the rubber bumper in the upper rear area of the door. It prevents the door from slamming to the metal edge when you open the door.
- Make sure that the rubber bumper is not loose. If it is loose, tighten it. The computer interprets a loose rubber bumper as a partially open door.
- If you can’t tighten it anymore, replace it.
No Power Issue
The sliding door of the Honda Odyssey has an electronic model. This means that it will not work properly if it doesn’t get power. The door can also fail to latch if it is not getting any power.
- Check the user manual for the location of the fuse blocks in the engine bay and inside the passenger cabin.
- Locate the fuses for the sliding door and replace any with a broken filament.
- Turn off the power to the sliding door. Even though the door has no power, you have to turn it off before working on it.
- Close the door manually.
- Turn the ignition on.
- Turn on the power for the door. This should reset the door, and it should now work.
How to fix a sliding door that doesn’t open all the way?
Worn rollers on the sliding door of your Honda Odyssey will make it difficult for the door to slide open.
The motor of the sliding doors has a speed sensor. If the movement speed while closing or opening the door suddenly changes, the computer will think that there is something stuck. The door will stop moving in this situation or move in reverse.
The change in speed can be due to dirt or debris on the track. However, if the problem is still there after cleaning the track, then the problem would be the rollers. Worn rollers will create resistance when opening or closing the door.
You can verify if it is a roller issue by opening the sliding door. Then pull at the end of the door perpendicularly. There should be no play when you pull the door.
If there is perpendicular movement when you pull the door, then the rollers are worn and are no longer holding the door in place.
Here are the steps that you need to follow to replace the rollers of your Honda Odyssey’s sliding door.
Preparing Your Honda Odyssey

- Park your Odyssey on level ground. Ideally, it should be in a place where it would not be disturbed while you work on it.
- Activate the parking brakes and place the transmission in "Park (P)."
- Use some painter’s tape to cover over the paint on the side of the Odyssey that you will be working on. This will protect the finish from any parts that fall off and hit the side while you work on it.
Removing The Side Panel
- Open the rear door.
- Remove the side panels along the "D" pillar. Use plastic trim removers to prevent damage to the panels. You will have to clear any items that are on the panels first.
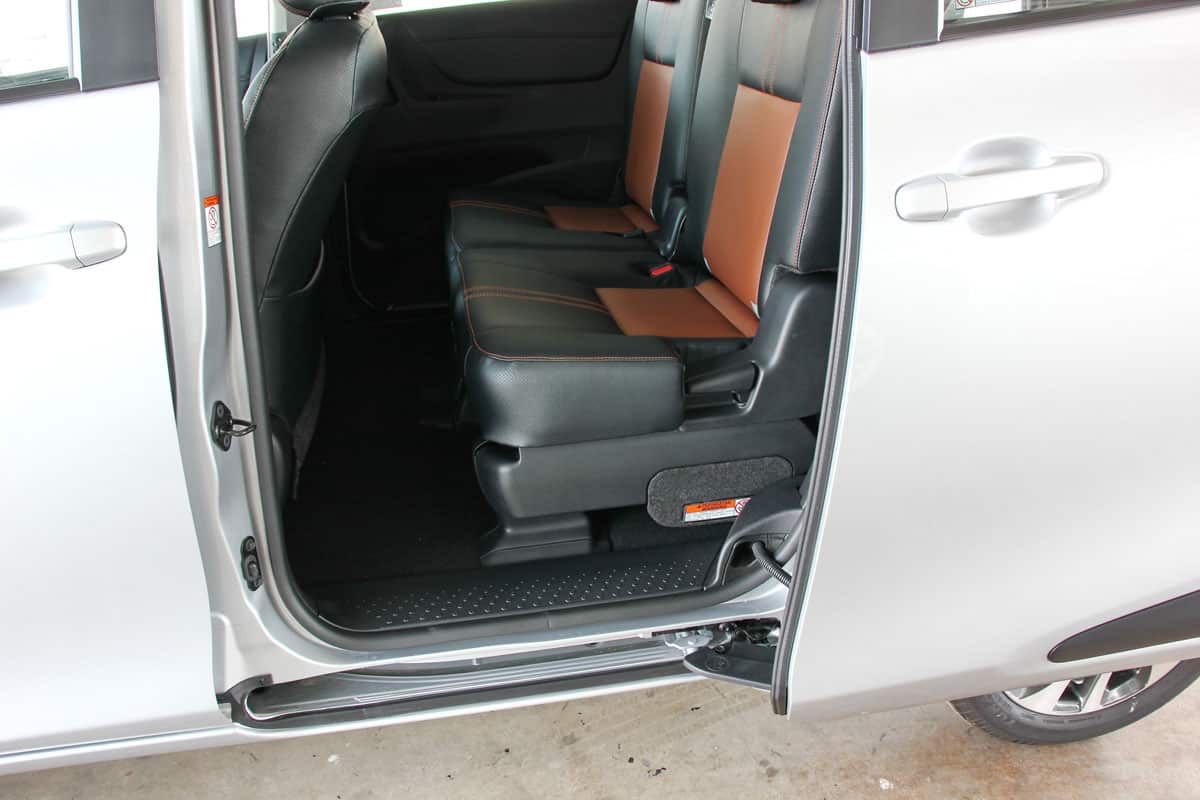
- Lift the plastic cover of the third-row seat from the back and remove the bolt.
- Fold the third-row seat.
- Unlatch it from the floor and lift it out of your Odyssey.
-
- You can also unscrew the second-row seat to give you more working room if you want.
- Remove the seatbelt bolt from the bottom.
- Pull out the weatherstripping for the rear door.
- Unscrew the rear panel.
- Lift up the rear panel from the bottom to unclip it from there.
- Unscrew the fasteners on the side panels. Watch out for the hidden screw in the tool compartment.
- Use a trim remover to remove the speaker grill, then unscrew the speaker to get access to the screw behind it.
- Carefully pull the side panel, but not all the way.
- Slide the seatbelt out of the side panel.
- Remove the side panel.
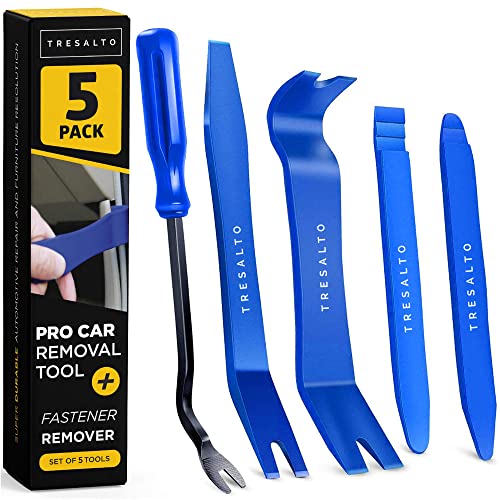
Trim Removal Tool Set is available on Amazon through this link.
Removing The Outside Panel
- Carefully peel off the plastic cover.
- Look for the tension adjuster for the sliding door. Loosen the tension by rotating it.
- Open the sliding door manually and look for the screw while you’re standing at the sliding door opening and facing the rear. Remove that screw.Spray some penetrating oil on the screw if it is difficult to remove.
- Use a trim remover to open the screw covers around the taillight.
- Unscrew the taillight.
- Use a trim remover to push the taillight out towards the back.
- Disconnect the electrical wires from the taillight assembly.
- Remove the screw that holds the outside panel in place from where you removed the taillight assembly.
- Open the window of the sliding door.
- Open the sliding door. With the window down, the door will only open halfway, which is what you need.
- Push the metal outside panel towards the door to unlatch it. You will not be able to do this with the door closed because it will be in the way. Carefully remove the metal panel to avoid scratching the paint.

Free All Rust Eater Deep Penetrating Oil is available on Amazon through this link.
Removing The Door
- Use a marker to mark the exact position of the hinge that holds the door in place. It is important to reattach the door later in that exact position, or the door will have problems opening and closing.
- Get a floor jack (the wheels on the jack are important) and place a block of wood on top of it.
- Position the length of the wood parallel to the length of the door.
- Raise the jack until it touches the bottom of the door, supporting it.
- Remove the two bolts that hold the door to the hinge.
- Carefully “wheel” the jack and the door away from the body to give you enough working room to remove the roller assembly.
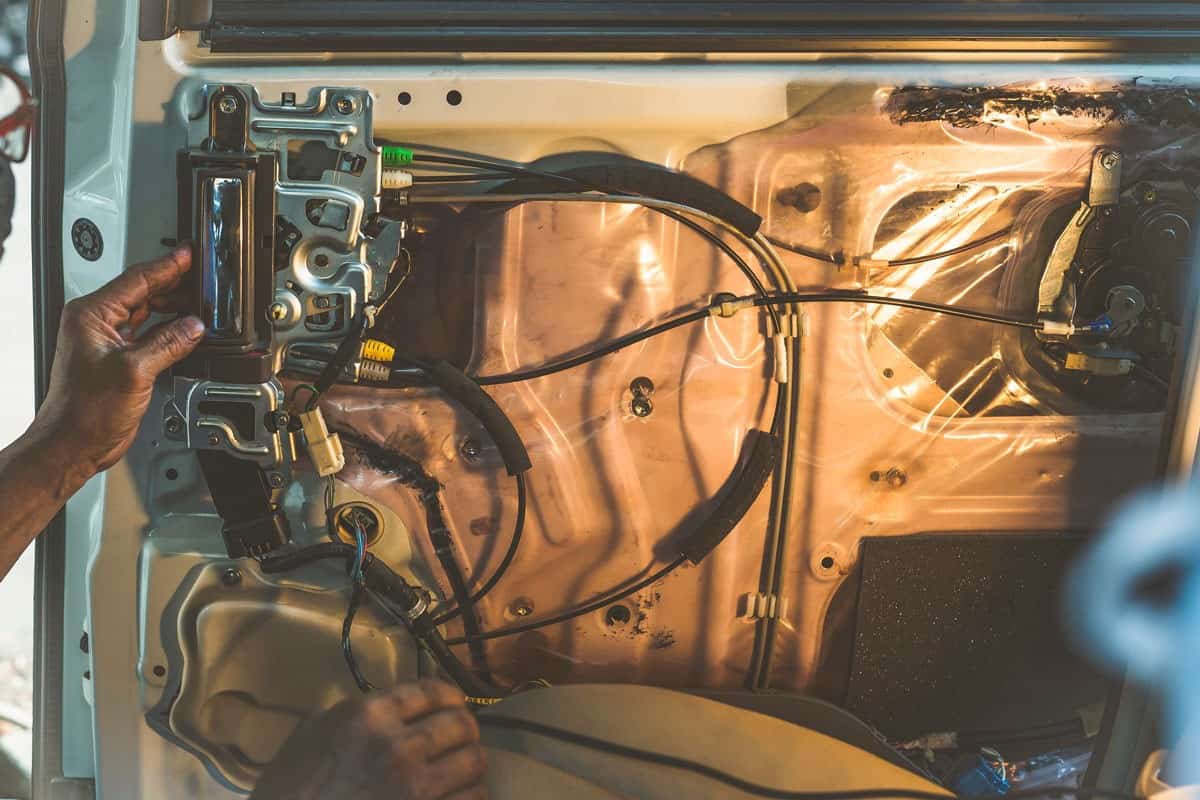
- Remove the roller assembly from the side of the Odyssey, unhooking the cables.
- Swing by a Honda dealer near you and get an exact match to replace the problematic roller assembly.

Hydraulic Trolley Jack is available on Amazon through this link.
Preparing The Replacement Roller Assembly
The part of the roller assembly that connects it to the door is not part of the assembly. Thus, the first step is to transfer that to the new roller assembly.
- Remove the C-clip that holds the hinge rod in place.
- Push the metal rod out. If it is a bit rusty, you can apply some penetrating oil and then tap it with a hammer. Be careful not to hit it too hard and bend it.
- Clean it of corrosion or rust.
- Apply some grease on the rod to protect it from rust.
- Position the hinge and the roller assembly together, then insert the connecting rod into place.
- Give the rod a light tap.
- Lock the rod in place with the C-clip.
Installing The Replacement Roller Assembly
- Reinstall the roller assembly by locking the ends of the two cables into the assembly.
- Insert the assembly back into the track.
- Roll the door close to the assembly.
- Align the hinge to the marks that you made.
- Reinstall the two bolts that fasten the hinge to the door.
- Tighten the tensioner from inside the Odyssey.
- Test the door for alignment.
- If everything is working, reinstall all the parts that you took off, starting with the outside trim.
- Reinstall the taillight.
- Reinsert the seatbelt into the side panels then reinstall the inside panels.
- Reinstall the rear panel.
- Reinstall the speaker.
- Bring the third-row seat in and reinstall it.
Conclusion

Most of the problems with the sliding door of the Honda Odyssey are easy to fix, except for the rollers. When the rollers go bad, you will need to replace them.
If you enjoyed reading this article, you might find the articles below equally enjoyable to read:
How To Unlock Honda Odyssey Door Without A Key [What To Do If You Are Locked Out!]?
Remove Honda Odyssey Middle Seat Quickly & Easily – How To Guide