Blue Devil head gasket sealant on your head gasket can be a bit difficult to deal with, and you might find yourself scraping it off as hard as you can with no luck. We have researched the proper way of getting rid of it without scratching the engine block.
The best way to remove Blue Devil head gasket sealer is to spray either sodium hydroxide or potassium hydroxide on it. These chemicals will dissolve the sealant enough so you can scrape it off gently with a scraper.
If you want to remove the blue devil head gasket sealer, you need to know a few things first. We've outlined the steps required to remove it in this article so that you can proceed with confidence.
What is Blue Devil Head Gasket Sealant's Main Active Ingredient?
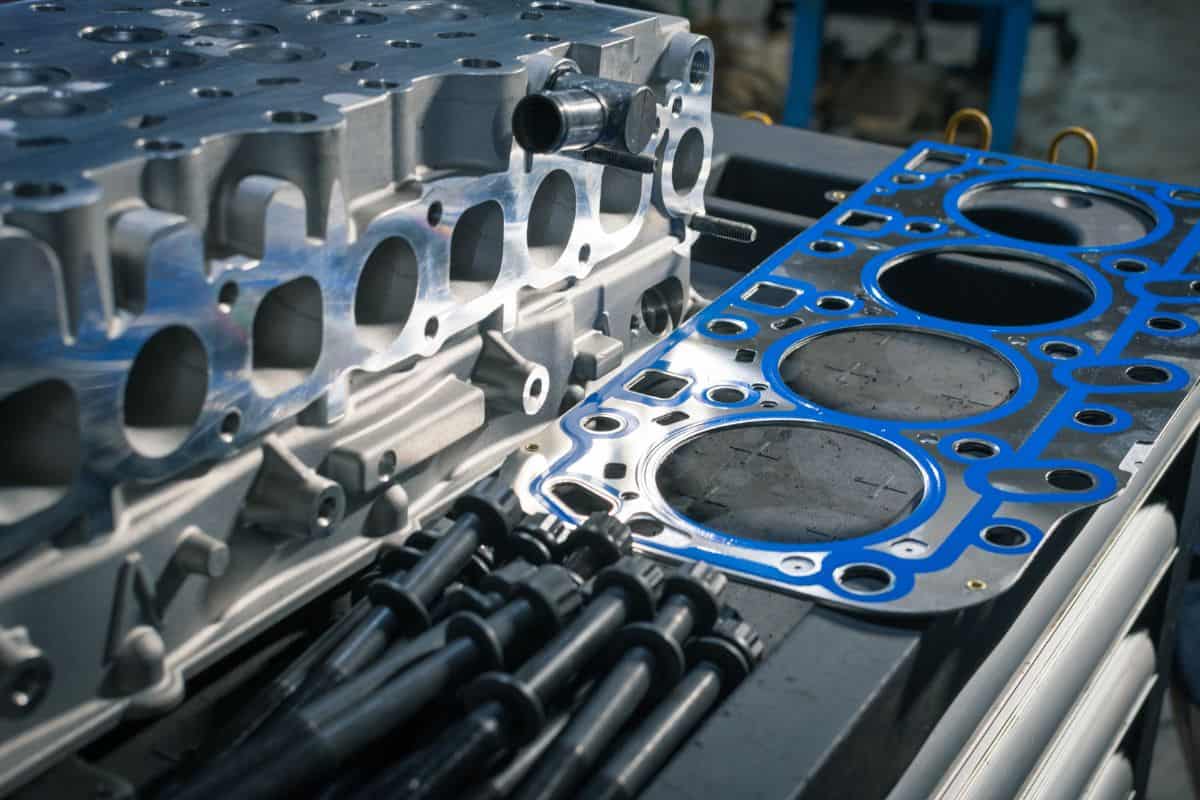
![Block with installed cylinder head gasket, How To Remove Blue Devil Head Gasket Sealer [Quickly & Efficiently]](https://vehq.com/wp-content/uploads/2022/12/block-with-installed-cylinder-head-gasket.-Repair-of-a-turbocharged-diesel-engine-in-a-car-workshop.-Close-up.-Blur-effect.-How-To-Remove-Blue-Devil-Head-Gasket-Sealer-Quickly-amp-Efficiently.png)
Blue Devil's head gasket sealant has sodium silicate as its active ingredient. Sodium silicate works in conjunction with heat and oxygen.
As sodium silicate traverses through the engine block looking for cracks, it settles once it finds one and reacts to the operating temperature and oxygen by forming a strong chemical bond that seals the crack.
Blue Devil head gasket sealant is strong enough to withstand the high-temperature conditions in the engine block, but it isn't easy to remove.
One of the most common ways of removing Blue Devil head gasket sealant is by attempting to scrap it off.
This practice is highly discouraged as you can potentially scratch the engine block. A minor scratch and heat is all that is needed to develop into a crack over time.
How to Remove Blue Devil Head Gasket Sealant Safely and Effectively
When you're looking to remove the hardened gasket sealant that is built up around the engine block, it's important to remember that you're dealing with a very thick and tenacious substance.
It's best to prepare yourself ahead of time, ensuring that you have the proper tools needed for the job. Here are some tools to get you started:
- Sodium or potassium hydroxide
- Safety goggles
- A pair of automotive gloves
- Plastic scraper
- Torque wrench
Once you've got all the necessary equipment, it's time to get started!
(Just a caveat: taking a cylinder apart from the engine block where it sits is typically not a DIY venture. It requires a high level of skill and expertise.)
1. Disconnect the battery
When disconnecting the battery from the car, it's always a best practice to start with the negative cable, followed by the positive cable.

Check out this safety goggles on Amazon.
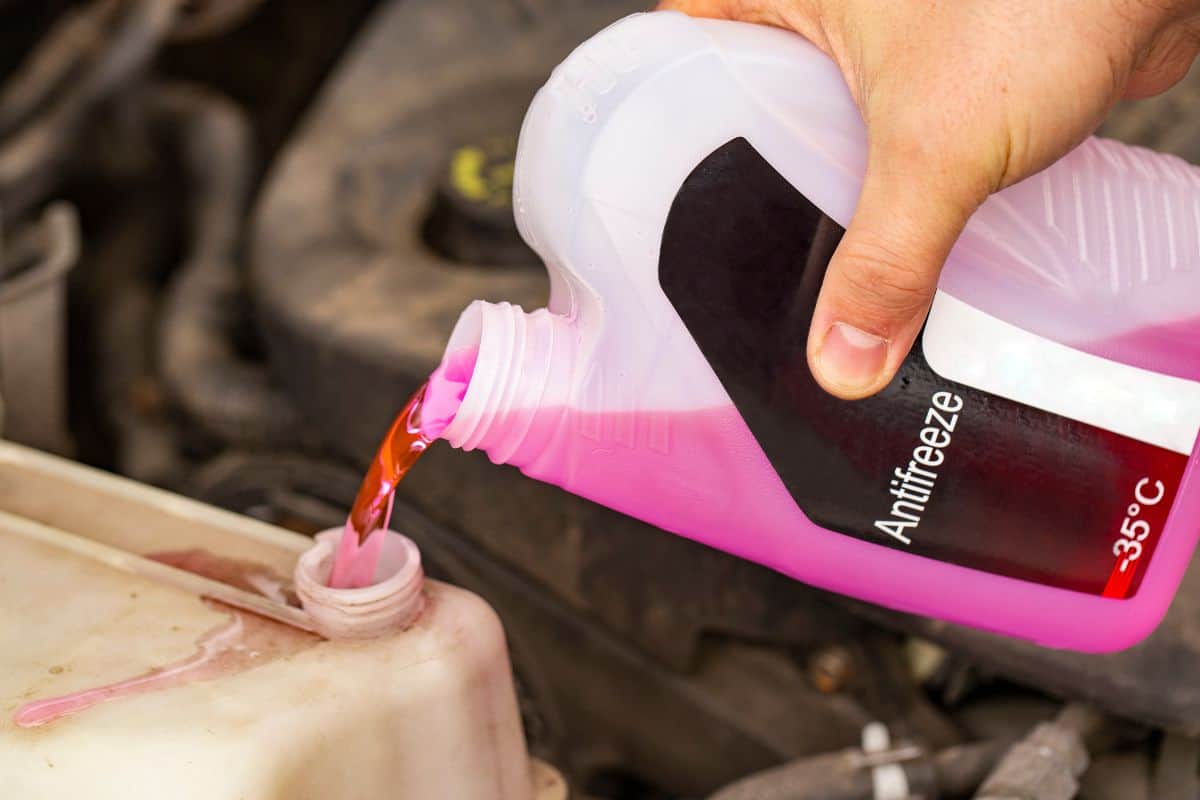
2. Drain both engine oil and coolant
Place a catch basin under the engine before unplugging the oil drain plug. Once you have the engine oil drained, do the same to the coolant.
Place another catch basin underneath the radiator drain valve. Open the radiator cap and loosen the drain valve. Let the coolant drain until the coolant reservoir is empty.

Check out this mechanic's gloves on Amazon.
3. Inspect thoroughly how the cylinder head is attached to the engine block
Engine disassembly is a complex process and there are many small pieces that make up the entire engine. Many of these pieces require a lot of attention and patience to get them all lined up just right.
The cylinder head is a very large component and can take some time to remove. As such, it's important to follow a thorough checklist of steps for your engine disassembly.
Make sure to take note of how the parts and bolts fit together so you can get everything back in place. You can take a video so you can review it later when it's time to put the engine back together.

Check out this plastic scraper on Amazon.
4. Remove the bolts
When loosening cylinder bolts, it's common practice to loosen the bolts in a particular order. This makes sense because the loosened bolts allow for easier movement of the other bolts.
Your car's manual should have the information you need regarding bolt tightening and loosening sequence. To help you understand why the cylinder bolts need to be loosened sequentially, here's a visual explanation.
5. Lift the cylinder head assembly
Once you have all the bolts removed, you should be able to lift the cylinder head. Inspect the head gasket between the cylinder head and engine block for sodium silicate. You might want to replace the head gasket while the head is off.
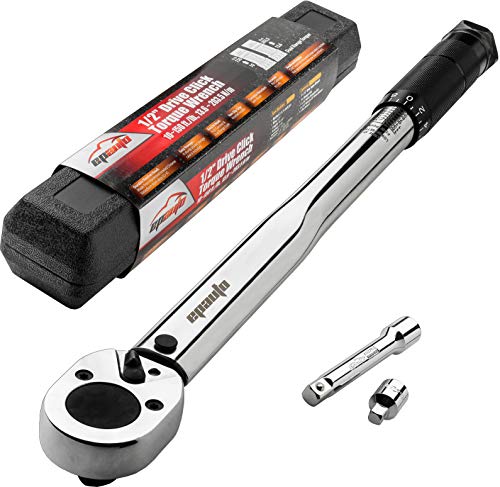
Check out this torque wrench on Amazon.
6. Spray the mating surface with sodium or potassium hydroxide.
The best solvents for sodium silicate are sodium hydroxide and potassium hydroxide. Spray a generous amount of any of these chemicals (depending on what you have) on the mating surface.
Let it sit for a few minutes and allow the chemical to work on the hardened sodium silicate. You should be able to scrape it away with a putty knife or any similar tool suitable for scraping.

Check out this potassium hydroxide on Amazon.
7. Reassemble the engine
Once you have removed the sodium silicate, you can reassemble the engine. Once done, refill the car with engine oil and coolant. Don't forget to connect the battery.
Should I Use Blue Devil Head Gasket Sealant After Replacing Head Gasket?
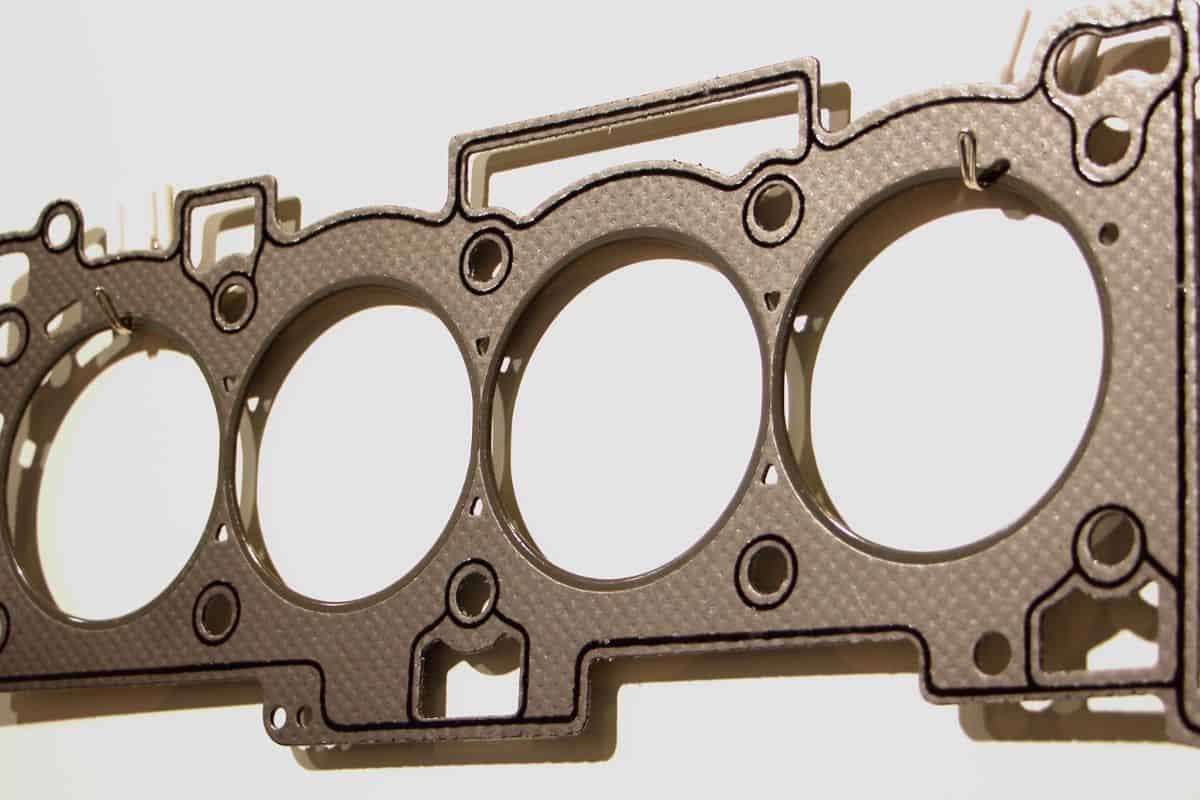
In the past, steel gaskets need some prep work done on the mating surface to maximize the sealing ability of the head gasket. This is usually done by polishing and applying gasket sealant on the surface.
If you find that the mating surface has been reshaped after removing the old head gasket, have it resurfaced right away before installing a new head gasket.
Modern head gaskets, however, are engineered to provide the tightest seal possible without the need for gasket sealants.
How Many Times Can I Use Blue Devil Head Gasket Sealer?
If you find that a new leak is occurring after you've applied the Blue Devil sealant, it could be due to a new leak that is happening after the last time you applied the product.
There is no limit to the number of times you can apply Blue Devil head gasket sealant. You can always use it again for more effective results.
When you apply a product like the Blue Devil head gasket sealer, it's important to follow the manufacturer's instructions carefully and to read all the instructions and warnings that come with the product.
Is Blue Devil Head Gasket Sealer a Permanent Solution?
Depending on the severity of the head gasket leak, your car may or may not be repairable with a gasket sealer. In most cases, gasket sealers are band-aid solutions that temporarily fix the problem.
Nonetheless, there are head gasket sealers that can be applied to your head gasket to make it more resistant to further leaking.
They may be able to maximize the sealing performance of a head gasket, but they can potentially make things worse by pushing the gasket out of place.
That's all there is to it. Gasket sealers can't fix the underlying issue and you should not rely on them to do so. So if you notice any further leaks, it's best to schedule a mechanic to look at the leak and figure out the best way to repair it.
Things to Look Out For After Replacing Head Gasket
A head gasket replacement will be in vain if your car is experiencing an overheating issue that is not yet addressed. Sooner or later, that new head gasket will fail prematurely. This is because overheating is the principal cause of a blown head gasket.
Here are a few things that you should look out for after replacing a head gasket:
1. Coolant leaking / reduced coolant levels
Coolant levels must be maintained at a certain level. If your coolant levels are low, the coolant may not be able to move through the radiator and cool the engine enough. This can cause the temperature of the engine to rise.
An aging radiator is the main cause of coolant leaking out from your car. Check the radiator for corrosion. The tubes in the radiator could be eaten up by rust and they might be slowly losing structural integrity, causing a leakage.
Also, check the sealing gasket between the radiator and the tank. If you see any coolant leaking out in these areas, chances are the gaskets are already worn out.
2. Clogged coolant hose
A clogged radiator or coolant hose is never a welcome sight. While this may seem like a small inconvenience to you, it can be very detrimental to your car's engine if not taken care of promptly.
With a regular flow of coolant flowing through the radiator, the normal operating temperature of the engine will stabilize. So, if your coolant hose is clogged, the engine temperature will naturally increase.
You can easily check if your coolant hose is clogged or not by disconnecting it from the radiator. Insert a garden hose on one end of the hose and let some pressurized water run through it. This should clear the clog if there's any.
3. Broken water pump
The water pump in your car works by circulating coolant throughout the engine. It does this by drawing the coolant from the radiator and then pushing it to the engine.
Obviously, if the water pump is damaged, your car will fall short of the required volume of coolant to maintain a proper operating temperature.
The quickest way to find out if you have any issues with your water pump is to check the water pump pulley which you'll find under the hood. Try to move it around and see if it moves. If it does move, there's a higher probability you have a failing water pump.
4. Broken radiator fan
A broken radiator fan can prevent cool air from being pulled inside the radiator. It's possible that this can be caused by a blown fuse. However, it's also possible that some object or debris might have gotten in the way and prevented the fan from spinning.
In Closing
Blue Devil head gasket sealer is a difficult product to remove. If you do decide to use a chemical solution, sodium hydroxide and potassium hydroxide are your most effective bet. Use these chemicals with care, but if you're looking for the quickest way to dissolve a Blue Devil head gasket sealer, then either of these two is the way to go!
You might also like: