It is vital to understand how to remove a toolbox from your truck bed to ensure it is done correctly and safely. Would you like to know how to remove a toolbox from your truck bed? Well, we have researched this topic and have answers for you.
To remove a toolbox from a truck bed, you want to:
- Empty the toolbox of tools and debris
- Remove the nuts off the toolbox's securing bolts
- Remove the securing bolts
- Have two people lift the toolbox off the truck
- Remove any old foam padding
In this article, we will discuss how to remove a toolbox from a truck bed. We will also answer other interesting related questions: installing a toolbox in your truck bed and installing a toolbox without drilling. With that said, let's dive into this topic!
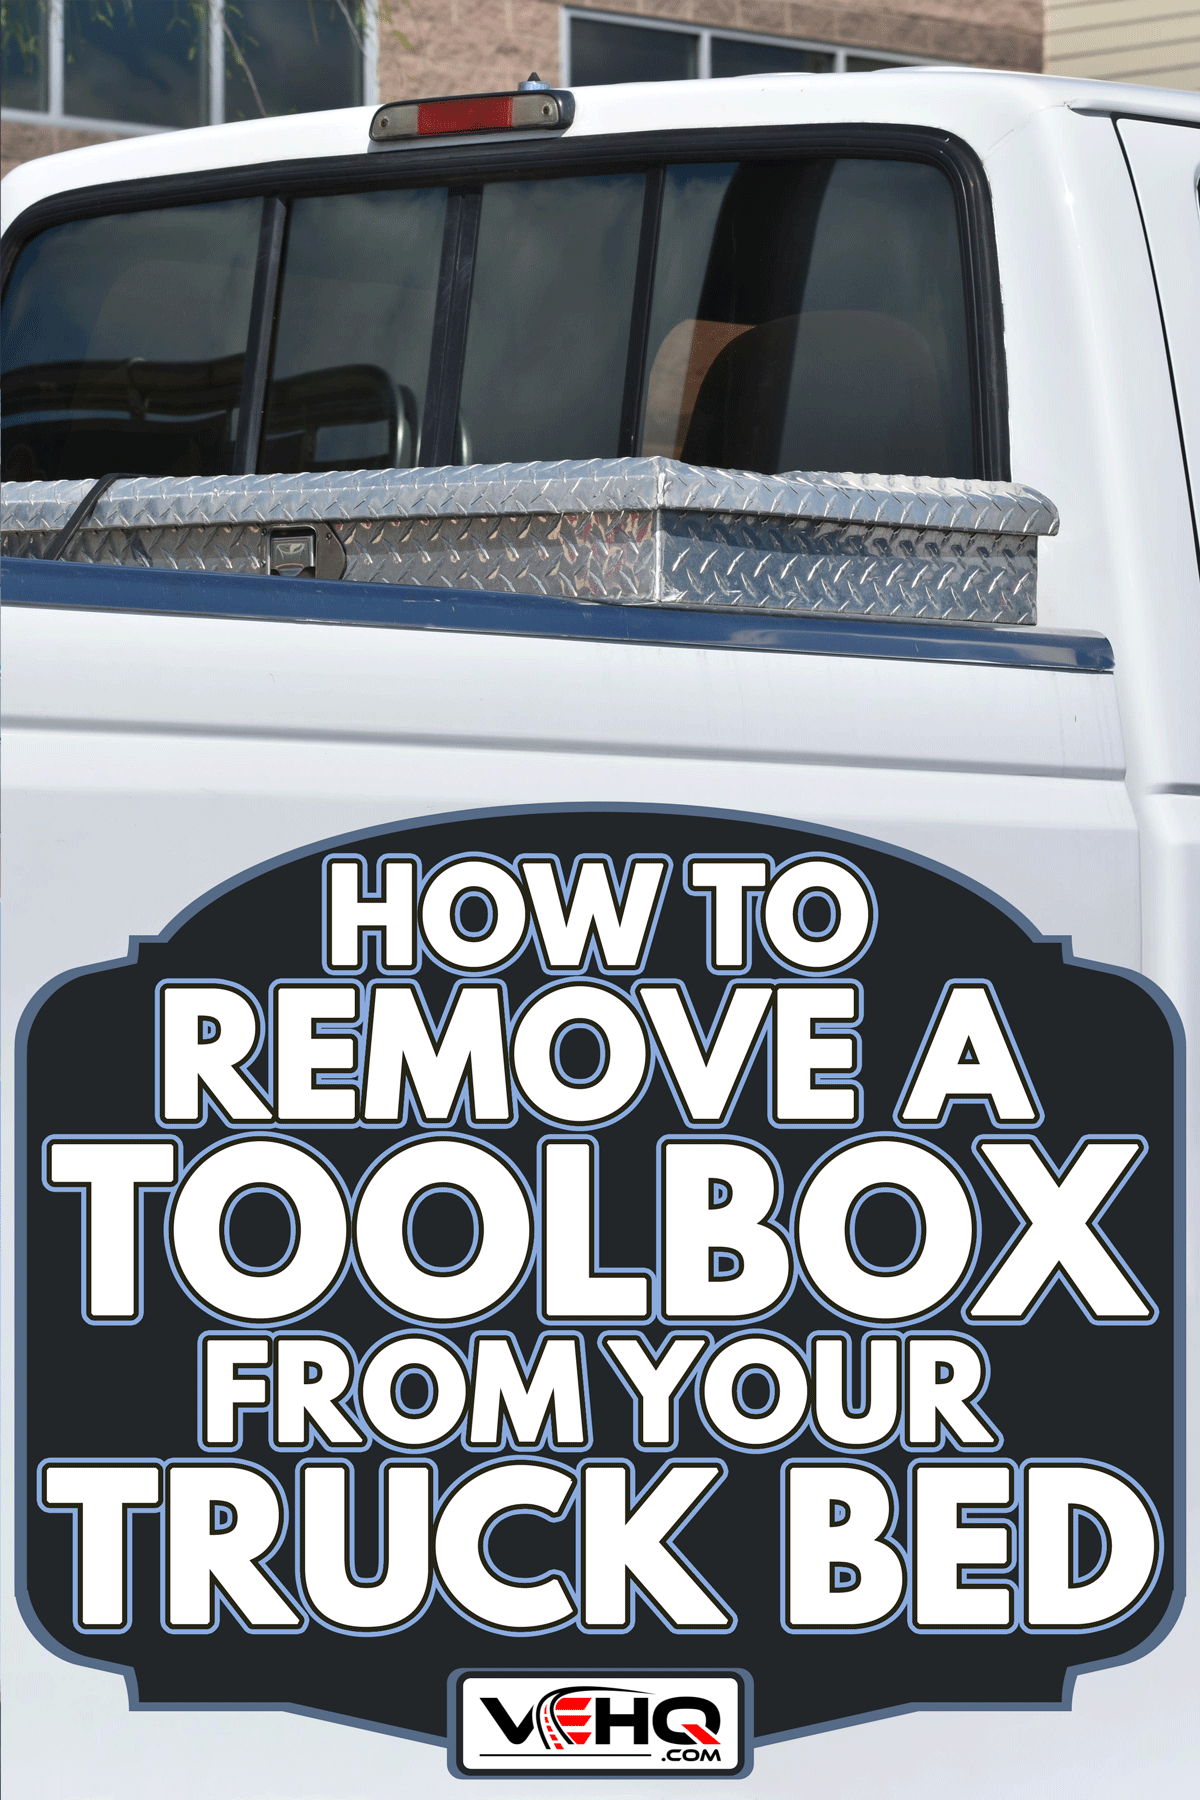
How To Remove A Toolbox From A Truck Bed
When you want to remove a toolbox from your truck bed, you need to follow steps that ensure it is removed right. Let's look at the steps required to remove a toolbox and discuss why each step is necessary.
Empty The Toolbox Of Tools And Debris
The first step to removing a toolbox from your truck bed is removing all the tools and debris that can make removing the toolbox more difficult. Not only are toolboxes full of tools, but debris as well. This debris is often made of leaves and dirt that stick to tools and accumulate in the toolbox.
Failing to remove all the tools and debris from a toolbox will make the box heavier and harder to remove. Also, grim stuck to the securing bolts can make removing the nuts challenging.
Start by removing all the tools from the toolbox. Then clean out all the remaining leaves and dirt. Finally, wipe down the inside of the toolbox with a wet washcloth, especially the securing bolts and area around them, to ensure the nuts come off the bolts easily.
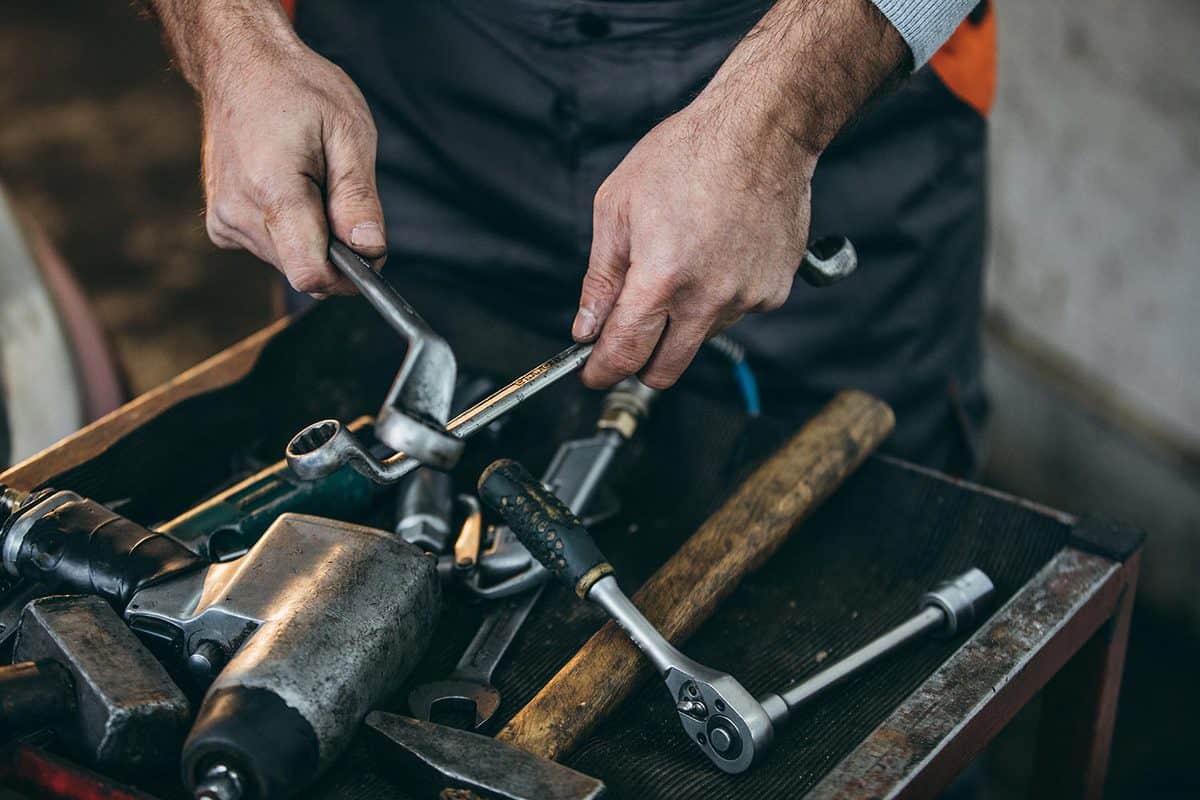
Remove The Nuts Off The Toolbox's Securing Bolts
The next step to removing a toolbox is to remove the nuts off the toolbox's securing bolts. The toolbox will be firmly attached to the truck bed without these bolts removed.
Find either a wrench or socket wrench of the same size as the nuts on your toolbox's securing bots. An adjustable wrench will work as well. Then remove the nuts by twisting counterclockwise.
Once the nuts are entirely off the bolts, you can store them for later use.
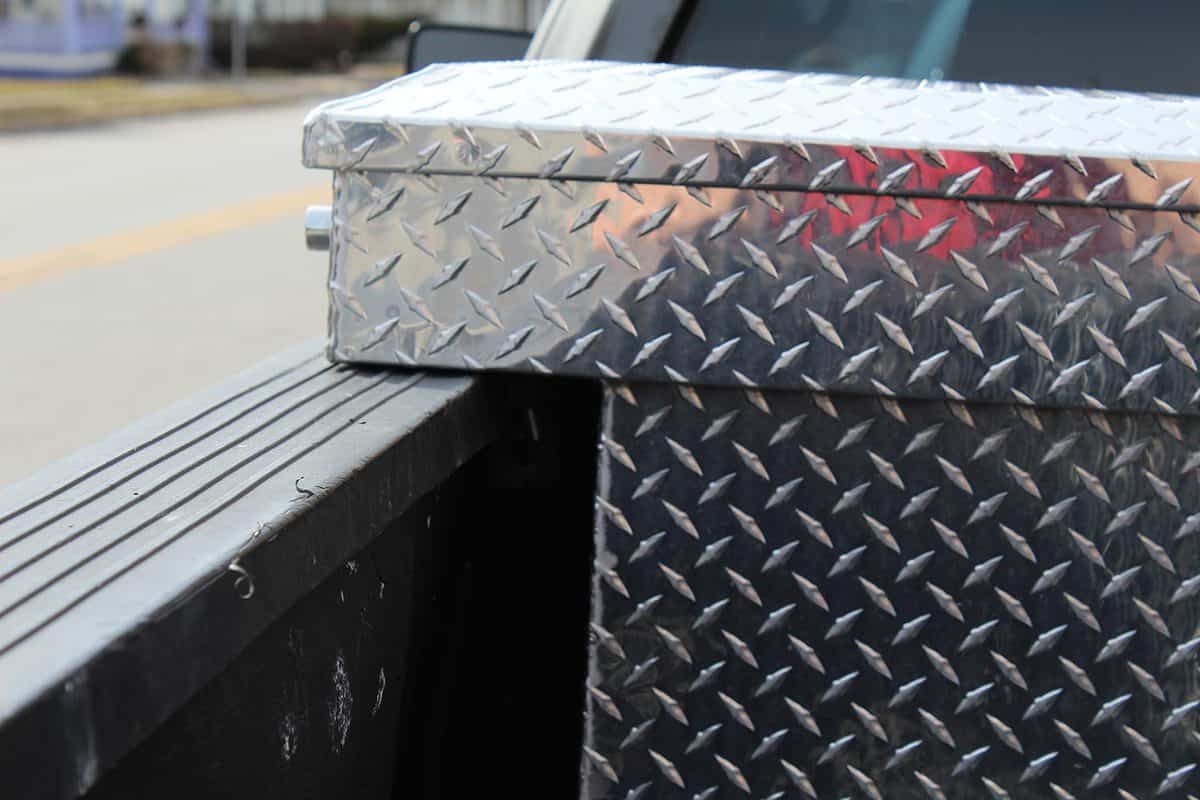
Remove The Securing Bolts
Now that the nuts are off the toolbox's securing bolts, you can remove the securing bolts themselves. Reach under the truckbed's railing and slide the securing bolts down and out.
Like the nuts, you can store these bolts for later use, possibly as spare bolts for a new toolbox.
Have Two People Lift The ToolBox Off The Truck
With the securing bolts entirely removed, you should now be able to move the toolbox. To remove the toolbox, you will need another person to assist you.
Truck toolboxes weigh around fifty pounds, and their weight is distributed across a large area. These two facts make moving a toolbox difficult alone. To decrease your likelihood of injury, it is highly advised that you have at least two people total to move the toolbox.
Lift each side of the toolbox so that the toolbox is several inches above the truckbed's railing. From here, you have two options. Next, either rotate the toolbox to set it down sideways in the truck bed and slide off the back of the truck or walk the toolbox off the back without setting it down.
If the two people lifting the toolbox are strong enough to carry it in one single lift off the back of the truck, this is the preferred method, as it doesn't risk scratching the bottom of your truck bed.
Some truck beds are for work, and scratches aren't an issue, so if this is the case sliding the toolbox down and out the back of the truckbed is easier since it doesn't require as much lifting.
Remove Any Old Foam Padding
Now that the toolbox is off the truck bed, the only thing remaining is removing any old foam padding. It is common to place foam padding when installing a toolbox to keep the toolbox from damaging your truck's paint.
If any of these old foam pads remain, you should remove them. These foam pads aren't viable for reuse since the toolbox will have compressed the foam reducing its ability to protect the paint on your truck bed's railing.
To remove the foam pads, peel them off like stickers. The pads could be challenging to remove and may require a metal scrapper.
Once the foam pads have been removed, you can optionally spray an adhesive remover to remove any leftover adhesive. Doing this last step will restore the original look of your truck bed's railing.
If you follow all of these steps, you will have removed a truck's toolbox correctly and safely.
How To Install A Toolbox In A Truck Bed
To install a toolbox correctly in your truck bed, you must follow specific steps to ensure it is adequately secured. Let's look at each of these steps and learn how to install a toolbox in your truck bed.
Install Foam Pads
When installing a toolbox, you should place the foam pads that protect the paint on your truck bed's railing. To install the foam pads peel off the paper on the sticky side of the pads and place them on the truck bed's railing.
The exact location isn't too important since you won't be able to see the pads, but you must not place the pads directly over where the securing bolt is inserted, or you will block the bolt.
Place The Toolbox In Your Truck Bed
Now have at least two people lift the toolbox on your truck bed. Be sure to have assistance with part since moving the toolbox yourself can be dangerous.
Adjust the toolbox so that it hangs over each railing the same amount. This will ensure that the toolbox is centered in the truck.
Mark Where The Toolbox's Holes Are On The Truck Bed's Railing
Now that the toolbox is in the correct position, you need to prepare the drill holes for the securing bolts. If there aren't already holes for securing bolts that align with the toolbox, you will need to drill new ones.
Take a marker and mark a dot where each toolbox's holes line up on the truck bed's railing.
Drill Holes On The Marks
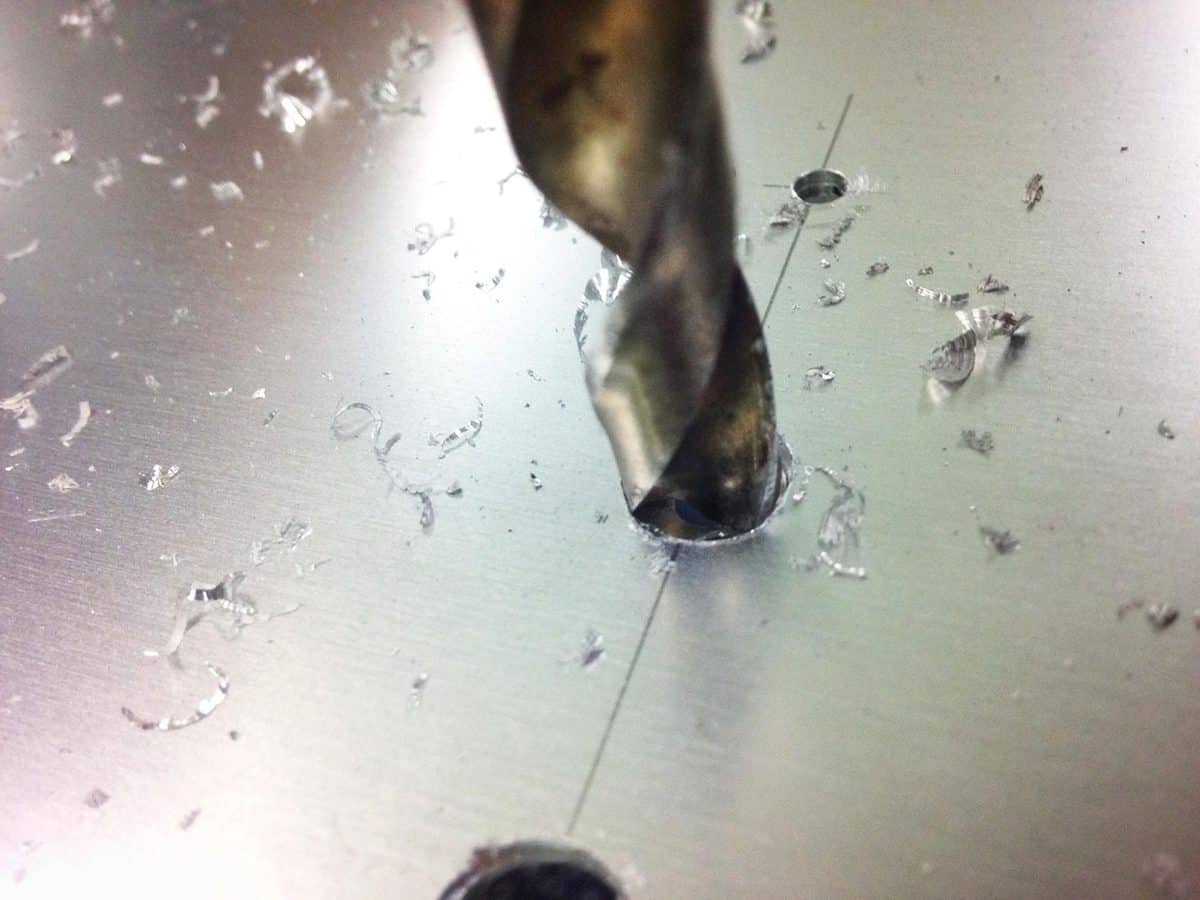
Before you drill the holes, slide the toolbox back a few feet so that you have room to drill.
To drill the holes, locate a drill with a drill bit slightly larger than the diameter of the bolts for your toolbox. If the holes are too large, the toolbox will slide, and if the holes are too small, then the bolts won't fit.
Now drill holes where you marked earlier.
Insert Bolts Into Drill Holes
Slide the toolbox back into place and ensure that the holes you've drilled align with the toolbox. Once you are sure that the holes are correctly positioned, insert the bolts into the drill holes.
If the bolts barely don't fit, you can try reinserting the drill and drilling up and down while slightly rotating the drill to increase the diameter of the hole marginally.
Secure The Bolts With Washers And Nuts
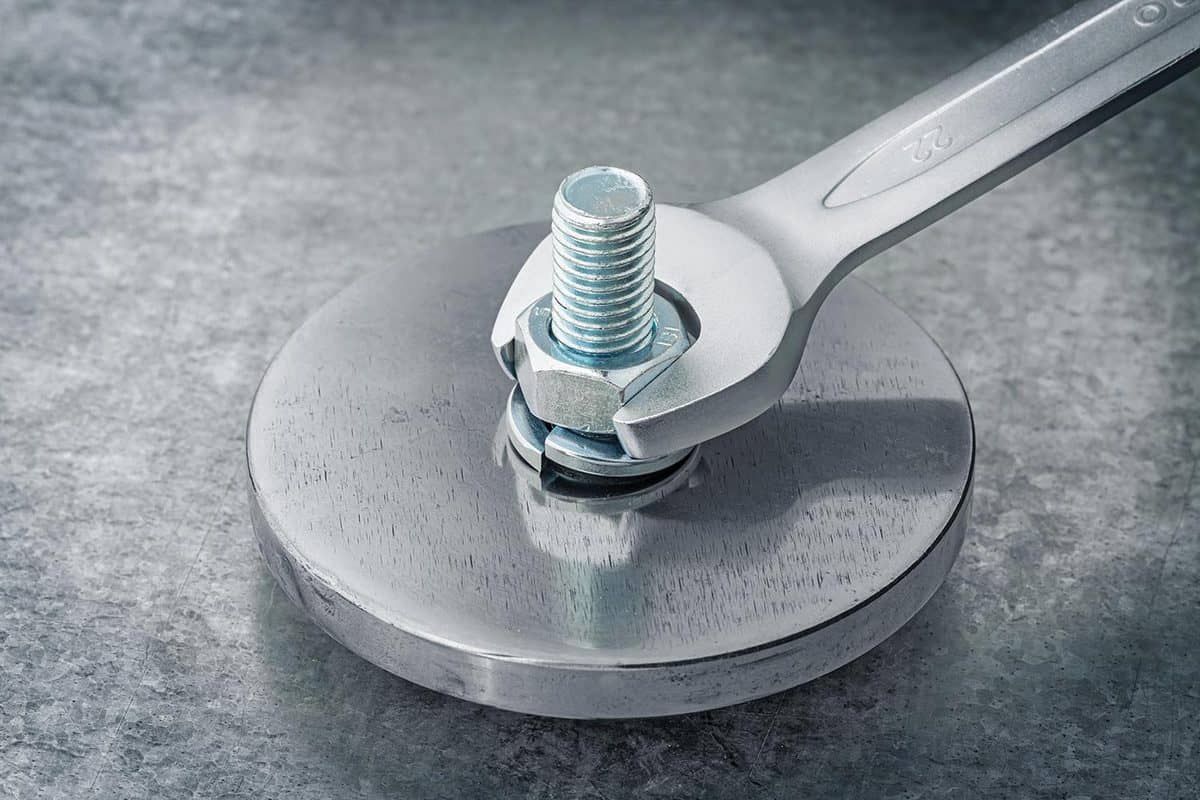
Now that the bolts are in place, secure them with washers and nuts. It is essential to use washers so that the force exerted on the nuts and truckbed's railing isn't too great.
Not only can not using washers damage the paint on your truck bed's railing, but it also may cause your bolts to sheer off and your toolbox to become loose.
Following these steps will ensure that your toolbox is appropriately installed.
Can You Install A Toolbox Without Drilling?
Yes! It is possible to install a toolbox into your truck bed without using a drill. If you would like to avoid drilling when installing a toolbox, a trick allows you to get around having to.
Use J Hooks
J hooks are a type of bolt that loops on one end like the letter J. These bolts can be used to secure your toolbox to your truck bed without drilling.
To install a toolbox without drilling, replace the standard bolt with a J hook. Hook the bottom of the J hook on the lip of your truck bed's railing and have the bolt go up through the holes in your toolbox.
Then secure the J hook in place with a nut and washer. A washer is needed to distribute the force across a larger area.
With this method, you will not need to drill into your truck bed's railing. J hooks can be bought online or at local hardware stores. With that said, be sure that the J hook is the correct size for your toolbox.

View these J hooks on Amazon here.
To Wrap It Up
In this article, we learned about the steps to remove a toolbox from your truck bed. We also learned the steps to install a toolbox in your truck bed.
Remember, you don't need to drill into your truck bed's railing when installing a toolbox if you use J hooks.
Made it to the end? Check out these helpful related posts below!