Listening to static in your car’s radio from an AM frequency isn’t an enjoyable experience. So how can you enhance the reception of your vehicle’s AM radio? We researched this concern for you, and here’s the answer we found.
You might only need to move your car to a location with better AM reception to enhance the quality of your radio-listening experience. However, you may need to change your vehicle’s radio antenna if you’re experiencing persistent low-quality AM radio listening. The steps for this particular procedure are:
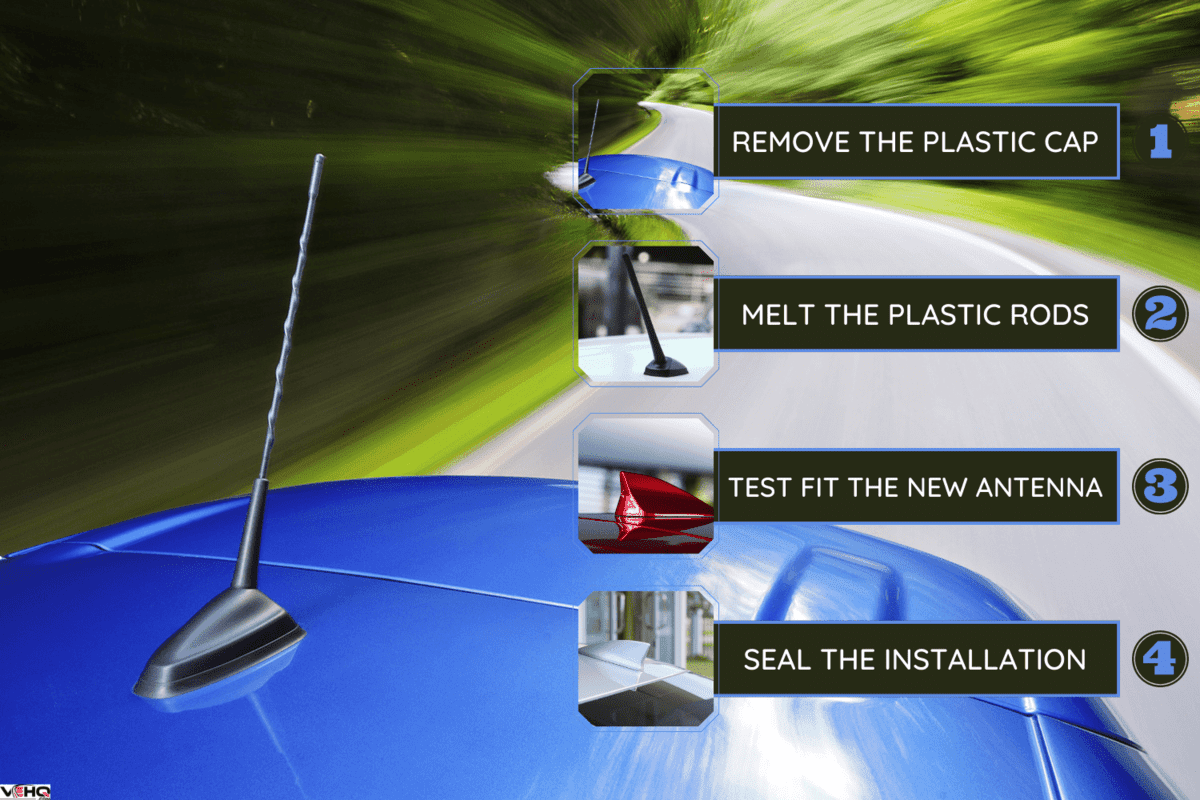
- Remove the plastic cap
- Melt the plastic rods
- Test fit the new antenna
- Seal the installation
Take note that these installation instructions may not apply to your vehicle. So it's best to continue reading for you to learn other possible solutions for enhancing your car's AM radio reception.
What Causes Poor AM Radio Reception?
Take note that knowing how to enhance your car radio’s AM reception also means understanding why it’s poor in the first place. Some of the possible reasons why your vehicle’s radio has trouble receiving AM signals are:
- Electrical interference
- Broken or worn car antenna
- Blockage because of nearby structures
- Bad vehicle speakers
- AM radio station troubles
How To Fix Bad AM Radio Reception In Car?
First, troubleshoot the main reason why your car’s radio is receiving poor reception from AM frequencies. Oftentimes, these causes are uncontrollable, such as when a particular AM radio frequency has problems from their end.

But you may not need to go through significant repair or replacement procedures for your vehicle to fix your AM radio’s reception. For instance, you may only need to move your car to a better spot than your current parking site.
Still, you can improve your AM radio listening experience with the following solutions:
Replace The Antenna
Keep in mind that the precise steps to replace a radio antenna for a car depends on your vehicle’s specific manufacturer and model. Some of these replacement procedures are reasonably straightforward. However, certain cars may require you to undergo other steps to complete the replacement.
Here’s an example of a radio antenna replacement job for you to check if you can complete it using DIY techniques. If not, you can rely on skilled professionals to do the job for you:
What You’ll Need
- Reinforced epoxy
- Soldering iron
- Screwdrivers
- Pliers
- Painter’s tape
- Replacement car antenna
Step-By-Step Guide
1. Remove The Plastic Cap
Flip the replacement car antenna upside down, which should allow you to see a plastic cap. Remove the screws securing this cap. Dispose of that item properly.
2. Melt The Plastic Rods
Heat your soldering iron. Then, use it to melt the plastic rods that secured the plastic cap previously. Be careful not to apply significant pressure to the soldering iron so you don't puncture the antenna. You’ll know when to stop when the plastic is reasonably flush with the adjacent surface.
Warning: Don’t touch the metal end of the soldering iron while it’s operational. Doing so will result in significant burns to your skin.
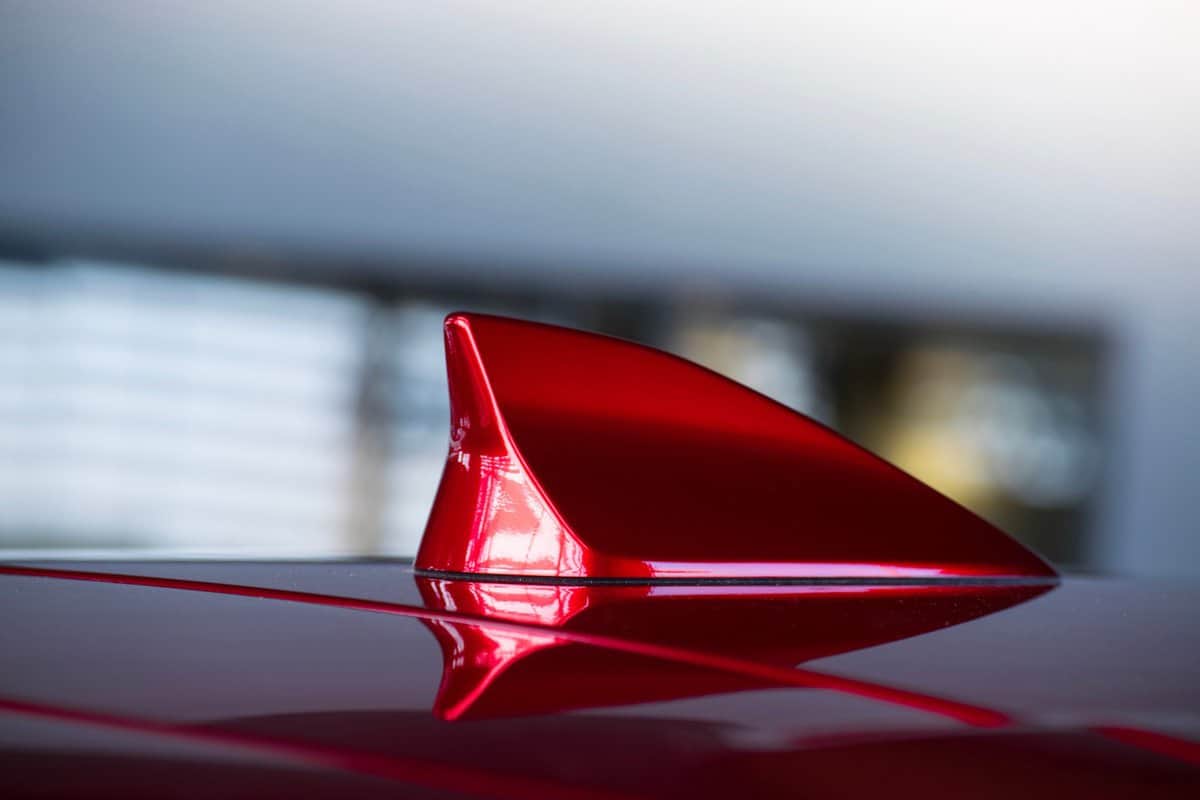
3. Test Fit The New Antenna
Remove the old antenna from your car. Then, place the new antenna in the same position as the old unit. Check if the fit is secure. If not, you may need to go back to the previous step and use melt more of the plastic rods.
If the plastic rods (or what’s left of them) are already flush and the antenna still doesn’t fit its mount, it might be because of leftover plastic pieces from the previous installation. You can remove these small components with pliers.
4. Seal The Installation
Surround the antenna mount with painter’s tape. That way, you can prevent spillage from the reinforced epoxy to the car's hood. You may also use standard masking tape for this step, but it might leave a residue when you pull it out later.
Remove the new antenna from its mount temporarily. Then, apply the reinforced epoxy solution underneath the antenna while following the product manufacturer’s instructions.
Once applied, return the antenna to its mount. Let the reinforced epoxy dry and cure for at least 24 hours. Test your car’s AM radio reception after that period to check for errors. Don’t forget to remove the masking or painter’s tape afterward.
You can also watch the video below if you want to see a visual representation of this procedure:
Although it might look like a straightforward job, you may still run into mistakes. For example, you might receive a radio antenna fault on your Ford vehicle. Read our post highlighting that topic to know the answer to that problem.
Clean The Radio Antenna
External vehicle radio antennas can be prone to dust and debris buildup. These objects can block radio signals, degrading your radio’s ability to receive AM signals.
Unlike replacing the entire radio antenna, cleaning this assembly is usually a DIY-friendly job and might not require professional services. So follow these general steps to ensure your car’s antenna remains as clean as possible:
What You’ll Need
- WD-40
- Clean cloth or rag
Step-By-Step Guide
- Remove any visible dirt and debris from the antenna with your hands.
- Dampen a piece of cloth or rag and use it to wipe leftover dirt from the antenna.
- Spray WD-40 on another piece of clean cloth or rag.
- Wipe the antenna with the cloth or rag with the WD-40.
- Test your car’s radio if it has a better AM reception than before.

Check out this product on Amazon.
Warning: Don’t use a significant amount of WD-40 for this procedure. Take note that the “WD” on this product stands for water displacement. Although it has lubricating properties, this product isn’t a lubricant.
Over time, the WD-40 application may acquire gunk buildup. So it’s best to use only the recommended amount for your specific requirements.
Watch this video to see a visual guide to this process:
Does Aluminum Foil Improve Radio Reception?
Attaching an aluminum foil to your car radio’s antenna may improve AM and/or FM reception. However, the material may not be reliable all the time. Plus, sticking an aluminum foil to the antenna might not be the most visually pleasing solution to improve your radio-listening experience.
At this point, you might also be wondering if resetting your car’s radio can help improve its reception. Check out our post on how to reset the radio on a Nissan Maxima for additional insight on this topic.
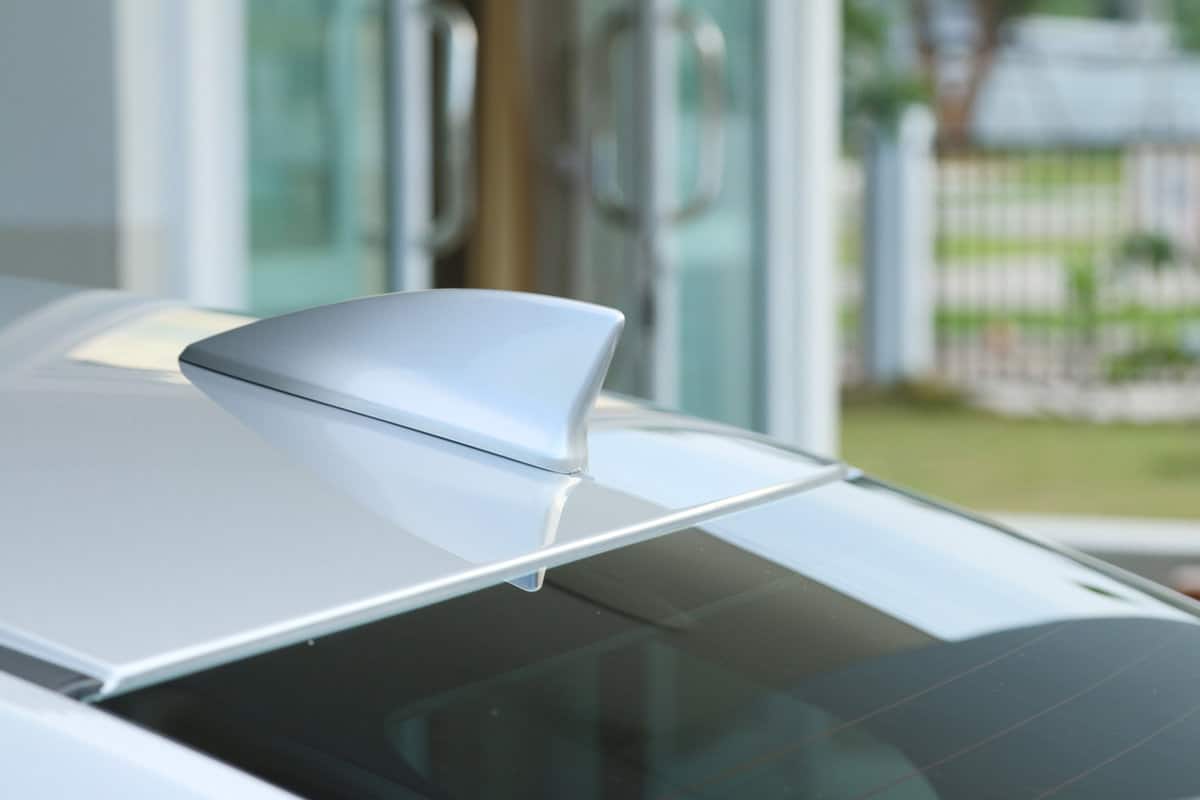
What Antenna Do I Need For Car Radio?
Car antennas generally come in three different types:
- Satellite
- Internal
- External
Each vehicle radio antenna model will have its unique pros and cons. Internal antennas are usually hidden from view, making them safe from potential hazards like getting caught in tree branches. However, these models typically have cumbersome replacement procedures.
On the other hand, external antennas often have better AM and FM reception than their internal counterparts. But these options can be prone to snagging from other objects because of their protruding designs.
As for satellite car antennas, these units have properties found in both internal and external models. Satellite antennas generally sit on top of the vehicle but don’t protrude as much as external units.
Certain satellite units also have dashboard docks, allowing them to receive excellent reception from different locations.
Also, some car radio antennas perform better than others on the market, thanks to their excellent features and specifications. Here are some models to take a look at:
1. AntennaMastsRus Replacement Antenna
This product has a stainless steel construction, making it reasonably durable while keeping production and retail costs relatively low. It’s also quite flexible, preventing it from breaking easily if it gets caught against other objects.
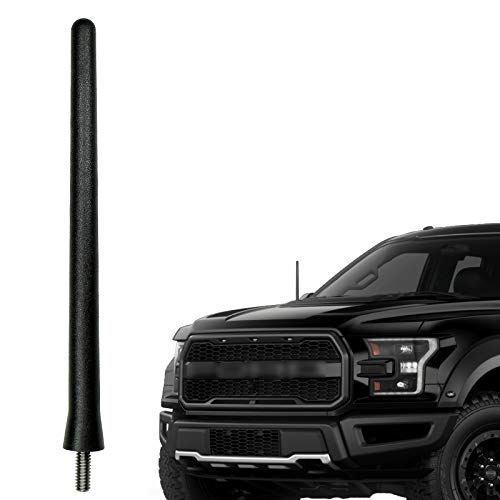
Check out this product on Amazon.
2. CravenSpeed Stubby Antenna
Unlike the previous model, this unit has a steel construction. With it, this car antenna should be more durable than its AntennaMastsRus option. Its stubby design also allows enhanced clearance for cars with spoilers.

Check out this product on Amazon.
How Much Does It Cost To Install An Antenna In A Car?
Prepare to spend about $174 to purchase a new car radio antenna. Also, you may need to spend approximately $68 to $86 if you take advantage of professional services for the installation.
Take note that these prices are only estimates. That means that your radio antenna dealer and installer may charge you different fees.
Final Thoughts

Remember, you might not need to complete extensive repair or replacement procedures for your car to get better AM reception from its radio. Still, it’s possible to improve your overall radio-listening experience through certain solutions, such as replacing your vehicle’s antenna.